Quick answer
Mount the headlight securely to your Ninebot’s stem or handlebar, set the beam slightly downward so it lights the path without dazzling others, and charge it fully before your first night ride. A few minutes of careful aiming makes the 360lm output far more useful.
Why beam aim matters more than raw brightness
The Segway Ninebot headlight’s 360-lumen output is bright enough for commuting, but brightness alone doesn’t guarantee safety. An anti-dazzle beam pattern only works when the light is aimed correctly. Point it too high and you’ll blind oncoming riders and drivers; point it too low and you’ll lose forward visibility. The sweet spot is a beam that cuts off just below eye level for someone standing 5–10 meters ahead.
Mounting location: stem vs. handlebar
Most Ninebot scooters offer two practical spots: the vertical stem or the horizontal handlebar. Stem mounting keeps the light centered and out of the way, but it can be harder to adjust on the fly. Handlebar mounting is easier to reach but may interfere with grips or accessories. Choose based on your daily route—stem for a clean look, handlebar if you frequently switch between riders or need quick angle tweaks.
Weather resistance and daily wear
The headlight has a weather-resistant housing, but that doesn’t mean it’s waterproof. Avoid leaving it mounted in heavy rain for long periods, and dry the mount and contacts after wet rides. A quick wipe-down and a check that the bracket hasn’t loosened will prevent most intermittent failures.
Step-by-step setup for your Ninebot headlight
- Charge the headlight fully before first use: Plug the headlight into a standard USB charger and let it charge until the indicator shows full. A partial charge may cut your first ride short. Charge the evening before your first night ride so you start with a full battery.
- Choose and prepare the mounting spot: Clean the stem or handlebar surface with a dry cloth to remove dust or grease. Test-fit the bracket without tightening to confirm it doesn’t block cables or your grip. A clean surface prevents the mount from slipping once tightened.
- Attach the bracket securely: Tighten the mount by hand until snug, then check for movement. Over-tightening can crack plastic brackets; under-tightening lets the light bounce on rough pavement. Give the mounted light a gentle tug—if it shifts, tighten a quarter turn more.
- Set the initial beam angle: Park the scooter facing a wall about 5 meters away. Turn the light on and adjust the angle until the top of the beam hits the wall at roughly handlebar height or slightly lower. A beam that hits the wall above handlebar height is too high for street use.
- Fine-tune on a test ride: Ride slowly in a safe area after dark. If you see more than a few meters ahead, or if the beam washes out signs, stop and adjust by a few degrees. Re-check that the mount hasn’t moved. Carry the adjustment tool on your first few rides until the angle stays put.
- Establish a charging routine: Recharge after every 2–3 hours of use, or weekly if you ride daily. Avoid leaving the battery fully drained for long periods; top it up before storage. A weekly top-up keeps the light ready and extends battery life.
Product facts
-
Segway Ninebot E-Scooter Rechargeable LED Headlight 360lm: Rechargeable LED headlight with 360-lumen output and an anti-dazzle beam pattern. The focused beam improves your view of the road without blinding others, making night commuting safer for everyone.
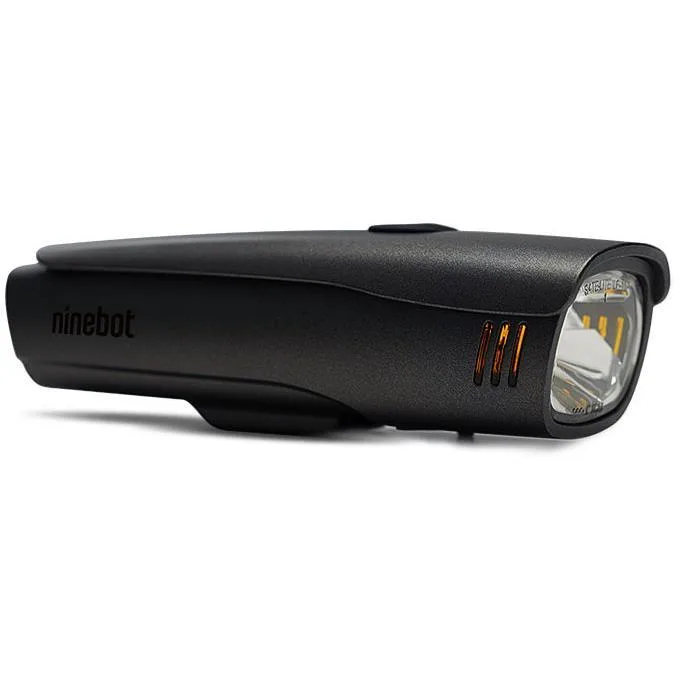
Segway Ninebot E-Scooter Rechargeable LED Headlight 360lm