Quick answer
To use sensory snow for calm-down play, set it up in a shallow bin with a few simple tools, then guide your child through slow scooping, squeezing, and pouring rather than free-for-all play. Keep the session short, quiet, and repeatable, and pair it with a visual calm-down tool like the DIY Calm Down Bottle when your child needs help settling their breathing.
DIY Calm Down Bottle
Sensory snow is one of those rare play materials that works for both high-energy toddlers and kids who need help winding down. It feels cool and moldable, it holds a shape when squeezed, and it slows hands down without requiring a lot of instructions. That combination makes it a strong choice for calm-down sensory activities at home.
The trick is how you set it up. Dumping sensory snow on a tray and hoping for the best usually ends in a mess and a short attention span. A little structure, a few tactile exploration toys, and a clear end point turn it into a repeatable routine your child can ask for by name.
Why sensory snow works for calming and tactile exploration
Sensory snow gives steady, predictable feedback. Every squeeze produces the same soft crunch, and every scoop moves the same way. That predictability is what makes it useful for calming sensory activity: there is nothing surprising to react to, so breathing and body speed tend to settle on their own.
It also covers a lot of tactile ground in one material. Kids can press it flat, roll it, bury small objects, or push it through their fingers. For children who seek out touch, that is satisfying. For children who avoid certain textures, it is a gentle starting point because it is dry and easy to shake off.
- Use a shallow bin with low sides so hands can move freely.
- Keep the first session short, around five to ten minutes.
- Offer one tool at a time instead of a full tray of options.
What you need before you start
You do not need much. A shallow plastic bin, a scoop or small cup, a couple of molds, and a towel underneath will cover most of it. If you want to add a fine-motor element, hide a few small toys in the snow and let your child dig them out. Just make sure anything small is large enough to be safe for your child's age and chewing habits.
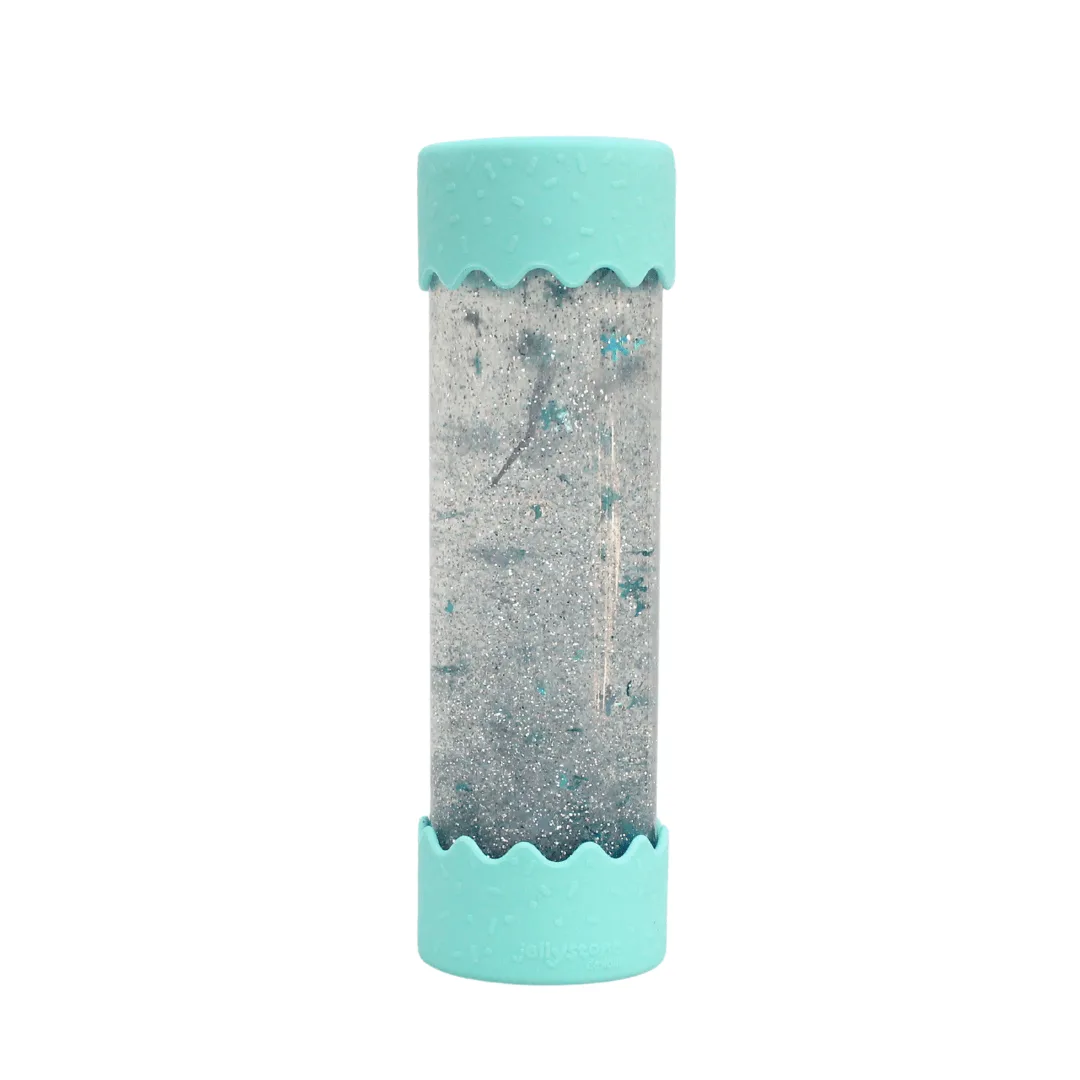
It also helps to have a quiet anchor nearby. A visual tool such as the Baby Calm Down Bottle gives kids something to look at while their hands rest, which can extend the calm part of the activity instead of ending it abruptly. Keep it within reach but outside the bin so it stays dry.
- Place a towel or mat under the bin before the snow comes out.
- Set a visible timer so the end of the activity is not a surprise.
- Wash and dry hands right after play to keep the snow clean for next time.
How to set up sensory snow so it stays playable
Most sensory snow comes as a powder that you add water to. Add water in small amounts and mix with your fingers until the snow holds together when squeezed but does not drip. If it feels sticky, you added too much water; if it crumbles and will not clump, add a little more and keep mixing.
Once it is mixed, spread it out in the bin rather than leaving it in a mound. A flatter layer is easier to scoop and press, and it gives your child more surface to explore. Keep the container of leftover powder sealed and out of reach so the activity has a clear beginning and end.
- Mix in a separate bowl, then transfer to the play bin.
- Aim for snow that clumps in your fist but leaves your palm mostly dry.
- Store mixed snow in an airtight bag for a few repeat sessions.
Step-by-step calm-down play prompts
The prompts matter more than the material. Start with slow scooping and pouring, then move to squeezing and molding. Narrate what you are doing in a low voice: scoop, squeeze, press, pour. That rhythm gives kids something to follow when they are already worked up.
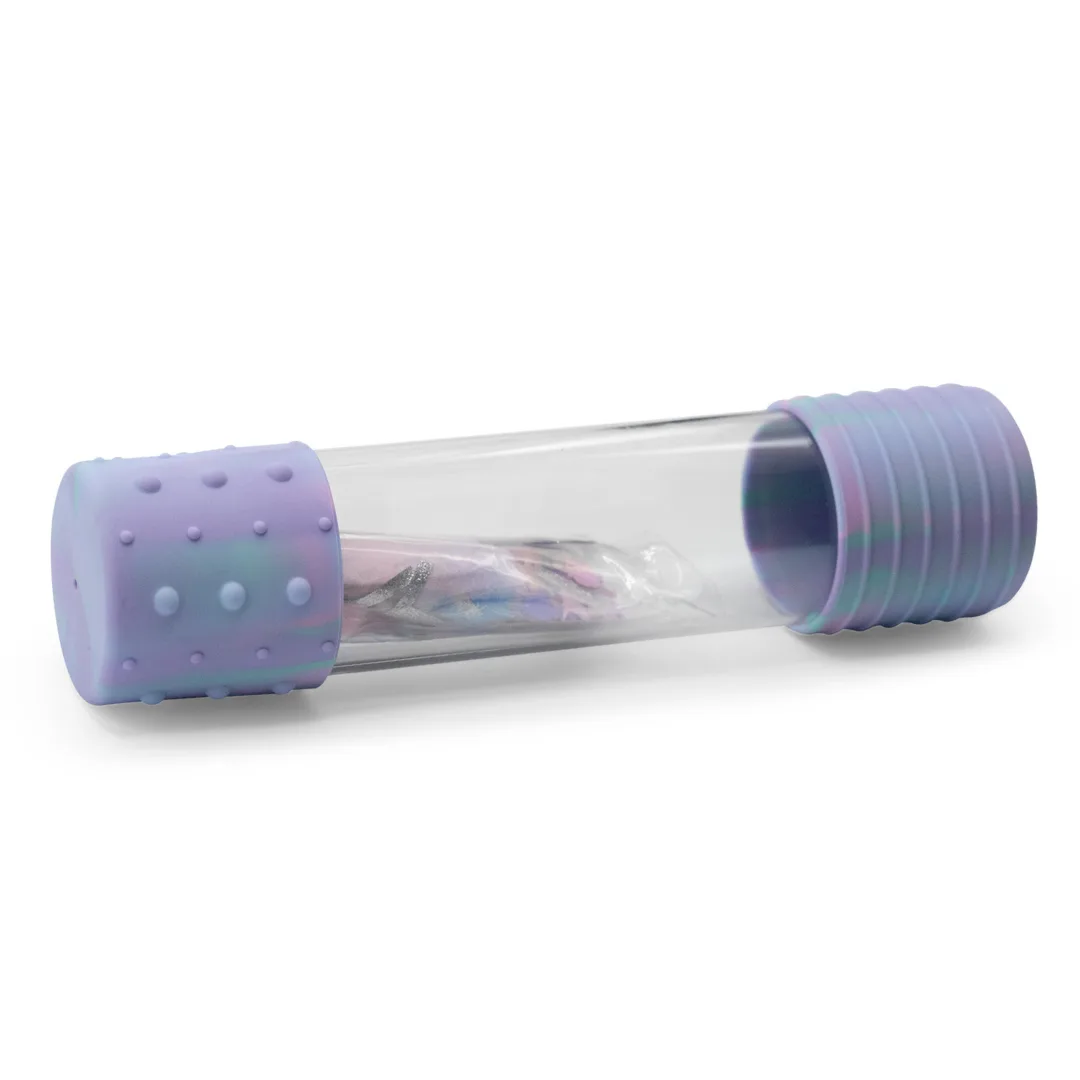
If your child is still escalated after a few minutes, switch to a breathing anchor. Hand them the DIY Calm Down Bottle and let them watch it settle while their hands rest. The sensory snow stays available, but it is no longer the only thing holding their attention, which lowers the pressure to perform calm.
- Model each action once before inviting your child to copy it.
- Pause between prompts instead of filling the silence.
- End on a successful action, not on a spilled bin.
Adapting sensory snow for different ages and needs
Toddlers usually want to dump and refill, so give them a bigger scoop and a wider bin. Preschoolers often prefer molding and pretend play, so add small animal figures or shape tools. Older kids may enjoy the challenge of packing the snow tightly into a container and building with it.
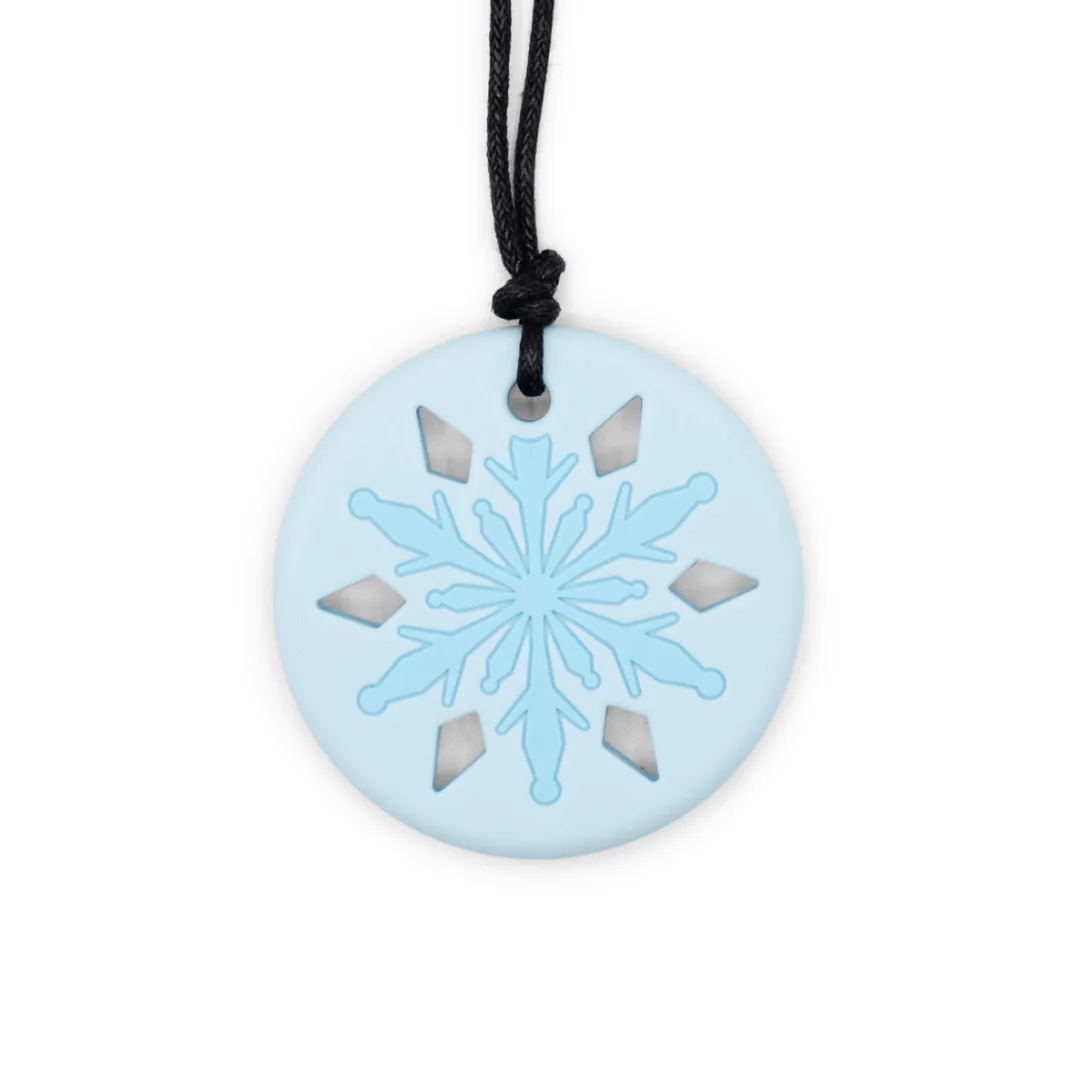
For children who chew, keep a dedicated chew pendant nearby so they are not tempted to taste the snow. The Snowflake Pendant is designed for exactly that kind of independent oral input, and having it on hand means the sensory bin does not have to double as a mouthing toy.
- Offer a chew pendant before the bin, not after the first taste attempt.
- Let older kids help mix the snow to build ownership of the setup.
- Skip the activity on days when your child is already overstimulated.
Cleanup, storage, and common mistakes
Cleanup goes faster if you do it while the snow is still in one area. Sweep stray pieces back into the bin, wipe hands, and fold the towel over the play surface. Store mixed snow in a sealed bag or container; if it dries out, a few drops of water brought back through your fingers will usually revive it.
The most common mistake is treating sensory snow as a free-for-all. Without a bin edge, a towel, and a clear finish, it spreads across the floor and the calm-down goal disappears. The second mistake is adding too much water at the start, which turns the snow into a sticky paste that is harder to play with and harder to clean.
- Keep a small hand vacuum or damp cloth nearby for quick cleanups.
- Do not let mixed snow sit out uncovered overnight.
- If your child loses interest, end the session rather than pushing through.
Your sensory snow calm-down sequence
- Set the stage: Lay a towel on the floor, place the shallow bin on top, and put a timer where your child can see it. Keep the mixed snow in a separate bowl until the bin is ready. Checkpoint: the play area is defined before any snow comes out.
- Mix to the right texture: Add water to the powder in small amounts and mix with your fingers until the snow clumps when squeezed but does not drip. If it sticks to your palm, add a little more powder. Checkpoint: a fistful holds its shape without leaving a wet residue.
- Start with slow scooping: Hand your child a scoop or cup and model one slow scoop and pour. Narrate the action quietly and pause to let them copy you before adding the next prompt. Checkpoint: hands are moving slower after the first minute.
- Move to squeezing and molding: Show your child how to press the snow into a mold or their own fist, then let it crumble. Repeat three or four times, keeping your voice low and your movements slow. Checkpoint: your child is watching the material instead of looking around the room.
- Add a breathing anchor if needed: If your child is still escalated, bring out the DIY Calm Down Bottle or Baby Calm Down Bottle and let them watch it settle while their hands rest outside the bin. Checkpoint: breathing slows within a minute or two of watching the bottle.
- Close the session on purpose: When the timer ends, scoop the snow back into its storage bag together, wipe hands, and fold the towel. Do not extend the session just because it is going well. Checkpoint: the bin is stored and hands are clean before your child moves on.
Tools that pair well with sensory snow
- DIY Calm Down Bottle: Jellystone Designs' award-winning DIY Calm Down Bottle is a unique sensory bottle developed with The Creative Toy Shop, and sensory bottles have been used by parents, teachers, and therapists to help children self-regulate their breathing and improve focus. It gives kids a visual breathing anchor to use after or during sensory snow play, which can extend the calm part of the routine.
- Baby Calm Down Bottle: The Baby Calm Down Bottle comes prefilled with sparkles and water and is totally sealed, with babies captivated by the swirling sparkles and glitter. It is a safe, no-setup option for younger siblings who cannot yet handle a sensory bin, so the calm-down routine can include everyone.
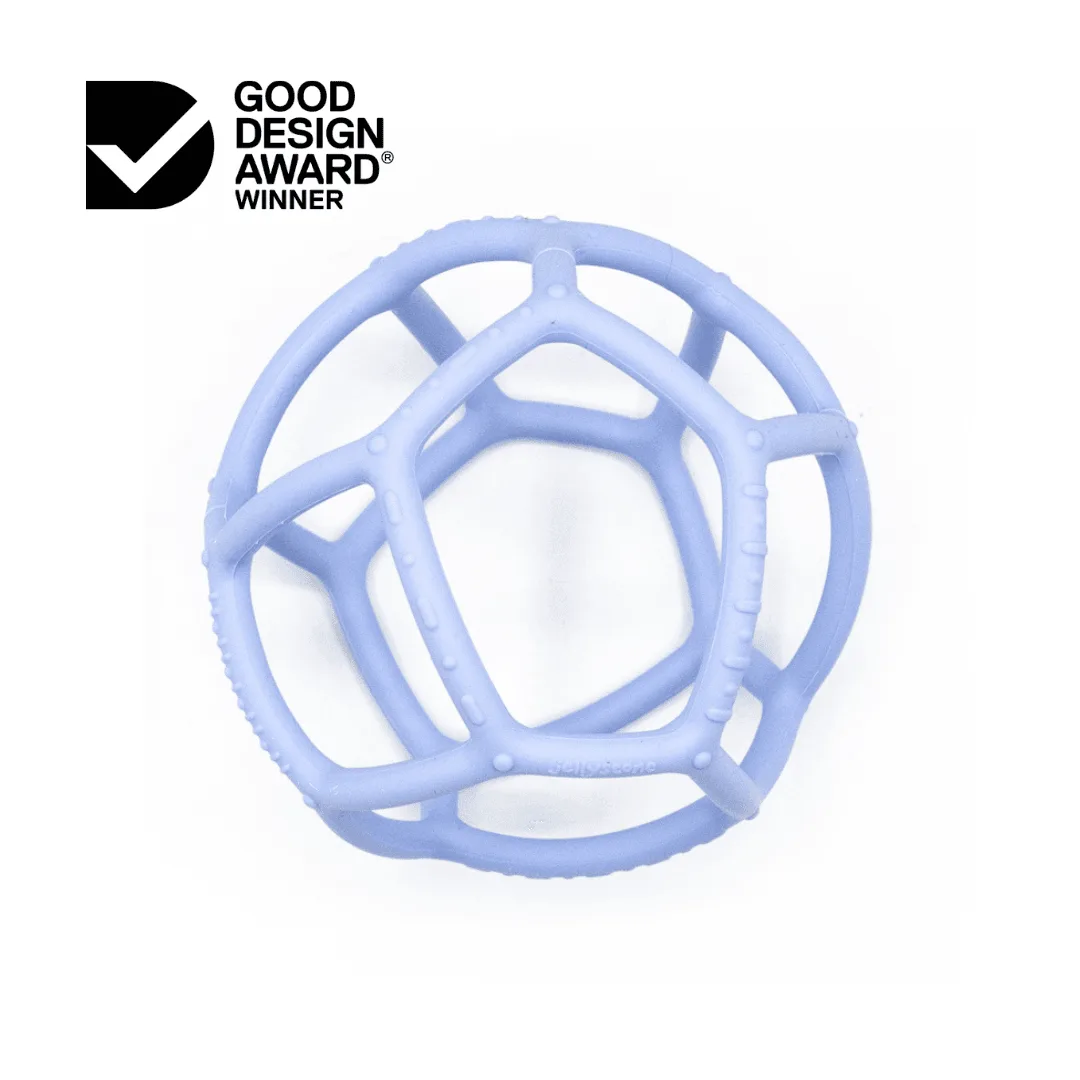
- Sensory Ball: The Sensory Ball is a Good Design Award 2022 winner made from food-grade silicone, with an open frame design that makes it easy to grab, and it works as both a teether for young babies and a sensory toy for older children. It adds a safe oral and tactile option for kids who need more than dry sensory snow can offer.
Sensory snow is at its best when it is simple, short, and repeatable. Set it up the same way each time, keep the prompts slow, and pair it with a visual calm-down tool like the DIY Calm Down Bottle when your child needs help settling. Done that way, it becomes a routine your child can reach for instead of a one-off activity.