Start with the kit's own contents
A bead loom workshop works best when the materials already in the box define the setup. The Sycomore Bijoux Box XL Bead Loom & Jewelries Workshop supplies a bead loom, colorful seed beads, elastic cord, clasps, needles, and a step-by-step design guide with patterns. That list tells you what the workspace needs: a flat surface for the loom, shallow trays for beads, and a place to keep needles and cord from rolling away.
The kit is labeled for ages 7 and up, and the care notes call out small parts and a choking hazard for children under three. Treat the workshop as a supervised activity, and keep younger siblings and pets away from the bead trays while the loom is in use.
What the XL workshop kit brings to the table
-
Bijoux Box - XL Bead Loom And Jewelries Workshop - 7y+: Includes a bead loom, colorful seed beads, elastic cord, clasps, needles, and a step-by-step design guide with patterns. These are the materials you build the workshop around, so you can check what still needs a home before the first session.
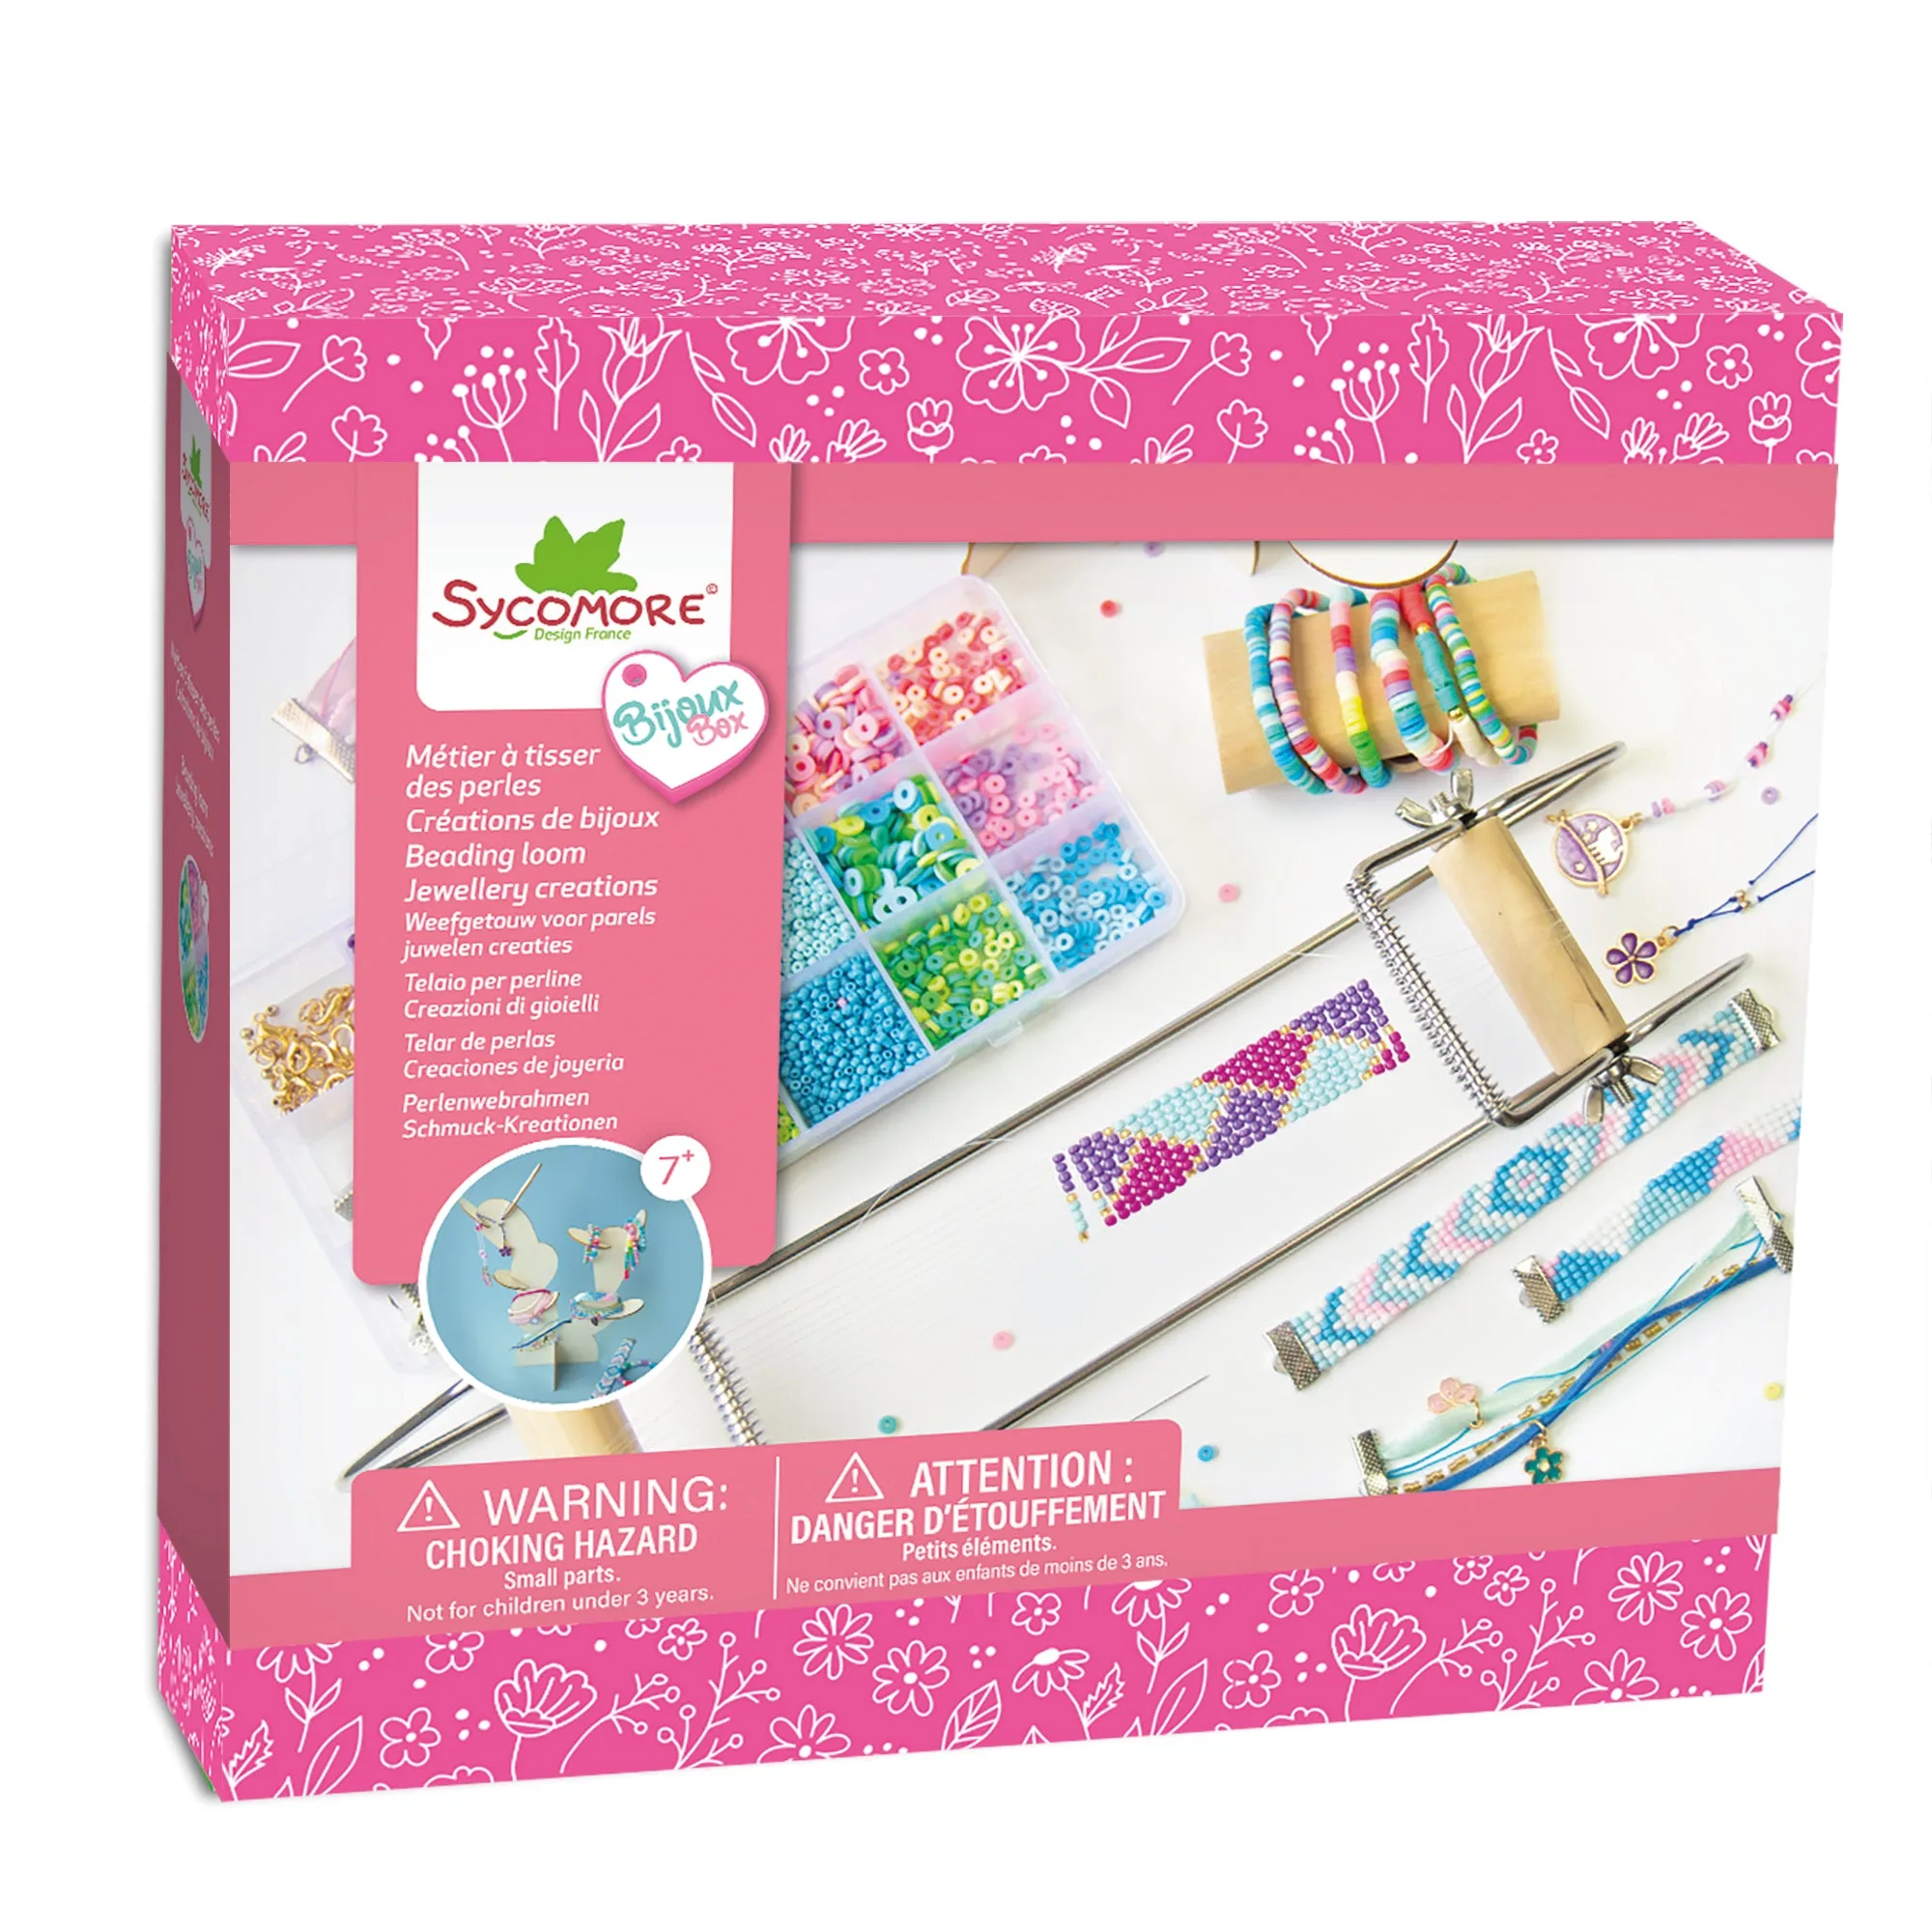
Bijoux Box - XL Bead Loom And Jewelries Workshop - 7y+
-
Bijoux Box - XL Bead Loom And Jewelries Workshop - 7y+: Recommended age: 7+ years. The age label helps you decide who can work independently and who needs hands-on help with needles and clasps.
-
Bijoux Box - XL Bead Loom And Jewelries Workshop - 7y+: Size: 10.63 x 2.76 x 10.24 in; weight: 2.09 lbs. The box footprint tells you how much table space to clear and whether the kit can live on a shelf between sessions.
Set up the workshop in four moves
The goal is a station that can be set out and packed away without losing beads or needles. Work through these in order before the first bracelet.
- Clear a flat, well-lit table: Give the loom its own stable area and leave room beside it for bead trays. The kit's box measures about 10.63 x 2.76 x 10.24 in, so plan for at least that much storage space nearby.
- Sort beads into compartments: The care notes ask you to store beads in their compartments to avoid spills. Keep the sorted trays within reach but away from the table edge.
- Set out cord, clasps, and needles together: Group the finishing materials in one shallow dish so they do not roll under the loom. Keep needles accounted for at the end of every session.
- Open the design guide before threading: The included step-by-step guide with patterns is the starting point for a first project. Choose one pattern together rather than improvising on the first attempt.
Choose a first project from the guide
The kit describes bracelets, necklaces, and more, and the guide supplies patterns to follow. For a first session, a bracelet is the simplest shape to finish and wear, and it gives your child a clear end point. Let them pick the color combination from the seed beads in the box, then follow one pattern from start to finish before mixing designs.
The product details encourage mixing colors and inventing original designs. Save the free-form experimenting for a second session, once your child has handled the loom and knows how the cord and clasps come together.
Workshop habits that protect the kit and the jewelry
A few small routines keep the loom usable and the finished pieces wearable.
- Keep water and humidity away: The care notes say to keep the kit away from water and humidity and to preserve finished jewelry pieces the same way. Set drinks on a separate table and store completed bracelets dry.
- Handle the loom with care: The loom is the core tool for every project, so treat it as equipment rather than a toy. Store it flat and avoid stacking heavy items on top.
- Pack beads back into compartments: Closing the trays after each session prevents spills and keeps colors separated for the next pattern.
- Keep small parts out of reach of under-threes: The kit carries a choking hazard warning and is not suitable for children under three. Store the box and any loose beads above the reach of younger children.
What the kit does not spell out
The supplied information does not include a session length, a recommended number of beads per bracelet, or step-by-step threading instructions beyond the included design guide. Those details belong to the guide inside the box, so read it with your child before the first project rather than guessing at a pattern.
The catalog also does not confirm how many bracelets one kit makes or whether refill beads are sold separately. If your child works through the seed beads quickly, check the current product listing for refill options before assuming the kit is a one-project purchase.