The Marsh helmet cover is one of the most iconic pieces of WWII Marine Corps gear, designed to break up the distinctive silhouette of the M1 helmet and provide effective camouflage in the Pacific theater. Whether you are a reenactor aiming for a spot-on impression or a collector displaying a complete uniform, getting the cover set up correctly is essential for authenticity.
In this guide, we will walk you through the proper installation of a Marsh helmet cover, from understanding its unique construction to final adjustments that ensure it sits correctly on the helmet. We will also cover common mistakes to avoid and how to pair the cover with other period-correct gear for a cohesive look.
Understanding the Marsh Helmet Cover Design
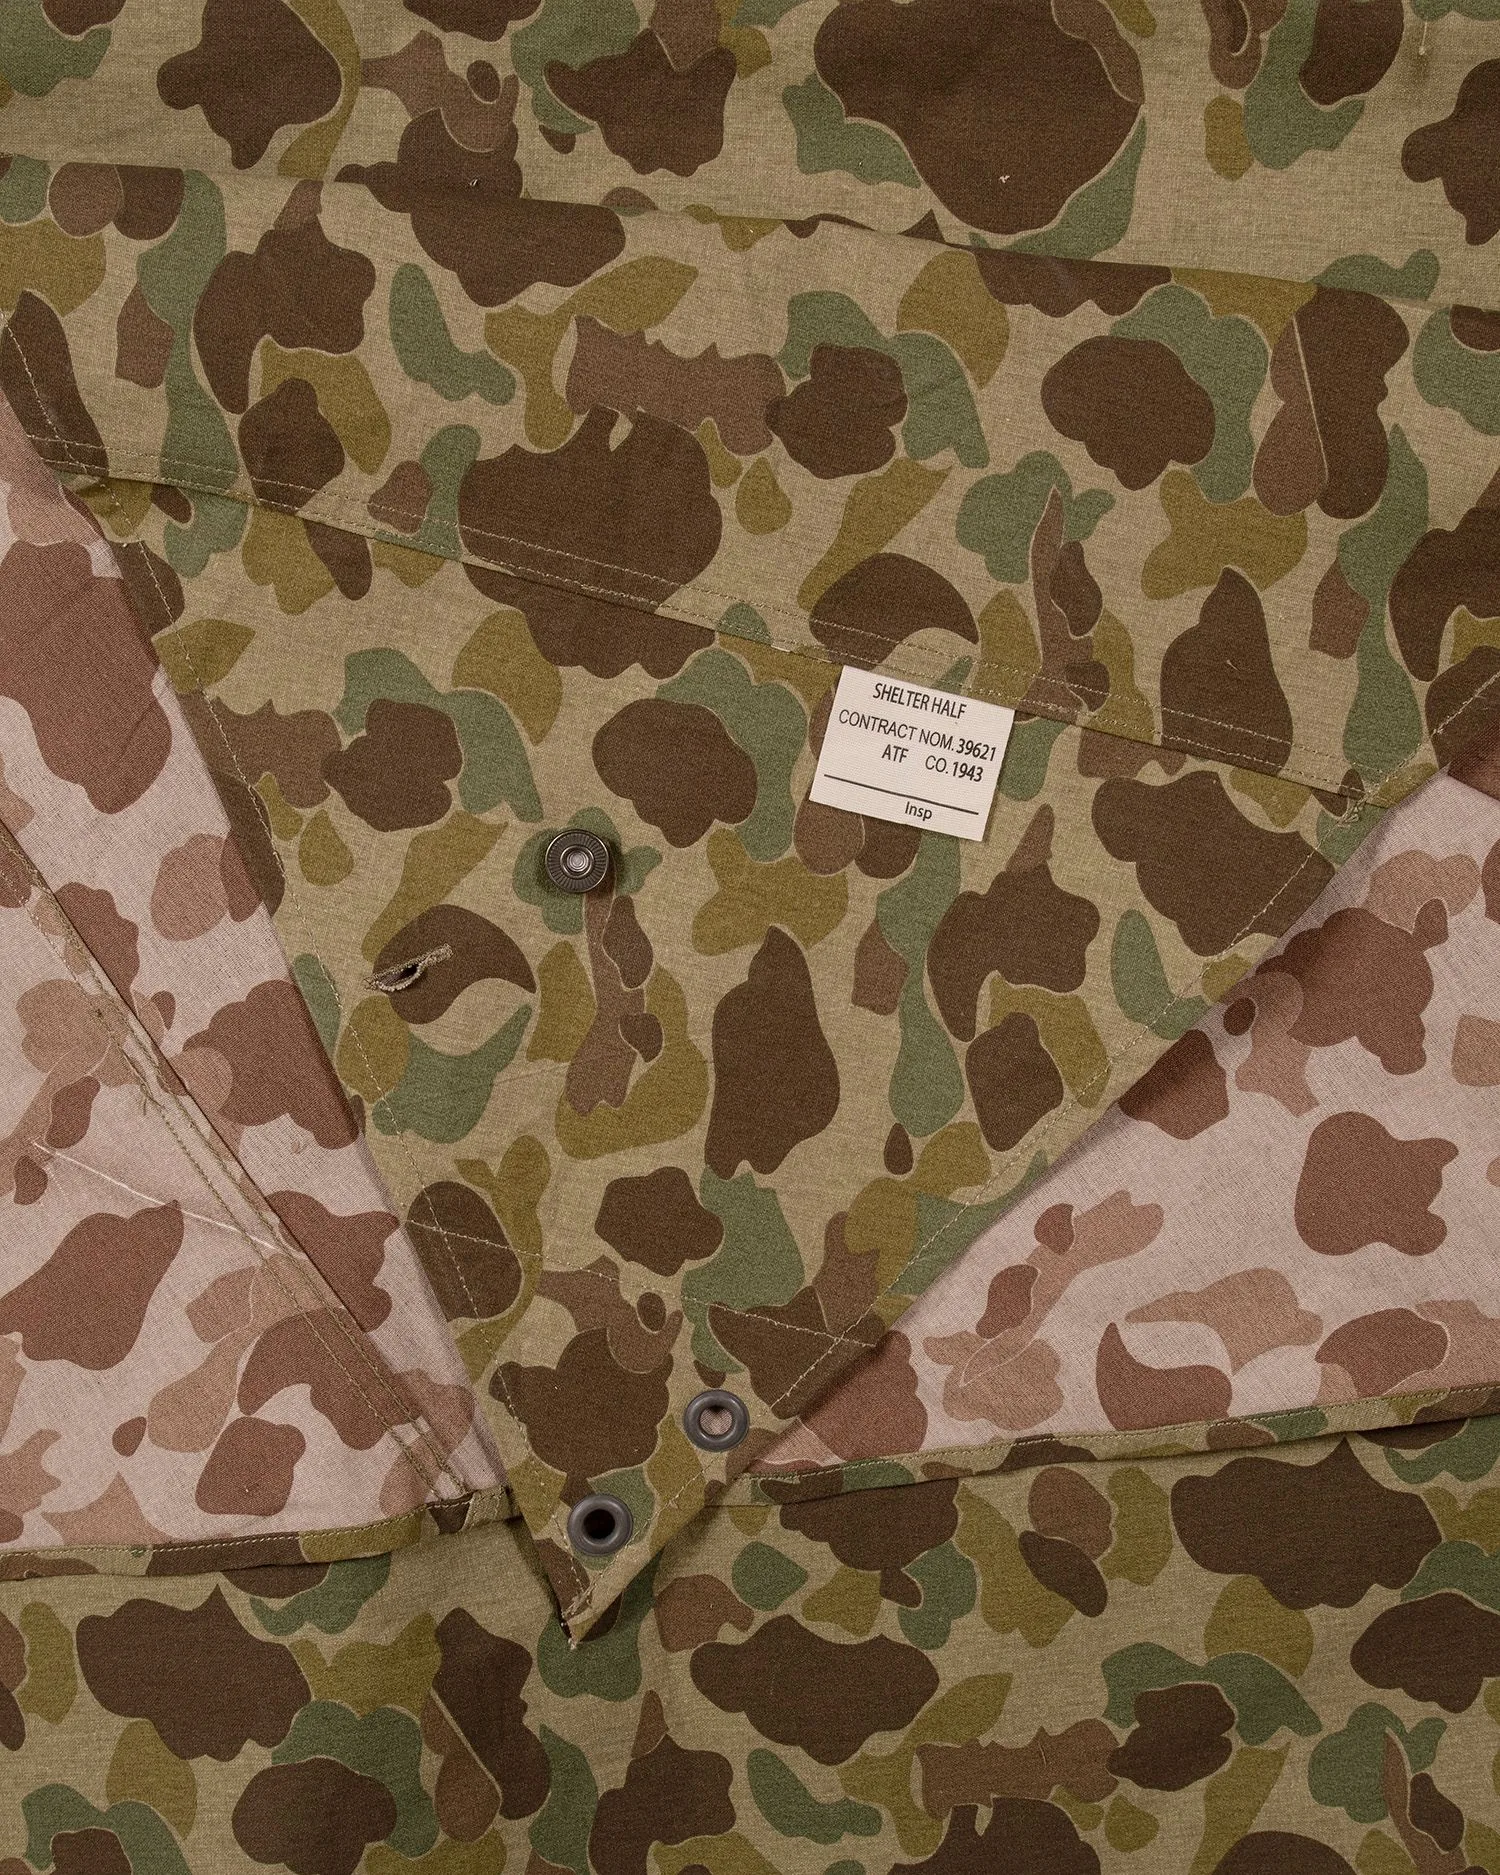
The Marsh helmet cover was developed by the U.S. Marine Corps in 1943 and saw extensive use during campaigns such as Bougainville, Peleliu, and Iwo Jima. Unlike earlier helmet covers, the Marsh pattern featured a distinctive scalloped edge and a series of tie-down loops that allowed the cover to be snugly fitted over the M1 helmet. The cover was typically made from herringbone twill (HBT) fabric in a light green or khaki shade, often with a darker camouflage pattern printed on one side.
One of the key features of the Marsh cover is its reversible design. One side features a solid green or khaki color for woodland environments, while the other side has a two-tone camouflage pattern (green and brown or green and sand) for more open or varied terrain. This versatility made it a favorite among Marines who needed to adapt to different combat zones. When setting up your cover, decide which side you want to display based on the impression you are creating.
- The scalloped edge is not just decorative—it helps the cover conform to the helmet's shape without bunching.
- Original Marsh covers used heavy-duty cotton thread; reproduction versions should match this for authenticity.
Step-by-Step Installation Guide
Start by placing your M1 helmet upside down on a flat surface. Take the Marsh helmet cover and align the front center seam of the cover with the front edge of the helmet. The cover should have a small tab or loop at the front that corresponds to the helmet's brim. Gently pull the cover over the helmet, ensuring the scalloped edges hang evenly around the entire circumference.
Once the cover is positioned, begin tightening the tie-down cords. There are typically six to eight tie-down loops sewn into the cover—three on each side. Starting at the front, pull each cord snugly and tie a double knot. Work your way around the helmet, adjusting the fabric so there are no wrinkles or sagging areas. The cover should fit tightly enough that it does not shift when the helmet is moved, but not so tight that it distorts the fabric or tears the loops.
After all cords are tied, inspect the cover from all angles. The scalloped edges should hang uniformly, and the front tab should sit flush against the helmet brim. If you notice any bunching, loosen the knots and reposition the fabric. For a truly authentic look, consider lightly weathering the cover with fine sandpaper or a damp cloth to mimic field use.
- Use a blunt tool (like a chopstick) to push the cords through the loops without damaging the fabric.
- Avoid cutting the tie-down cords—tuck the excess under the cover or inside the helmet liner.
Pairing the Cover with Other Gear
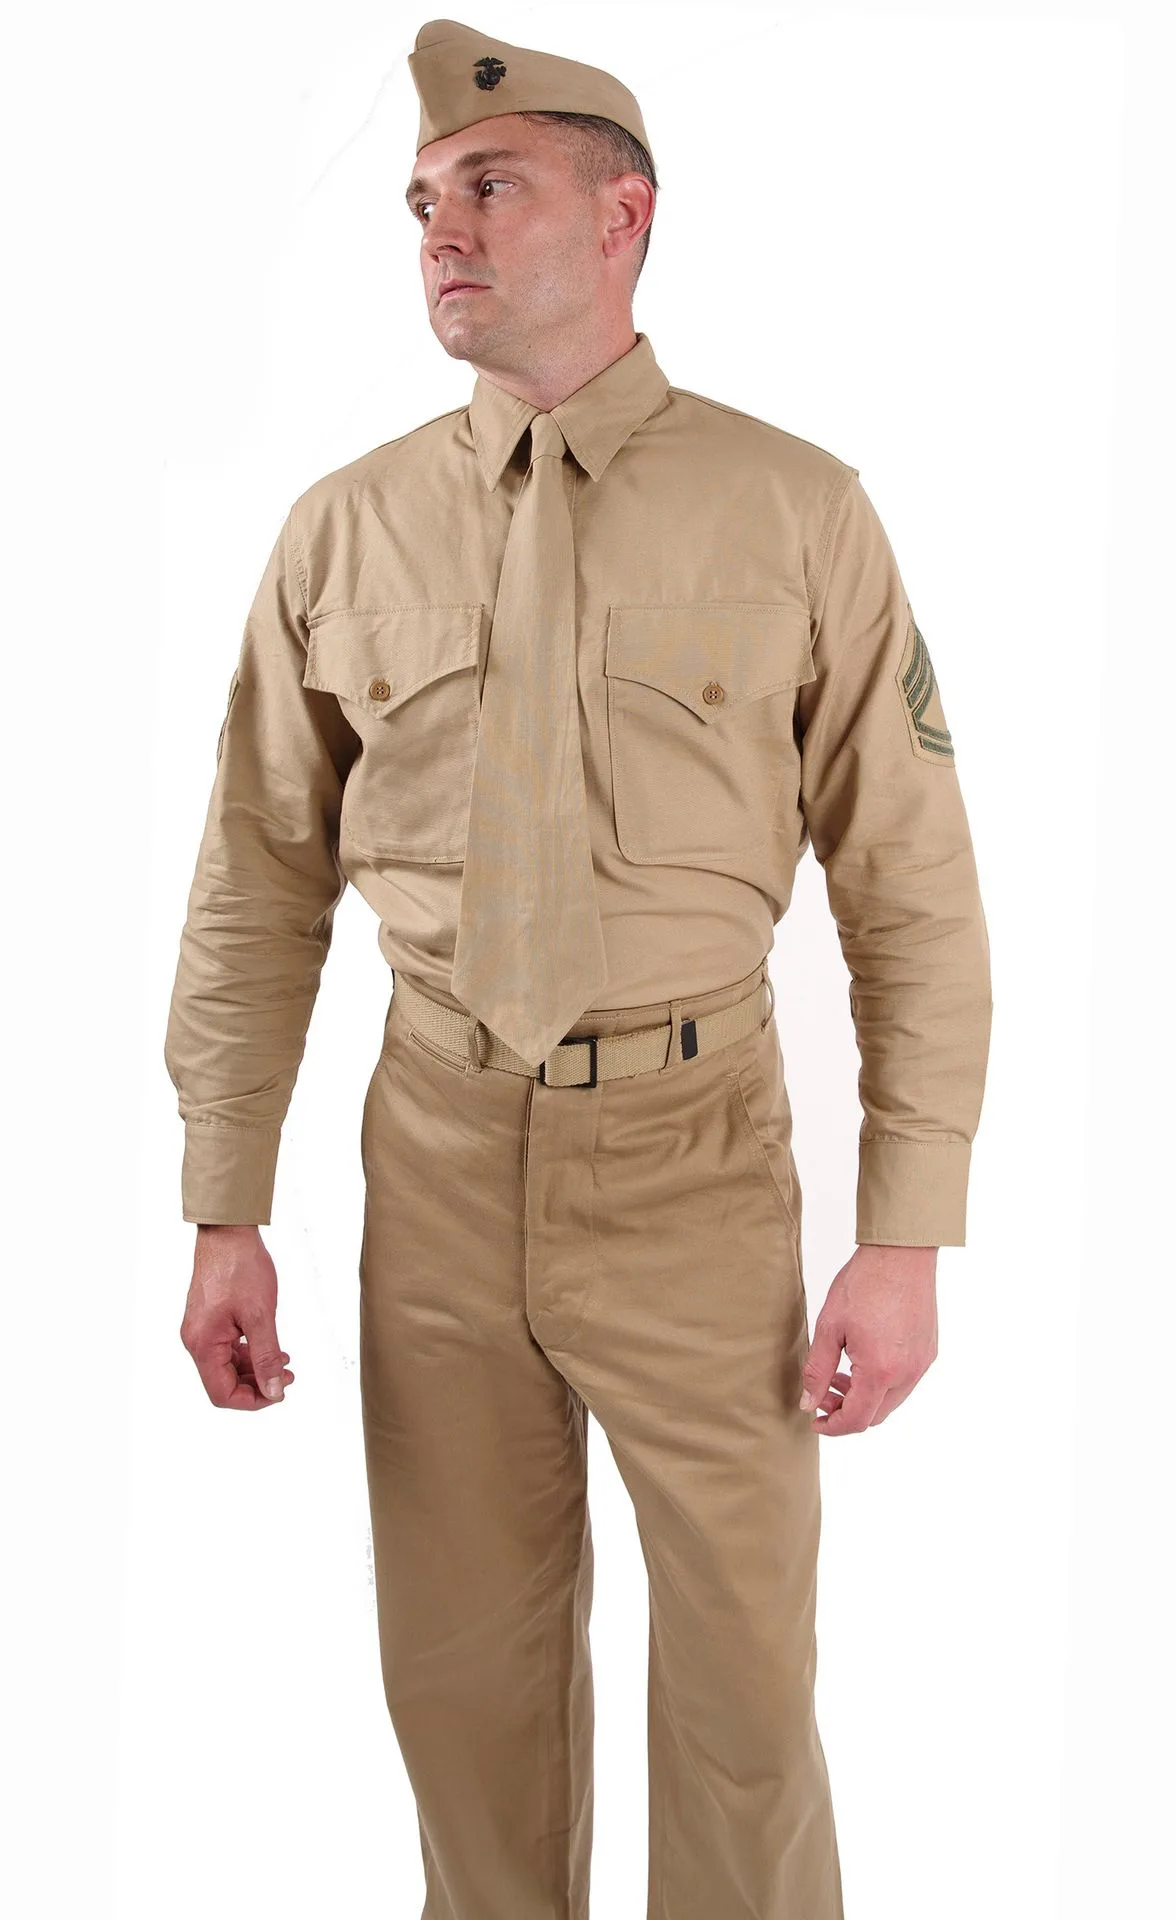
A Marsh helmet cover is most effective when combined with other period-correct equipment. For a complete Marine impression, pair it with a https://wildernessworks.shop/products/us-highneck-sweater-99172US Highneck Sweater worn under a utility shirt, and add an M1910 T-Handle Shovel Carrier to your belt for a field-ready look. The cover's camouflage pattern works well with the muted tones of the highneck sweater and the olive drab of the shovel carrier.
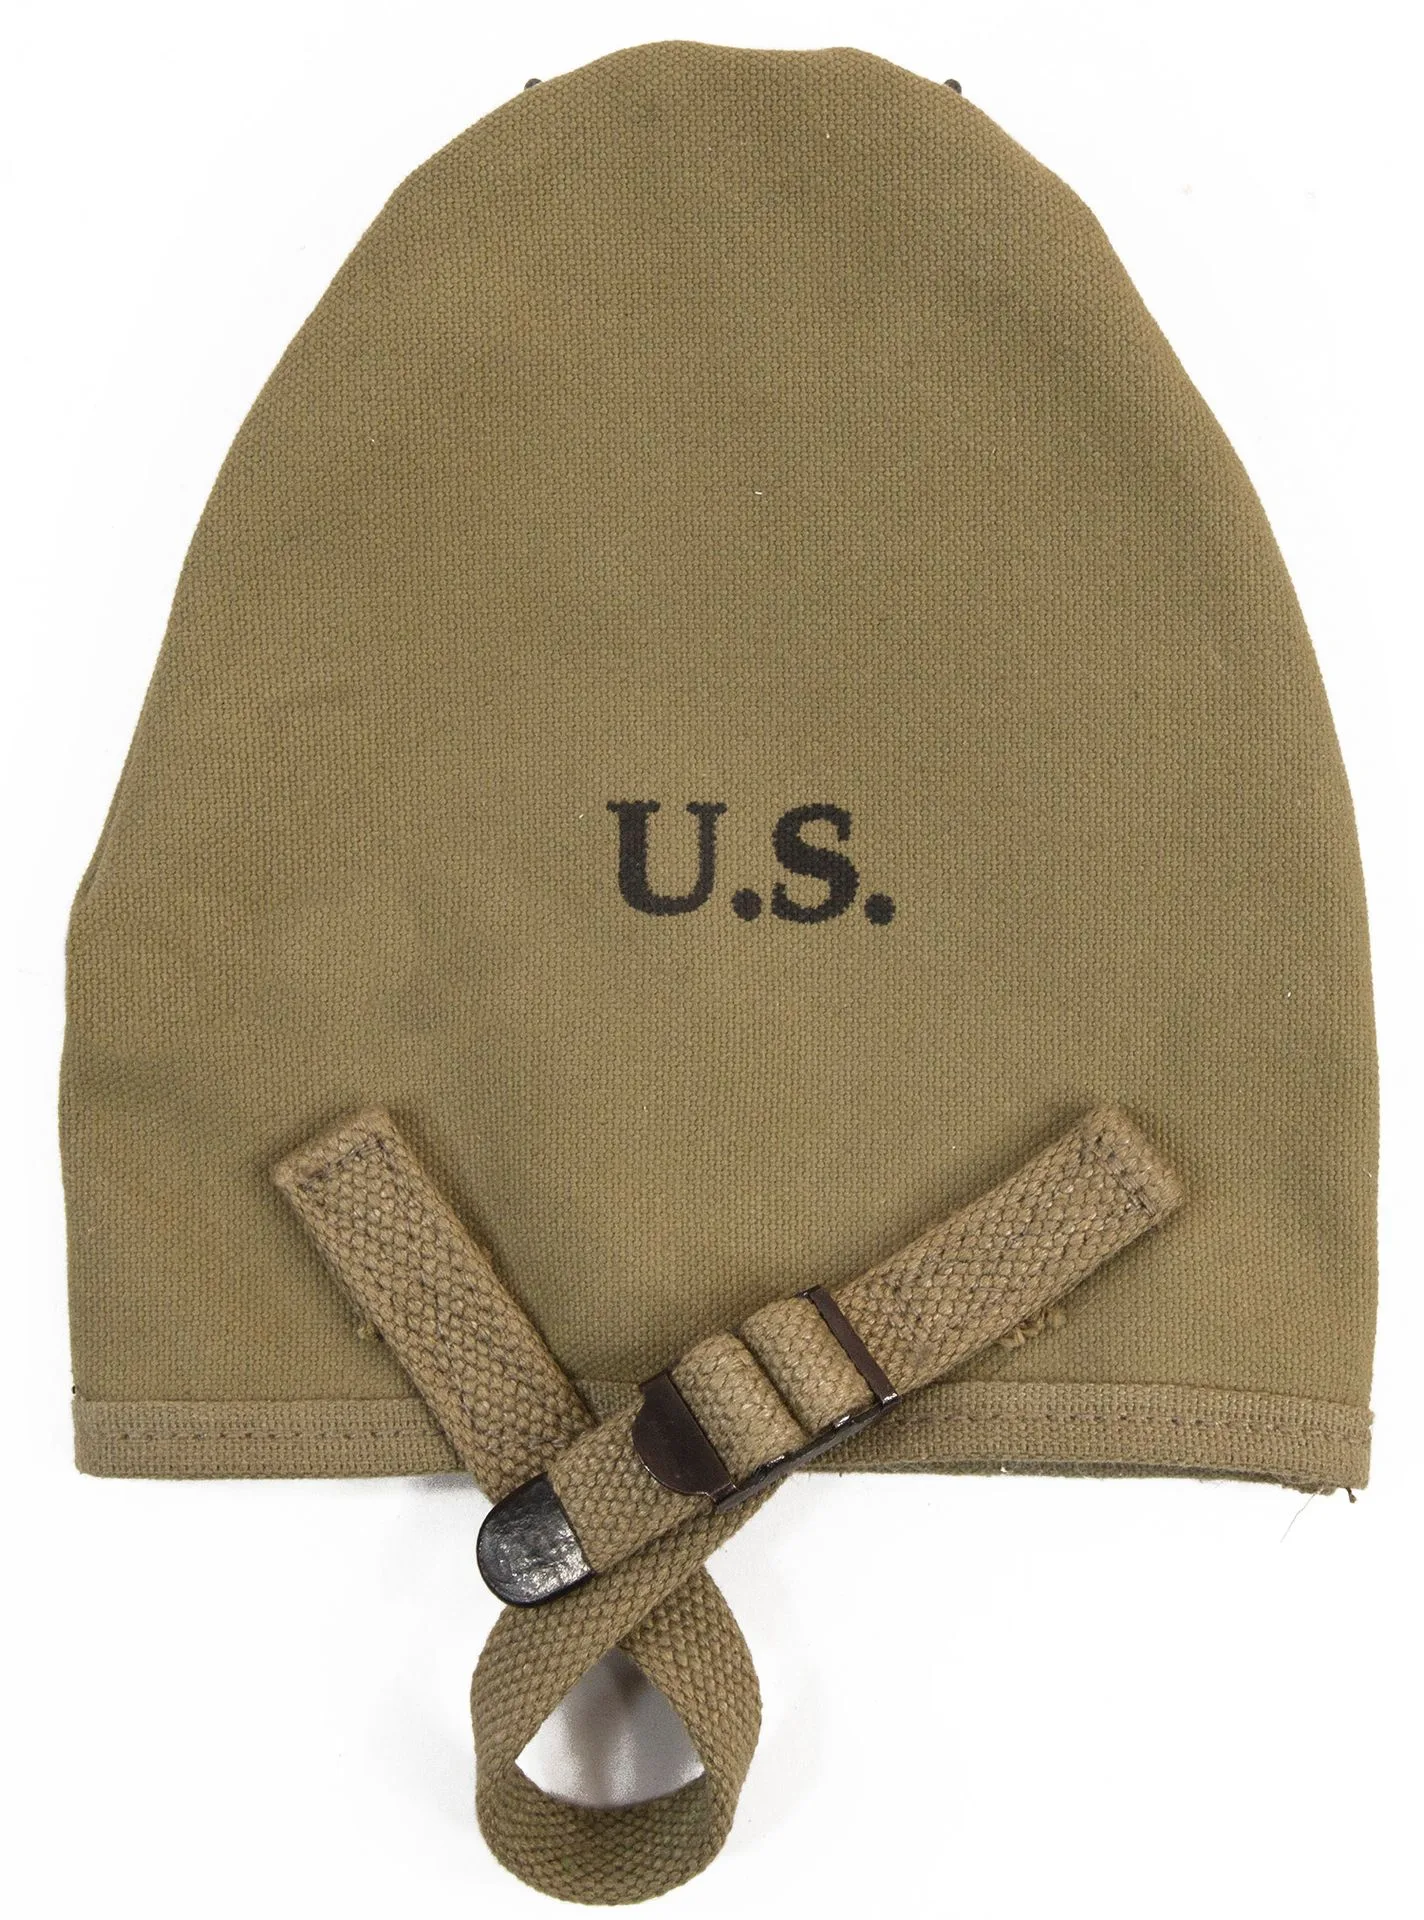
M1910 T-Handle Shovel Carrier
If you are recreating a specific unit, consider adding a 509th PIR Pocket Patch to your uniform—though the 509th was a parachute infantry regiment, many Marines also wore similar patches later in the war. The key is consistency: the cover should match the era and theater of your impression. For early-war Pacific setups, a solid green Marsh cover is appropriate; for later campaigns, the camouflage side is more accurate.
- The cover's tie-down loops can also be used to attach foliage or netting for additional camouflage.
- Always check the condition of the cover's elastic or cord before each use—replace if frayed.
Setting up a Marsh helmet cover correctly not only enhances the authenticity of your impression but also ensures the gear functions as intended. Whether you are hitting the field for a reenactment or adding the finishing touch to a display, take the time to install it properly. For a high-quality reproduction that matches original specifications, check out the Marsh Helmet Cover, Original Material available at At The Front.