Quick Answer
Sew the Mini Twist quilt pattern by following the paper template, using the QCR Mini Ruler to cut precise curves, and assembling the blocks in the order shown on the pattern.
Why the QCR Mini Ruler Matters
The Mini Twist pattern is designed specifically for the QCR Mini Ruler. This ruler helps you cut smooth, consistent curves that make the twist blocks come together accurately. Without it, you will struggle to match the seam allowances and the finished block may not lay flat.
If you do not already own the QCR Mini Ruler, consider it an essential investment for this pattern. The ruler is reusable for many other Sew Kind of Wonderful mini patterns, so it pays for itself over time.
Fabric Selection Tips
The pattern calls for nine fat eighths of assorted gray prints, six 5-inch squares of assorted plum prints, half yard of solid berry fabric, two 5-inch dark gray solid squares, and 1⅛ yards of white background. Sticking to these measurements ensures you have enough fabric for all the blocks and the backing.
When choosing your gray prints, aim for a range of values from light to medium so the twist effect is visible. The plum and berry accents will pop against the neutral background.
Step-by-Step Sewing Instructions
- Prepare Your Fabrics: Cut your gray fat eighths into the pieces specified on the pattern. Press all fabrics with a dry iron to remove wrinkles; starch is optional but helps stabilize the fabric for curve cutting. Common mistake: skipping the press can cause fabric distortion when cutting curves.
- Cut the Curves Using the QCR Mini Ruler: Place the paper template on your fabric stack. Use the QCR Mini Ruler to cut along the curved lines, keeping the ruler flush against the template edge. Cut one curve at a time and do not shift the fabric layers. Checkpoint: Ensure your rotary blade is sharp to avoid jagged edges that make seam matching difficult.
- Piece the Twist Blocks: Match the curved edges of two fabric pieces right sides together, aligning the notches on the paper template. Sew a scant ¼-inch seam, easing the fabric gently as you go. Press the seam toward the darker fabric. Common mistake: stretching the fabric while sewing can distort the curve; let the feed dogs do the work.
- Assemble the Quilt Top: Arrange your completed twist blocks according to the pattern diagram. Sew blocks into rows, then join the rows. Press all seams open to reduce bulk at intersections. Checkpoint: Lay out all blocks before sewing to verify color placement—it is easier to swap blocks now than after sewing.
- Add Borders and Finish: Cut and attach the solid berry fabric borders as directed. Layer the quilt top with batting and backing, baste, and quilt as desired. Bind the edges using the ⅓ yard binding fabric. Common mistake: measuring borders from the quilt center rather than the edge can lead to wavy borders; always measure the quilt top length and width at the center.
Product Details
-
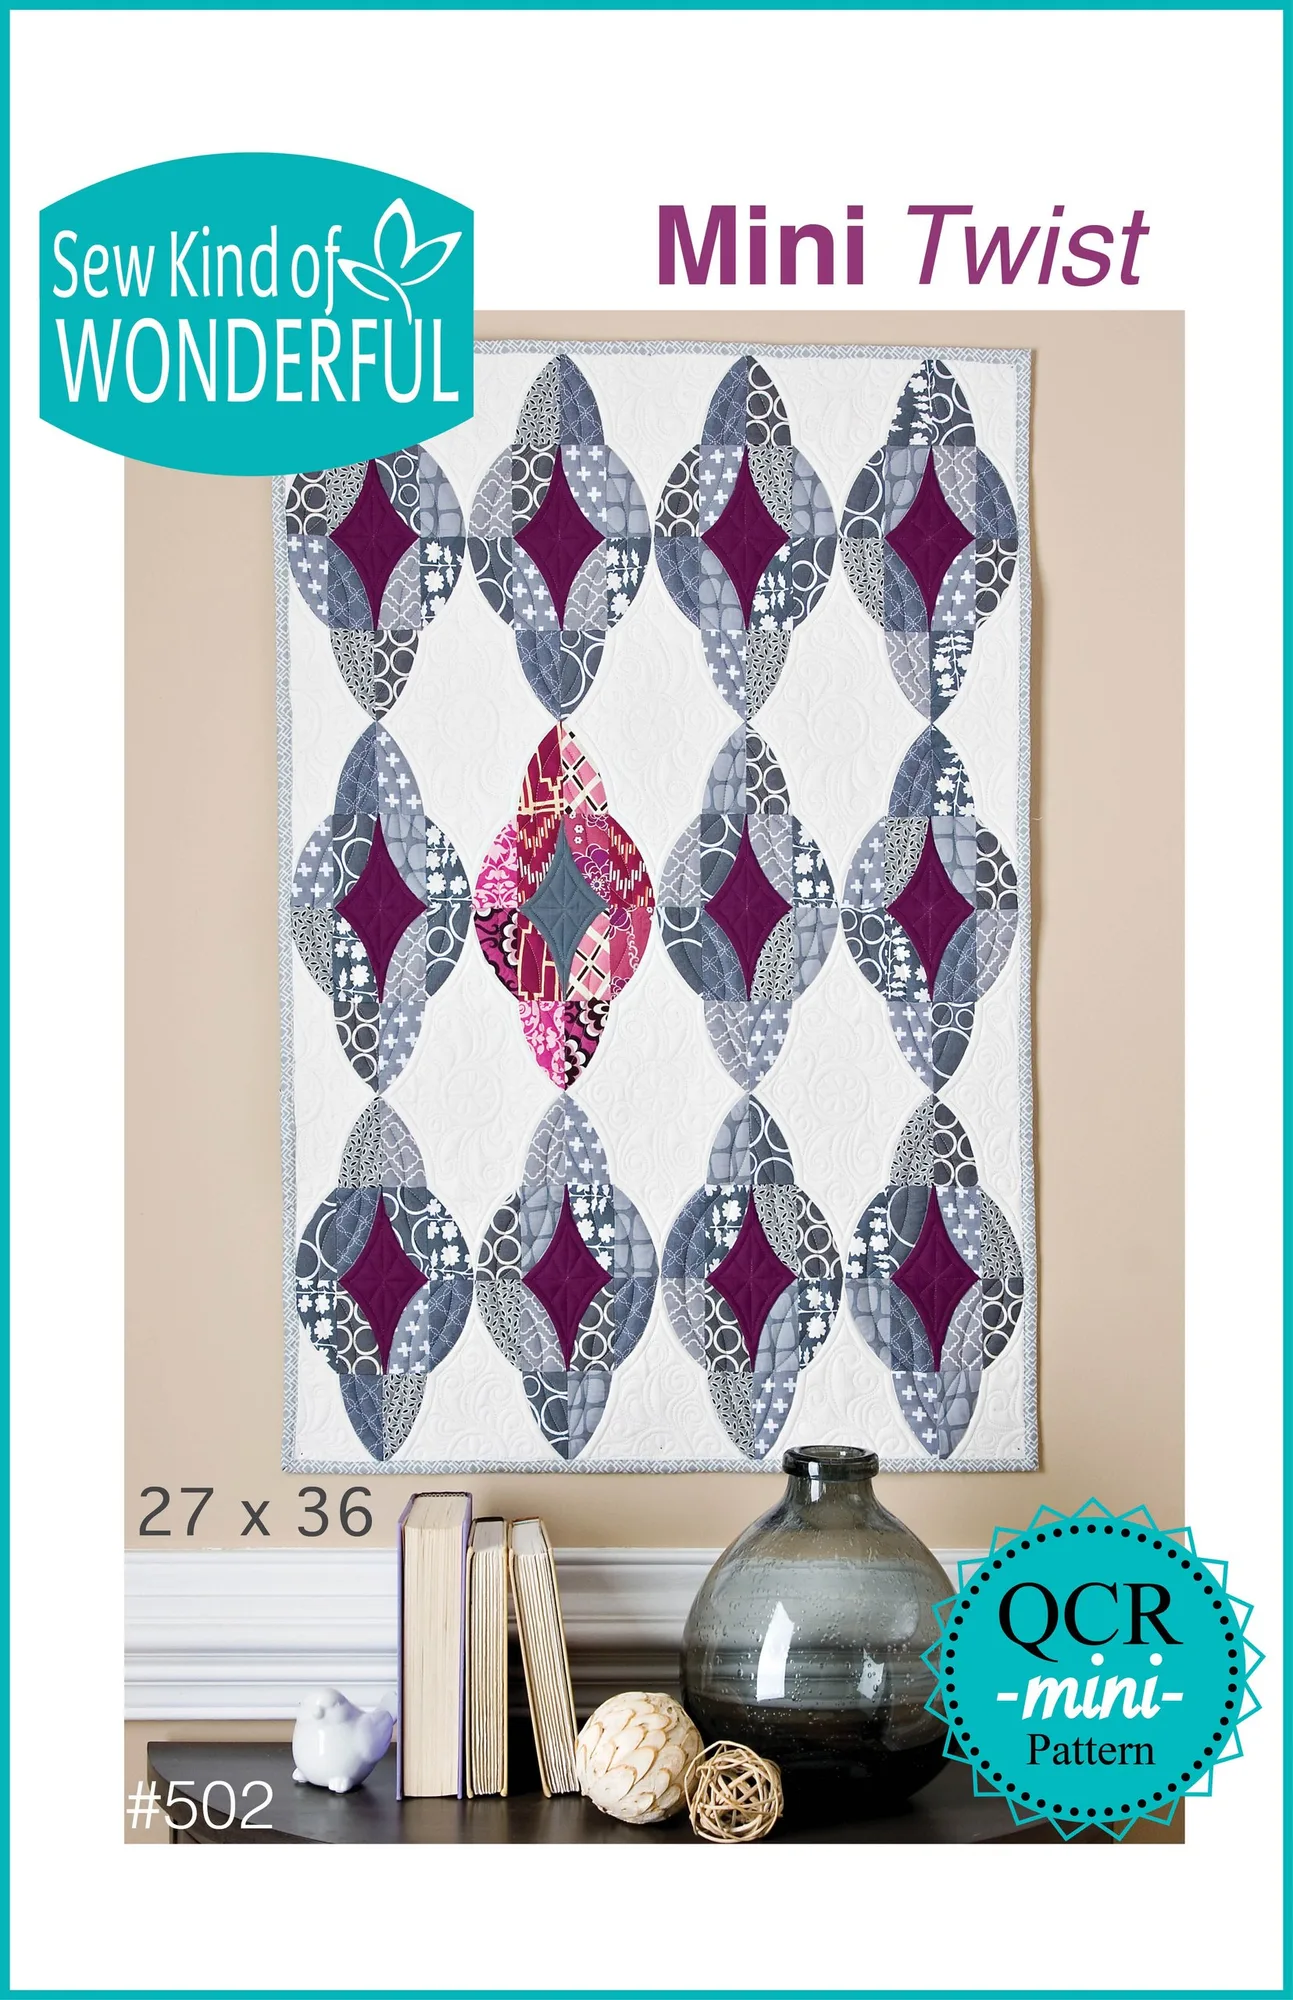
Mini Twist (Paper): The Mini Twist paper pattern requires the QCR Mini Ruler and includes a materials list of nine fat eighths gray prints, six 5-inch plum squares, and other specified fabrics. Having the correct materials and ruler on hand before you start prevents mid-project trips to the store and ensures your curves match the pattern design.
Mini Twist (Paper)