Quick answer
To sew a patch on a beanie, you'll need a needle, thread, scissors, and your chosen patch or embroidery design. A simple running stitch or whipstitch around the edge works best for most patches.
Choosing your patch or embroidery design
Consider the beanie's fabric and color. A dark beanie works well with bright or metallic patches; a light beanie shows off dark embroidery. For a playful, spooky look, the Floating Ghost Embroidered Beanie comes pre-embroidered, but you can also add your own patch to a plain beanie for a unique twist.
Steps to sew a patch on a beanie
- Step 1: Gather your materials: You'll need a beanie, a patch or embroidery design, needle, thread (matching or contrasting color), scissors, and optionally a thimble. For patches without adhesive backing, you may also use fabric glue to hold it in place while sewing. Common mistake: Using thread that is too thick or too thin. Choose embroidery floss or all-purpose thread for best results.
- Step 2: Position the patch: Place the patch on the beanie where you want it. Use pins or a small dab of fabric glue to hold it in place. Make sure the beanie is not stretched, as the patch may pucker when worn. Common mistake: Placing the patch too close to the edge or the cuff. Leave at least 1 inch from the bottom edge to avoid distortion.
- Step 3: Thread the needle and knot the end: Cut about 18 inches of thread and thread the needle. Tie a knot at the end. For extra security, double the thread and knot both ends together. Common mistake: Using a knot that is too small. Make a double knot to prevent the thread from pulling through the fabric.
- Step 4: Start sewing with a running stitch or whipstitch: Insert the needle from the inside of the beanie out through the edge of the patch. For a running stitch, go in and out at even intervals. For a whipstitch, bring the needle over the edge of the patch and through the fabric, creating a diagonal line. Continue around the entire patch. Common mistake: Stitching too close to the edge of the patch. Leave a 1/8 inch margin to prevent the patch from fraying or pulling away.
- Step 5: Secure the thread and finish: When you reach the starting point, make a small knot on the inside of the beanie. Pass the needle through the knot and trim the excess thread. If desired, add a drop of clear fabric glue to the knot for extra hold. Common mistake: Cutting the thread too short. Leave at least 2 inches to tie a secure knot.
Product spotlight
-
Floating Ghost Embroidered Beanie: The Floating Ghost Embroidered Beanie features a playful ghost embroidery, perfect for spooky season lovers and those who enjoy whimsical accessories. It has a 12" cuffed design for a universal fit. If you love the ghost design but want a different color or fabric, you can use this beanie as inspiration and sew your own ghost patch onto a plain beanie.
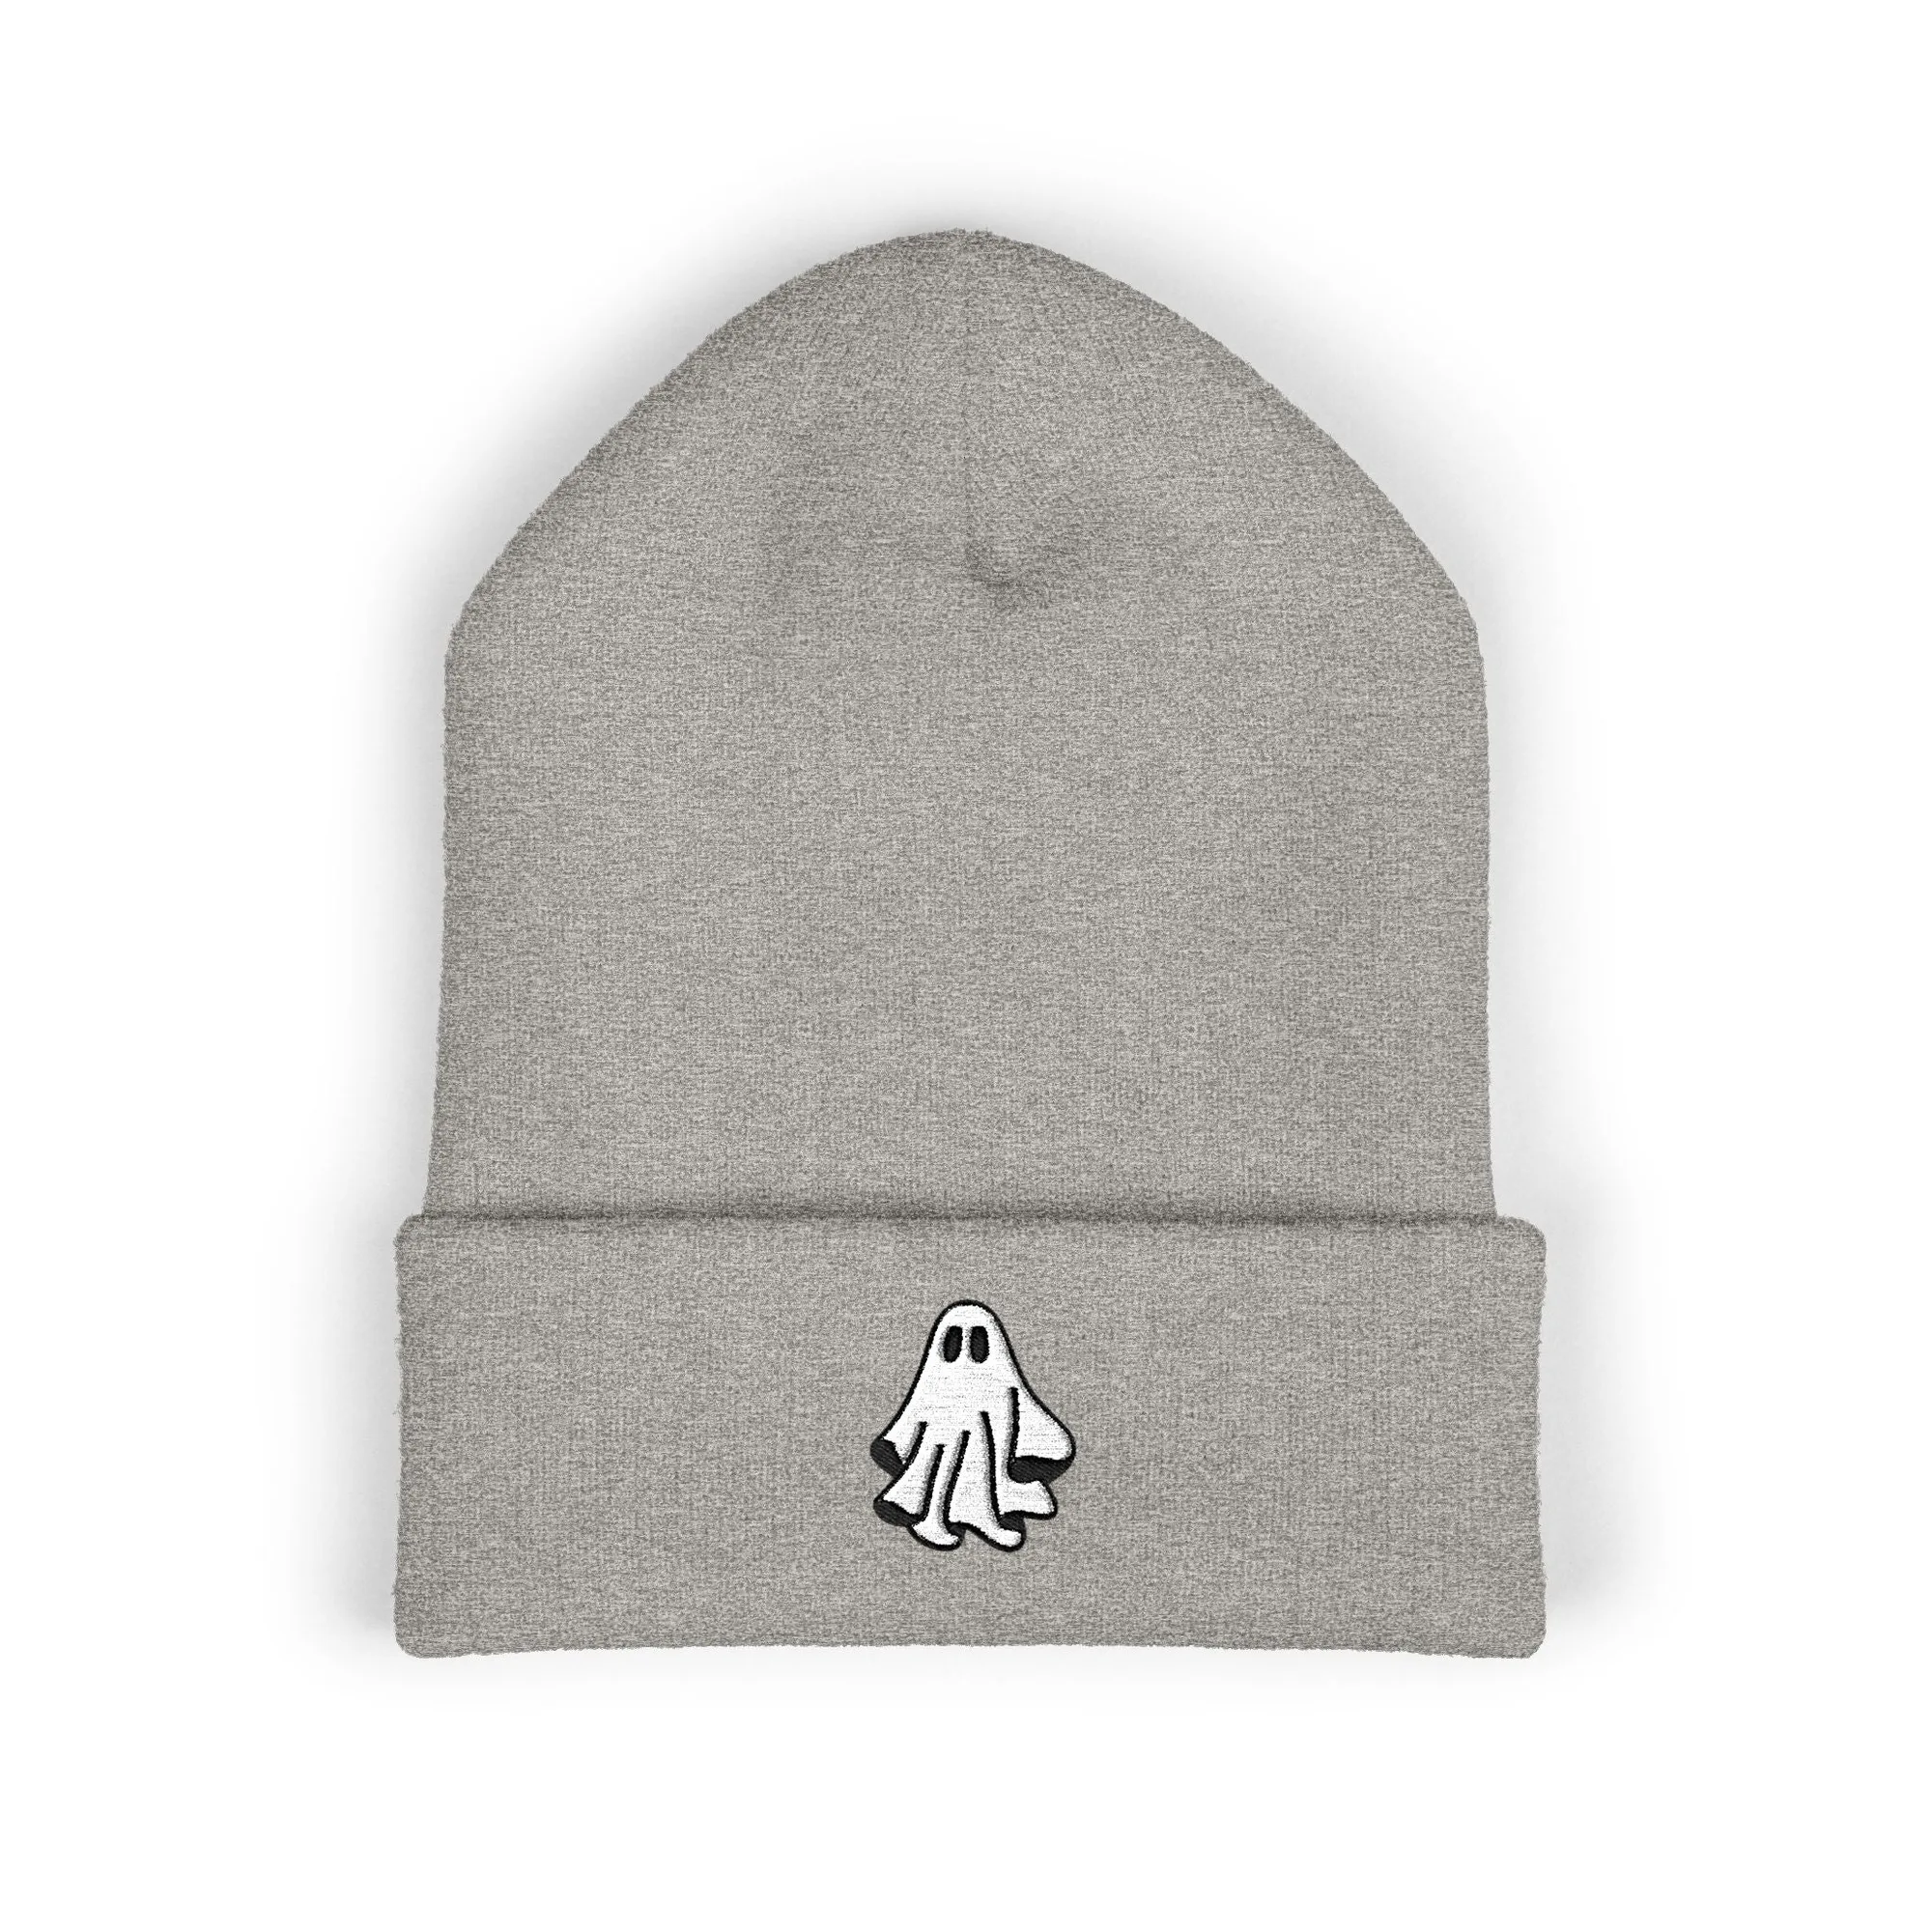
Floating Ghost Embroidered Beanie