Quick answer
Assemble Sgt. Bambo Bullroar by dry-fitting the body, sword, and base, then gluing in that order. Paint the halfling character in sub-assemblies if you want clean access to the face and sword. Work in thin layers, and check the fit before committing to glue.
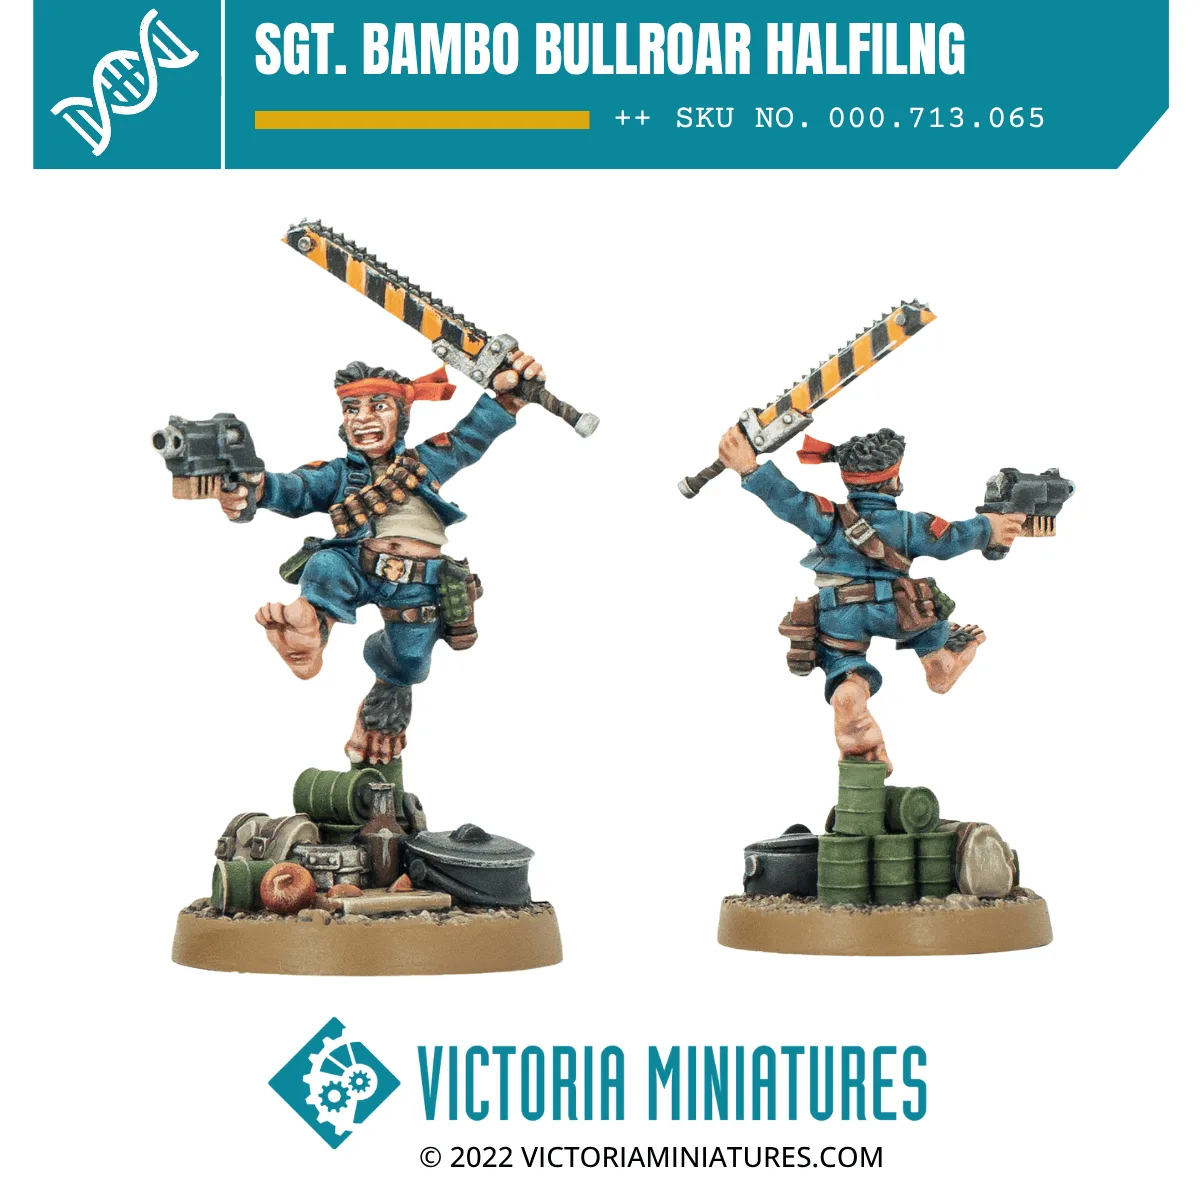
Sgt. Bambo Bullroar is a compact halfling character with a straightforward three-part build: body, sword, and base. That simplicity is a gift, but it also means every mold line and brushstroke shows. This guide walks you through assembly and painting in a logical order, with checkpoints to catch problems before they become permanent.
You do not need advanced skills to get a good result. You do need patience at two moments: cleaning the parts before gluing, and thinning your paint before it touches the face. Follow the steps below and you will end up with a halfling character that looks deliberate on the tabletop.
What you need before you start
Gather your tools first so you are not searching mid-build. You will need a hobby knife or mold line remover, fine sandpaper or a sanding stick, super glue or plastic cement (depending on the material), a primer suitable for your paint range, and a few brushes including a fine detail brush. A small cutting mat and good lighting make a real difference.
If you plan to paint the face and sword separately, keep a pin vise and paperclip wire handy for temporary handles. This is optional but makes the painting stage much easier on a small halfling character.
- Check that all three components are present before you begin: body, sword, and base.
- Work over a tray or mat so small parts do not vanish into the carpet.
Step 1: Clean and prepare the components
Remove the body, sword, and base from any packaging and inspect each piece. Look for mold lines, flash, or small bumps along edges. Use the back of a hobby knife blade or a dedicated mold line remover to scrape them away. Work slowly and let the tool do the cutting rather than pressing hard.
After scraping, give the parts a quick wash in warm water with a drop of dish soap, then let them dry completely. This removes any release agent or skin oils that could stop primer and paint from sticking. Do not skip this on a character model where the face is a focal point.
- Common mistake: rushing the cleanup and discovering a mold line after priming.
- Checkpoint: hold each part under a bright light and rotate it to catch missed lines.
Step 2: Dry-fit the body, sword, and base
Before any glue, push the body onto the base and test how the sword sits in the hand or at the attachment point. You are checking two things: whether the parts meet cleanly, and whether the pose looks right to you. Small gaps are normal, but large ones may mean a mold line is still in the way.
If the sword feels loose, do not force it. Note where it needs support, and plan to hold it in place while the glue sets. Dry-fitting now saves you from scraping dried glue later.
- Common mistake: gluing the sword first and then struggling to seat the body on the base.
- Checkpoint: the body should sit flat on the base without rocking.
Step 3: Glue the body to the base
Apply a small amount of glue to the underside of the body or the top of the base, whichever gives you better contact. Press the body down and hold for the time your glue recommends. If you are using super glue, a few seconds is usually enough; plastic cement needs longer and works by melting the surfaces together.
Once the body is set, set the model aside to cure fully before handling it again. This is the foundation of the whole build, so a weak bond here will cause problems when you attach the sword.
- Common mistake: using too much glue, which squeezes out and creates a visible ring around the feet.
- Checkpoint: gently nudge the body after curing. If it moves, re-glue before continuing.
Step 4: Attach the sword
Test the sword fit one more time, then apply a small bead of glue at the contact point. Hold the sword in position until the glue grabs. If the sword is heavy or the contact point is small, you can support it with a tiny piece of foam or a paint bottle while it cures.
Avoid gluing your fingers to the model. If that happens, do not pull; use a drop of debonder or warm water to release the bond. Patience here keeps the sword angle clean.
- Common mistake: letting the sword droop while the glue sets, which changes the pose.
- Checkpoint: view the model from the side to confirm the sword angle matches your intent.
Step 5: Prime the model
Once the glue is fully cured, prime the model in thin coats. Shake your primer well and spray or brush from a comfortable distance, building up coverage gradually. A single heavy coat will fill detail on a small halfling character, especially around the face and hands.
If you are using a brush-on primer, apply it in two thin layers and let the first dry before adding the second. The goal is an even, slightly matte surface that holds paint without hiding the sculpt.
- Common mistake: priming in humid or cold conditions, which can cause a chalky finish.
- Checkpoint: the primer should look even, not glossy or textured.
Step 6: Paint the halfling character in logical layers
Start with the largest areas: skin, clothing, and the base. Use thin paint and build up two or three layers rather than one thick coat. For the face, switch to a fine detail brush and keep your paint slightly thinner than you think you need. The eyes and mouth are the last things you should paint, not the first.
If you are painting the sword separately, now is the time to handle it on a temporary pin. Paint the blade with smooth, even strokes and keep the edge clean. Metallic paints benefit from a light touch and a clean brush.
- Common mistake: painting the eyes too early and then smudging them while handling the model.
- Checkpoint: step back at arm's length. If the face reads clearly, you are on track.
Step 7: Finish the base and seal the model
Once the figure is painted, finish the base with texture paint, sand, or static grass. Keep it simple so it does not distract from the character. If you used decals or transfers, apply them before sealing.
Seal the model with a matte varnish to protect the paint during play. Apply two thin coats rather than one heavy coat, and let each dry fully. This is especially important on a small halfling character that will be handled often.
- Common mistake: skipping varnish and watching paint rub off on the sword hand.
- Checkpoint: the varnish should dry flat, not shiny or cloudy.
Assembly and painting steps at a glance
- Clean and prepare: Scrape mold lines, wash the parts, and let them dry fully before priming. Checkpoint: no visible lines or grease under bright light.
- Dry-fit all three parts: Test the body on the base and the sword in the hand before any glue. Checkpoint: the body sits flat and the sword angle looks right.
- Glue body to base, then sword: Use small amounts of glue and hold each part until it sets. Checkpoint: the model is stable and the pose is unchanged after curing.
- Prime in thin coats: Build up coverage gradually to avoid filling detail. Checkpoint: even, matte surface with no glossy patches.
- Paint in layers, face last: Thin your paint and work from large areas to small details. Checkpoint: the face reads clearly from arm's length.
- Finish the base and seal: Add simple texture, then apply two thin coats of matte varnish. Checkpoint: varnish dries flat and protects the paint.
Product facts
- Sgt. Bambo Bullroar Halfilng Character: This kit contains 1x Bambo Body, 1x Bambo Sword, and 1x Bambo Base. Knowing the exact part count helps you plan your assembly order and check that nothing is missing before you start.
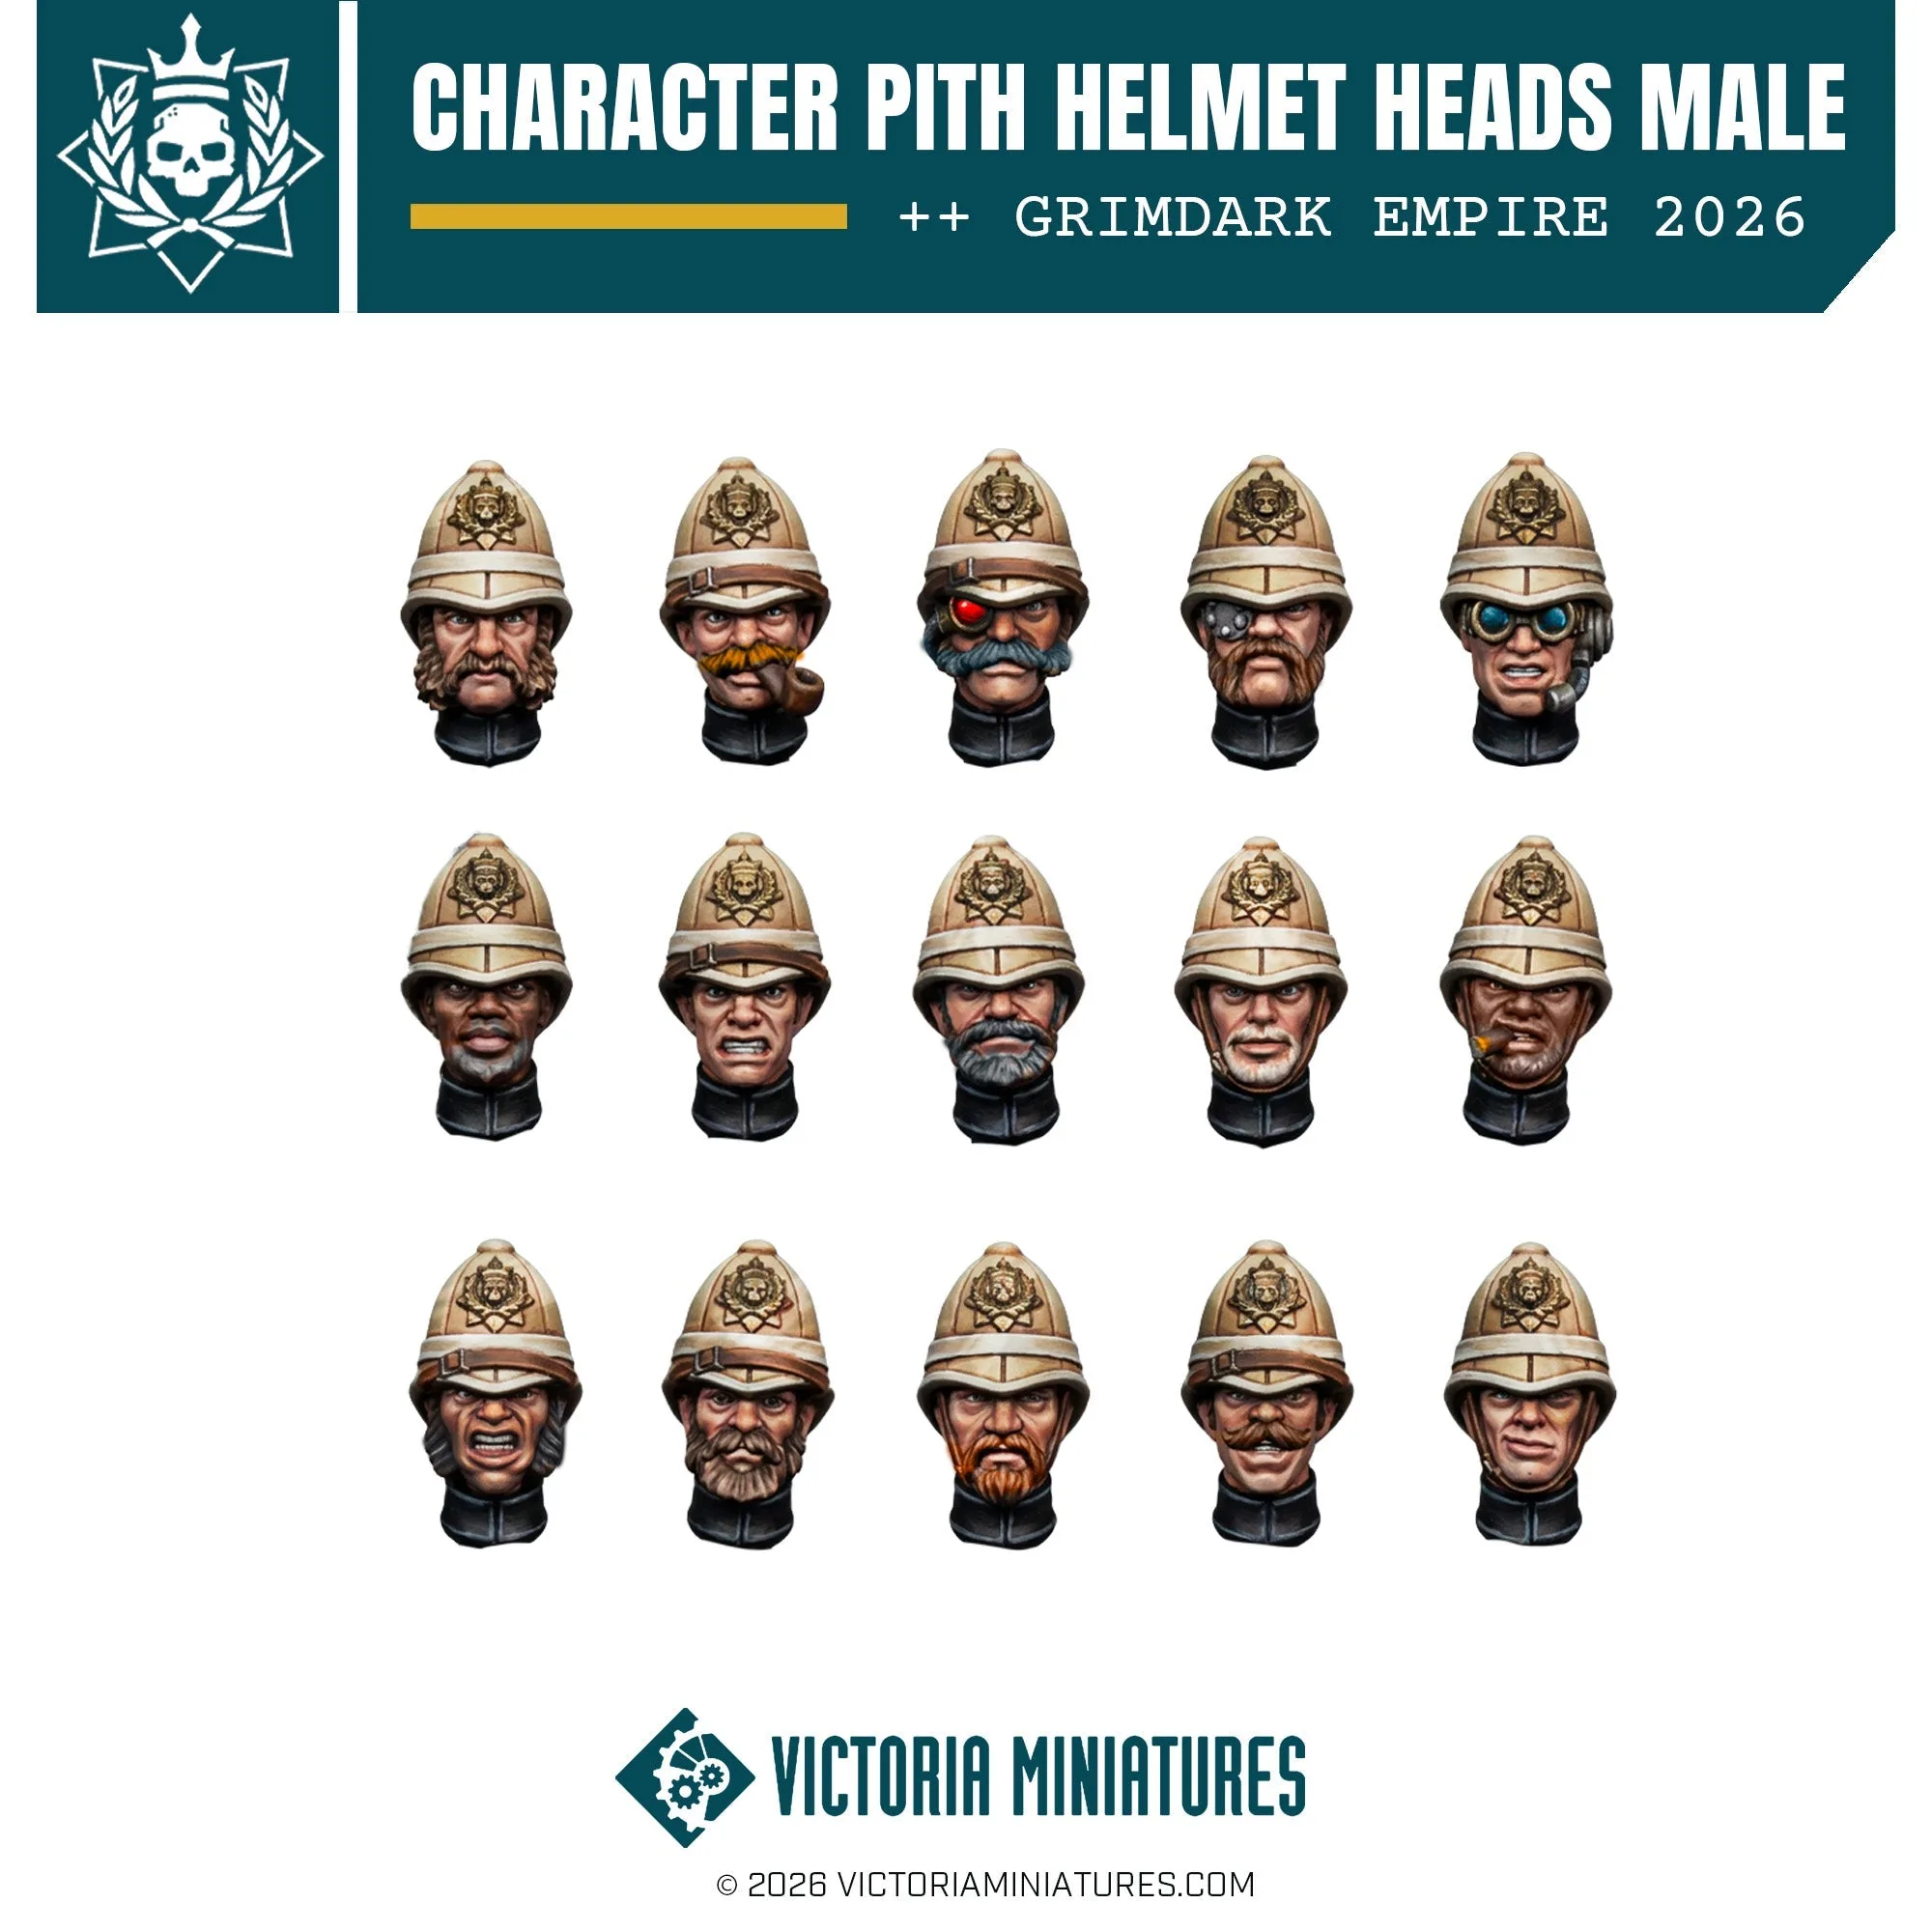
- Character Beret Collared Heads Female x5: These heads are collared and scaled to fit new plastic guard. If you want to convert or swap heads on a similar scale project, this set gives you five compatible options.
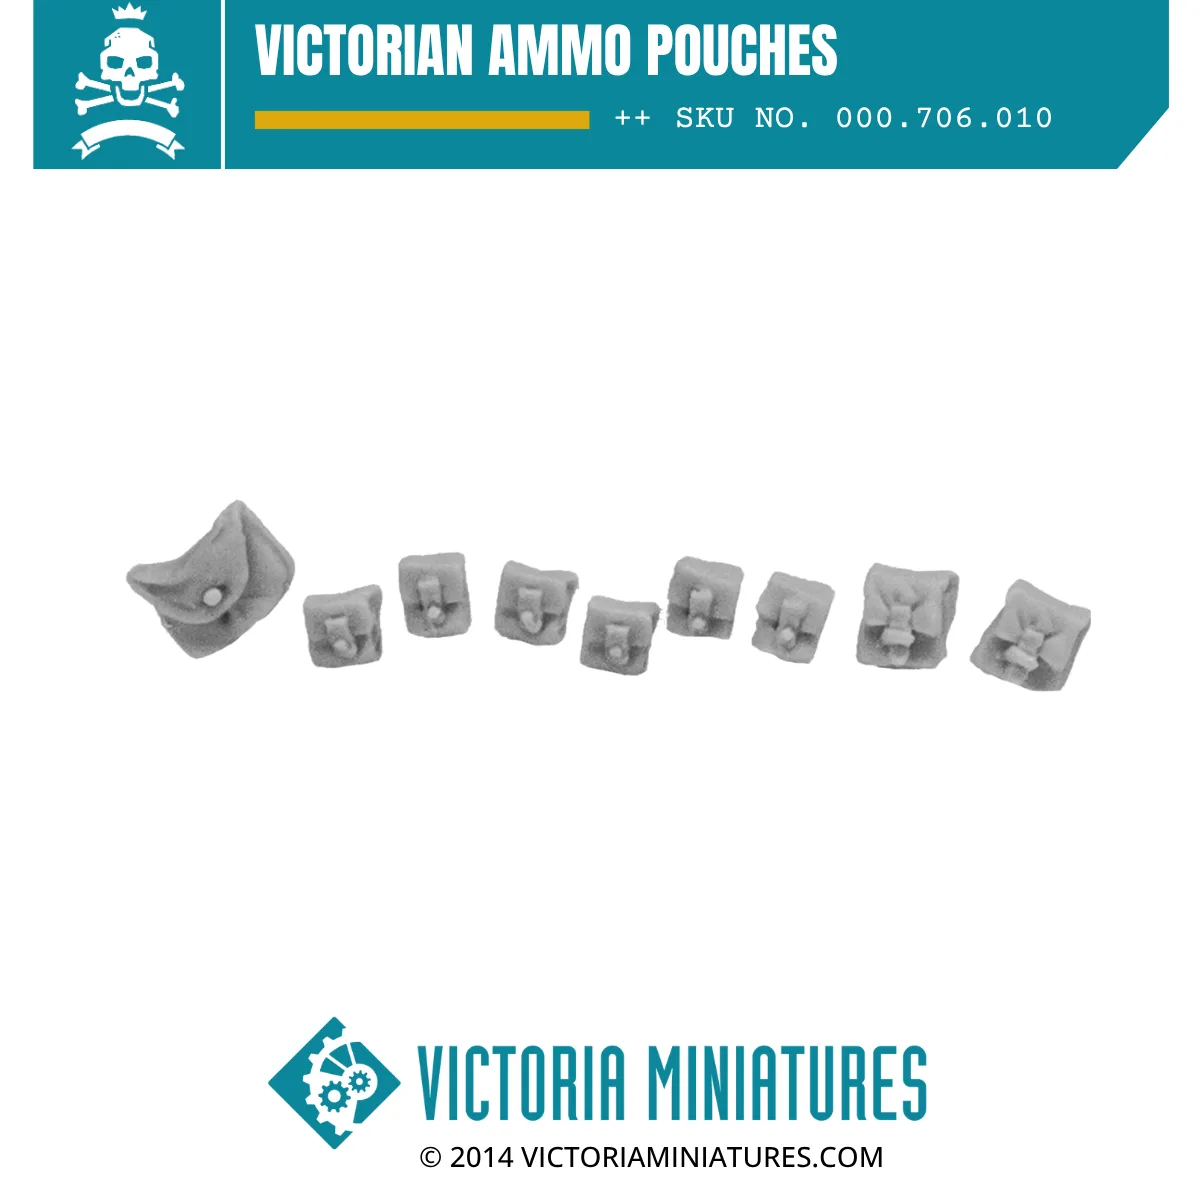
- Victorian Ammo Pouches: 9 Victorian Ammo Pouches fit 28mm heroic scale troops and are recommended for use with Victoria Miniatures Victorian Torsos. Useful if you are adding gear to a squad or character base and want pouches that match the Victorian aesthetic.
Sgt. Bambo Bullroar is a small model that rewards a calm, ordered approach. Clean the parts, dry-fit before gluing, paint in thin layers, and seal the finished figure. Do that, and you will have a halfling character that looks sharp and survives regular handling.