Quick Answer
You do not need a lift or a specialty tool truck to install most shifter upgrades. You need a trim removal set, a 10mm socket and extension, a low-profile pick or hook, a torque wrench that reads low values, and the grease or hardware that ships with the part. Stage everything on a tray before you pull the console, and the job usually takes an afternoon.
Most shifter installs go sideways for one boring reason: the right tool is in the house, the console is already half apart, and you are improvising with a flathead screwdriver. A shifter install tool list is less about exotic equipment and more about having the small stuff within arm's reach.
This guide walks through the tools in the order you will actually reach for them, with a checkpoint at each step so you can catch a problem before it costs you a clip, a thread, or a return trip to the parts store.
Stage Your Tools Before You Touch the Console
Lay out every tool on a tray or bench before removing the first trim piece. Plastic clips get brittle, and once you are halfway into the console you do not want to be walking to the toolbox with a panel hanging by one tab. Group tools by phase: trim removal, fasteners, internal shifter work, and reassembly.
Have a small container for screws and clips. Shifter hardware is small and easy to lose under a seat rail. A magnetic tray or a few labeled cups keeps the job moving and makes reassembly predictable.
- Checkpoint: if you cannot name which tool removes the next fastener, stop and look it up before prying anything.
- Keep a shop light or headlamp on hand. Console cavities are dark and small parts disappear fast.
Trim Removal Tools and Panel Protection
A nylon or plastic trim removal set is the single most useful purchase for interior work. It lets you release clips without gouging plastic or cracking a tab. A dedicated clip tool helps on stubborn push-pins, and a small pick or hook reaches retaining rings and springs inside the shifter assembly.
If you are working on a Civic or Integra console, do not substitute a metal screwdriver for a trim tool. Metal concentrates force on one spot and leaves marks that are visible every time you get in the car.
- Common mistake: prying cold plastic in a cold garage. Let the interior warm up or work gently.
- Keep trim tools clean. Grit on a nylon edge acts like sandpaper on soft dash plastic.
Fastener Tools: Sockets, Extensions, and Low-Profile Access
Most console and shifter base fasteners are 10mm, with the occasional 12mm or Phillips head depending on the car. A 1/4-inch drive socket set with a short extension covers nearly all of it. A wobble extension or a universal joint helps where the console tunnel angles the fastener away from your ratchet.
For shifter components themselves, you may need a pick, snap-ring pliers, or a small punch. Check the install instructions for your specific part before you start, because the hardware supplied with the kit tells you what the job actually requires.
- Checkpoint: test-fit your socket on the fastener before applying real force. A loose fit rounds bolt heads.
- Do not use a powered driver to run interior fasteners down. Hand-start every bolt first.
Torque, Grease, and the Small Consumables People Forget
A torque wrench that reads low values matters more than a big one. Shifter base bolts and shifter assembly fasteners are small, and the difference between snug and stripped is narrow. Follow the torque values in your instructions, and if a value is not published for a specific fastener, tighten by feel and stop at snug.
Grease is a consumable, not an optional extra. Some kits ship with a grease packet specifically for installation, and using it as directed keeps moving parts moving freely. Have nitrile gloves and shop towels ready too, because shifter grease travels.
- Common mistake: over-greasing. A thin film on the contact surfaces is usually enough.
- If your kit includes a grease packet, use that grease rather than mixing in an unknown product.
Test and Reassemble in Reverse Order
Before you reinstall trim, cycle the shifter through every gear. Check centering, side-to-side play, and that nothing rubs or binds. This is the moment to catch a misaligned part, not after the console is fully buttoned up.
Reassemble in the reverse order you disassembled, and confirm each clip and fastener as you go. Keep the leftover hardware in the tray until the test drive is done, in case something needs to come back apart.
- Checkpoint: if the shifter does not center or feels vague, stop and inspect before finishing reassembly.
- Do a short, low-speed test drive before you consider the job complete.
Install Order: Steps and Checkpoints
- 1. Disconnect the battery and clear the work area: Move the shifter to a position that gives you room, then disconnect the negative terminal if your instructions call for it. Clear floor mats and loose items from the footwell. Checkpoint: confirm you have a clear path to the shifter before removing any trim.
- 2. Remove console trim with nylon tools: Work from the rear or edges inward, releasing clips evenly. Keep fasteners in a labeled tray as you go. Common mistake: yanking a panel to speed things up and snapping a clip tab.
- 3. Expose the shifter assembly and identify your fasteners: Once the console is clear, confirm socket sizes and whether you need a pick, snap-ring pliers, or a punch for the specific part going in. Checkpoint: match your tools to the hardware supplied with the kit before applying force.
- 4. Install the upgrade per its instructions: Follow the supplied sequence for springs, rockers, or bushings. Use the included grease where directed and seat retaining rings fully. Common mistake: skipping the grease packet or reusing a worn retaining ring.
- 5. Torque small fasteners by hand with a low-range wrench: Hand-start every bolt, then tighten to the published value. If no value is given, stop at snug. Checkpoint: if a fastener feels like it is still turning without getting tighter, back it out and inspect the threads.
- 6. Cycle the shifter through every gear before reassembly: Check centering, side-to-side play, and for any rubbing or binding through the full gate. Common mistake: reassembling the console before confirming the shifter works correctly.
- 7. Reassemble in reverse order and test drive: Reinstall trim and fasteners in reverse, then take a short low-speed drive. Keep leftover hardware until you are satisfied. Checkpoint: any new noise or vague feel after the drive means it is worth reopening the console.
Parts That Shape Your Tool List
- Shifter Centering Spring Upgrade for the 11th Gen Civic & 5th Gen Integra: Increases centering force on the OEM shifter by approximately 50% and includes a grease packet and a grooveless retaining ring for installation. Because the kit supplies its own grease and retaining ring, your tool list needs a pick or hook for the ring and no separate grease purchase.
- Shifter Rocker Upgrade for the 10th Gen Accord: 6061-T6 aluminum construction with self-lubricating joints, designed to reduce lateral play and gate width when selecting gears. Self-lubricating joints mean no extra grease routine for this part, so your install focus shifts to clean fastener access and correct torque.
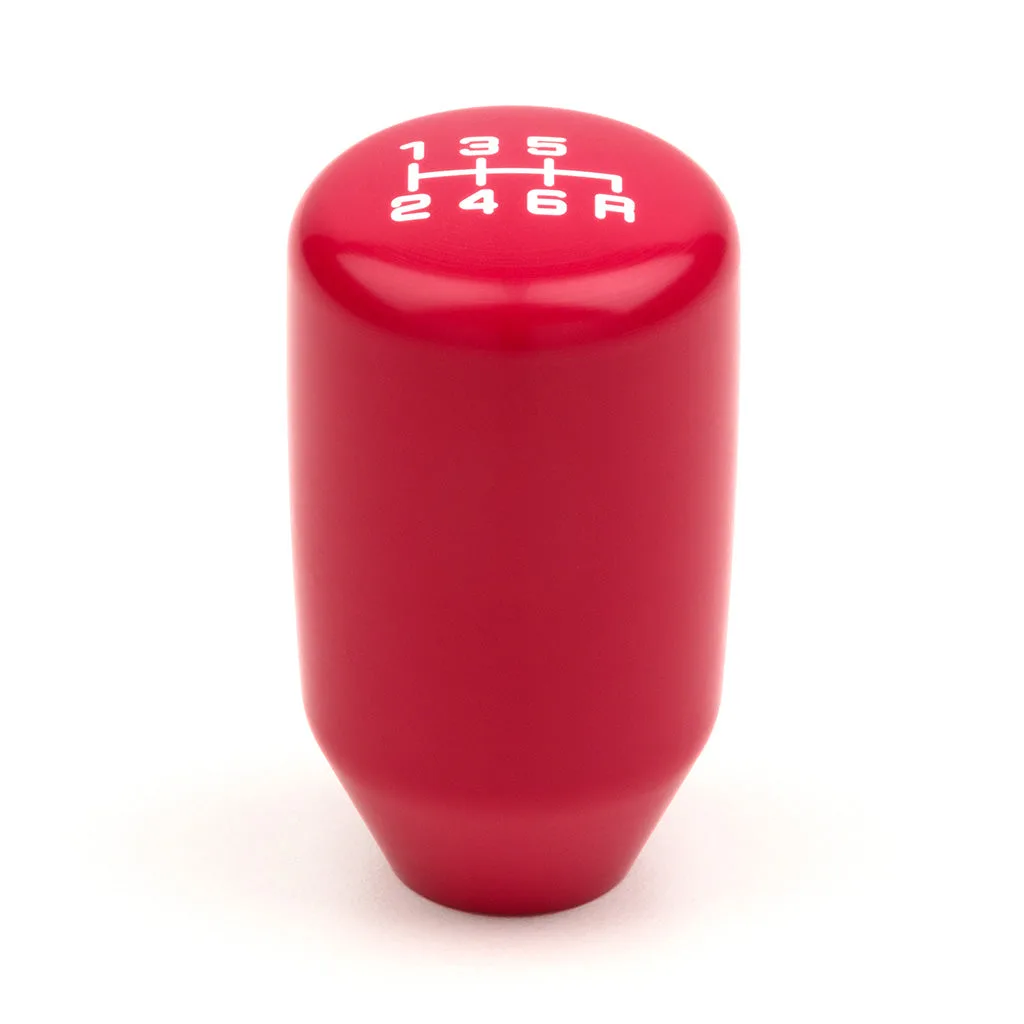
- ESCO-Insulated 6-Speed Shift Knob in Red (M10X1.5): Insulated design, stainless steel core, 40mm diameter, 70mm height, and 185 grams, with a hand-filled 6-speed Honda gear pattern. A knob swap is the simplest step in a shift kit and needs no specialty tools beyond confirming the M10X1.5 thread matches your lever.
- POCO Low-Profile Shift Knob in Satin Purple Finish (M10X1.5): Sits only 3-4mm above the top of the threaded shift lever and has a built-in shift boot collar for easy removal or adjustment. The built-in boot collar means you can adjust or remove the knob without fighting the boot, which simplifies final fitment and test fitting.
A good shift kit install comes down to preparation more than horsepower tools. Stage your trim tools, sockets, low-range torque wrench, and any grease or hardware the kit supplies, then work through the steps with a checkpoint at each stage. If you are unsure whether a specific part includes its own installation hardware, check the product page before you start so you are not mid-job without the right piece.