Quick answer
Mount the Sicce Scuba Contactless Heater fully submerged in a high-flow area of your sump or display tank, then pair it with your smartphone to set and monitor temperature without touching the unit. Avoid dead spots and always keep the heater below the waterline during operation.
Why placement matters more with a contactless heater
The Sicce Scuba Contactless Heater relies on a temperature sensor and wireless control, so its accuracy depends on stable water movement around the unit. In a low-flow corner, the heater may sense cooler water and keep running, overheating the surrounding area. Place it near a return pump or powerhead where water circulates consistently.
Unlike traditional heaters with dials, the contactless design means you cannot adjust it manually if the app fails. Always test the heater in a bucket of water before mounting it permanently, and keep a spare heater on hand for emergencies. The lack of buttons also means you need a charged smartphone or tablet to change settings, so plan for that during initial setup.
Freshwater, marine, and sump considerations
The Scuba Contactless series is designed for freshwater and marine systems, but placement differs. In a sump, mount the heater in the return chamber where flow is strong and water level is stable. In a display tank, avoid placing it near rocks or decorations that block flow. For saltwater, rinse the heater with fresh water during maintenance to prevent salt creep from affecting the contactless sensor area.
If you use an external controller or heater guard, ensure it does not cover the contactless communication area. The heater needs a clear line of sight to your smartphone during pairing, so avoid burying it behind equipment.
Step-by-step setup and placement
- Unbox and inspect: Check the heater, power cord, and any mounting accessories. Do not plug it in yet. Common mistake: assuming all mounting hardware is included; verify you have suction cups or a bracket suitable for your sump or tank wall. Confirm you have a suitable mounting method before starting.
- Choose the location: Select a spot fully submerged in water with strong flow, such as near a return pump or powerhead. Avoid corners, dead spots, and areas where the water level drops during evaporation. For sumps, the return chamber is ideal. Keep the heater at least 2-3 cm below the normal water line.
- Mount the heater: Attach the heater using the provided suction cups or bracket. Ensure it is secure and cannot fall into the substrate. The contactless sensor area should face the water flow and remain unobstructed. Tug gently on the heater to confirm it stays in place.
- Power on and pair: Plug the heater into a grounded outlet, then open the Sicce app on your smartphone. Follow the pairing instructions to connect to the heater. Keep your phone within a few meters during pairing. If pairing fails, move closer and ensure no metal objects block the signal.
- Set target temperature: Use the app to set your desired temperature. Start with the tank's current temperature and adjust gradually. Monitor the app reading for the first hour to confirm the heater is responding. Cross-check with an independent thermometer after 24 hours.
- Test and observe: Watch the heater for the first day. Check that it turns on and off as needed and that the app reading matches your thermometer. Common mistake: skipping this step and missing a placement issue that causes temperature swings. If the temperature is unstable, reposition the heater to a higher-flow area.
Product facts
-
Sicce Scuba Contactless Heater: Patented contactless temperature control lets you adjust and monitor water temperature directly from your smartphone. You can fine-tune settings without reaching into the tank, but you must keep your phone nearby during setup and adjustments.
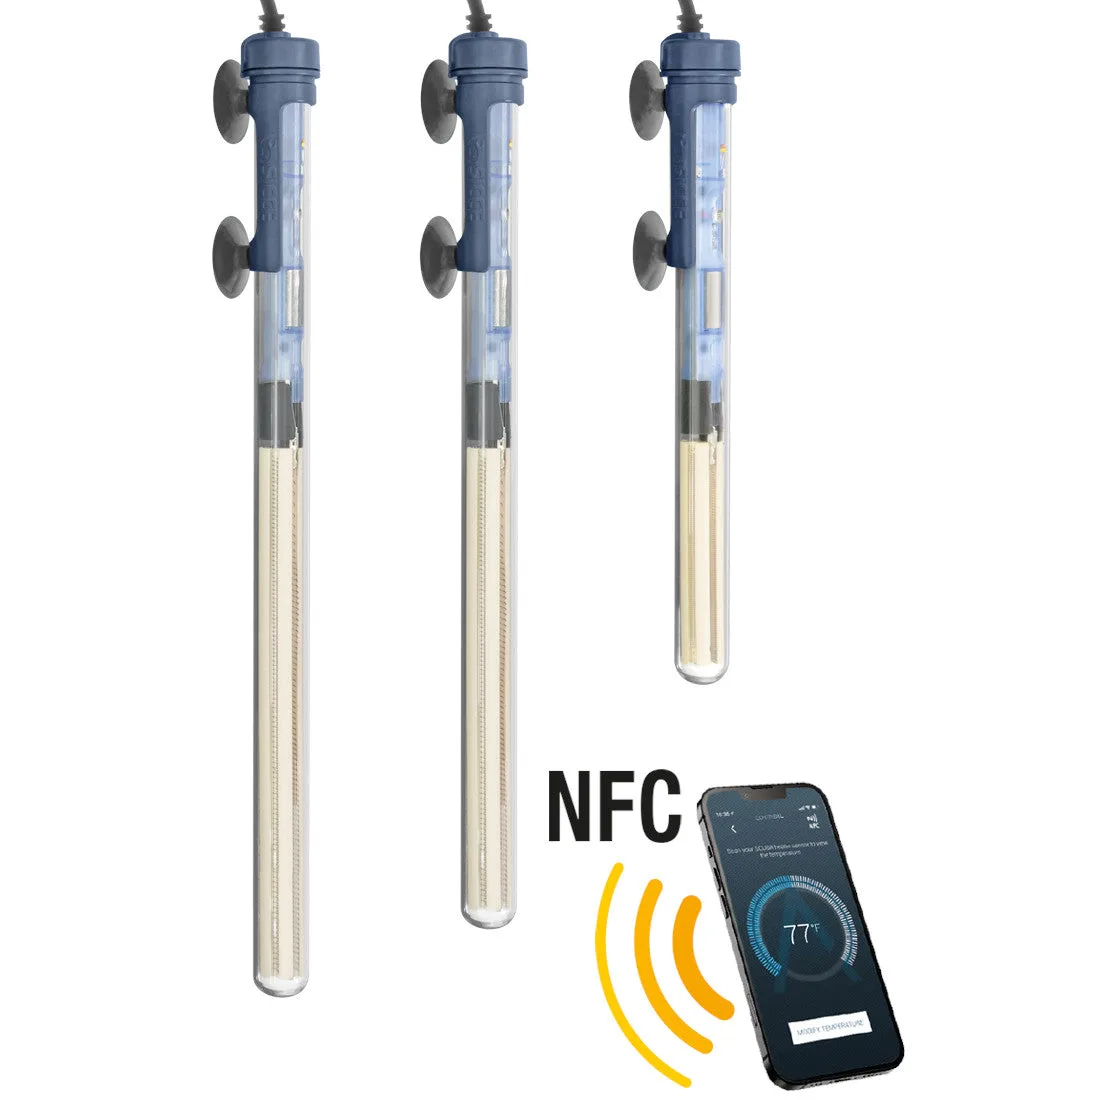
Sicce Scuba Contactless Heater