Quick answer
Use the warmer only with the water amount and bottle type your model's manual specifies, warm breast milk or formula to a lukewarm temperature rather than a hot one, and sanitize bottles separately with either steam or boiling water before air-drying them fully. The two jobs are different: warming is about reaching a safe serving temperature, while sanitizing is about reducing germs on clean parts. Keep the warmer's reservoir clean and never leave a bottle in it after the cycle ends.
Set up the warmer and sanitizer before the first bottle
Place the warmer on a flat, heat-safe counter away from the sink edge, curtains, and anything a toddler can pull down. Check that the cord is not pinched behind the unit, and keep the reservoir filled only to the line your manual shows. If your model includes a sanitizing basket or steam function, confirm which parts are approved for it before you load anything.

anything
- Wash your hands and assemble clean bottles, nipples, rings, and caps.
- Use only the water type and amount the manual lists; distilled or filtered water reduces mineral buildup.
- Keep the unit unplugged while you fill or empty the reservoir.
Warm breast milk or formula without hot spots
For breast milk, gentle warming is about comfort, not safety, because milk that has already been refrigerated should still be used within the time your storage guidance allows. Formula follows the same principle: warm it to lukewarm, not hot. A warmer that heats by water bath or steam is easier to control than a microwave, which can create uneven temperatures even when the bottle feels cool outside.
- Set the dial or cycle for the bottle size and material you are using, not for the amount of milk inside.
- Shake or swirl the bottle gently after warming, then test a few drops on the inside of your wrist.
- If the bottle feels hot, let it stand at room temperature for a minute rather than adding cold water to the milk.
Sanitize bottles safely after every wash
Sanitizing works best on parts that are already clean, because milk residue can shield germs from steam or heat. Steam sanitizing in a dedicated unit or basket is convenient for daily use, while boiling remains a straightforward backup method when you have a pot and a few minutes. Whichever route you choose, separate the small parts so water and steam can reach every surface.
- Disassemble nipples, valves, and rings completely before sanitizing.
- If boiling, keep parts fully submerged and follow the timing your manual or public health guidance gives for your area.
- Use clean tongs to remove hot parts, then place them on a clean drying rack rather than a towel.
Clean the warmer and sanitizer so it keeps working
Mineral scale is the most common reason a warmer heats slowly or smells odd. Empty the reservoir after each use, wipe the interior with a damp cloth, and descale on the schedule your manual recommends or whenever you see white film. Never submerge the electrical base, and let all parts dry fully before you plug the unit back in.
- Unplug the unit and let it cool completely before cleaning.
- Use a mild descaling solution or the method named in your manual; avoid abrasive scrubbers on nonstick or plastic surfaces.
- Check the cord and plug for cracks or heat damage and stop using the unit if you find any.
Your daily warm-and-sanitize routine
- Fill the reservoir to the marked line: Use the exact water amount and type your manual specifies for the bottle size you are warming. More water does not warm faster; it usually just lengthens the cycle. Checkpoint: the water level should sit at the line, not above it.
- Load the bottle and start the cycle: Set the bottle upright in the warmer and choose the setting that matches its material and size. Do not force a bottle that does not sit level, and do not leave the room for the whole cycle. Checkpoint: the bottle stands steady and the unit is on a flat, dry surface.
- Test the temperature before feeding: Swirl the bottle gently, then drop a little milk or formula on the inside of your wrist. It should feel lukewarm, not hot. If it is too warm, wait rather than adding ice or cold water. Common mistake: trusting the outside of the bottle instead of testing the liquid.
- Remove the bottle as soon as the cycle ends: Leaving a bottle in a warm reservoir keeps it at a temperature where bacteria grow faster and can overheat the milk. Take it out, feed within your normal window, and discard what is left in the bottle after a feeding. Checkpoint: the warmer is empty of bottles before you walk away.
- Wash, then sanitize the parts: Clean bottles and nipples in hot soapy water with a bottle brush, rinse well, then sanitize by steam or boiling according to your unit or local guidance. Sanitizing dirty parts does not make them clean. Common mistake: skipping the wash step and relying on the sanitizer alone.
- Air-dry on a clean rack: Shake off excess water and stand parts open-side down on a dedicated drying rack. Avoid drying with a shared kitchen towel, which can transfer germs back onto clean parts. Checkpoint: parts are fully dry before you assemble and store them.
- Empty, wipe, and descale the warmer: After the last bottle of the day, unplug the unit, let it cool, empty the reservoir, and wipe the interior. Descale on the schedule your manual gives or when you see white film. Next step: note the descaling date so slow heating does not surprise you later.
Books to pair with the routine
- A House: A House by Kevin Henkes is a Caldecott Medalist and #1 New York Times–bestselling picture book built around interactive call-and-response questions. The question-and-answer format gives you a calm, hands-on activity to share while a bottle warms or parts air-dry, which keeps a restless toddler occupied nearby instead of reaching for the warmer.
- Alphabreaths: The ABCs of Mindful Breathing: Alphabreaths: The ABCs of Mindful Breathing teaches one simple mindfulness or compassion-based practice for each letter of the alphabet. A short breathing exercise is an easy way to reset during a fussy feeding or a long sanitizing cycle, and the alphabet structure makes it usable with children at different ages.
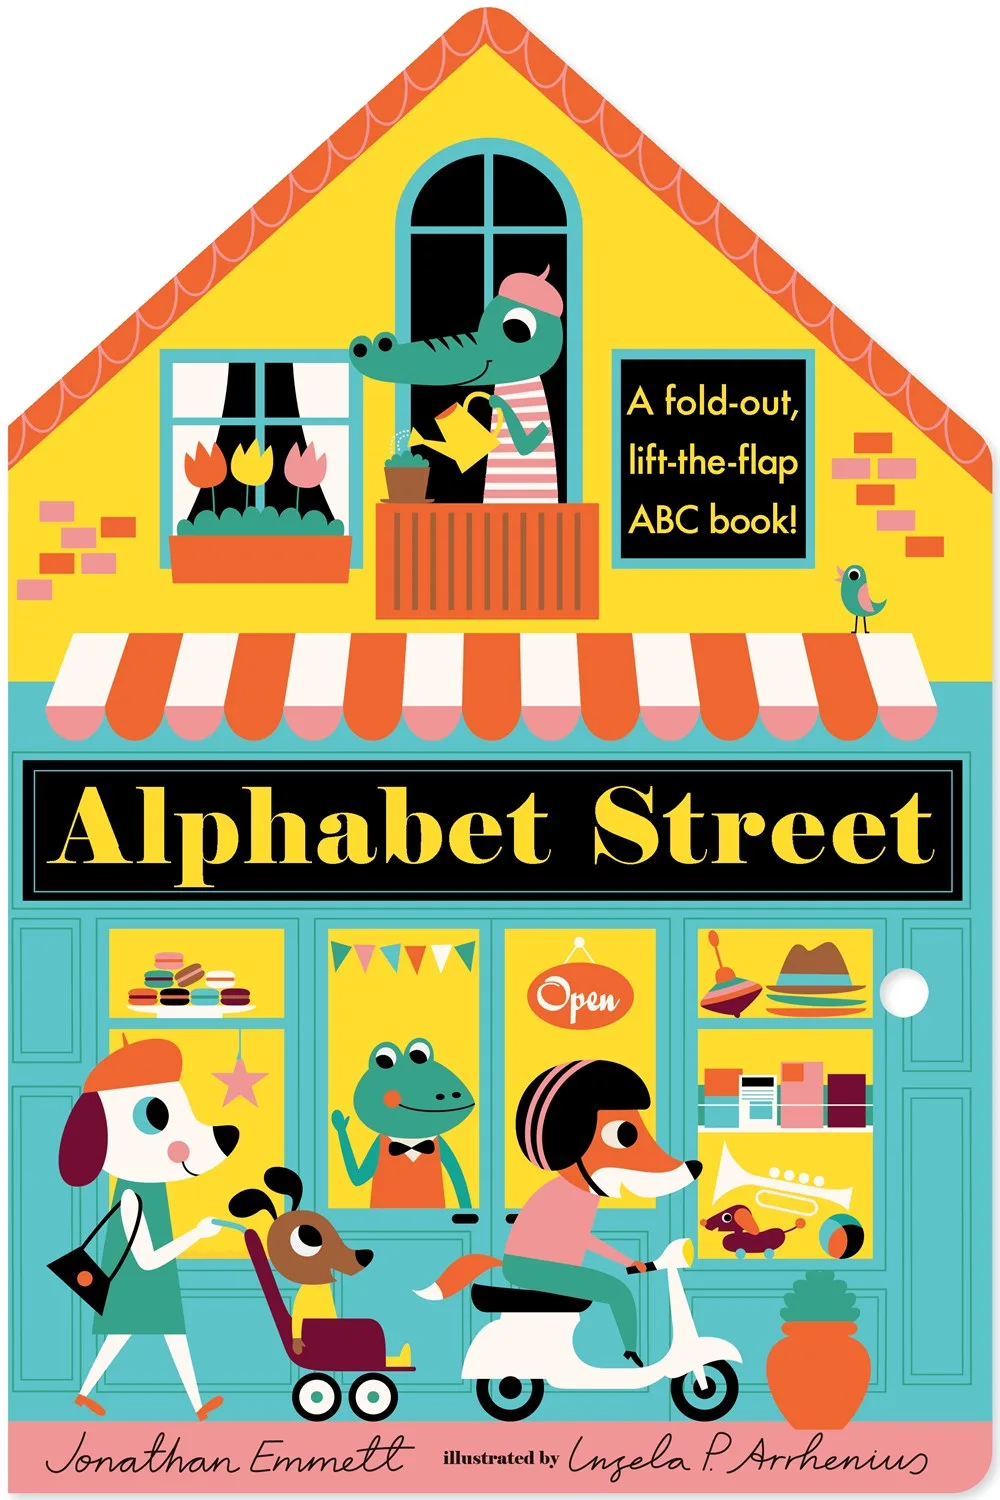
- Alphabet Street: Alphabet Street combines rhyming text, lift-the-flaps, and a play scene on the reverse, with artwork by Ingela P. Arrhenius. The reversible play scene turns waiting time into imaginative play, so you can keep a child at the counter with you while you finish cleaning and drying bottle parts.