Quick answer
Mount the four SimXPro Adjustable Feet Brackets at the base corners of your 4040-profile cockpit, fit compatible feet into the M8 holes, then adjust each foot until the rig sits level and no corner rocks. This is the simplest way to level a sim racing rig on an uneven floor.
Why leveling matters before you chase flex or noise
A rig that rocks on an uneven floor feels like chassis flex, but the movement often starts at the floor contact points. Leveling first gives you a stable baseline, so any remaining movement is easier to trace to the frame or mounts.
The SimXPro brackets also give you a defined mounting point for feet, which helps reduce the transfer of vibrations and noise to the floor compared with resting profile directly on a hard surface. That matters most on upper floors or in shared rooms.
Check your profile and floor before buying
These brackets use M8 mounting holes and are compatible with all 40-series aluminium profiles, so they suit 4040 and similar 40-series rigs. If your cockpit uses a different profile series, check the hole spacing before ordering.
You also need compatible feet; the brackets provide the mounting points, not the feet themselves. The catalog does not list a specific foot model, so confirm your feet fit the M8 holes and suit your floor type. On very thick carpet, small feet may sink and make leveling harder.
Step-by-step: mount and level your rig
- Position the brackets at the base corners: With the rig upright, place one bracket at each bottom corner of the 4040 base frame. Check that the M8 holes line up with the profile slot and that the bracket does not foul any existing corner bracket or plate. Mark or photograph the bracket orientation before loosening anything, so you can refit them in the same position.
- Bolt the brackets to the profile: Fix each bracket to the 40-series profile using M8 hardware in the profile slot. Tighten enough to hold the bracket firm, but leave a little adjustment until all four are fitted. Common mistake: over-tightening one bracket before the others are aligned, which pulls the frame out of square.
- Fit compatible feet into the brackets: Thread or bolt your compatible feet into the M8 mounting points. If you are using a thick wooden base instead of feet, fix the brackets to the wood at this stage. Check that each foot sits fully seated in its bracket; a partly engaged foot can wobble under load.
- Level the rig corner by corner: Adjust one foot at a time, starting at the corner that sits lowest. Work around the rig until all four feet carry weight and the frame no longer rocks when you press a corner. Use a spirit level across the frame, not just the floor, because a level floor does not guarantee a level rig.
- Torque the brackets and re-check: Once the rig is level, fully tighten the bracket hardware and confirm the feet are locked at their set height. Sit in the seat and push gently on the wheel deck to check for movement. Re-check level after your first driving session; vibration can settle new hardware.
Product facts
-
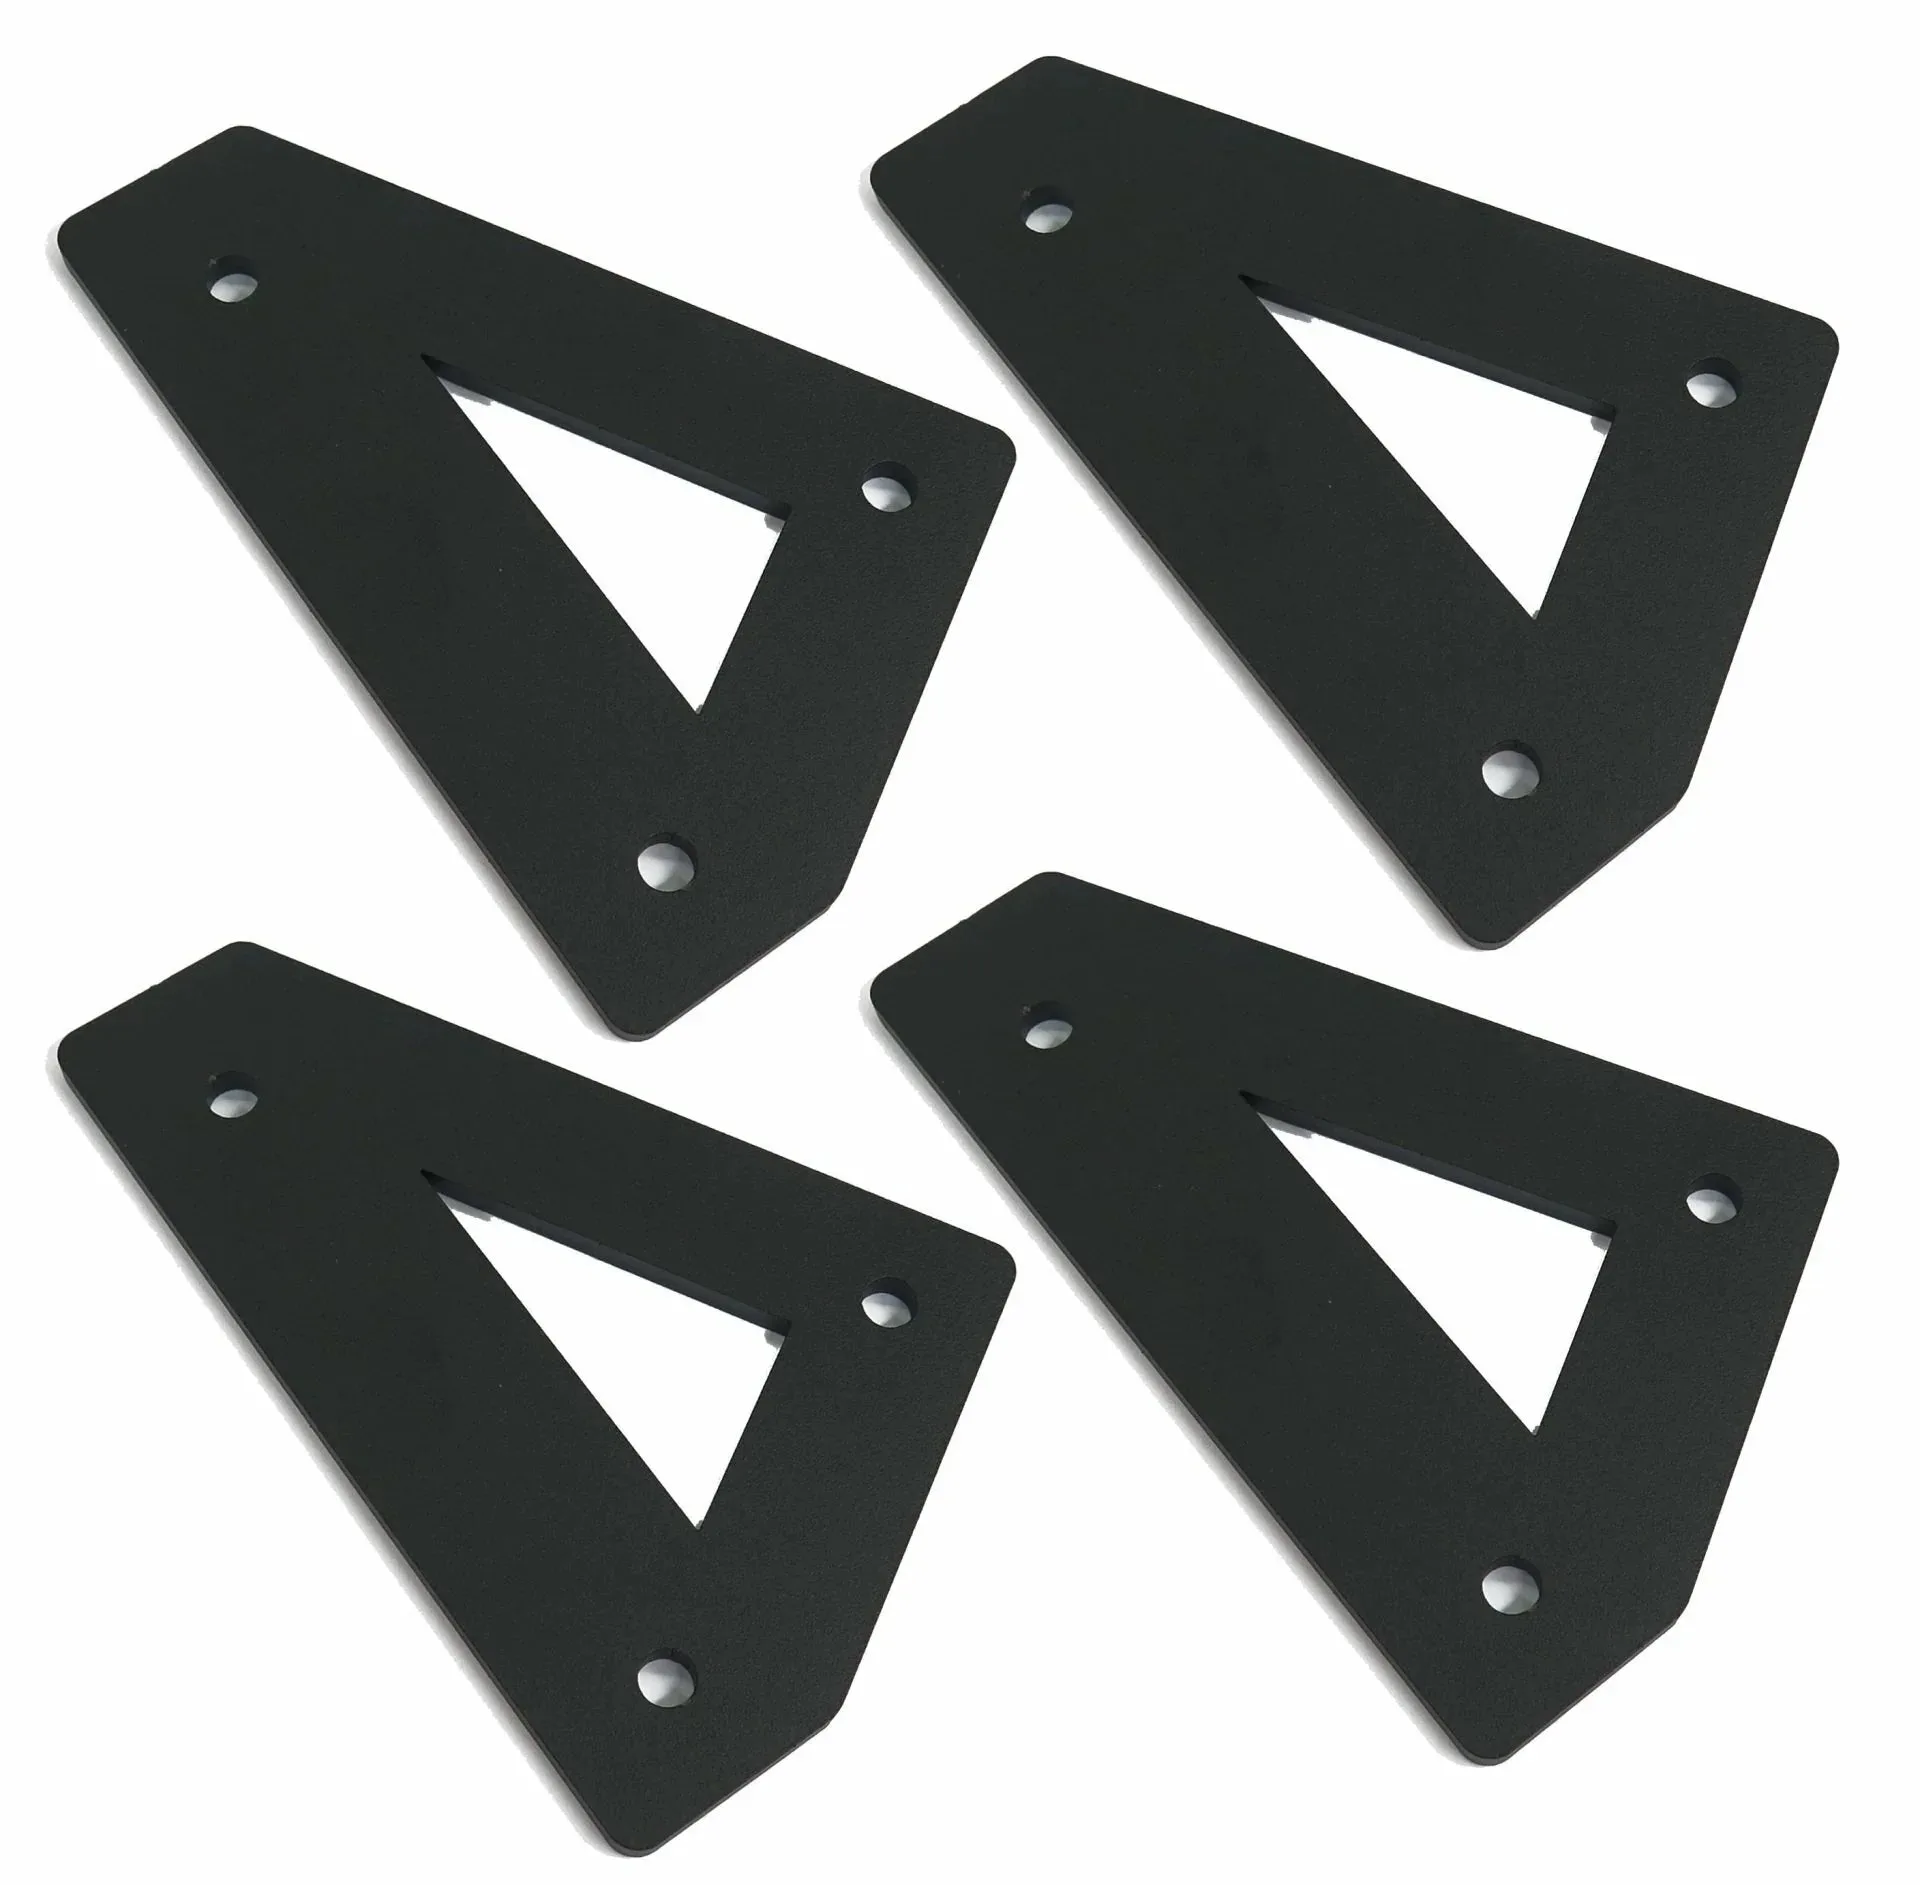
SimXPro 4x Adjustable Feet Mounting Bracket: Set of 4 adjustable feet mounting brackets with M8 mounting holes, compatible with all 40-series aluminium profiles and sufficiently thick wooden bases. Gives you four matched mounting points for leveling a 4040 rig, and the wood-base compatibility lets you mount them to a thick wooden platform if you do not want feet directly on the floor.
SimXPro 4x Adjustable Feet Mounting Bracket