Getting Started with Your SimXPro GT Build
The SimXPro GT is an aluminium-profile cockpit designed for sim racers who want a stable, adjustable rig without the size or cost of larger models. Its 4040 extrusion frame and hardened steel brackets provide a solid foundation for wheelbases up to 10 Nm, load-cell pedals, and single-monitor setups. Before you begin assembly, lay out all components and verify you have the correct hardware for your chosen seat and monitor mount.
Step-by-Step Assembly and Adjustment
Follow these steps to build and fine-tune your SimXPro GT cockpit. The order helps you avoid rework and ensures each component is properly positioned.
- Assemble the Main Frame: Connect the 4040 profiles using the included steel brackets and hardware. Tighten all bolts finger-tight first, then torque them once the frame is square. The one-sided closed-slot profiles give a clean exterior while preserving modularity for later upgrades.
- Mount the Wheelbase Plate: Attach the universal wheel mounting plate to the front uprights. The plate supports bottom-mounted wheelbases from Fanatec, MOZA Racing, Thrustmaster, Logitech G, SIMAGIC, and others. Position it so your wheelbase is centered and at a comfortable reach.
- Install the Pedal Deck: The included aluminium-profile pedal deck attaches to the lower frame. It supports popular pedal sets and load-cell pedals rated up to 150 kg. Adjust the pedal angle and distance before tightening fully. Leave room for future hardware upgrades.
- Fit the Seat: For bottom-mounted seats, use the supplied extended hardware kit. For side-mounted bucket seats, you will need the optional SimXPro Universal Seat Mount. Add the Universal Seat Slider if you want fore-aft adjustment or plan to share the cockpit. Choose a bucket or reclining seat to complete the driving position.
- Add the Monitor Mount: The integrated monitor mount attaches directly to the GT frame and supports VESA 75×75 and 100×100 mm displays. It works with 16:9 monitors up to 32 inches and 32:9 ultrawides up to 49 inches. Adjust the height and tilt for a clear, comfortable view.
- Fine-Tune Your Driving Position: Once everything is mounted, adjust the wheelbase height and angle, pedal position, seat distance, and monitor placement. The goal is a repeatable GT-style position that reduces fatigue during long sessions. Tighten all bolts to final torque.
Key Specifications at a Glance
-
SimXPro GT - Sim Racing Cockpit: The SimXPro GT is built from 4040 aluminium profiles with hardened steel structural brackets. This construction provides a stable foundation for starter and mid-range sim racing hardware without unnecessary size or cost.
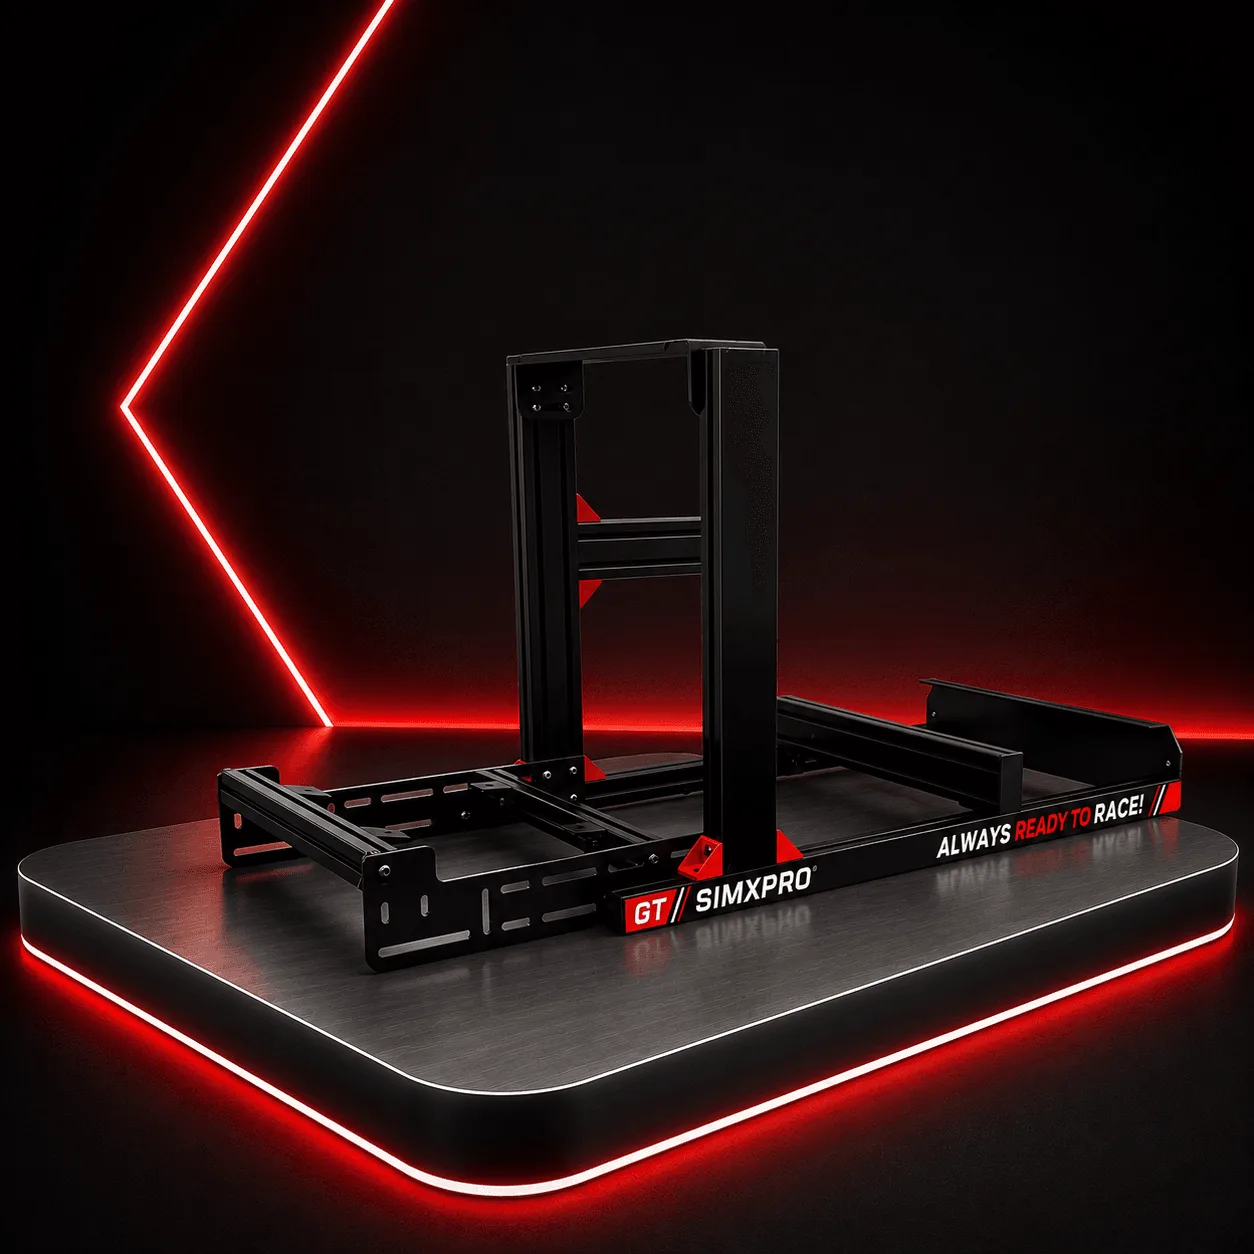
SimXPro GT - Sim Racing Cockpit
-
SimXPro GT - Sim Racing Cockpit: The pedal deck supports load-cell pedals rated up to 150 kg and offers extensive adjustment of pedal position and angle. You can fine-tune pedal placement for consistent braking and throttle control, even with high-force load-cell pedals.
-
SimXPro GT - Sim Racing Cockpit: The integrated monitor mount supports VESA 75×75 and 100×100 mm displays, including 16:9 monitors up to 32 inches and 32:9 ultrawides up to 49 inches. It allows a clean, space-efficient single-monitor setup that works with common screen sizes and ultrawide formats.
Adjustment Tips for a Comfortable Fit
Take time to adjust each component after assembly. Start with the seat position: your legs should have a slight bend at the knees when the pedals are fully pressed. Adjust the wheelbase so your arms are slightly bent when holding the wheel at its furthest point. The pedal angle should let your feet rest naturally. Small changes make a big difference in comfort and control during longer races.
Choosing the Right Bundle for Your Needs
The SimXPro GT is available in several bundles that include a monitor mount, reclining or bucket seat, and seat slider. Selecting compatible components together creates a cohesive setup and may offer bundle pricing. If you are starting from scratch, a bundle saves time and ensures everything fits. For more help comparing your options, read our guide to the best sim racing rigs for beginners.