Quick answer
The SimXPro Universal Flat Wheeldeck fits cockpits with an internal width of 580 or 600 mm and provides a rigid, adjustable base for bottom-mounted wheelbases. Measure your rig’s internal width first, then follow the steps below to mount and align the deck.
Why internal width decides compatibility
The wheeldeck is designed for two specific cockpit internal widths: 580 mm and 600 mm. If your rig falls outside these dimensions, the plate will not sit flush against the side profiles, which can lead to uneven loading and reduced rigidity. Measure the clear distance between your cockpit’s uprights before ordering, and account for any brackets or accessories that narrow that space.
When a flat deck is the right choice
A flat wheel deck suits bottom-mounted wheelbases and gives you a broad surface for fore-aft and height adjustment. It is a practical option if you want to fine-tune wheel position without changing your cockpit’s main structure. However, if your wheelbase requires side mounting, a dedicated side-mount bracket is the better fit; the flat deck is not designed for that.
Step-by-step fitment
- Measure your cockpit’s internal width: Use a tape measure to check the clear distance between the inside faces of your cockpit’s side uprights. Confirm it is 580 mm or 600 mm. Common mistake: measuring the outside width instead of the internal gap. If the measurement is not 580 or 600 mm, the deck will not fit correctly—do not force it.
- Check your wheelbase mounting pattern: Verify that your wheelbase uses bottom mounting and that its bolt holes match the deck’s universal pattern. Test-fit the bolts before installing the deck. Common mistake: assuming a side-mount wheelbase will work without an adapter. If the pattern does not match, contact the wheelbase manufacturer for a compatible mount.
- Position the deck on the cockpit: With the cockpit upright, place the deck on the side profiles at your desired height and fore-aft position. Use clamps or tape to hold it temporarily. Common mistake: tightening bolts before checking that the deck sits flush on both sides. A deck that rocks indicates an alignment issue—adjust before final tightening.
- Bolt the deck to the cockpit: Insert the mounting bolts through the deck and into the cockpit’s profile slots, using washers if supplied. Tighten gradually in a cross pattern to avoid distorting the plate. Common mistake: over-tightening one bolt fully before starting the others. Recheck the internal width measurement after tightening—if the deck pulls the uprights inward, loosen and realign.
- Mount the wheelbase to the deck: Place your wheelbase on the deck and align its bolt holes with the slots. Insert the bolts from below and tighten securely. Common mistake: using bolts that are too long and protrude into the wheelbase housing. Check that the wheelbase sits flat with no gap between its base and the deck.
- Adjust position and test rigidity: Loosen the deck-to-cockpit bolts slightly, slide the deck to your preferred wheel height and distance, then retighten. Push and pull the wheel rim firmly to check for flex. Common mistake: leaving bolts loose after adjustment. If you feel movement, identify whether it comes from the deck-to-cockpit or wheelbase-to-deck connection and tighten accordingly.
Product facts
-
SimXPro Universal flat wheeldeck - 580 - 600 mm: 6 mm hardened steel plate. The thick steel resists flex under strong force feedback, helping maintain consistent steering feel.
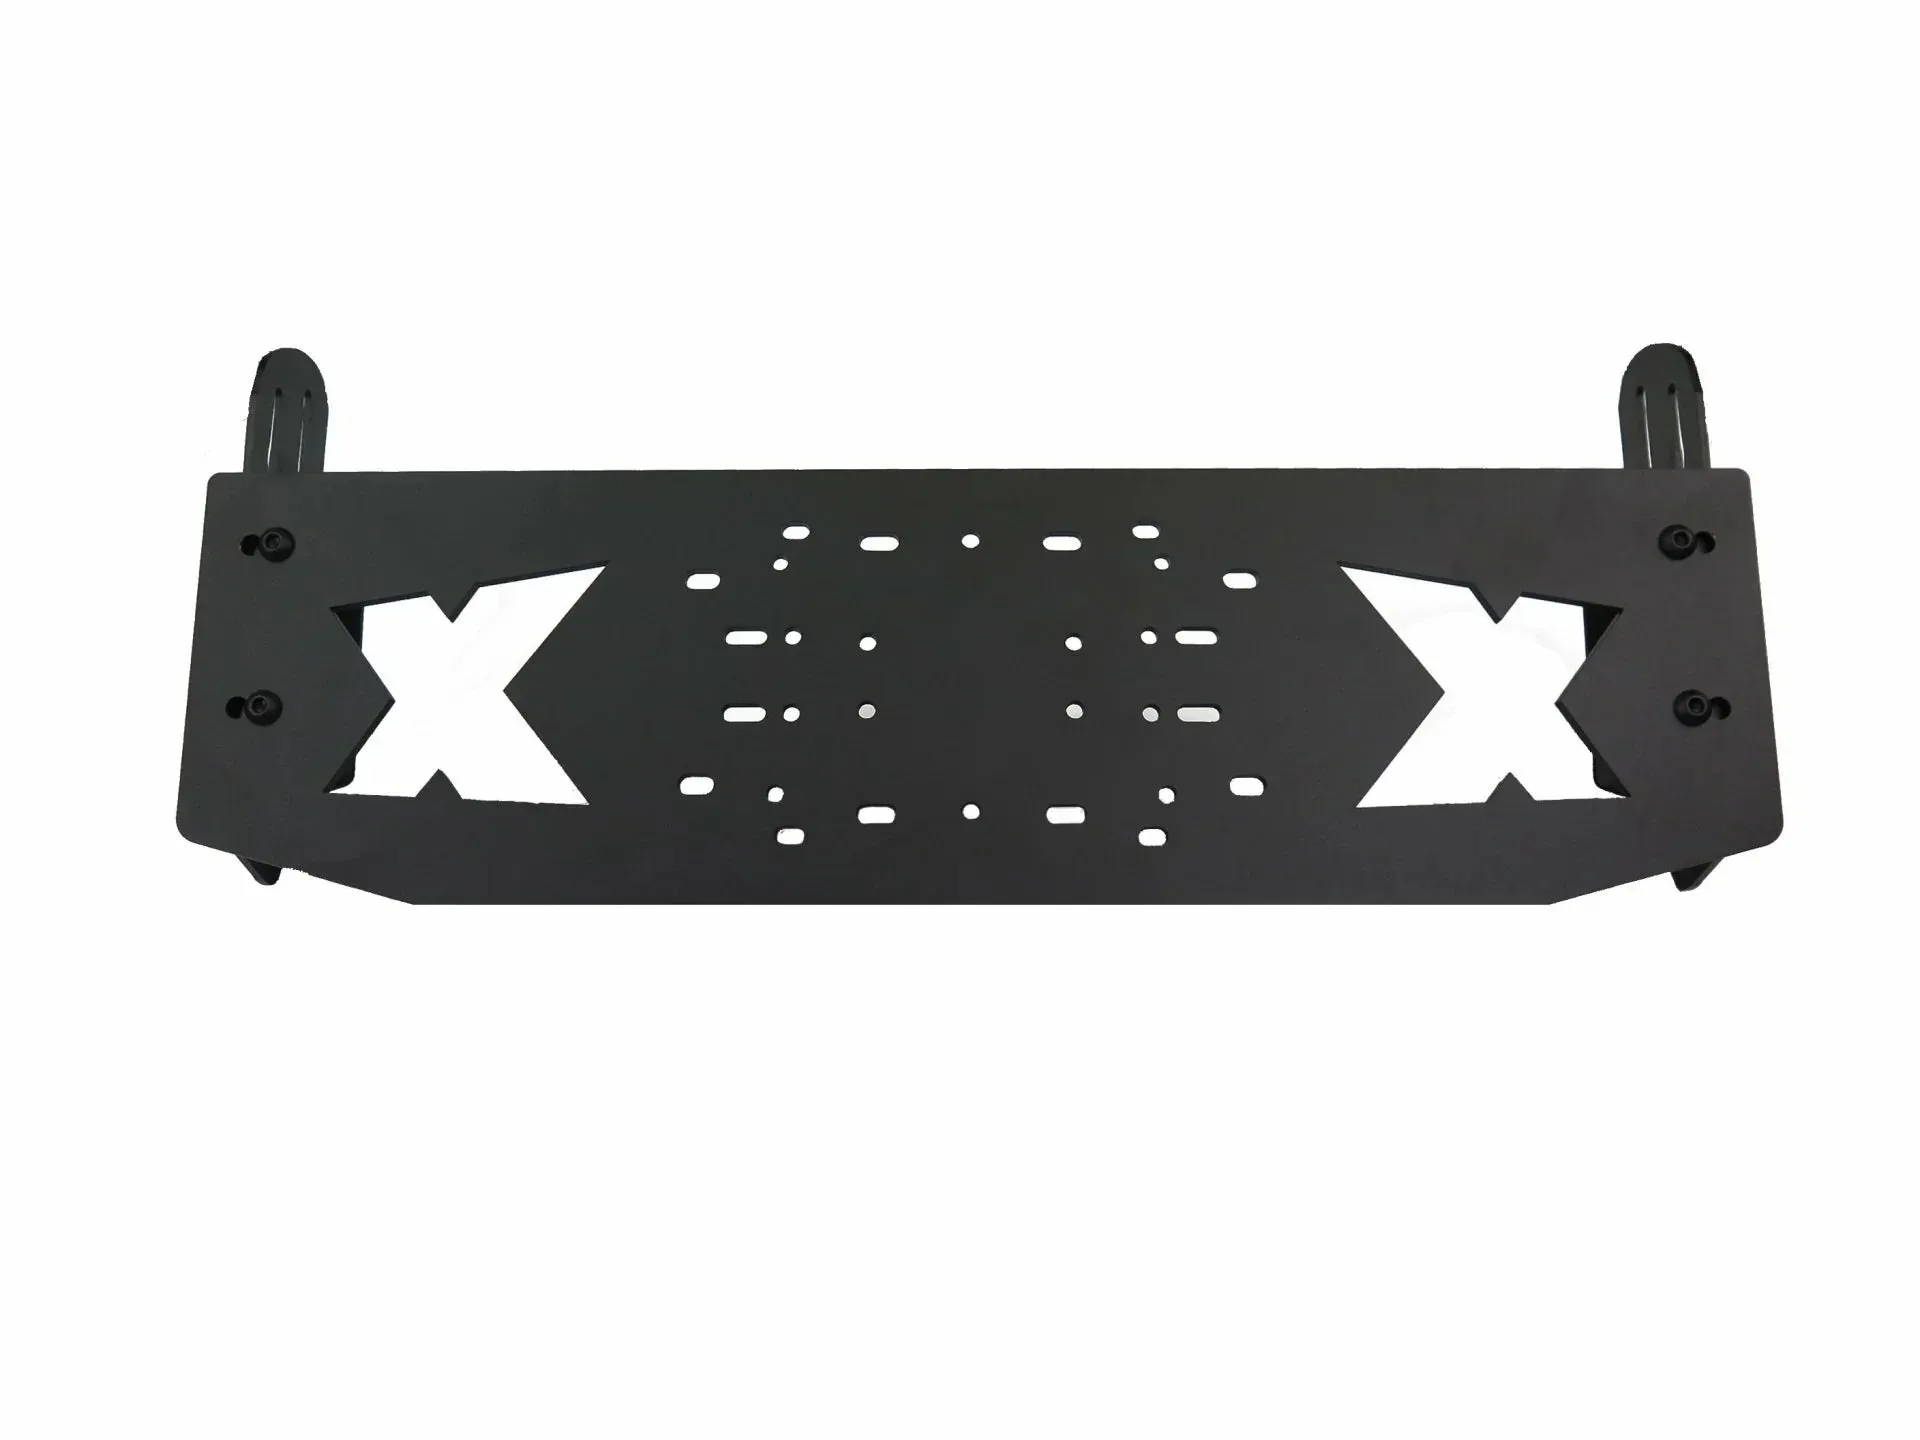
SimXPro Universal flat wheeldeck - 580 - 600 mm
-
SimXPro Universal flat wheeldeck - 580 - 600 mm: Universal mounting pattern compatible with most bottom-mounted wheelbases from brands including [brand names omitted]. You can likely reuse your existing wheelbase without needing a brand-specific adapter.