Quick answer
To set up an open-top mag pouch, mount it on a belt or vest, insert a magazine, and adjust the elastic retention band until the mag stays put during a shake test but still pulls free with a firm tug. Position the pouch on your support side for a cross-body draw, and test with the magazine you actually carry.
Why retention tuning matters on open-top pouches
Open-top pouches trade full coverage for speed. Without a flap, the elastic band is the only thing holding your magazine in place, so getting the tension right is critical. Too loose and the mag can bounce out during a sprint or a low crawl; too tight and you'll fight the pouch on every reload. The goal is a balance where the magazine stays secure under movement but releases cleanly when you need it.
Step 1: Mount the pouch where your hand naturally goes
Before you touch the retention band, decide where the pouch lives. For belt mounting, place it on your support side (left side for a right-handed shooter) so your non-dominant hand can grab a magazine without reaching across your body. For vest or chest rig mounting, keep it within a comfortable arm's reach, usually between your sternum and your hip. A common mistake is mounting too far back or too low, which forces an awkward reach under stress. Checkpoint: with your eyes closed, can you touch the top of the pouch without shifting your torso? If not, move it.
Step 2: Set the elastic band to a neutral starting point
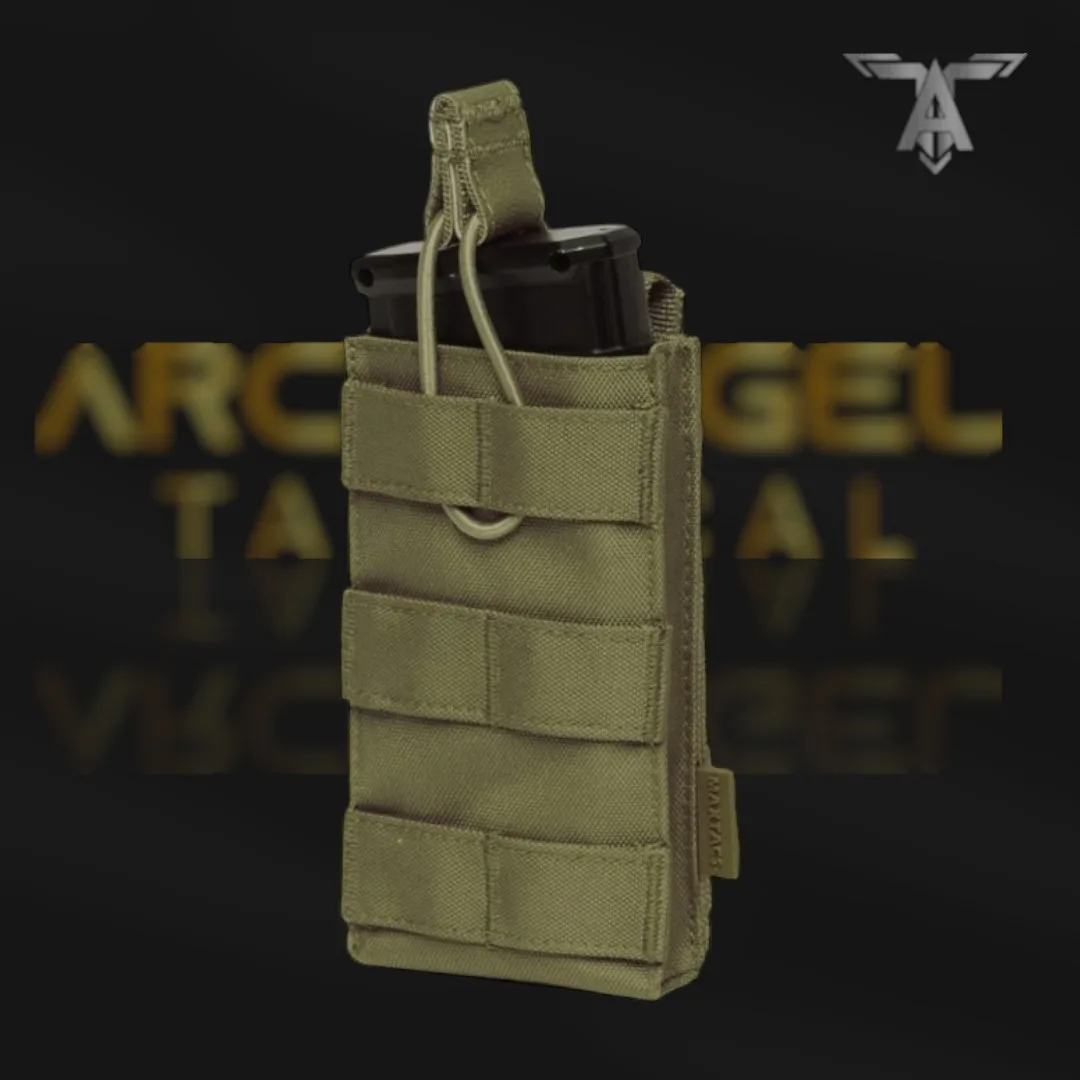
Most open-top pouches, including the Single M4/M16 Open-Top Mag Pouch, use an elastic retention band that can be adjusted by sliding it up or down the pouch body. Start with the band centered on the magazine's upper third. This gives you a baseline before fine-tuning. Don't overtighten yet. A common mistake is cranking the band all the way down, which makes the pouch nearly impossible to draw from. Checkpoint: insert a magazine and give it a gentle pull. It should move slightly but not come free.
Step 3: Run the shake test and adjust tension
With the magazine seated and the band at your starting point, hold the pouch upside down and shake it firmly for a few seconds. If the magazine slips out, tighten the band by moving it down slightly or increasing the elastic tension (depending on your pouch's design). If it doesn't budge, loosen the band. Repeat until the magazine stays put during a vigorous shake but releases with a deliberate tug. Checkpoint: a good rule of thumb is that a sharp pull with two fingers should free the magazine without you having to brace the pouch with your other hand.
Step 4: Test with your actual magazine and gear
Retention can change based on magazine weight, surface finish, and even temperature. Test with the exact magazines you carry—whether that's a standard 30-round M4 mag or a heavier M16 variant. Also wear your gloves, if you use them, because glove bulk affects how you grip the magazine. A common mistake is tuning retention with an empty magazine and then finding it too loose when loaded. Checkpoint: load a full magazine and repeat the shake and draw test. Adjust as needed.
Step 5: Recheck after movement and live drills
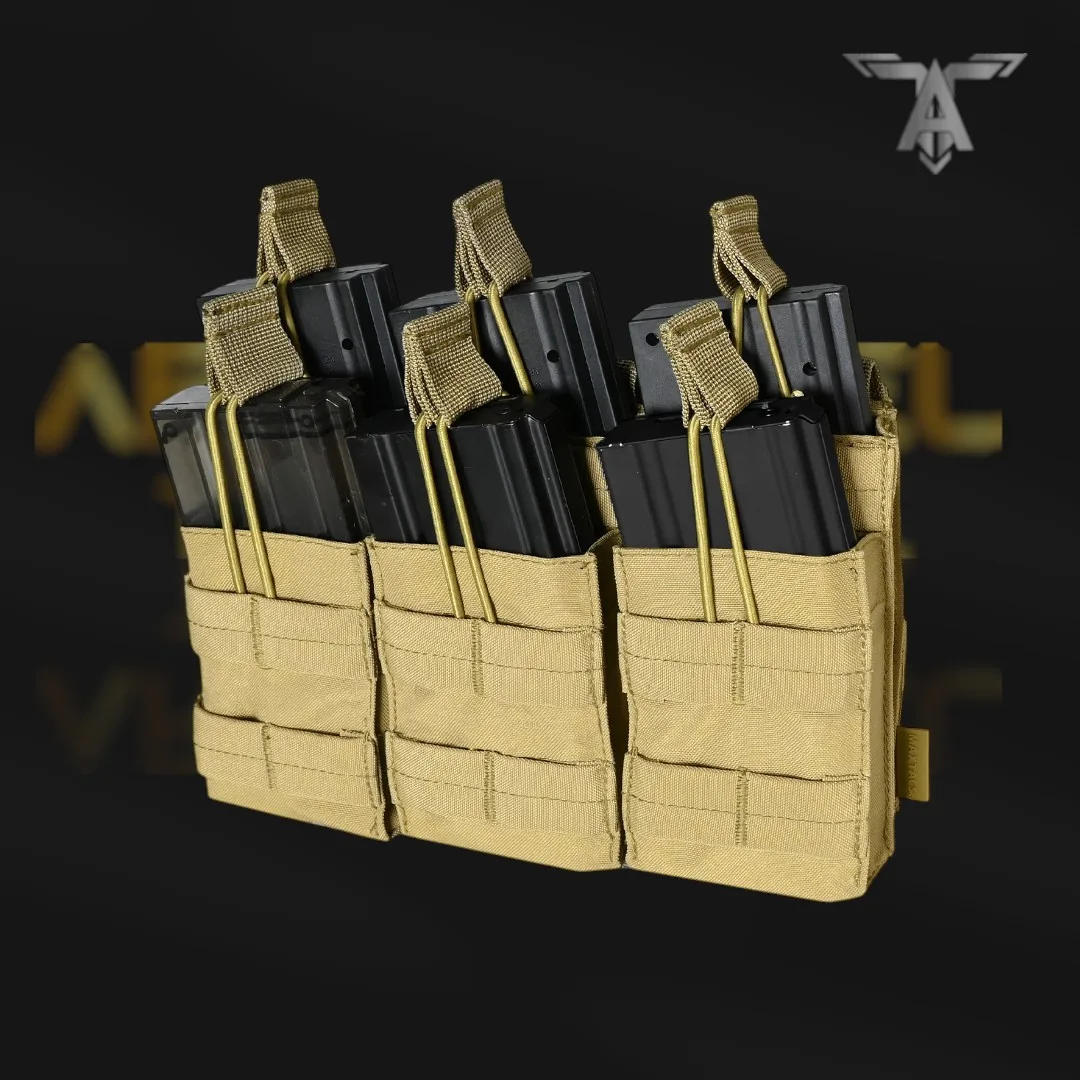
After a range session or a few dry-fire reps, recheck your retention. Elastic can stretch over time, and mounting hardware can shift. If you notice the magazine sitting higher or lower than before, reset the band and re-test. Checkpoint: keep a mental note of how many turns or how much you moved the band so you can return to that setting if it drifts. For a high-capacity option, the Triple Stacker M4 Mag Pouch uses a similar open-top design but holds three magazines, so each column may need individual tension checks.
When to consider a different pouch or case
If you need to carry multiple magazines or a full loadout, a single pouch may not be enough. The Triple Stacker M4 Mag Pouch offers triple capacity in a similar open-top format. And for transport, the Single Rifle Case — 46” keeps your rifle secure with a lockable zipper and a main compartment sized for rifles up to 46 inches. These aren't replacements for retention tuning, but they complement a complete setup.
Step-by-step retention setup
- Mount the pouch: Attach the pouch to your belt or vest on your support side, within easy reach. Checkpoint: can you access it without looking?
- Set the elastic band: Slide the band to the upper third of the magazine as a starting point. Don't overtighten—you should be able to pull the mag with a firm tug.
- Run the shake test: Hold the pouch upside down and shake. Adjust tension until the mag stays put but releases cleanly. Repeat until consistent.
- Test with loaded magazines and gloves: Use the exact mags and gloves you'll carry. Re-tune if needed. A full mag may require more tension.
- Recheck after use: After range time or drills, verify retention hasn't loosened. Reset if necessary. Note your settings for quick re-tuning.
Product facts
- Single M4/ M16 Open-Top Mag Pouch - Archangel Tactical Gear: Open-top design with an elastic retention band for fast access and secure retention. The elastic band is the primary retention mechanism, so adjusting it correctly is essential for both speed and security.
- Triple Stacker M4 Mag Pouch - Archangel Tactical Gear: Triple Stacker design holds three M4 magazines with open-top construction and secure elastic retention. If you need more capacity, this pouch follows the same retention principles but requires checking tension on each column.
- Single Rifle Case — 46” - Archangel Tactical Gear: Main compartment accommodates a rifle up to 46 inches and features a lockable zipper. For transporting your rifle to and from the range, this case provides secure storage that complements your pouch setup.