Understanding the Sirius Solar Pro's Power System
The Apollo Sirius Solar Pro uses dual solar + battery power with a manual switchable mode. This gives you control over how the sight powers itself, but it can also lead to confusion if the mode is set incorrectly. The sight does not have a Shake-Awake feature; it is always-on when powered, which is a deliberate design choice for competitive shooters who want predictable, instant readiness.
If the dot seems dim or unresponsive, the first thing to check is the power mode. The manual switchable mode lets you choose between solar-assisted operation and battery-only. In low light, the solar panel may not provide enough energy, so switching to battery mode ensures consistent brightness. The side-mounted battery tray makes checking the CR2032 cell quick—no need to remove the sight from the pistol.
Key Specifications for Troubleshooting
-
Sirius Solar Pro: Dual-Power Solar System — Solar-assisted operation with battery backup and a manual switchable mode for predictable performance in any lighting. Understanding the power mode helps you diagnose dim or flickering dots. If the dot is weak, ensure the battery is fresh and the mode is set correctly.
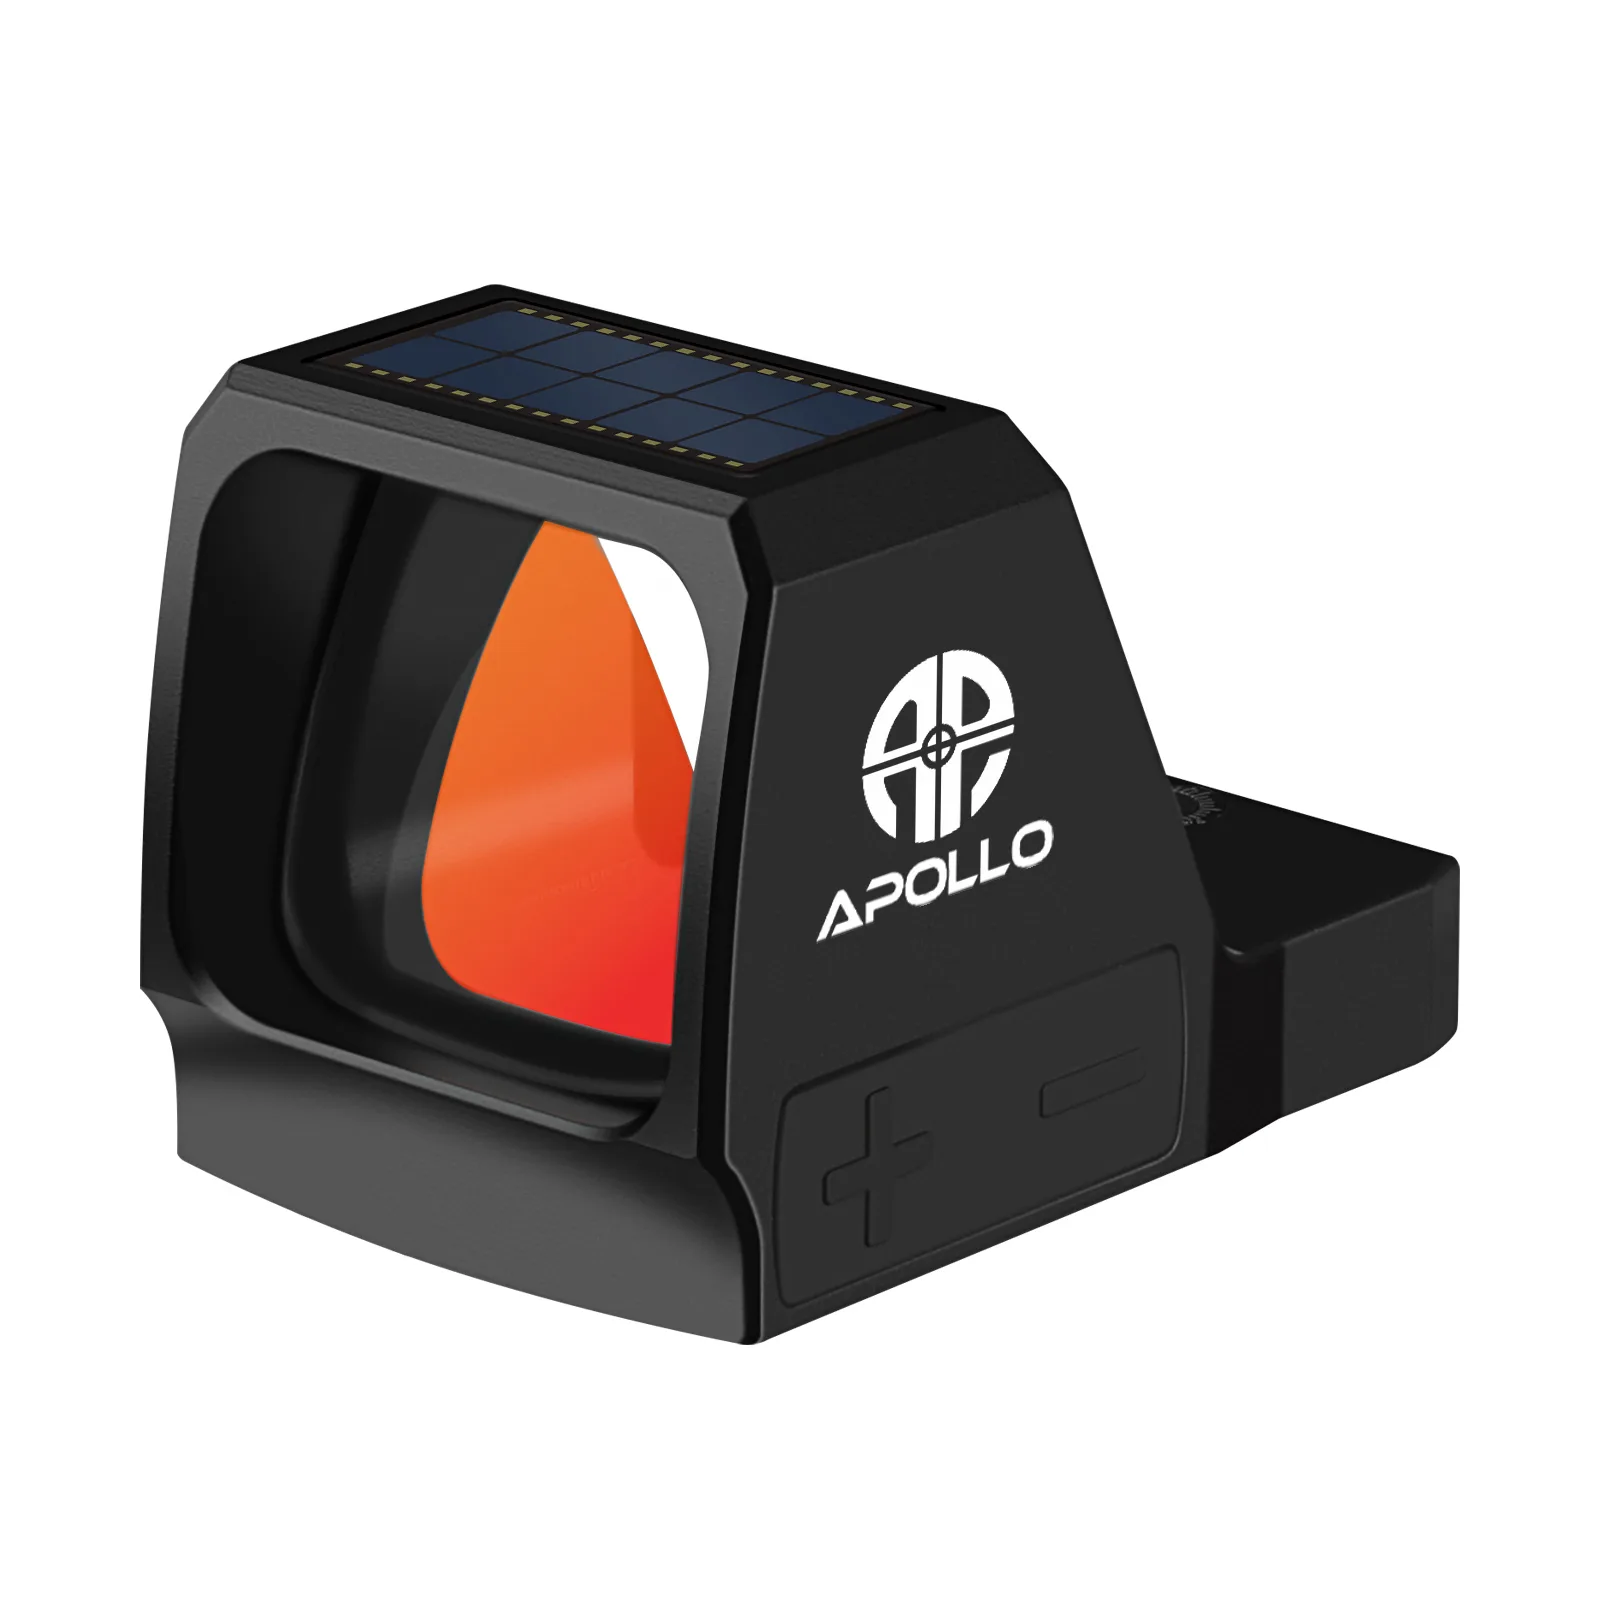
Sirius Solar Pro
-
Sirius Solar Pro: 10 Brightness Levels — Fine control for indoor, outdoor, and competition lighting conditions. A dot that appears too bright or too dim may simply need adjustment to a different brightness level, not a hardware issue.
-
Sirius Solar Pro: Precision 3 MOA Dot — High-visibility, competition-oriented aiming point with fine accuracy (±0.5 MOA). If the dot appears blurry or large, remember it is a 3 MOA dot. At close ranges, this size is normal; at longer distances, it provides a fine aiming point.
Step-by-Step Troubleshooting Guide
- Check the power mode switch: Ensure the sight is set to the correct mode for your lighting. In bright sun, solar mode works well; in indoor or low light, switch to battery mode.
- Inspect the battery: Remove the CR2032 battery using the side tray. Replace with a fresh cell if the dot is dim or inconsistent. The sight delivers up to ~50,000 hours runtime on battery mode.
- Adjust brightness level: Cycle through the 10 brightness levels to find the appropriate setting. The dot should be clearly visible but not washed out.
- Verify mounting and zero: The Sirius Solar Pro uses an RMR footprint. Confirm the sight is properly torqued to the slide or mount. If zero shifts, re-check the mounting screws.
Dealing with Dot Flicker or Intermittent Power
Some users report the dot flickering or turning off briefly. This is often due to a loose battery or dirty contacts. Open the side tray, remove the battery, clean the contacts with a dry cloth, and reinstall. If the problem persists, try a different brand of CR2032 battery, as some have slightly different thicknesses that affect contact pressure.
The Sirius Solar Pro is rated IPX7 waterproof and tested to 1800G impact, so flicker is rarely a sign of internal damage. More often, it is a simple contact issue.
Brightness Level Confusion
With 10 brightness levels, it is easy to accidentally set the dot too low for the current lighting. In direct sunlight, the highest settings (8-10) are needed. Indoors or at dusk, lower settings (2-4) work better. The manual switchable mode also affects perceived brightness: in solar mode, the dot may appear dimmer because the solar panel is doing the work.
If the dot seems too bright at night, reduce the level. The fine control allows you to match the dot to the ambient light without washing out your target.
Mounting and Footprint Fit
The Sirius Solar Pro uses an RMR footprint. This is a common standard, but not all slides or mounts are cut exactly the same. If the sight does not sit flush or the screws do not thread easily, stop and verify the footprint. Using incorrect screws can damage the sight or the slide.
The sight is machined from 7075 aluminum, so it is durable, but overtightening can strip threads. Use a torque wrench and follow the manufacturer's recommended torque values (not supplied here, so refer to your mount's instructions).