Quick answer
Place solar path lights along the edges of walkways, driveways, and garden borders, spacing them 6 to 8 feet apart for even illumination. Install them in spots that receive direct sunlight for at least 6 hours a day, and follow the step-by-step process below to avoid common pitfalls.
Why placement matters more than the light itself
Solar path lights rely on sunlight to charge during the day, so where you put them directly affects how bright they shine at night. A light tucked under a shrub or in the shadow of a fence may never charge fully, leaving you with dim or flickering illumination.
Even spacing also creates a balanced, inviting look. Too close and the path looks cluttered; too far apart and dark gaps can make the walkway feel unsafe. The right placement balances aesthetics, safety, and charging efficiency.
Choosing the right solar path light for your garden
Not all solar path lights are created equal. Consider the style, brightness (measured in lumens), and build quality. For a coastal or Hamptons-inspired garden, a light with a timeless design can complement the architecture while providing reliable illumination.
The Hamptons Style Solar Path Light | 2 Pack | 16LED | MONTAUK offers a classic coastal charm that blends functionality with aesthetics. With 16 LEDs, it provides ample light for pathways, and its easy installation means you can set it up without any wiring.
Step-by-step installation and placement
- Choose the right location: Pick spots that get at least 6 hours of direct sunlight per day. Avoid areas shaded by trees, eaves, or fences. For path lights, place them along the edges of walkways, driveways, or garden borders, spacing them 6 to 8 feet apart for even coverage. Check the sun exposure at different times of day to ensure consistent charging.
- Prepare the ground: Clear the area of debris, rocks, or roots that could obstruct the spike. If the ground is hard, loosen it with a trowel or water it slightly to make insertion easier. Ensure the surface is level so the light stands straight. Use a straight edge or level to confirm the spike is vertical.
- Activate and assemble the light: Remove any protective film or pull the tab to activate the battery. Assemble the spike and light head according to the manufacturer's instructions. For the Hamptons Style Solar Path Light, simply activate, assemble the spike, and it's ready. Turn the switch to the 'ON' position if there is one; some models have a pull tab.
- Insert the spike into the ground: Push the spike firmly into the prepared ground. If the soil is too hard, use a mallet or gently rock the spike to create a hole, but avoid hammering directly on the light head. Ensure the light is stable and not leaning. Test stability by gently pushing the light from different angles.
- Test and adjust: Wait for dusk to see if the light turns on automatically. If it doesn't, check the switch, battery, and solar panel for obstructions. Adjust the angle of the solar panel if it's adjustable to maximize sun exposure during the day. If the light is dim, consider moving it to a sunnier spot or cleaning the panel.
Product spotlight
-
Hamptons Style Solar Path Light | 2 Pack | 16LED | MONTAUK: The Hamptons Style Solar Path Light features 16 LEDs and a coastal design, and installation requires no complicated wiring—just activate, assemble the spike, and place it in the ground. This makes it a practical choice for homeowners who want an elegant, low-maintenance lighting solution that can be installed in minutes without electrical work.
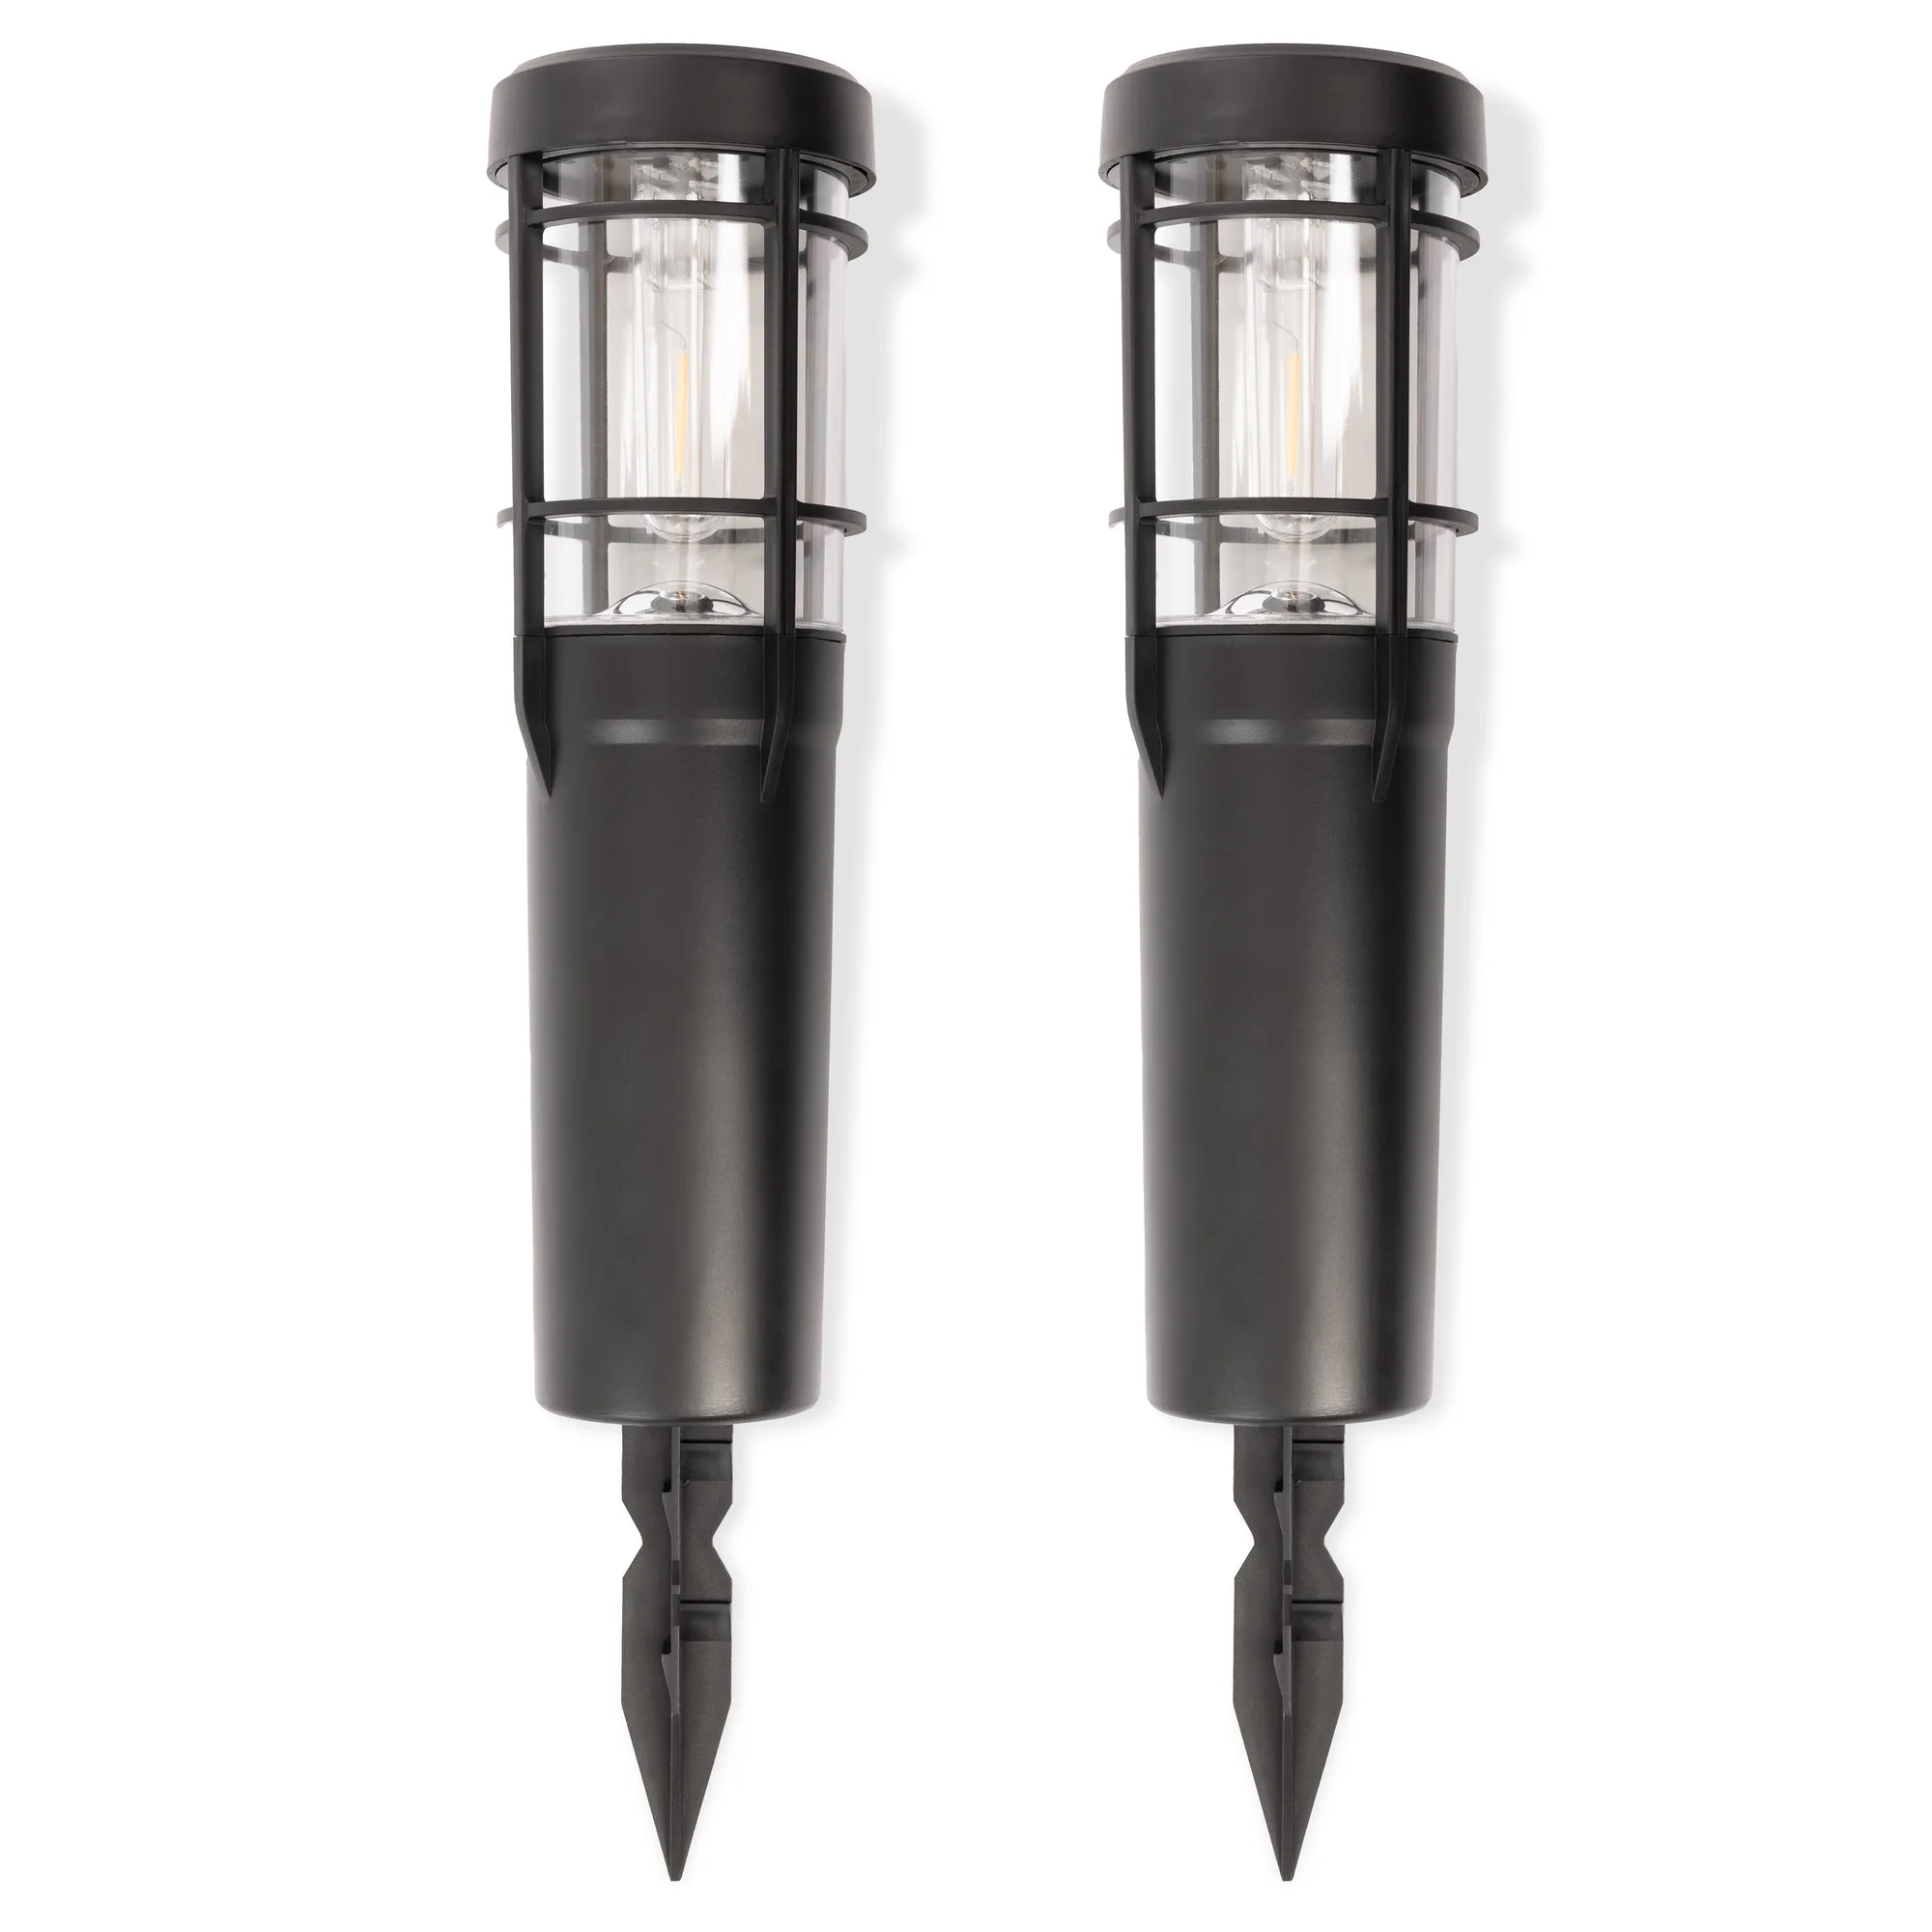
Hamptons Style Solar Path Light | 2 Pack | 16LED | MONTAUK