Quick answer
Use a solder termination kit designed for 10-2 DIY speaker cable to ensure reliable, high-performance connections. The kit includes all necessary hardware, solder, and boots to match Transparent's specifications.
Why Use a Dedicated Termination Kit for 10-2 Cable
Terminating 10-2 speaker cable requires connectors, solder, and boots that fit the thicker conductors. A dedicated kit like the Solder Termination Kits for High Performance 10-2 DIY Speaker Cable supplies everything needed for one pair of cables, eliminating guesswork about compatibility.
Using mismatched parts can lead to poor electrical contact, intermittent signal, or physical strain on the cable. The kit's connectors are gold-plated and designed to be crimped and soldered, which Transparent recommends for best performance and reliability.
Trade-Off: Soldering vs. Crimping Only
Some users prefer a crimp-only termination for speed. However, soldering creates a more durable and lower-resistance joint, especially for high-current audio signals. The kit supports both crimping and soldering, but soldering is recommended for the most reliable connection.
If you are not experienced with soldering, practice on scrap wire first. The high silver content solder in the kit flows well but requires a clean, properly heated joint.
Step-by-Step Termination Process
- Prepare the cable end: Strip approximately 1/2 inch (12 mm) of outer jacket from the 10-2 cable, then strip about 3/8 inch (9 mm) of insulation from each conductor. Twist the strands tightly to prevent fraying. Common mistake: stripping too much insulation can expose bare wire beyond the connector, risking short circuits.
- Slide the boot onto the cable: Before attaching any connectors, slide the vinyl termination boot over the cable with the wide end facing the connector. This step is easy to forget and difficult to correct later. Checkpoint: ensure the boot orientation is correct before proceeding.
- Crimp the connector onto the conductor: Insert the stripped conductor into the gold-plated connector barrel. Use a crimping tool appropriate for the connector size to crimp firmly. This provides mechanical grip before soldering. Common mistake: over-crimping can damage the conductor or connector; use a tool with a stop or ratchet mechanism.
- Solder the connection: Heat the connector barrel (not the solder directly) with a soldering iron. Apply the high silver content solder to the joint where the barrel meets the wire. Allow solder to flow fully into the connection, then remove heat and let it cool undisturbed. Checkpoint: a good solder joint appears shiny and smooth. Dull or grainy solder indicates a cold joint that should be reflowed.
- Slide the boot into place: Once the solder joint has cooled, slide the vinyl boot over the connector until it covers the barrel and the cable entry. The boot provides strain relief and insulation. Common mistake: forcing the boot over a hot connector can deform the boot or cause it to stick prematurely.
- Repeat for all conductors: Terminate each of the four conductors (two per cable, two cables per pair) using the same process. Verify polarity by marking or color-coding the positive and negative conductors consistently. Checkpoint: double-check polarity before final assembly to avoid phase issues in your audio system.
Product facts
-
Solder Termination Kits for High Performance 10-2 DIY Speaker Cable: Each kit contains 8 connectors, 15 feet of High Silver Content No Lead Solder, and 4 vinyl termination boots for terminating 1 pair of speaker cables. You get exactly the right quantity and type of materials for a clean, professional termination without sourcing parts separately.
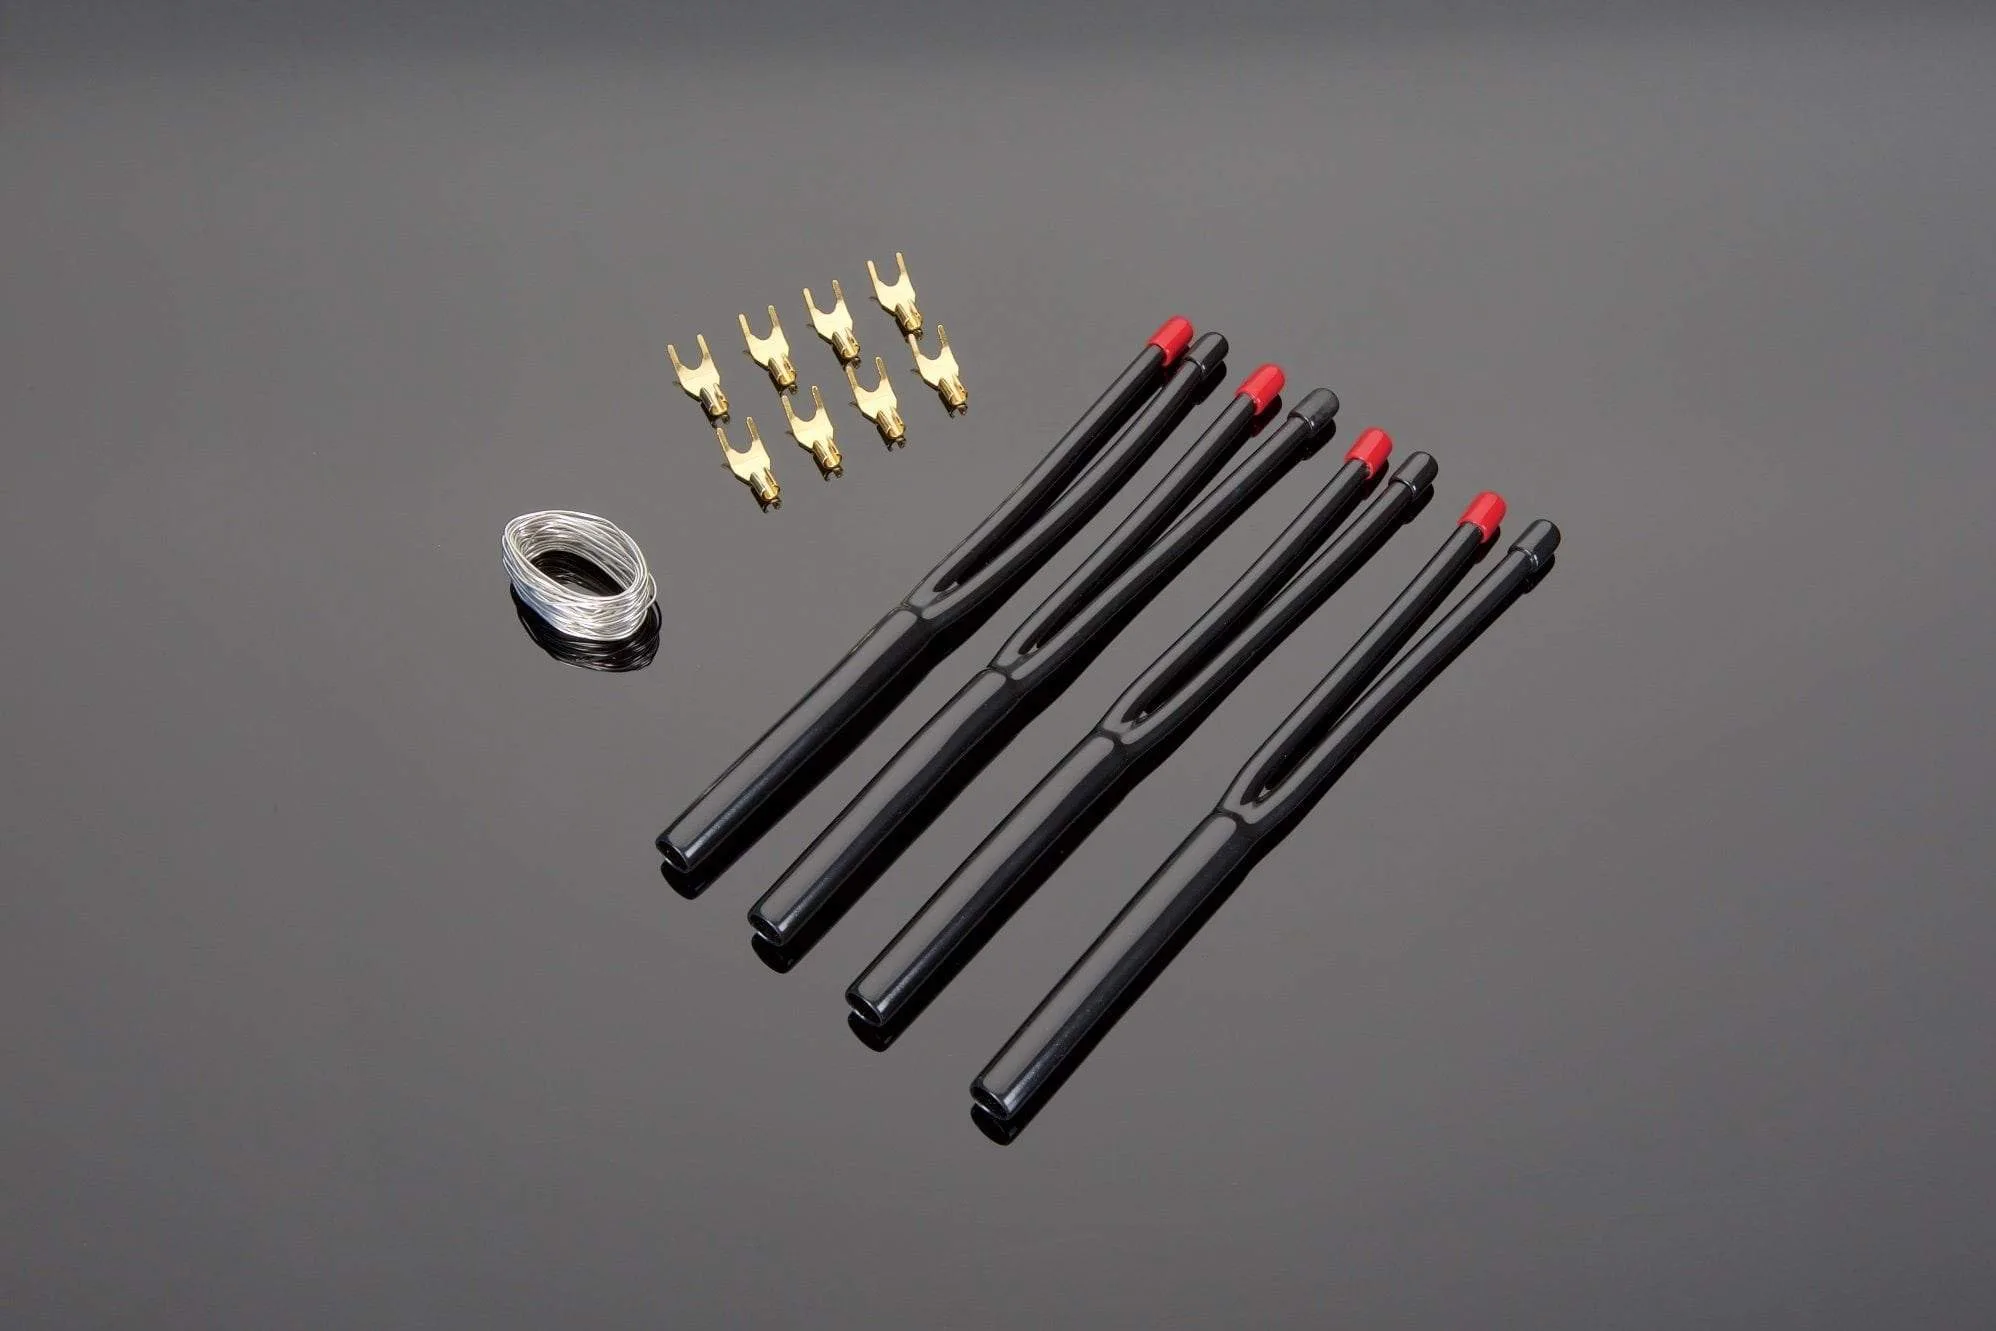
Solder Termination Kits for High Performance 10-2 DIY Speaker Cable