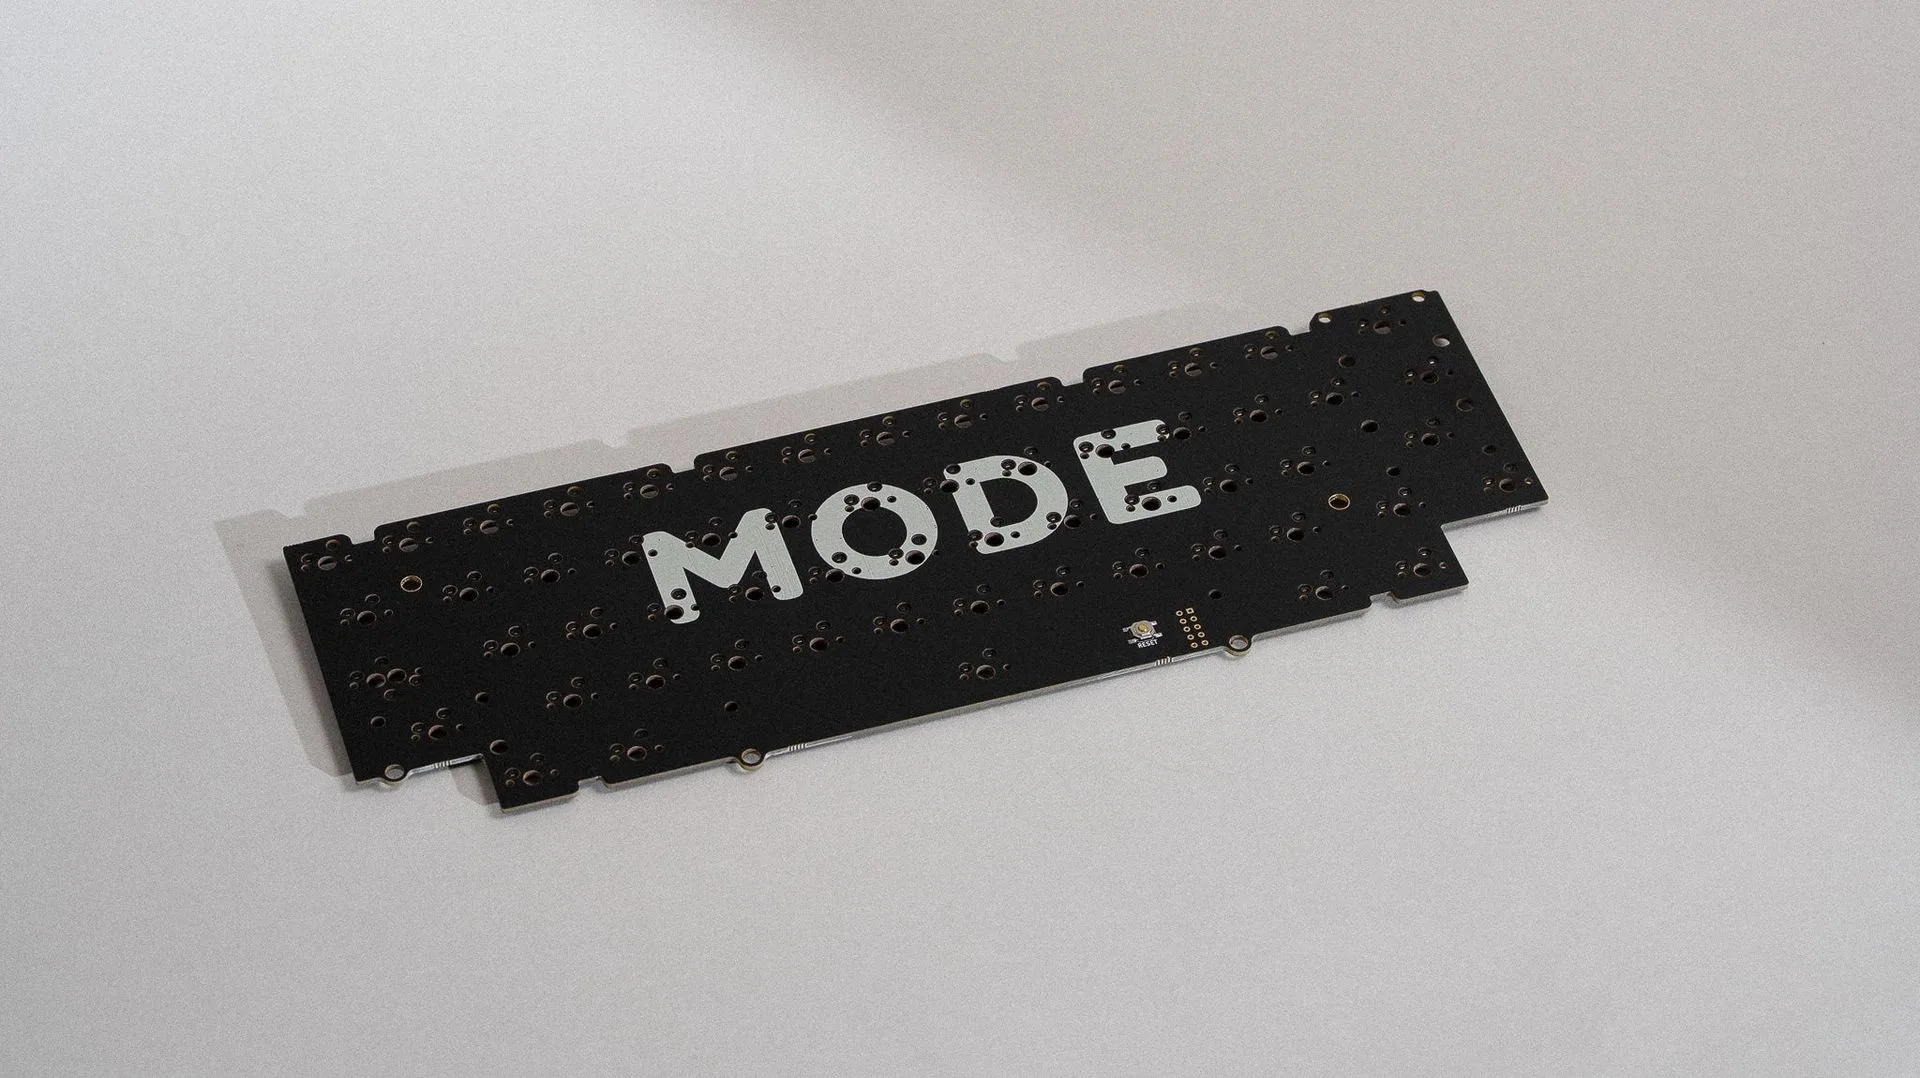
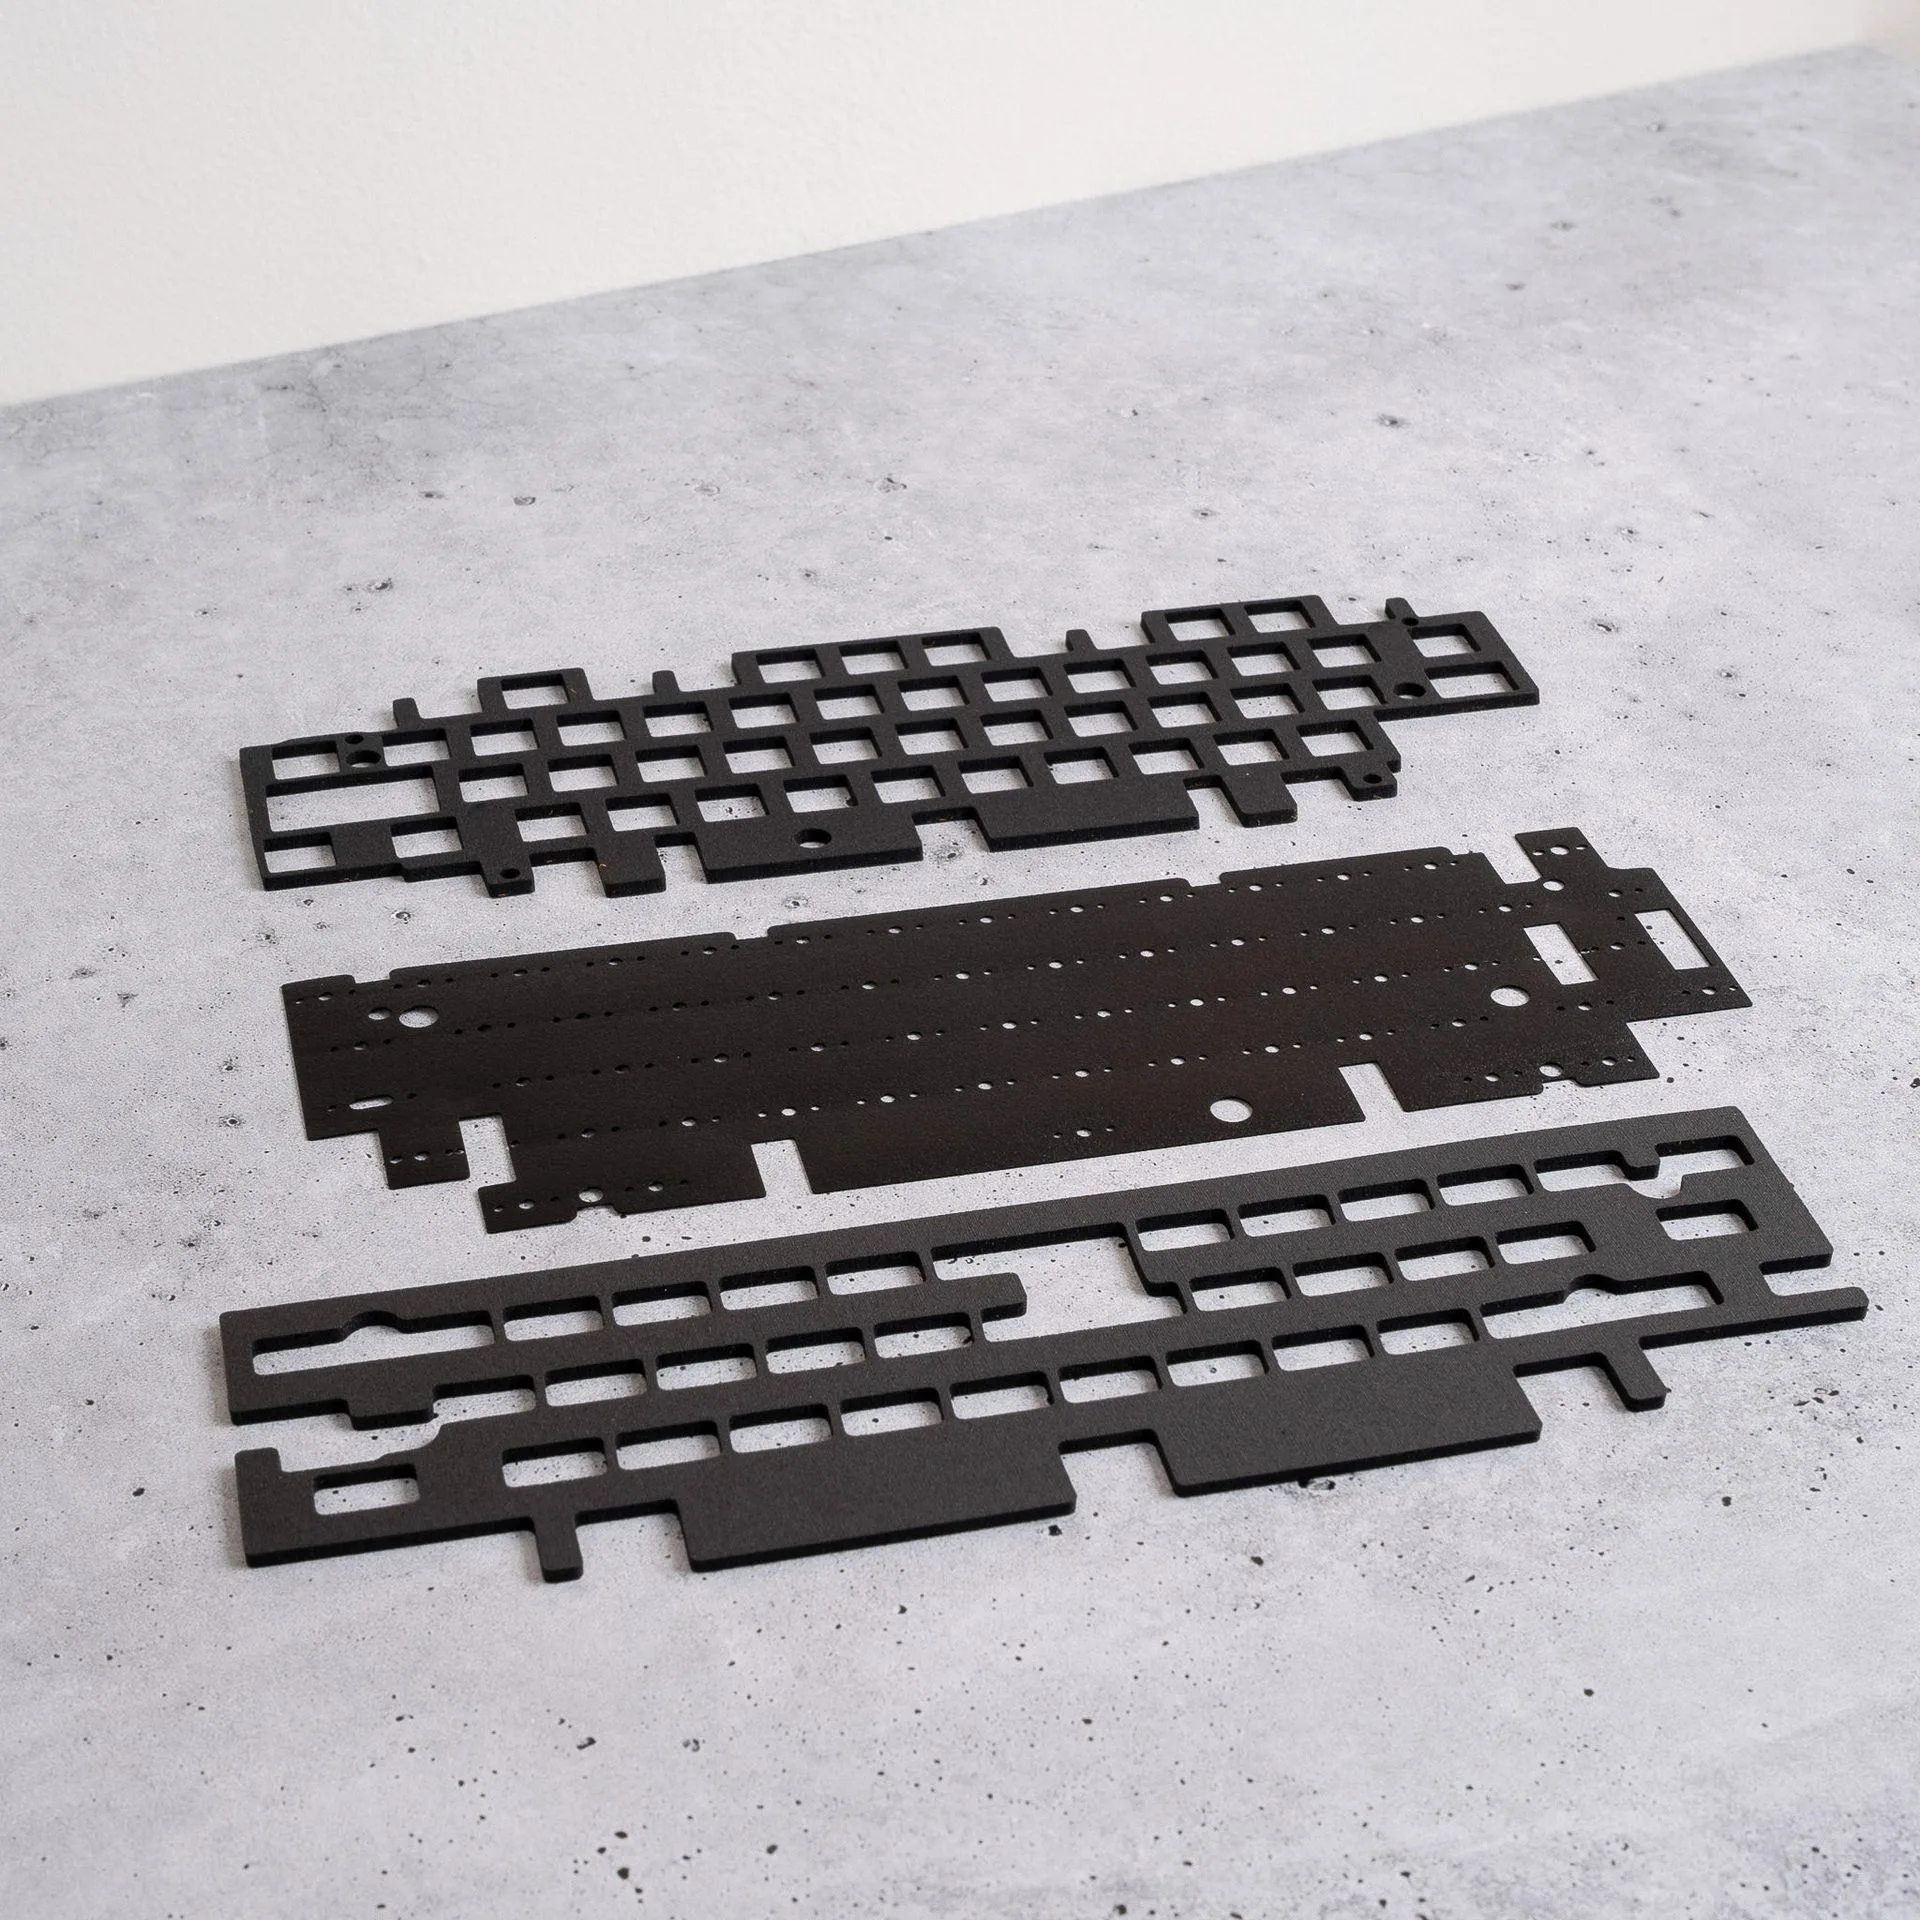
Quick Answer
Installing the sonnet-foam-kit-320337">Sonnet Foam Kit is straightforward: place the Poron plate foam between the plate and PCB, the Poron case foam in the bottom case, and the PE foam between the PCB and case (if desired). Follow the steps below to avoid common mistakes like misalignment or over-tightening.
Adding foam to your Sonnet can change its sound and feel, but if you've never opened a keyboard before, the process can feel a bit intimidating. This guide walks you through each step of installing the Sonnet Foam Kit, so you can get the results you want without guesswork.
The Sonnet Foam Kit includes three pieces: Poron plate foam, Poron case foam, and PE foam. Each serves a different purpose, and you can choose to use all or only some of them. Here's how to install them correctly.
What's in the Sonnet Foam Kit?
Before you start, it helps to know what you're working with. The Sonnet Foam Kit includes three pieces: a Poron plate foam, a Poron case foam, and a PE foam. Poron is a soft, compressible material that absorbs vibration, while PE foam is lighter and often used to reduce hollowness.
Each piece is cut to fit the Sonnet's internal layout. You don't have to use every piece—many builders experiment by adding or removing foam to fine-tune the sound. The kit is sold separately, so if you didn't get one with your keyboard, you can purchase it on its own.
- Poron plate foam: sits between the plate and PCB to dampen keypress vibrations.
- Poron case foam: lines the bottom of the case to absorb case resonance.
- PE foam: can be placed between the PCB and case for extra sound dampening.
Tools and Preparation
You'll need a few basic tools: a screwdriver (usually a Phillips head), a keycap puller, and a switch puller if your Sonnet uses hotswap sockets. If you have a solder PCB, you'll need a soldering iron to remove switches—this guide assumes you're working with a hotswap board.
Clear a clean, well-lit workspace. Keep track of all screws and small parts. If you have the 2024 Sonnet Fasteners Pack, it includes the screwdriver bits you'll need, but the screwdriver itself is not included. Having the right bits makes the job easier and prevents stripping screws.
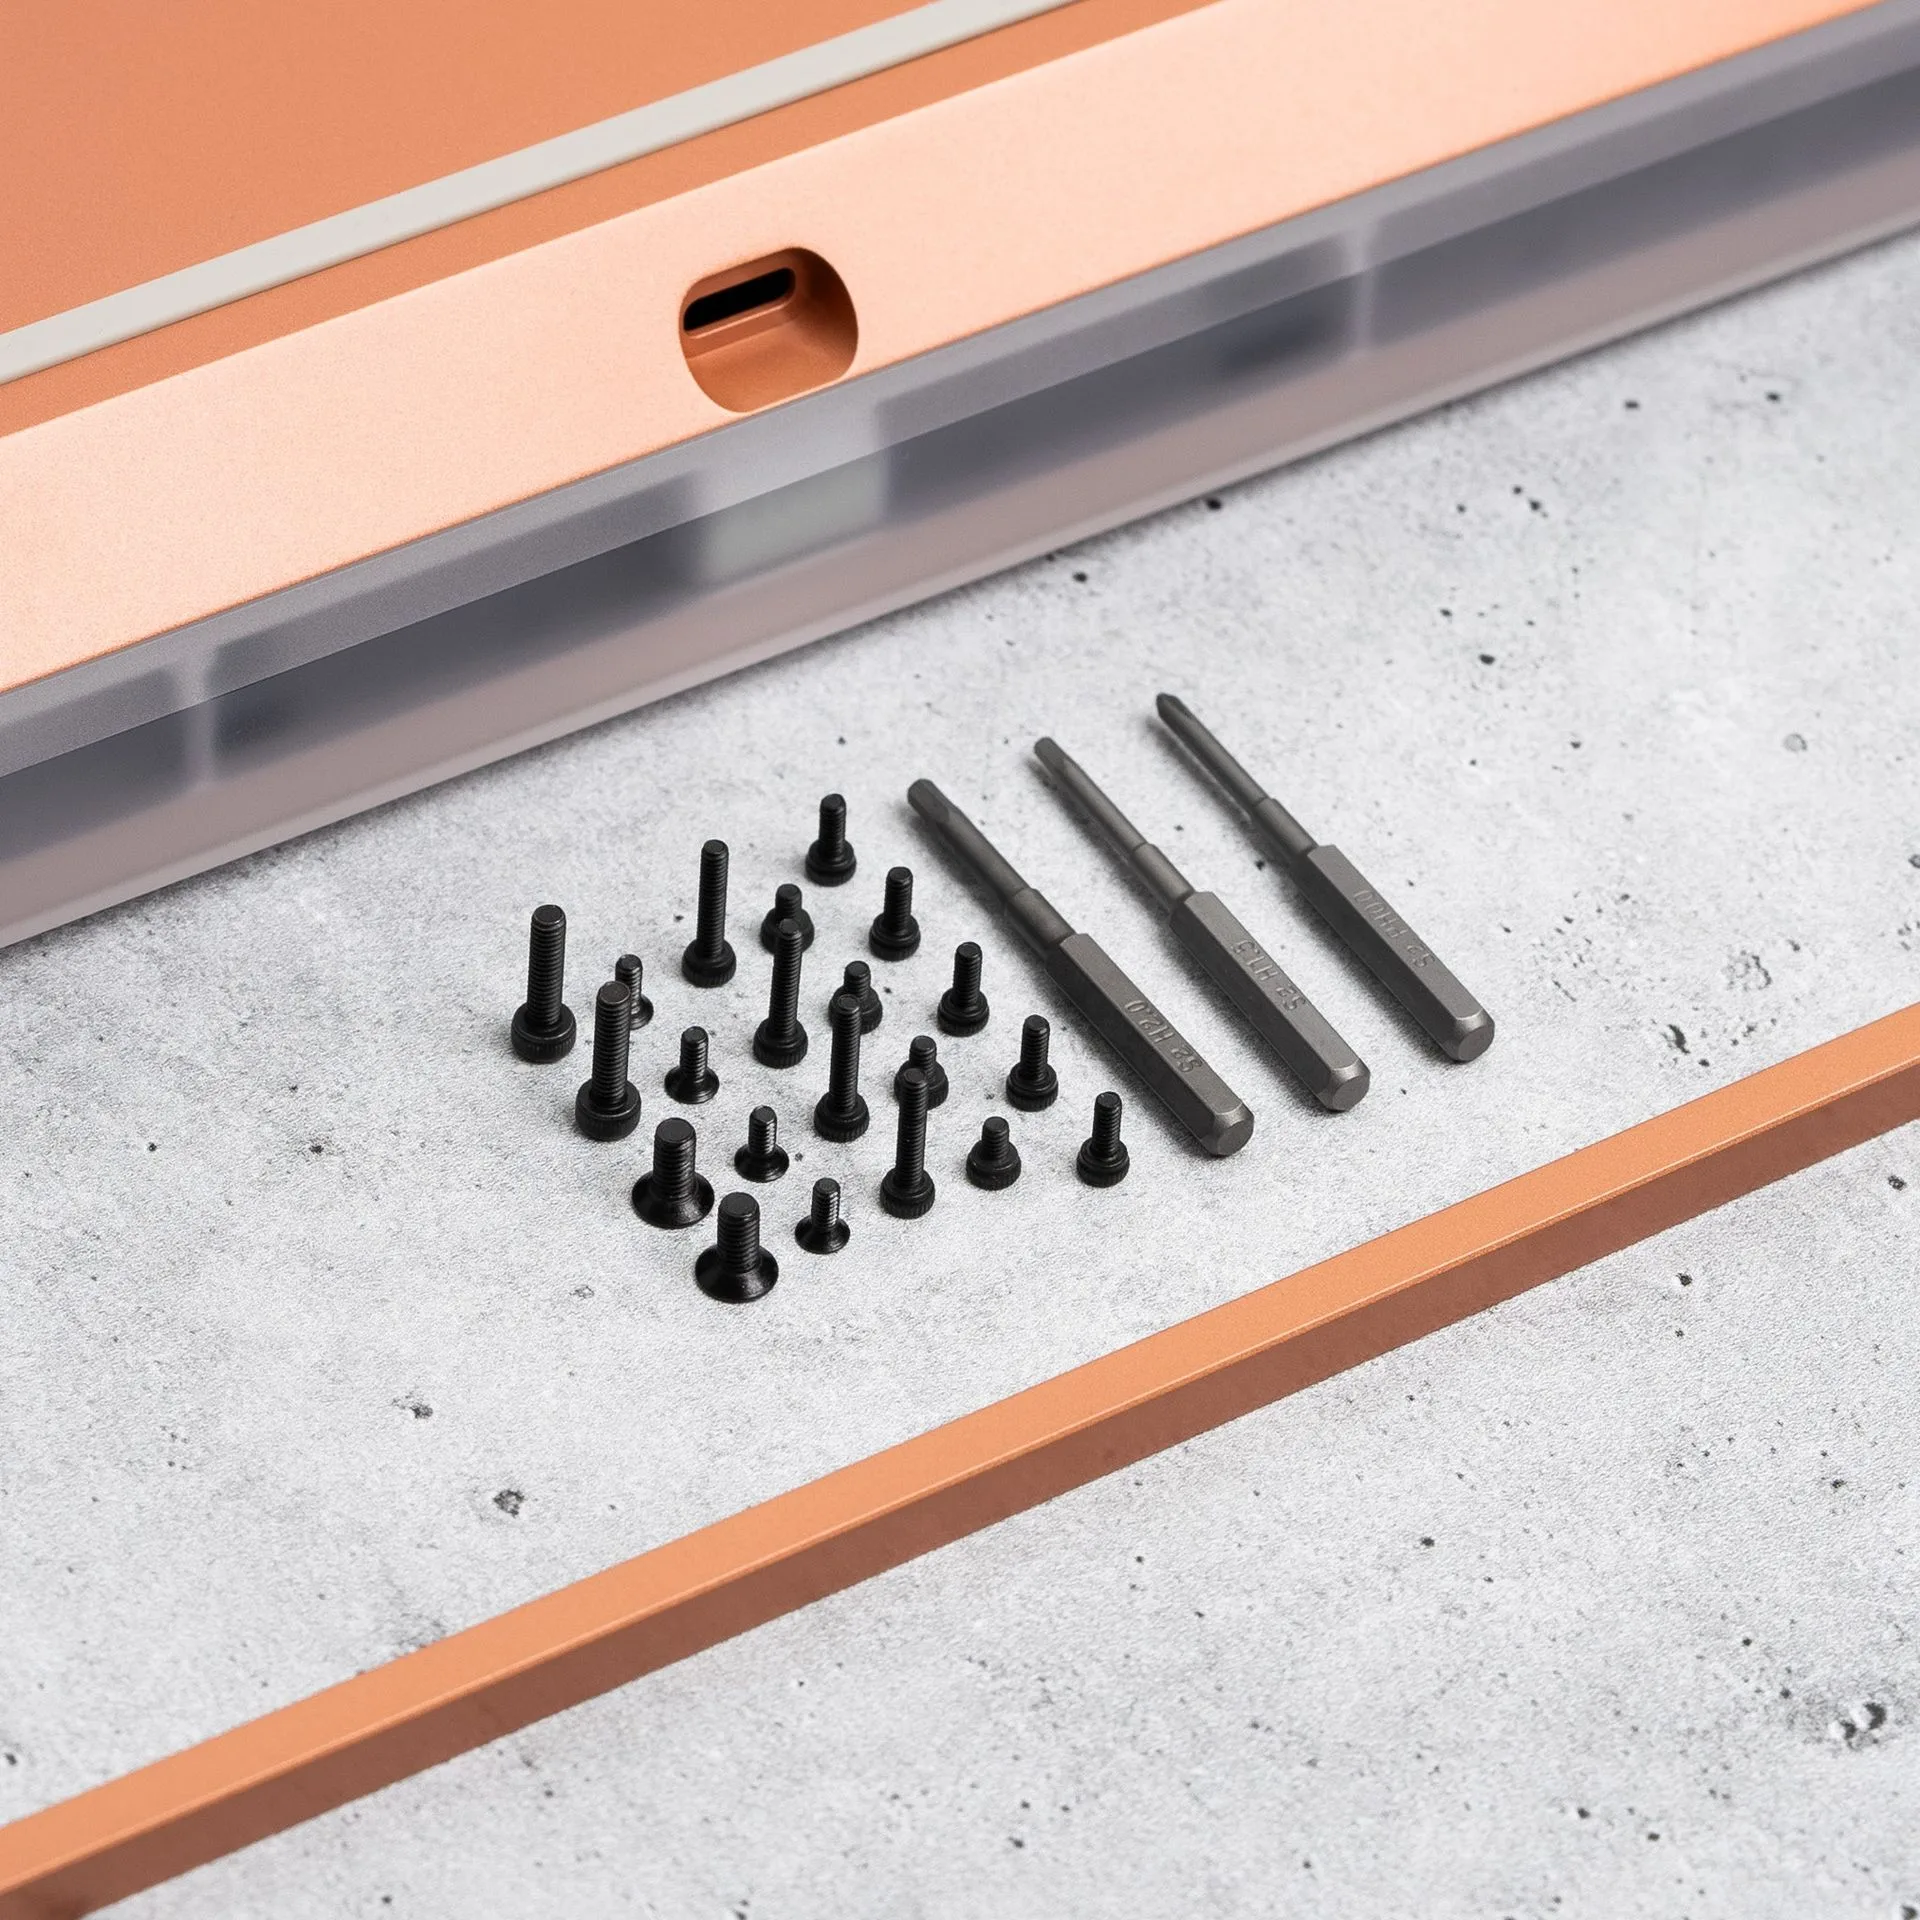
2024 Sonnet Fasteners Pack
- Use a magnetic screw tray to avoid losing screws.
- Take photos of the original layout before disassembly for reference.
Step-by-Step Installation
Follow these steps in order. Take your time—rushing can lead to misaligned foam or stripped screws.
If you're unsure about any step, refer to the Sonnet's official build guide. The process is similar for all Sonnet versions, but small differences may exist between years.
Common Mistakes to Avoid
One common mistake is forcing the foam into place. The pieces are cut to fit, so if something doesn't align, check that you have the correct side facing up. Another issue is over-tightening screws, which can crack the plate or strip threads.
Also, remember that the foam kit is optional. If you prefer a louder, more resonant sound, you can skip the case foam or use only the plate foam. Experiment to find what you like best.
- Don't use excessive force when placing foam.
- Tighten screws gently—snug is enough.
- If a piece doesn't fit, double-check its orientation.
Installation Steps
- Step 1: Unplug and disassemble: Unplug the keyboard and remove the keycaps and switches. Set aside the plate and PCB assembly. Keep screws organized. Checkpoint: Make sure you have a clear workspace and all screws are accounted for.
- Step 2: Install the Poron plate foam: Place the Poron plate foam on top of the PCB, aligning the cutouts with the switch holes. Ensure it lies flat. Checkpoint: The foam should sit flush without overlapping the PCB edge.
- Step 3: Reattach the plate: Carefully align the plate over the PCB and foam. Press down gently to seat the switches, then secure the plate screws. Checkpoint: Tighten screws evenly and avoid over-tightening to prevent warping.
- Step 4: Install the Poron case foam: Place the Poron case foam into the bottom case. It should fit snugly without bulging. If it doesn't, check the orientation. Checkpoint: The foam should not interfere with the daughterboard or USB port.
- Step 5: Add PE foam (optional): If you want extra dampening, place the PE foam between the PCB and the case foam. Not everyone uses this piece. Checkpoint: If the case feels too tight, remove the PE foam—it's optional.
- Step 6: Reassemble and test: Place the PCB assembly back into the case, secure all case screws, and reinstall switches and keycaps. Test every key. Checkpoint: Listen for any rattles or uneven sound—this indicates a misaligned foam piece.
Related Products
- Sonnet: A 75% keyboard with a dramatic sculpted side profile, a contrasting accent bar, and an internal design that offers versatile typing feel and sound. The Sonnet is the keyboard you're modifying, so understanding its design helps you appreciate where the foam goes.
- 2024 Sonnet Fasteners Pack: The 2024 Sonnet Fasteners Pack includes the following fasteners and screwdriver bits: M2.5x10 Case Fasteners x2 M2x5 Plate fasteners x5 M2x3 Daughterboard fasteners x4 M2x5, flat head Hotswap Standoff Fasteners x4 M2x10 Accent Fasteners x4 M3x5 Internal Weight Fasteners x2 Screwdriver Bits (H1.5, H2.0, PH00) Please note that the screwdriver is not included in the kit. If you lose a screw during disassembly, this pack gives you replacements and the right bits to get the job done.
Installing the Sonnet Foam Kit is a simple way to customize your keyboard's sound and feel. By following these steps, you'll avoid common pitfalls and get a clean, professional result. Remember, you can always adjust by removing or adding foam pieces to match your preference.