Start with the right lever and hose for your bike
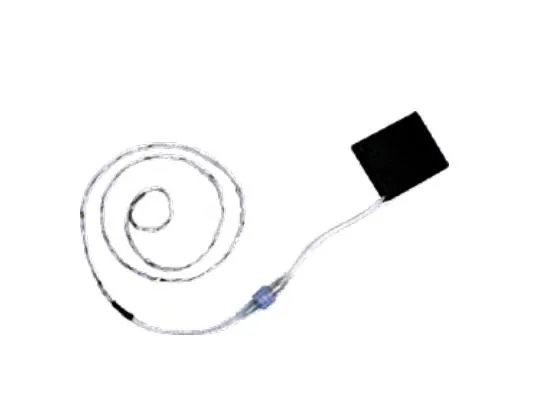
The SRAM G2 R disc brake comes in two configurations: Left with a 950 hose and Right with a 2000 hose. Before you install anything, check which lever side you need and whether the hose length suits your frame and bar routing. If the hose is too short or too long, you may need to shorten it or replace it—but the catalog does not provide hose-cutting or bleeding instructions, so consult SRAM's official service manual for those procedures.
The G2 R uses a two-piece caliper and an aluminum lever blade with black phosphate steel hardware. These are durable materials, but they don't change the fundamentals: correct installation and bedding-in are what make the brake feel powerful and consistent.
G2 R brake at a glance
-
G2 R Disc Brake: Available in Left/950 and Right/2000 configurations. Lever side and hose length must match your bike before installation.
G2 R Disc Brake
-
G2 R Disc Brake: Aluminum lever blade, black phosphate steel hardware, two-piece caliper. These materials indicate a robust build, but they don't replace proper setup and maintenance.
Setup steps for a clean install
- Mount the caliper and lever: Attach the caliper to the frame or fork and the lever to the handlebar using the appropriate bolts. Tighten to the manufacturer's torque specifications—the catalog does not list torque values, so refer to SRAM documentation.
- Route the hose: Feed the hose through the frame guides or along the bars, avoiding sharp bends or contact with moving parts. The supplied hose length (950 or 2000) should be checked against your routing needs.
- Align the caliper: With the wheel installed, loosen the caliper mounting bolts slightly, squeeze the lever to center the caliper over the rotor, and retighten. This is a common method, but always follow SRAM's official alignment procedure if available.
- Check for rub and lever feel: Spin the wheel and listen for rubbing. A properly aligned caliper should allow the wheel to spin freely. If the lever feels spongy, the system may need bleeding—but the catalog does not include bleed instructions, so consult SRAM's service manual.
Bedding in new brake pads
Bedding-in transfers a thin layer of pad material onto the rotor, which improves bite and consistency. The exact procedure varies by pad compound and manufacturer, and the catalog does not supply a bedding-in protocol for the G2 R. A common approach is to ride in a safe area and perform a series of moderate stops from a moderate speed, allowing the brakes to cool between efforts. Avoid prolonged dragging or heavy braking during the first few rides. Always follow SRAM's official bedding-in instructions for your specific pads and rotor.
Fixing disc brake rub
- Check caliper centering: The most common cause of rub is a caliper that is not centered over the rotor. Loosen the mounting bolts, squeeze the lever, and retighten evenly.
- Inspect the rotor: A bent rotor can cause intermittent rub. Spin the wheel and look for side-to-side movement; a rotor truing tool can correct minor bends.
- Verify pad retraction: If the pads don't retract fully, the system may be overfilled or have a sticky piston. The catalog does not cover piston service, so consult SRAM's manual.
- Check for contamination: Oil or dirt on the rotor or pads can cause noise and poor performance. Clean with isopropyl alcohol and replace contaminated pads.
Brake pad care and replacement
The SRAM G2 R uses disc brake pads, but the catalog does not specify which pad model or compound is compatible. When replacing pads, use only SRAM-approved pads for the G2 R and follow the manufacturer's instructions. Inspect pads regularly for wear—most have a wear indicator or a minimum thickness specification. Replace them before the friction material is completely worn to avoid damaging the rotor. Keep the rotor clean and avoid touching the braking surface with bare hands.
Hydraulic maintenance basics
- Check for leaks: Inspect the hose, caliper, and lever for signs of fluid seepage. A low fluid level or spongy lever can indicate a leak or air in the system.
- Bleed when needed: If the lever feels soft or the braking power fades, the system may need bleeding. The catalog does not provide bleed procedures or fluid specifications, so refer to SRAM's official service manual.
- Store and transport carefully: Avoid squeezing the lever when the wheel is removed, as this can push the pistons out. Use a pad spacer if available.
Why the G2 R is a solid choice
- G2 R Disc Brake: Offers exceptional power and SRAM standard features at a premium value. It delivers reliable performance without a premium price, making it a practical upgrade or replacement.
- G2 R Disc Brake: Two-piece caliper construction. This design can aid heat management and serviceability, though specific benefits depend on riding conditions.