Quick answer
Focus on careful part removal, test-fitting joints before snapping, and using tweezers for foil stickers to get a clean build without glue.
Why assembly order matters
The Snow Speeder kit uses a multi-part cockpit and canopy that lock together. If you paint or detail parts before snapping, paint thickness can prevent a flush fit. Dry-fit everything first, then disassemble if you want to paint.
Dealing with the foil stickers
Foil stickers add metallic accents but can peel if handled too much. Use a hobby knife tip or tweezers to position them, then burnish with a cotton swab. Avoid touching the adhesive side.
Step-by-step assembly tips
- Remove parts carefully: Use single-blade nippers to cut each part from the runner, leaving a small nub. Sand or file flush to avoid stress marks. Nub marks are visible on the canopy frame; trim flush before snapping.
- Test-fit sub-assemblies: Snap the cockpit tub, pilot seat, and canopy together without glue. Check that the canopy closes evenly. If the canopy gap is uneven, sand the hinge tabs slightly.
- Apply foil stickers last: After full assembly, use tweezers to place foil stickers over raised detail. Press firmly with a soft cloth. Stickers won't stick well if the plastic has mold release residue; wipe parts with mild soap before assembly.
Kit details
-
Star Wars 1/48 Snow Speeder: The 1/48 Snow Speeder includes runner x8 and foil sticker x1. With eight runners, parts are organized but not numbered in assembly order; sort them by shape before starting.
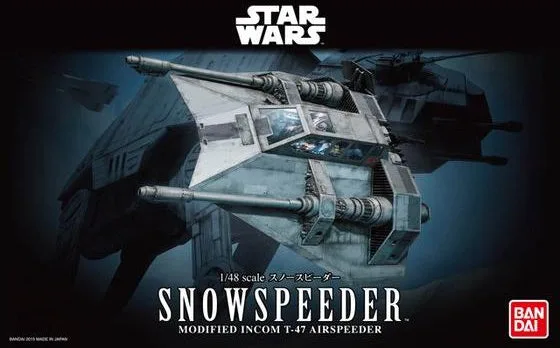
Star Wars 1/48 Snow Speeder