A perfect blowout can transform your entire look, adding volume, shine, and that salon-fresh bounce. But replicating that finish at home often feels like a daunting task—especially when you’re juggling multiple products and tools. The Rahua Blowout Essentials Kit takes the guesswork out of the process, bundling everything you need into one convenient set designed for smooth, frizz-free results.
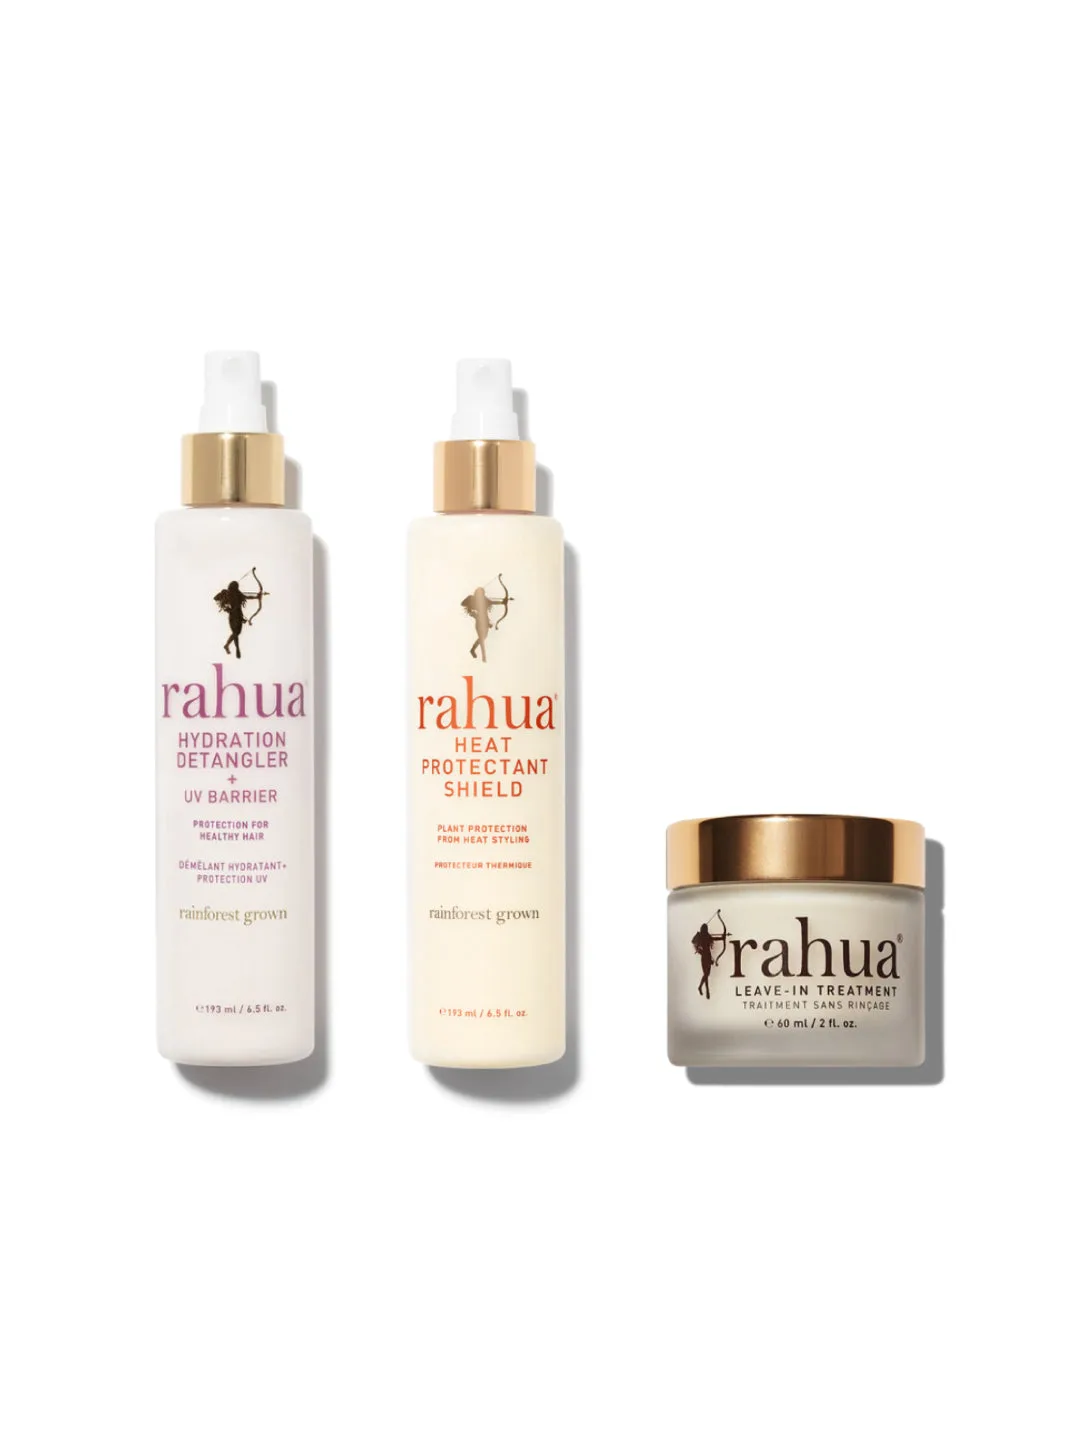
Blowout Essentials Kit
Whether you’re preparing for a special occasion or just want to elevate your everyday style, mastering the art of the at-home blowout is a skill worth developing. In this guide, we’ll walk you through every step, from washing to finishing, using the kit’s hero products and a few simple techniques. Get ready to fall in love with your hair all over again.
What’s Inside the Blowout Essentials Kit
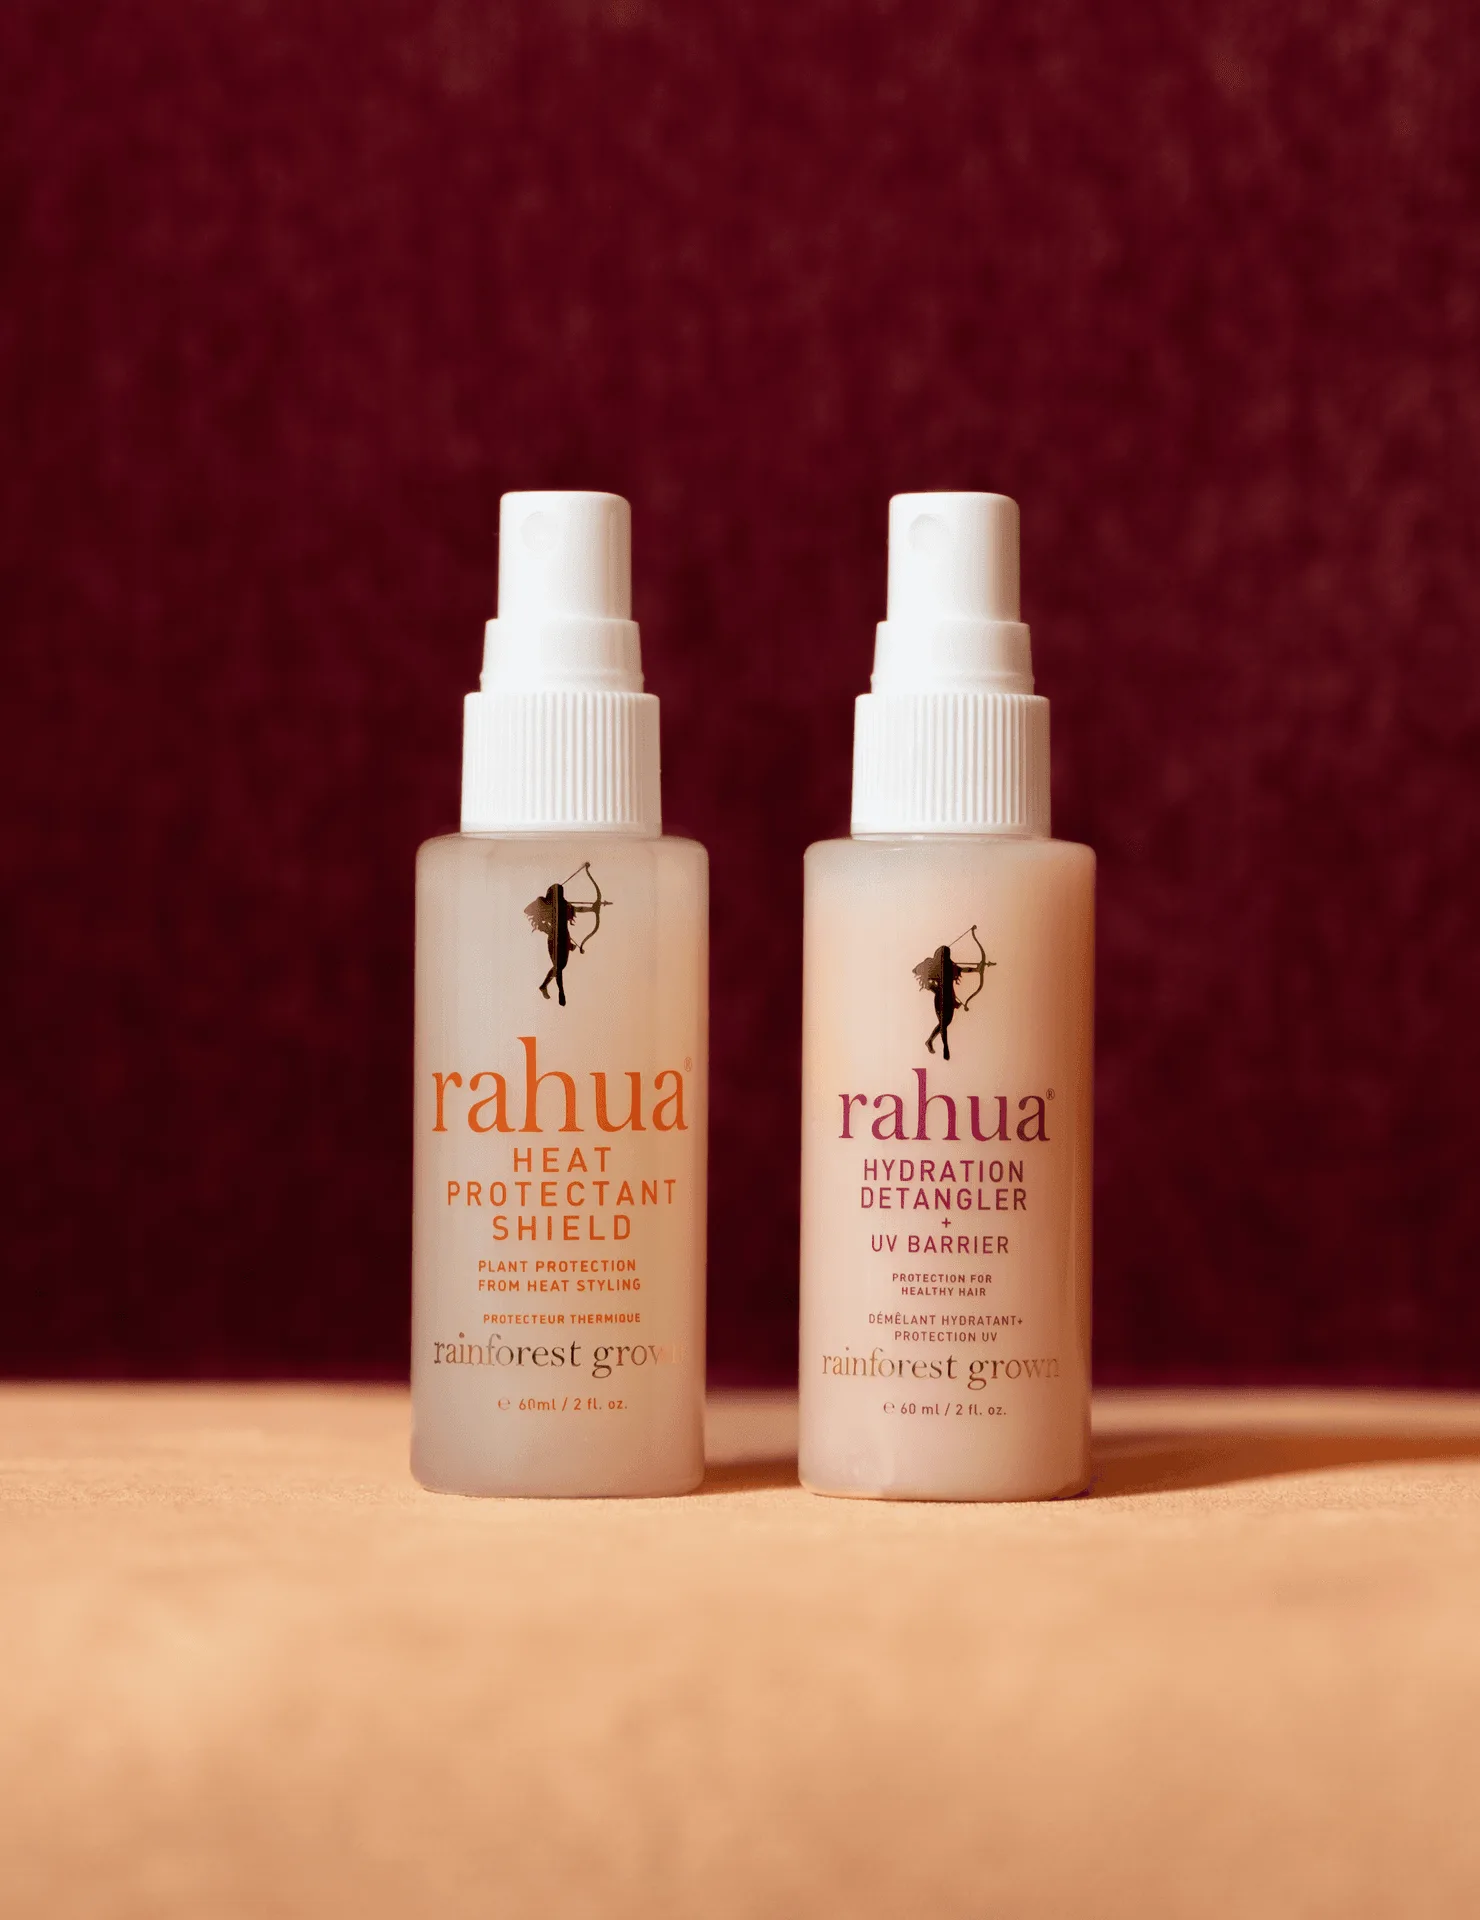
The Blowout Essentials Kit is thoughtfully curated to cover the full blow-drying journey. It includes the Travel Heat Shield + Detangler Duo, which pairs a lightweight heat protectant with a detangling mist to prep your hair before any heat styling. You also receive a full-size of the cult-favorite Voluminous Conditioner Refill, designed to add body and manageability without weighing hair down.
Rounding out the kit is a sample of the Rahua Classic Shampoo and a mini of the Rahua Voluminous Hair Spray for hold. Together, these products work synergistically to create a foundation for volume, protect strands from heat damage, and lock in your style. It’s an all-in-one solution for anyone wanting a polished blowout at home.
Step 1: Prep with the Right Wash
A great blowout starts in the shower. Begin by thoroughly cleansing your scalp and hair with the Rahua Classic Shampoo included in the kit. Massage gently to remove buildup and allow the natural Amazonian ingredients to nourish your strands. Rinse thoroughly before moving to conditioning.
Follow up with the Voluminous Conditioner Refill from the kit. Apply it from mid-lengths to ends, focusing on the driest areas. Leave it on for 2–3 minutes to allow the lightweight formula to penetrate without flattening your roots. Rinse with cool water to seal the cuticles and add instant shine.
- Use a wide-tooth comb to detangle while conditioner is still in your hair to minimise breakage.
Step 2: Detangle and Protect
After towel-drying your hair to remove excess moisture, it’s time to prep for heat. Reach for the Travel Heat Shield + Detangler Duo from the kit. Spritz the detangling side generously through damp hair to gently work out any remaining knots. Follow by misting the heat protectant over all sections, ensuring every strand is covered.
A quality heat protectant is non-negotiable for an at-home blowout. The Travel Heat Shield + Detangler Duo not only guards against blow-dryer damage but also adds a slip that makes brushing easier and reduces the risk of breakage. Use a paddle brush to distribute the product evenly and smooth your hair before you start drying.
Step 3: Rough Drying for Volume
Rough drying is the secret to achieving serious lift at the roots. Flip your head upside down and begin drying with your blow-dryer on a medium heat and high speed setting. Use your fingers to tousle the roots, directing hot air upward. This step removes about 80% of the moisture and preps the hair for precise styling.
Continue until your hair is just slightly damp—not soaking wet but not completely dry. Rough drying lifts the cuticle and creates a natural voluminous texture that lasts through the final passes. If you have thick or curly hair, use a diffuser attachment during this step to encourage gentle drying without disturbing the natural pattern.
Step 4: Smooth Out with a Round Brush
Now it’s time for the precision work. Section your hair into manageable parts—start with the bottom layers and clip up the top. Take a round brush (preferably ceramic or boar-bristle) and place it underneath a 1-inch section of hair. Point the blow-dryer nozzle downward to smooth the cuticle, and slowly glide the brush from roots to ends.
For maximum volume, focus on lifting the roots with the brush as you dry. As you reach the ends, twist the brush slightly inward to create a gentle C-curve. Work through each section methodically, using a cool shot button at the end of each pass to set the style. This technique helps create that salon-smooth finish with lasting bounce.
- Keep tension in the hair while brushing—it helps prevent frizz and creates a sleeker appearance.
Step 5: Finish and Set
Once your entire head is dry and styled to your liking, it’s time to lock everything in place. Use the Voluminous Hair Spray that comes with the Blowout Essentials Kit. Hold it about 10 inches away and mist lightly over your finished blowout, focusing on the roots for added lift and the ends for hold.
For extra staying power, give your hair a final blast of cool air from the blow-dryer as you spray. This sets the hairspray and keeps your style intact for hours. Gently comb through with your fingers to break up any stiffness and enjoy your bouncy, shiny, blowout-looking results. Congratulations—you’ve just mastered a salon-quality blowout at home.
Mastering an at-home blowout doesn’t have to be complicated. With the Blowout Essentials Kit, you have everything you need right in one box—from prep to finishing. Ready to recreate this look yourself? Explore the kit today and enjoy smooth, voluminous hair every time you style.