Quick answer
Most black or yellow-brown discoloration on sterling silver is surface tarnish, not permanent damage. A gentle polish with a soft cloth and silver cleaner usually removes it in minutes. Stop and reassess if the dark area does not change after two or three gentle attempts, or if you see flaking, copper-colored patches, or deep pits—those point to plating wear or corrosion that polishing cannot fix.
What tarnish actually is (and what it is not)
Tarnish is a chemical reaction, not dirt. Sterling silver contains about 92.5% silver and 7.5% other metals, usually copper. Sulfur compounds in air, sweat, wool, rubber bands, and some foods react with the silver and copper to form silver sulfide and copper sulfide—the black or brownish film you see. It sits on the surface, so it can be removed without losing the ring's structure.
Tarnish is different from scratches, which are physical grooves, and from plating wear, which exposes a different metal underneath. Sterling silver is not plated, but some rings combine sterling silver with gold accents or oxidized finishes. On those pieces, the dark color may be intentional oxidation rather than tarnish. Check the product description before you polish: a ring described as oxidized sterling silver is supposed to look dark, and aggressive cleaning can strip that finish.
Why your ring tarnishes faster than your other silver
Not all sterling silver tarnishes at the same rate. A ring worn daily against skin, lotion, sunscreen, and hand sanitizer collects more sulfur and moisture than a pendant that sits in a drawer. Humid climates, coastal air, and storing silver in the same box as rubber bands or wool also speed up the reaction.
The design matters too. A ring with deep recesses, hammered texture, or an oxidized finish has more surface area where tarnish can hide and more places where a polishing cloth cannot reach. That is why a smooth band may clean up in one pass while a textured ring needs a soft brush and more patience.
How to remove tarnish from silver rings safely
Start with the gentlest method and work up only if needed. First, wash the ring in warm water with a drop of mild dish soap and a soft baby toothbrush. This removes skin oils and lotion that trap sulfur against the metal. Dry it completely with a soft, lint-free cloth.
If the black film remains, use a silver polishing cloth or a non-abrasive silver cleaner. Rub with light pressure in one direction, not in circles, and avoid pressing hard around stone settings. For textured or oxidized rings, use a soft brush with cleaner rather than a cloth, and keep the cleaner off any intentionally darkened areas.
For heavy tarnish, a short dip in a commercial silver dip can work, but read the label first. Dips can damage some gemstones, including porous stones like larimar, and they can strip intentional oxidation. If your ring has a stone, clean the metal around it with a cloth or brush instead of dipping the whole piece.
Prevention that actually works
The most effective prevention is a dry, low-sulfur storage environment. Keep silver in a tarnish-resistant pouch or a zip-top bag with an anti-tarnish strip, and store it away from rubber, wool, and cardboard. Wear your ring after applying lotion, perfume, and sunscreen, not before, and wipe it with a soft cloth before putting it away.
If you live in a humid or coastal area, check your rings every few weeks rather than waiting for visible blackening. A quick wipe with a polishing cloth takes seconds and prevents tarnish from building into a layer that needs stronger cleaning. For rings you wear rarely, a sealed bag with an anti-tarnish strip is more reliable than an open jewelry box.
Tarnish diagnosis: symptom, cause, action, and stop point
- Uniform black or brown film on a smooth band: This is normal surface tarnish from sulfur exposure. Wash with mild soap and water, dry, then polish with a silver cloth using light pressure. If the film lifts after one or two passes, continue until clean. If it does not change, move to the next diagnosis.
- Dark spots in recesses, texture, or around a petroglyph: Tarnish collects where cloth cannot reach. Use a soft baby toothbrush with mild soap or a small amount of non-abrasive silver cleaner, and work gently into the low areas. Stop if the dark areas are part of an oxidized finish described in the product details—those are meant to stay dark.
- Flaking, copper-colored patches, or deep pits: These are not tarnish. Flaking suggests plating wear, and pitting suggests corrosion or a casting flaw. Polishing will not restore the surface and can make it worse. Stop polishing and contact the retailer or a jeweler for assessment. This is the point to choose repair or replacement instead of more cleaning.
Design details that affect tarnish care
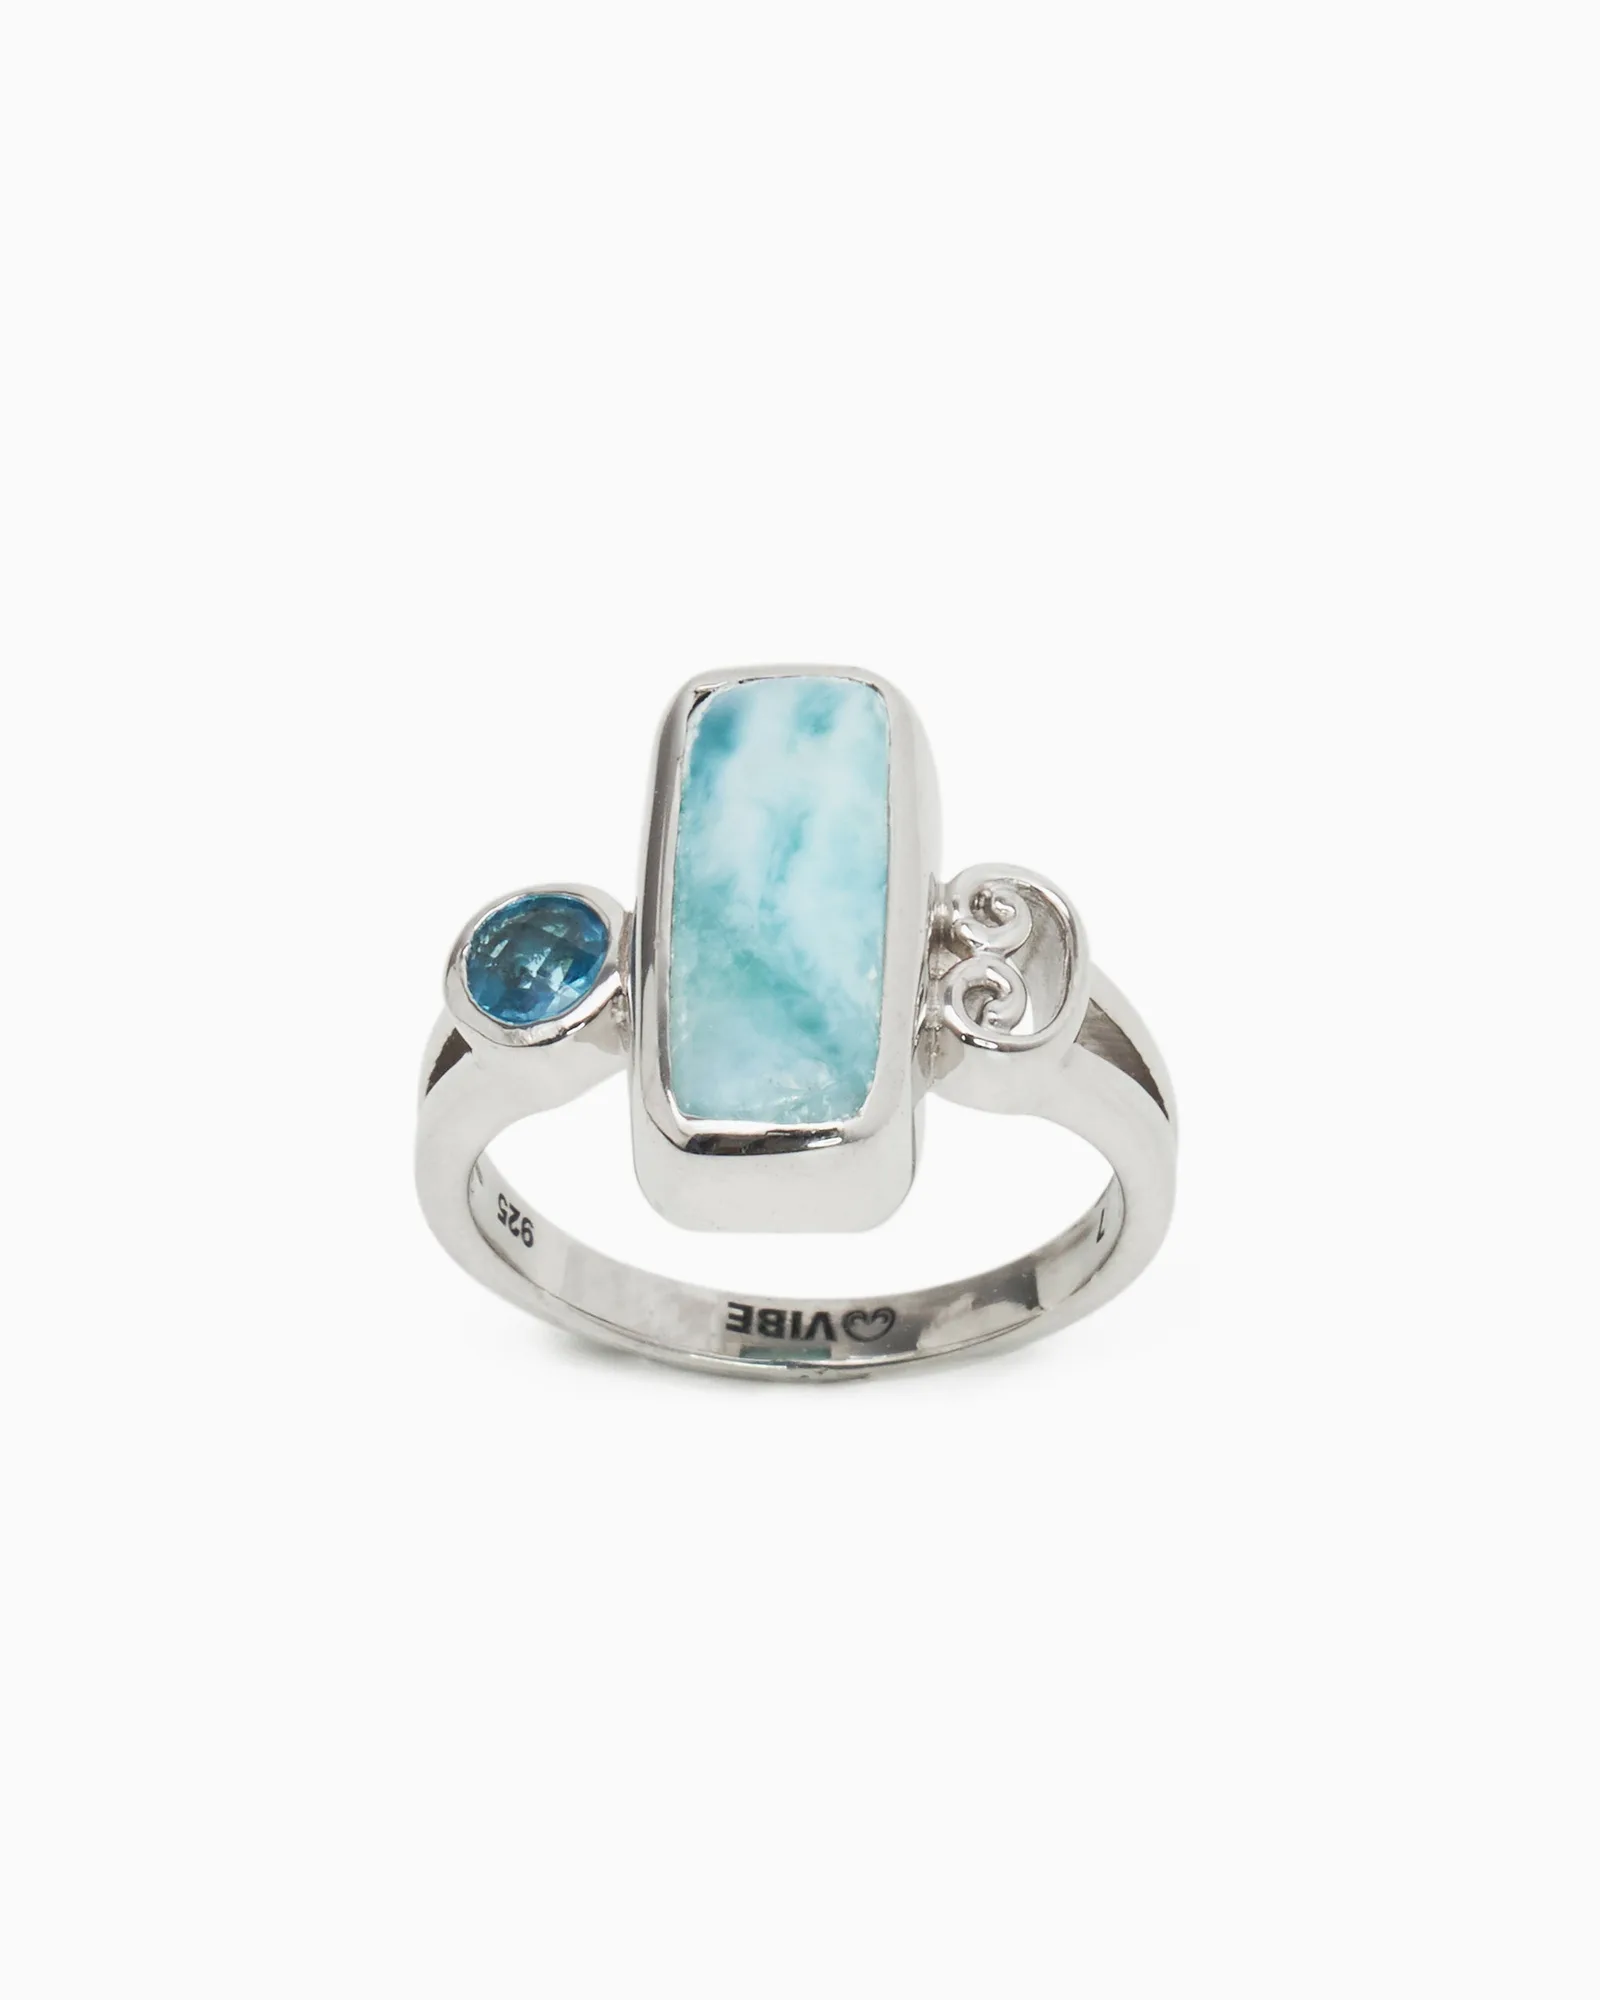
- Rectangular Stone Ring - Larimar/Hampton Blue Topaz: Handcrafted in sterling silver with a round faceted Hampton blue topaz, a rectangular larimar cabochon, and a petroglyph detail; band width 2mm; stone sizes 15mm x 7mm and 5mm. The larimar cabochon is a porous stone, so avoid silver dips and keep liquid cleaner off the stone. Clean the silver around it with a soft brush and dry immediately.
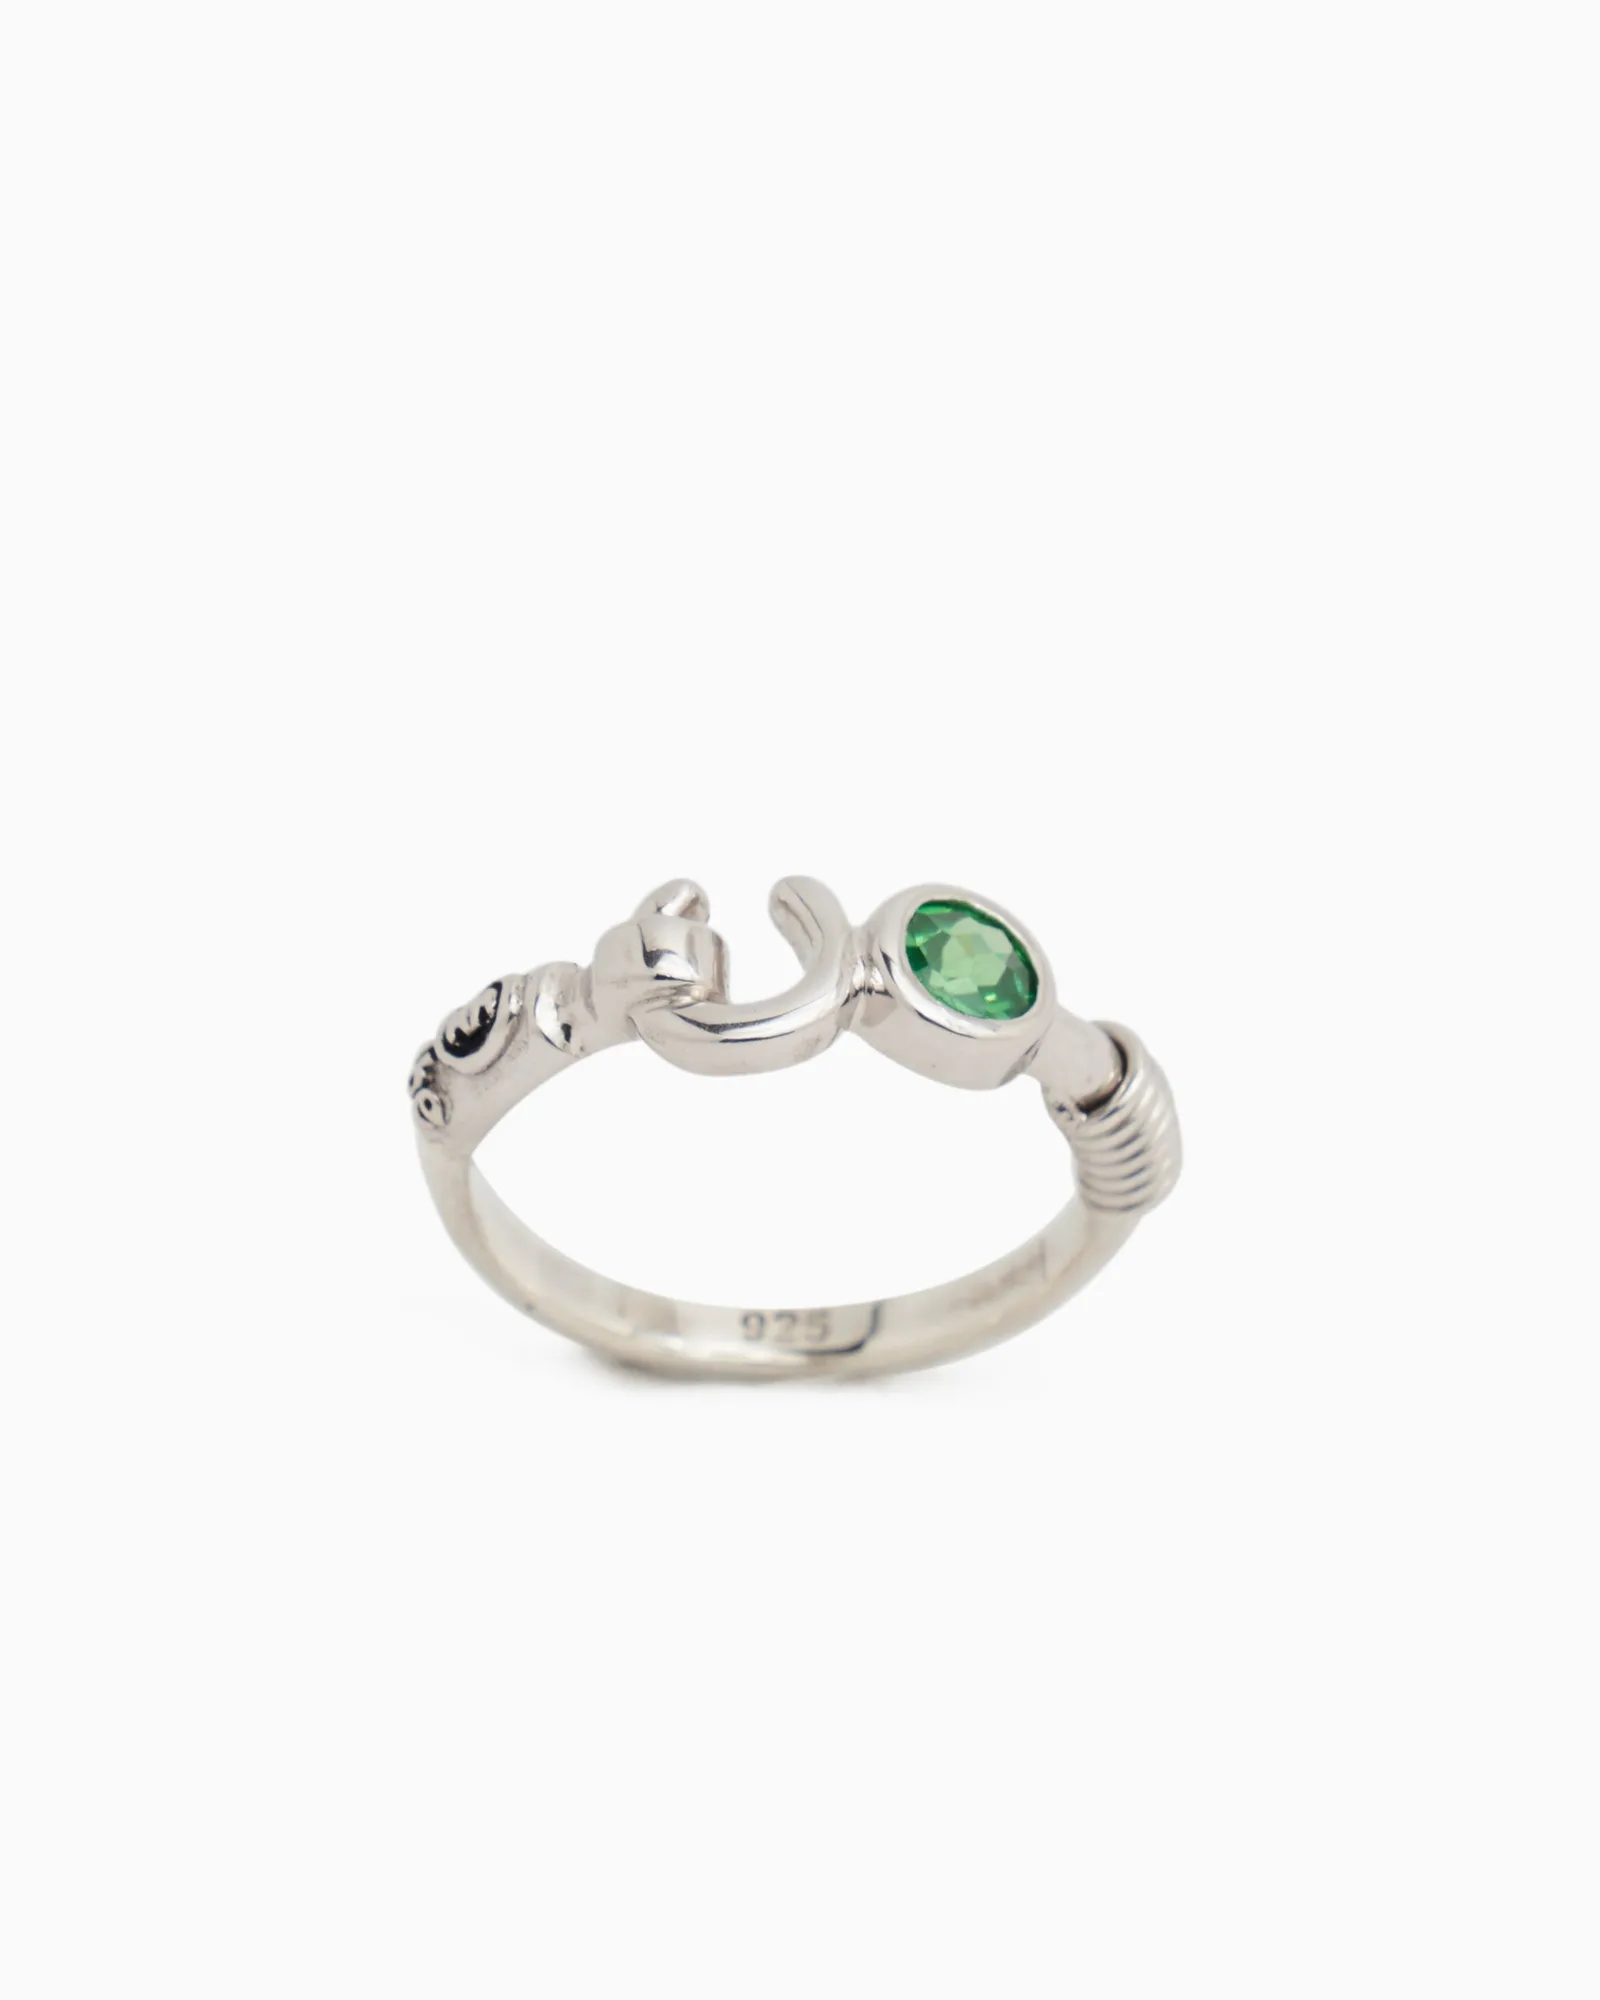
- Hook Ring with Stone - Green Zircon: Fashioned in gently hammered sterling silver with a faceted green zircon stone, a C hook, a signature petroglyph, and seven good luck wraps. The hammered texture and recessed petroglyph hold tarnish in low spots. A soft brush reaches those areas better than a flat polishing cloth, and light pressure protects the texture.
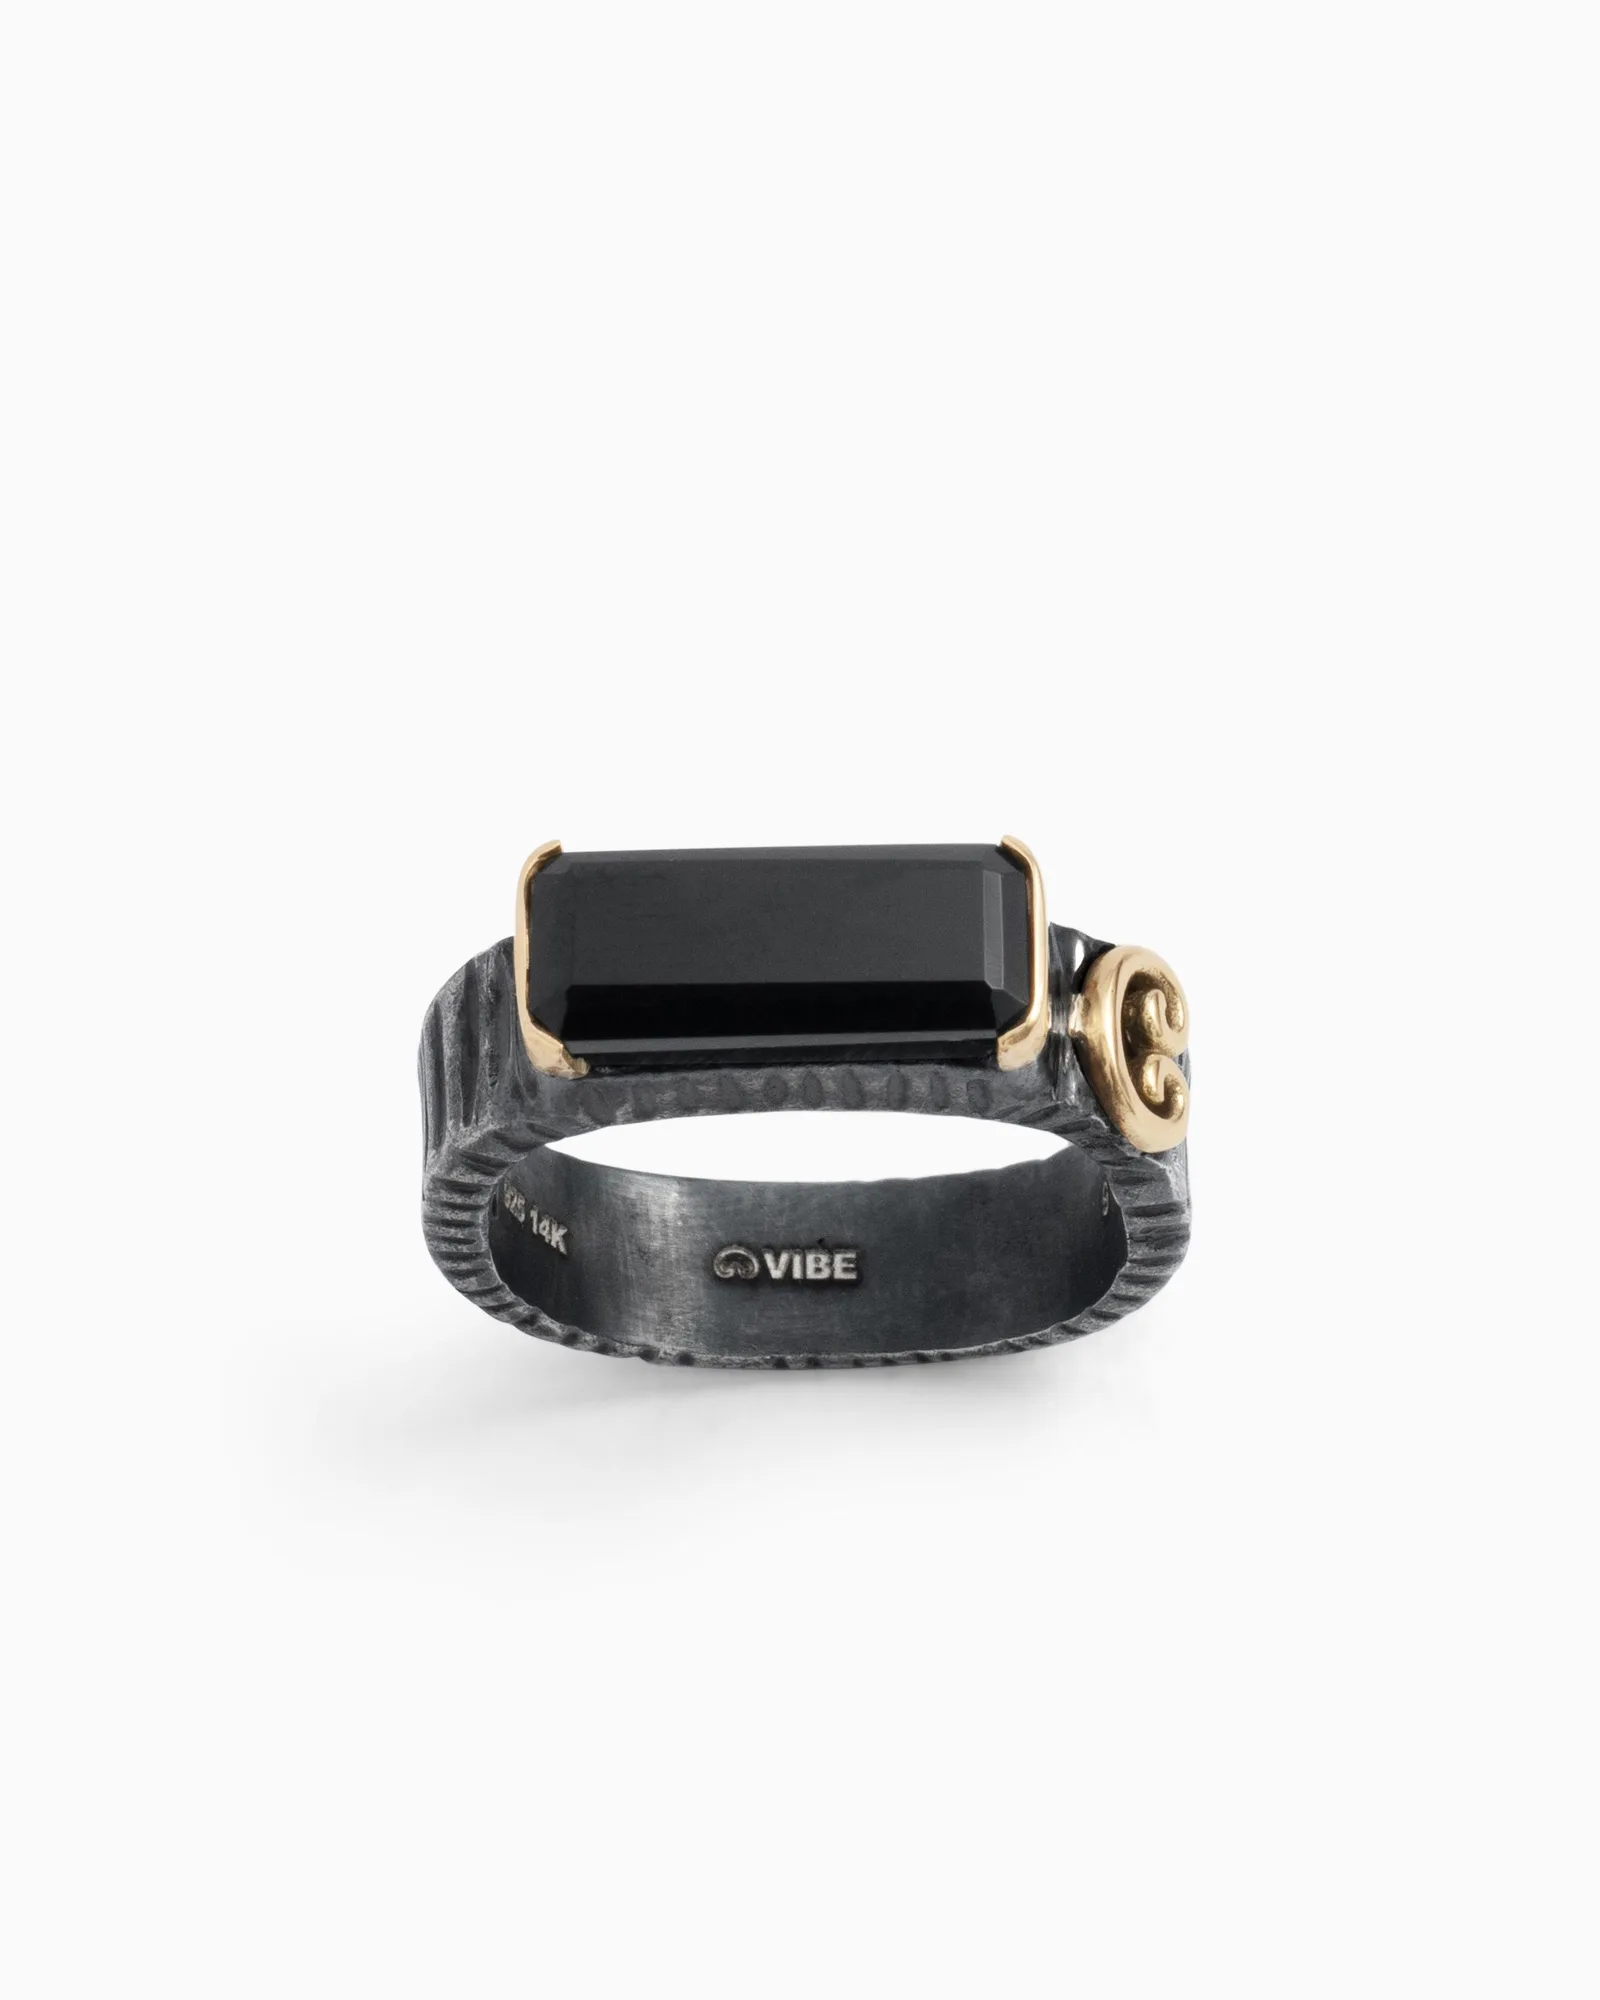
- Salty Water Texture Elongated Stone Ring - Black Onyx: Crafted in oxidized sterling silver with a rectangular faceted black onyx stone, 14K gold accents, and a 14K gold petroglyph on one side; features a salty water texture. The oxidized finish is intentional and can be stripped by polishing or dips. Clean only the gold accents and the onyx with a soft cloth, and avoid abrasive cleaners on the darkened silver.