Quick answer
Mount or place your SUKUNA LIGHTBOX on a stable, shaded surface near a USB outlet or where battery power makes sense, then follow the steps below for power, remote setup, and routine care.
Choose a spot that flatters the layered paper
The SUKUNA LIGHTBOX uses precision-cut layered paper in an acrylic frame. Direct sunlight or a bright lamp aimed at the front can wash out the depth of the layers, so pick a wall or shelf that gets indirect light. A darker corner makes the LED backlight pop without competing with room lighting.
Plan power before you commit to a location
The lightbox runs on USB plug-in (cable included) or batteries. If you want remote-controlled lighting without a visible cable, battery power gives you freedom, but remember the remote itself needs a 3V lithium battery that isn’t included. Decide which power source you’ll use first—it affects where you can safely put the lightbox.
Setup steps for your SUKUNA LIGHTBOX
- Unbox and inspect: Remove the lightbox and USB cable from the packaging. Check the acrylic frame and layered paper for any shipping damage before placing it. Common mistake: tossing the packaging before confirming everything works—keep it until you’ve tested the light.
- Insert the remote battery: Open the remote’s battery compartment and insert one 3V lithium battery (not included). Match the polarity markings. Common mistake: forcing the battery in the wrong way—if it doesn’t click easily, flip it. Test the remote immediately after inserting the battery to confirm it pairs.
- Pick your power source: For permanent display, plug the included USB cable into a wall adapter or powered USB port. For cable-free placement, insert batteries (not included) into the lightbox’s battery compartment. Common mistake: using a weak USB port that can’t deliver enough power—use a dedicated adapter.
- Position the lightbox: Place the lightbox on a stable shelf or mount it securely on a wall. Keep it out of direct sunlight and away from heat sources. Aim for a spot where the front is visible from your usual viewing angle. Common mistake: hanging it too high or too low—center it at eye level for the best effect. Check that the power cable (if used) reaches the outlet without strain.
- Test lighting and remote: Turn on the lightbox and use the remote to cycle through brightness levels or modes. Confirm the remote works from your intended viewing distance. Common mistake: expecting the remote to work through obstacles—keep a clear line of sight.
- Route cables safely: If using USB power, secure the cable along the wall or shelf with clips to prevent tripping or accidental pulls. Avoid bending the cable sharply at the connector. Common mistake: leaving the cable loose where it can be snagged.
- Clean and maintain: Dust the acrylic frame with a soft, dry microfiber cloth. Avoid liquid cleaners or abrasive materials that could scratch the surface or seep into the layers. Common mistake: spraying cleaner directly on the lightbox—always apply to the cloth first. Clean the front and back of the acrylic gently to keep the backlight bright and even.
Product facts
-
SUKUNA LIGHTBOX: Precision-cut layered paper in a durable acrylic frame. The layered paper creates depth, so front lighting should be soft and indirect to avoid flattening the effect.
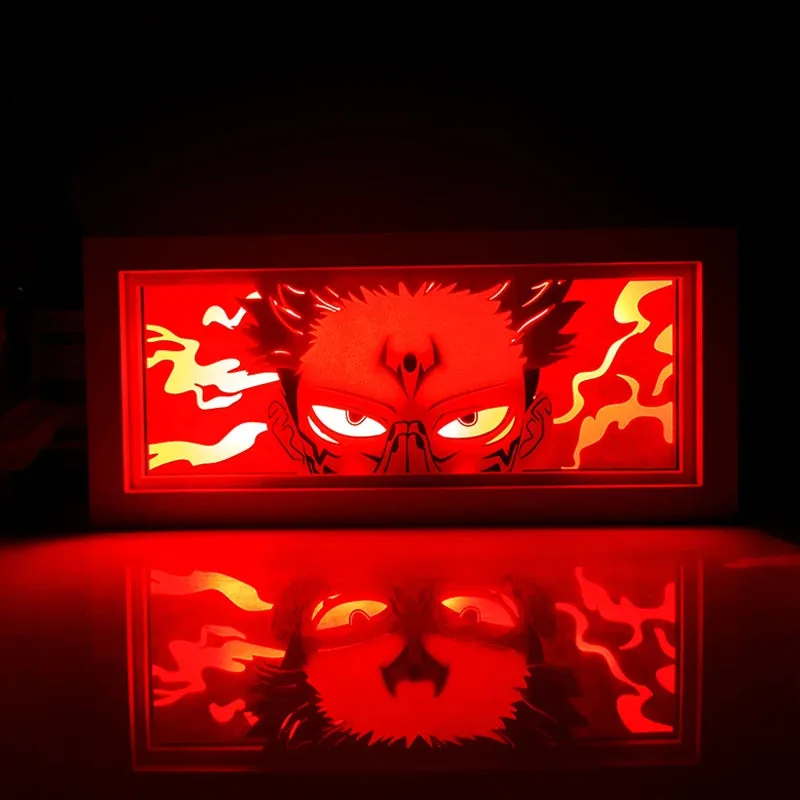
SUKUNA LIGHTBOX
-
SUKUNA LIGHTBOX: Vibrant LED backlight with remote control. You can adjust brightness and mood without reaching behind the frame, but the remote needs a battery you supply.
-
SUKUNA LIGHTBOX: Power options: USB plug-in (included) or battery-powered. USB gives constant power for long display; battery power frees you from cables but requires you to manage battery life.
-
SUKUNA LIGHTBOX: Remote control requires one 3V lithium battery (not included). Buy the battery locally before setup so you can test the remote immediately and avoid frustration.