Quick answer
Start with a blank or lightly used journal, then use the Summer Otters Junk Journaling Kit as your only decorative source for the first spread: lay down one wide patterned strip as a background, add a brushstroke label sticker for a title, and fill the remaining space with two or three otter stickers. Keep the first page simple so you can see how the pieces work together before layering more.
Why a single-kit first spread works better than a full stash
A common beginner mistake is pulling out every sticker, washi tape, and paper scrap at once. That makes it hard to commit to a layout and often leads to a page that feels crowded. The Summer Otters kit gives you 19 individual stickers on a 4.33 by 7 inch sheet, which is enough for several spreads if you use them deliberately. For your first page, treat the kit as a closed set: you can only use what is on the sheet. This constraint speeds up decisions and helps you learn which pieces you reach for most.
If you already have a junk journaling kit you like, you can still follow this walkthrough. The steps focus on how to sequence a spread, not on a specific brand. The only exception is if your kit contains very large die-cut pieces that cover most of the page; in that case, skip the background strip step and use the large piece as your base.
What the kit does and does not include
The Summer Otters Junk Journaling Kit is a themed sticker sheet, not a full journaling starter set. It does not include a notebook, adhesive, scissors, or a pen. You will need those separately. The sheet contains wide patterned strips and brushstroke label stickers, plus other otter-themed stickers. The strips are designed to create bold backgrounds or to be layered two together for a mixed-pattern effect. The brushstroke labels are intended for writing titles or adding notes.
Because the kit is sticker-based, you do not need glue for the stickers themselves. However, if you want to add torn paper, receipts, or other ephemera, keep a glue stick or double-sided tape nearby. A bone folder or ruler can help smooth down the wide strips, but it is optional.
Your first Summer Otters spread, step by step
- Choose and prepare your journal: Pick a notebook with paper that can handle stickers without tearing, such as a mixed-media or dot-grid journal. Open to a fresh spread and lightly pencil in a margin if you want a frame. Common mistake: using very thin paper that buckles when you reposition a sticker. Checkpoint: press a spare sticker on a corner page first to test adhesion and removal. Test on a scrap page before committing to a full spread.
- Lay down one wide patterned strip as a background: Peel one wide patterned strip from the kit and place it horizontally or diagonally across the page. Smooth it from one end to the other to avoid air bubbles. If you want a mixed-pattern effect, add a second strip overlapping the first at an angle. Common mistake: placing the strip dead center and leaving no room for other elements. Checkpoint: leave at least half the page free for stickers and writing. Off-center strips create more natural space for layering.
- Add a brushstroke label sticker for your title: Choose a brushstroke label sticker and write a short title, such as the date, a place, or a mood. Place it near the top or along one edge of the strip. Use a fine-tip pen to keep the writing legible on the label. Common mistake: writing before positioning the label, then discovering it is crooked. Checkpoint: position the label, check the angle, then write. Write after placement, not before.
- Build a small cluster of otter stickers: Select two or three otter-themed stickers from the sheet and arrange them in a loose triangle or along the edge of the strip. Do not fill every gap. Leave some white space so the page breathes. Common mistake: overlapping stickers so much that the otter images become unrecognizable. Checkpoint: step back and confirm each sticker is at least partly visible. Three stickers is enough for a first page; save the rest for later spreads.
- Add a short note or caption: Use a pen to write one or two lines near the stickers, such as a memory, a quote, or a simple observation. If you want to add more brushstroke labels for notes, cut a label in half to create two smaller tags. Common mistake: writing too much and crowding the layout. Checkpoint: keep the note to two lines or fewer on this first spread. Short notes leave room for future layers.
- Date the page and store the leftover stickers: Write the date in a corner or on the back of the page. Return unused stickers to the sheet and store the sheet flat in a folder or pocket. Common mistake: leaving loose stickers on the desk where they pick up dust or get bent. Checkpoint: note which stickers you used most so you know what to look for in future kits. A dated page helps you see your progress over time.
Kit details that affect your setup
-
Summer Otters Junk Journaling Kit: The kit includes 19 individual stickers on a 4.33 by 7 inch sheet, with wide patterned strips and brushstroke label stickers. The sheet size fits easily on a desk or in a journal pocket, and the mix of strips and labels means you can build both backgrounds and titles without extra supplies.
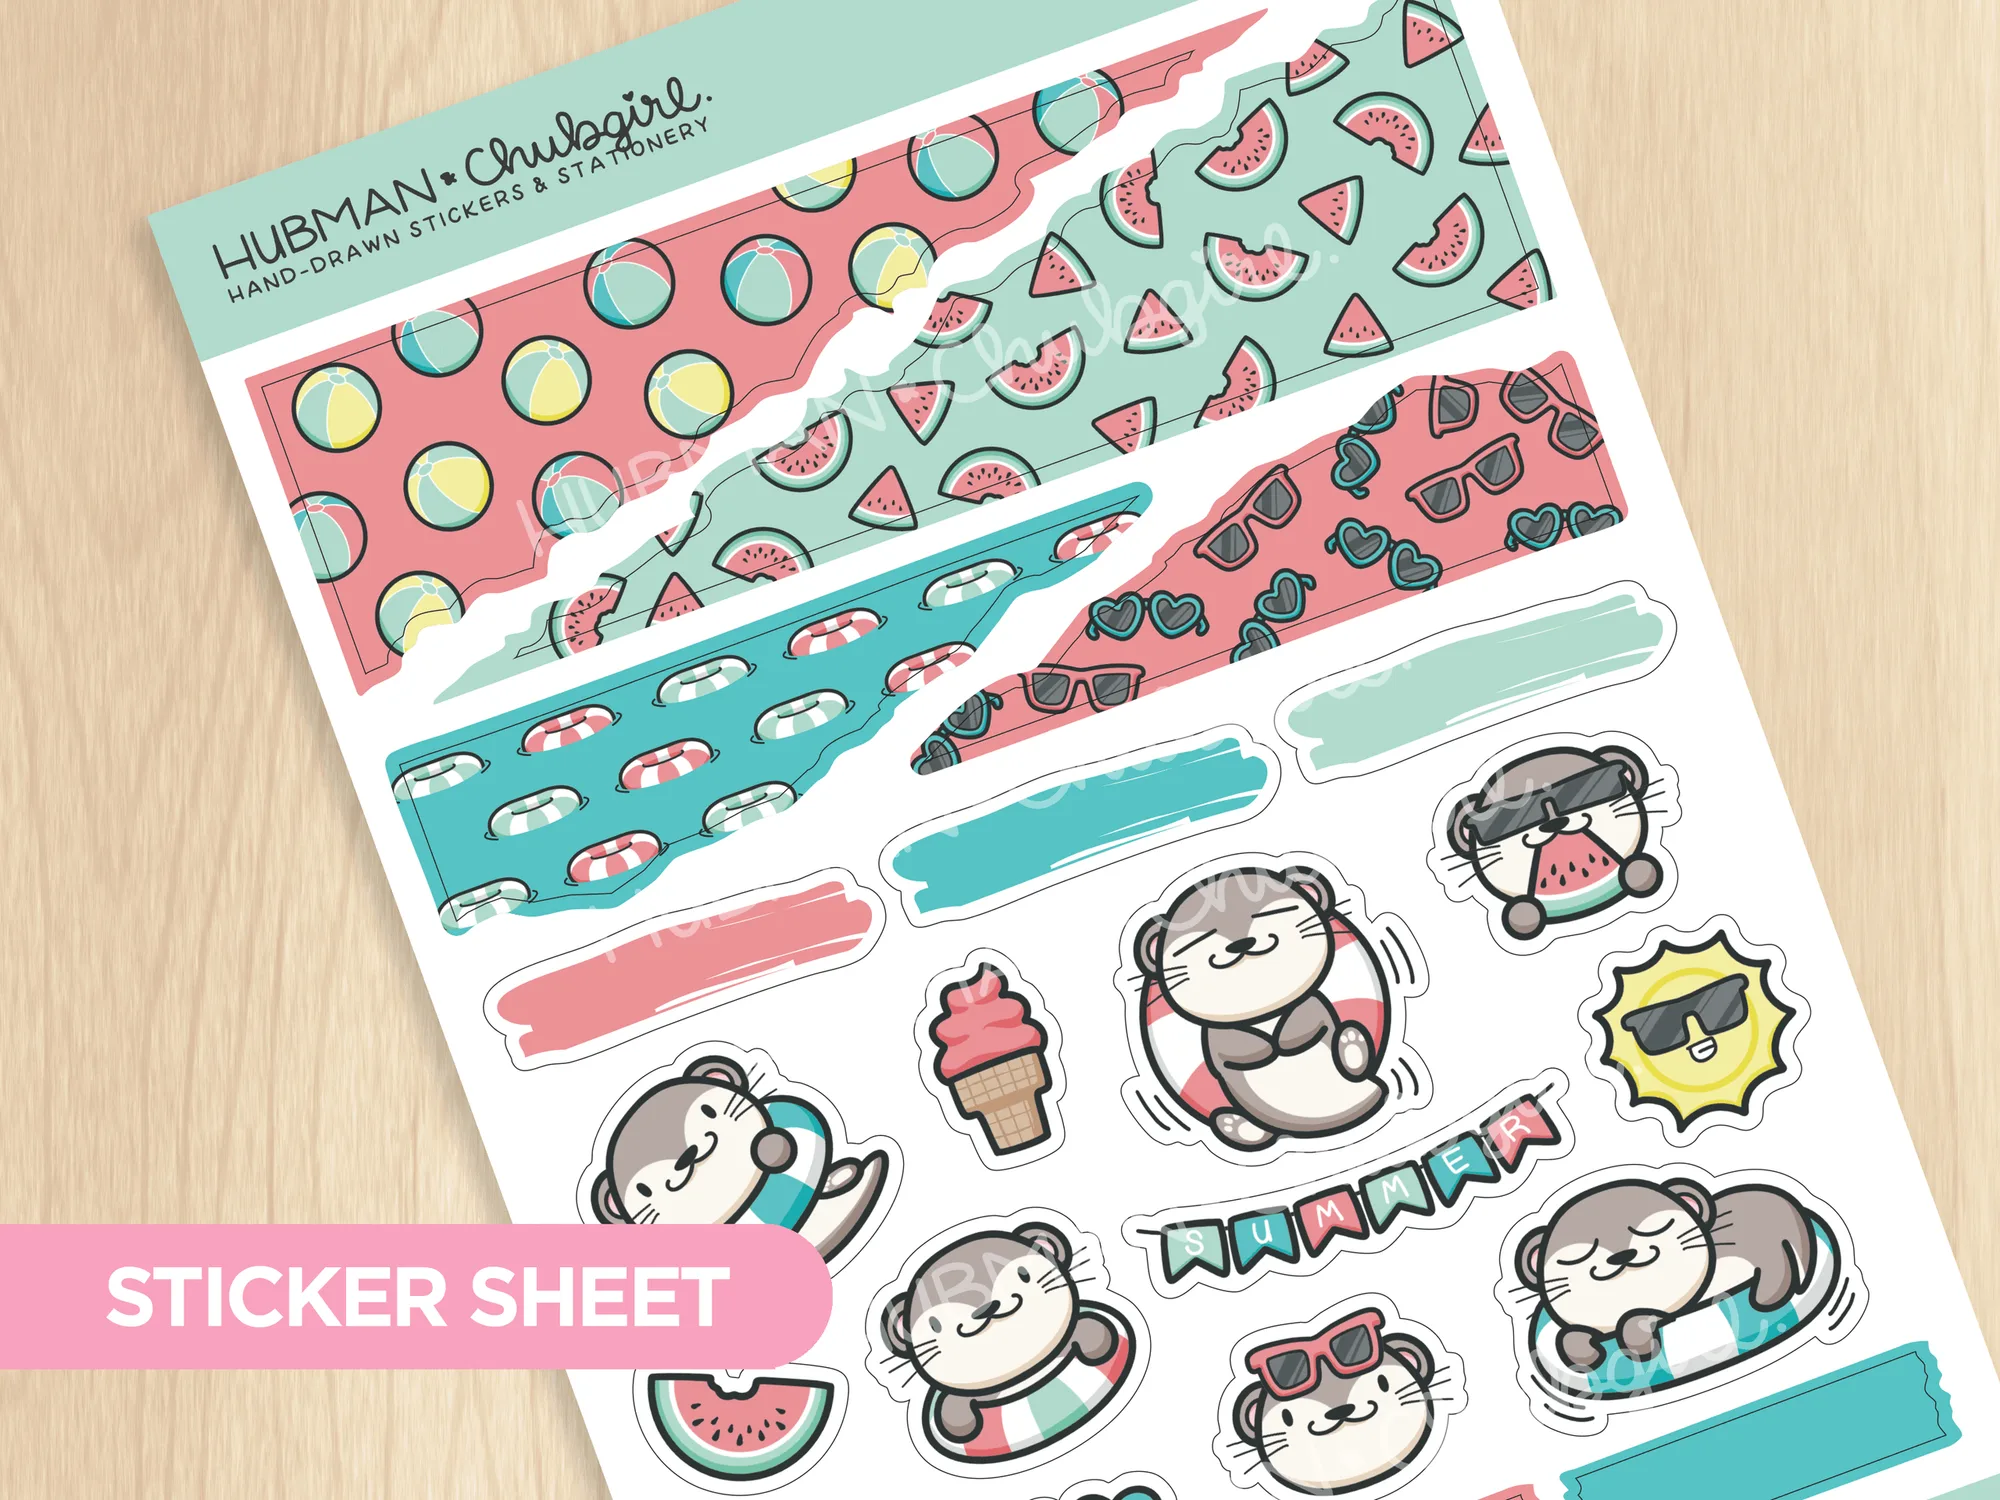
Summer Otters Junk Journaling Kit