Quick answer
Use the Summer Travels Planner Sticker Sheet to build a dedicated travel spread in your bullet journal. The pink-themed stickers work for trip countdowns, packing checklists, and daily adventure logs.
Why a dedicated travel spread works
A single spread keeps all your trip details in one place, so you don't flip between weekly logs. The Summer Travels Sticker Sheet's pink theme adds a cohesive look that ties the pages together without extra effort.
The trade-off is that a dedicated spread takes up two full pages. If your journal is small or you track multiple trips at once, consider using a single-page layout instead.
Choosing sticker placement
Place larger stickers like the suitcase or airplane as section headers. Use smaller icons (e.g., sunglasses, camera) as bullet points or margin accents. This prevents clutter and keeps your layout readable.
A common mistake is sticking everything on one page. Spread the stickers across both sides of the spread, leaving room for handwritten notes and dates.
Step-by-step: Build your travel spread
- Choose your spread type: Decide between a two-page layout (for one trip) or a single page (for quick notes). A two-page spread gives more room for stickers and writing. If you plan multiple trips, use a single page per trip to avoid running out of space.
- Sketch a rough grid: Lightly pencil in sections: a countdown calendar, packing list, daily itinerary, and a memory box. This guides where to place stickers. Common mistake: skipping the grid leads to uneven spacing. Keep it simple—four rectangles are enough.
- Add the largest stickers first: Place the biggest travel-themed stickers (e.g., the airplane or suitcase) as headers for your main sections. This anchors the layout. Checkpoint: Make sure the sticker doesn't cover your date or list area. Reposition before pressing down.
- Fill in with smaller accent stickers: Use smaller icons like the camera or sunglasses as bullet points next to each list item. This adds visual interest without overwhelming the page. Common mistake: overloading one section with stickers. Distribute them evenly across the spread.
- Write your content around the stickers: Add handwritten notes, dates, and checklist items. The stickers should complement the text, not replace it. Leave white space for last-minute additions like restaurant recommendations or weather notes.
Product spotlight
-
Summer Planner Sticker Sheet Summer Travels: Summer Travels Planner Sticker Sheet features a charming pink theme with travel-themed designs. The consistent pink palette makes it easy to create a visually unified travel spread without mixing different color schemes.
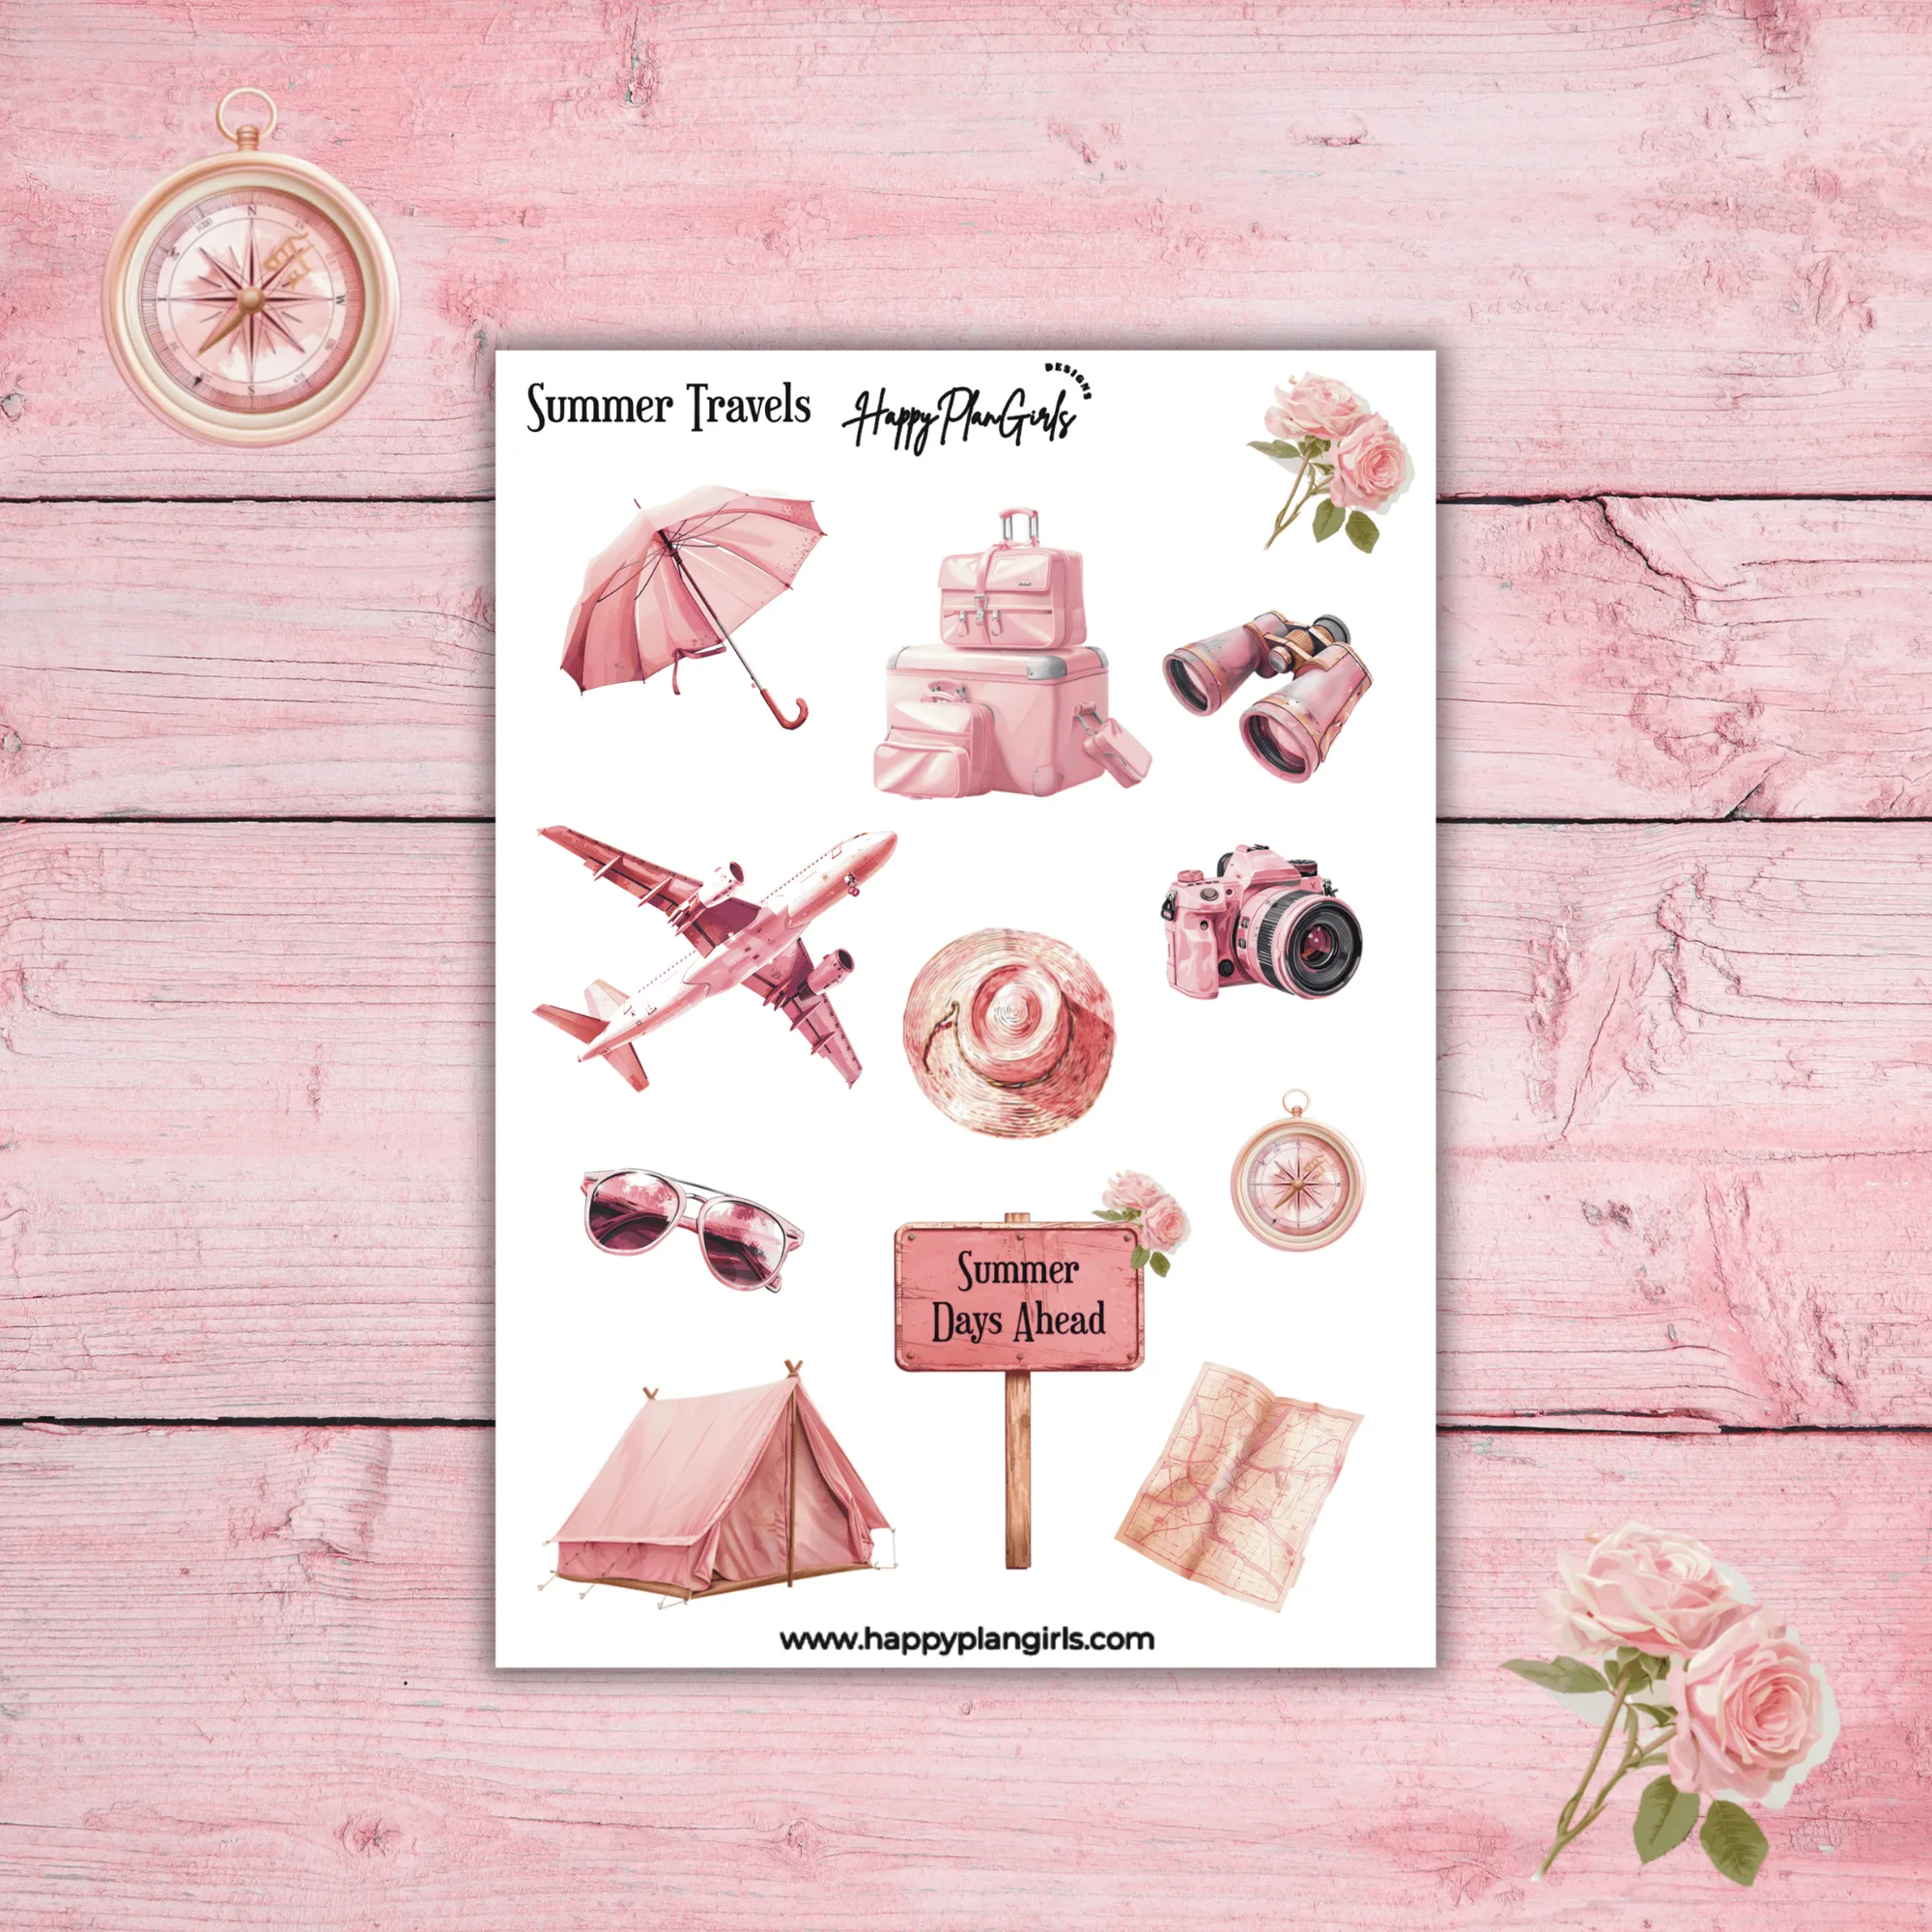
Summer Planner Sticker Sheet Summer Travels