Quick answer
To install Superglide 1 on your Vaxee XE, remove the old PTFE skates, clean the base with isopropyl alcohol, align the glass pads with the original screw holes and sensor opening, then press firmly for 30 seconds. The key is to avoid touching the adhesive and to let the mouse sit for a few minutes before use.
Why glass feet are different from PTFE
Superglide 1 glass feet are made from aluminosilicate glass, which is harder and more durable than PTFE. They provide a faster, smoother glide that many players find helps with micro-aiming and tracking. Unlike PTFE, glass feet don't wear down quickly, so you won't need to replace them often. However, glass feet can be more sensitive to dust and require a clean mousepad to perform at their best.
Before you start: what to check
Make sure your Vaxee XE is unplugged and turned off. Check that the Superglide 1 package includes the correct number of glass pads for your mouse model. You'll also need isopropyl alcohol (70% or higher), a lint-free cloth or cotton swab, and a clean workspace. If your mouse is still under warranty, removing the original feet may void it—consider this before proceeding.
Common mistakes to avoid
The most common mistake is touching the adhesive side of the glass pads, which reduces stickiness. Another is misaligning the pads so they cover the screw holes or sensor opening, which can affect performance or make future disassembly difficult. Finally, pressing too hard during installation can crack the glass—apply firm but even pressure. Also, avoid using sharp tools to remove old feet; they can scratch the mouse base.
Step-by-step installation for Vaxee XE
- Remove the old mouse feet: Use your fingernail or a plastic spudger to gently peel off the original PTFE skates. Work slowly to avoid scratching the mouse base. If the feet are stubborn, apply a small amount of isopropyl alcohol to loosen the adhesive. Never use metal tools—they can gouge the plastic and ruin the fit.
- Clean the mouse base: Wipe the bottom of the mouse with isopropyl alcohol and a lint-free cloth to remove all adhesive residue and oils. Let it dry completely (about 30 seconds). Any leftover residue will weaken the new adhesive, so clean until the surface is squeaky clean.
- Test-fit the glass pads: Before peeling the backing, place the Superglide 1 pads into their slots without pressing down. Check that they sit flush and don't cover the sensor opening or screw holes. The pads should align with the original foot outlines. If a pad doesn't sit flat, you may have the wrong model—contact support before proceeding.
- Peel and place the pads: Peel the backing off one pad at a time, avoiding touching the adhesive. Align it carefully and press down firmly for 30 seconds. Repeat for all pads. Work in a dust-free area; once the adhesive touches dust, it won't stick properly.
- Press and let set: After all pads are placed, press each one again for a few seconds. Let the mouse sit for 5–10 minutes before using it to allow the adhesive to bond fully. Avoid sliding the mouse immediately—give the adhesive time to cure for best results.
- Check for smooth glide: Place the mouse on a clean mousepad and move it around. The glide should feel fast and consistent. If you notice any scratching or unevenness, re-check that the pads are seated flat. A quick test on a clean pad will reveal any alignment issues before you start gaming.
Product facts
-
Superglide 1 for Vaxee XE: Superglide 1 is made with super-strong aluminosilicate glass for a super-fast and super-smooth glide. This means you get a durable, low-friction surface that can improve micro-aiming and tracking compared to standard PTFE feet.
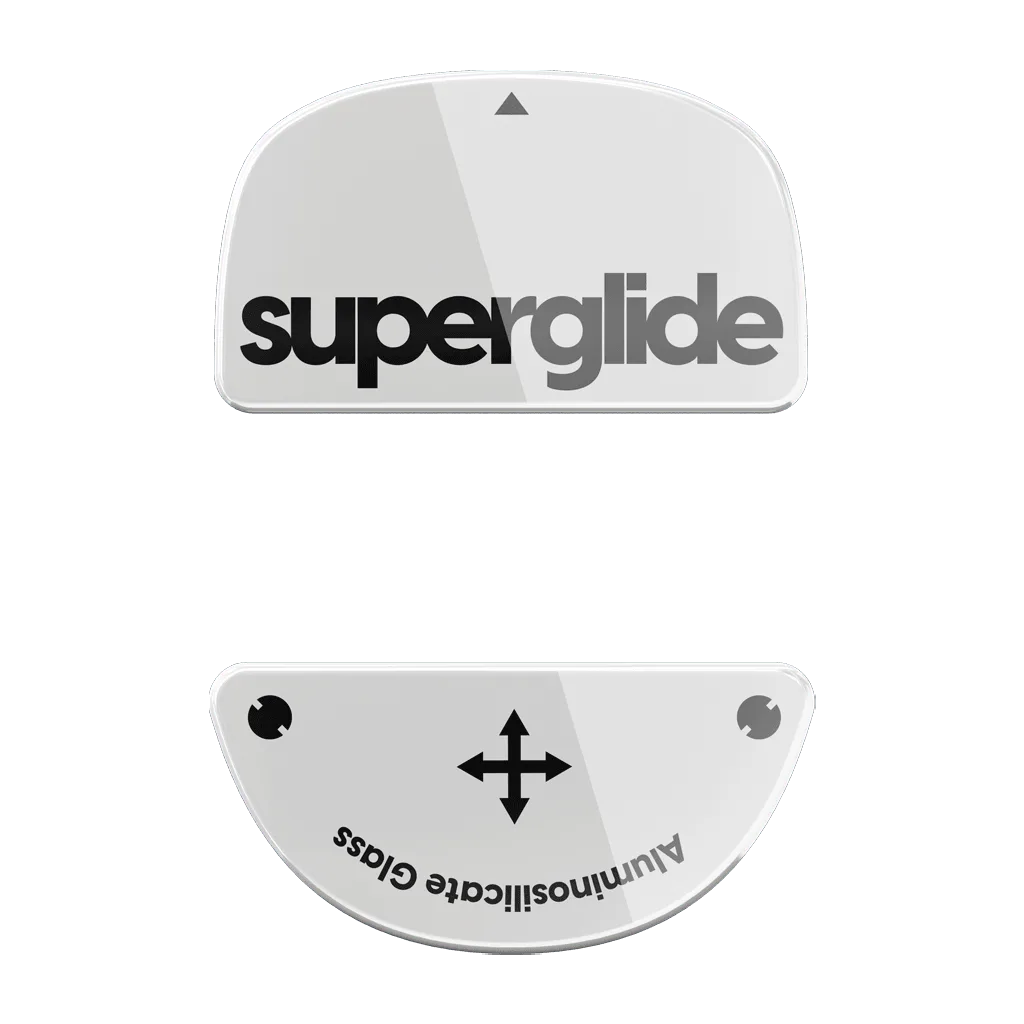
Superglide 1 for Vaxee XE