Quick answer
Work on a clean, well-lit surface, release the old ear pads from their mounting points, press the new pads evenly around the ring, then detach and reseat the boom microphone until it clicks or seats firmly. Check alignment before applying force.
Why a careful swap protects the white finish
Aurora Collection headsets use a clean white finish that shows fingerprints, dust, and tool marks easily. Before you start, wash and dry your hands, and avoid gripping the pads with oily fingers. Work over a soft cloth so small parts do not scratch the shell if they drop.
The replacement set includes both ear pads and a boom microphone, so you can refresh comfort and voice capture in one session. Treat the swap as two separate jobs: pads first, then the boom. Doing both at once makes it harder to notice whether a pad is seated correctly.
When to replace instead of clean
Clean the pads first if the surface is intact and only lightly soiled. Replace them when the covering is flaking, the foam has flattened, or the pad no longer sits flush against the ring. For the boom, replace it if the arm is loose, the housing is cracked, or the microphone no longer stays in position.
If the headset has other damage, such as a cracked headband or a failed hinge, new pads and a boom will not fix it. Check the rest of the headset before ordering replacement parts.
Step-by-step swap
- Power down and clear your workspace: Turn the headset off and unplug any cable. Clear a flat, well-lit surface and lay down a soft cloth. Set out the new ear pads and boom so you can reach them without fumbling. A tidy workspace prevents lost parts and accidental scratches.
- Release the old ear pads: Grip the pad near its edge and pull gently away from the housing. Work around the ring rather than yanking from one point. If the pad has a mounting lip, ease it off with your fingers, not a sharp tool. Even pressure avoids bending the mounting ring.
- Clean the mounting ring: Wipe the exposed ring with a dry, lint-free cloth. Remove any flakes or dust before fitting the new pad. Do not use solvents or wet wipes on the white housing. A clean ring helps the new pad seat evenly.
- Fit the new ear pads: Align the pad's opening with the driver and press the lip over the mounting ring a small section at a time. Work around the circumference until the pad sits flush. Do not force a pad that resists; lift it and check the alignment. A flush fit with no gaps means the pad is correctly seated.
- Remove the old boom microphone: Hold the headset firmly and detach the boom at its connection point. Follow the direction the arm naturally releases; do not twist the housing. Keep the old boom aside in case you need to compare fit. If the boom does not release easily, stop and check for a locking tab or collar.
- Seat the new boom microphone: Line up the new boom with the connection point and push it in until it seats firmly or clicks. Rotate it through its intended range to confirm smooth movement. Do not force it past its stop. The boom should hold position without drooping.
- Test before you store: Power on the headset and check that both ear pads feel even and the microphone picks up your voice. Adjust the boom position and confirm it stays put. If anything feels loose, reseat that part before putting the headset away. A quick test now prevents a mid-session fix later.
Replacement set details
-
Ear Pads and Boom - Aurora Collection - White: The Ear Pads and Boom - Aurora Collection - White set includes ear pads and a boom microphone in a white finish. You get both wear items in one package, so you can refresh comfort and voice capture without ordering separate parts.
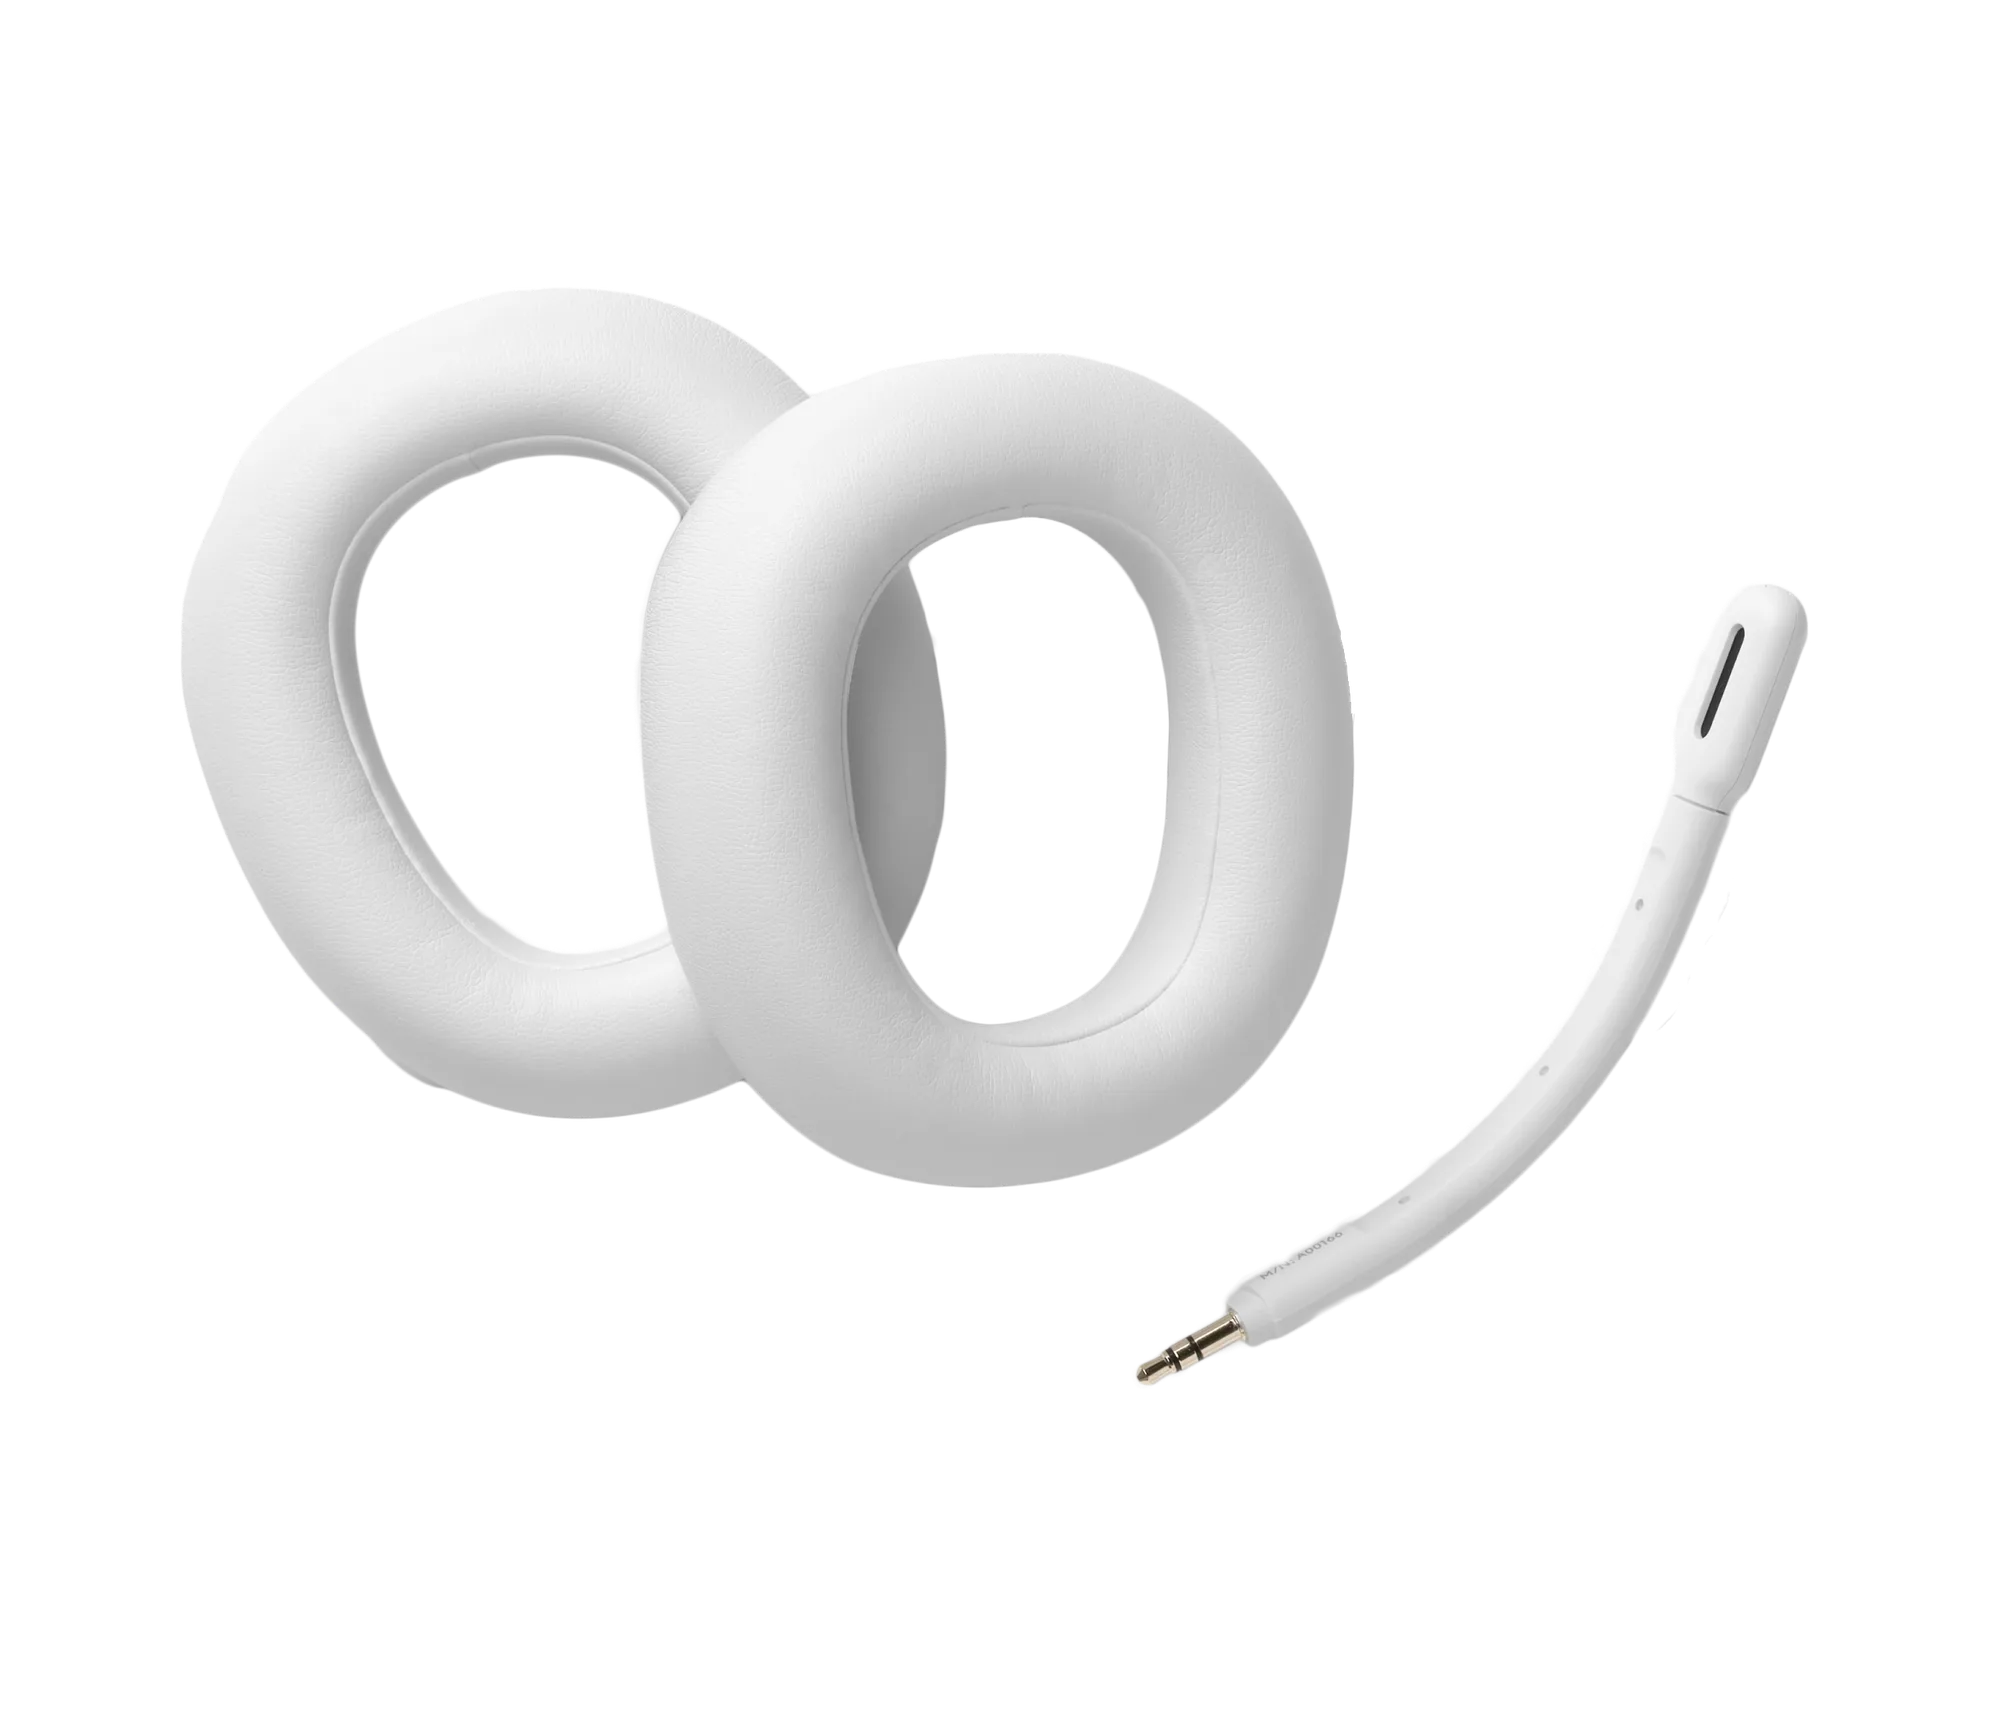
Ear Pads and Boom - Aurora Collection - White