Quick answer
Mount a swivel wall light so the pivot sits roughly at shoulder height for seated tasks, then aim the beam at the surface you actually use. For a bedside swivel wall light, place it about 60–75 cm above the mattress and 20–30 cm to the side of the pillow, and check that the swivel arm can reach your book or phone without glare.
Start with the task, not the wall
Before you drill, decide what the light has to do. A swivel wall light is adjustable, so its value comes from aiming light at a specific surface: a book, a mirror, a picture, a stair edge or a worktop. If you cannot name that surface, the placement will feel random and you will end up moving it.
Walk the room at the time of day you use it most. Note where you sit, stand or pass, and where shadows already fall. The best spot is usually where the light can reach the task without shining into eyes or bouncing off a glossy surface.
Choose the right wall and check what is behind it
Swivel lights sit close to the wall, so they suit narrow spaces, but the wall still needs to carry the weight and hide the cable or box. Knock along the wall to find studs, and avoid running fixings straight above a radiator, a door swing or a curtain track.
For switched models, confirm whether the light will be controlled by a wall switch, a pull cord or its own switch. If the wall is tiled, plastered or painted, plan how you will make good afterwards before you commit to a position.
Step-by-step placement method
- 1. Mark the task surface first: Stand or sit where you will use the light and mark the exact spot you need lit, such as the top of a book, a mirror centre or a stair tread. Common mistake: marking the wall height before deciding the task, which leads to a light that points at the ceiling or floor. Checkpoint: you should be able to point at the task surface with one finger from your normal position.
- 2. Set the pivot height for the user: For seated reading, aim the pivot at roughly shoulder height when seated; for a bedside swivel wall light, about 60–75 cm above the mattress works for most adults. For hallways, keep the pivot above head height so the beam clears shoulders. Common mistake: using a standard ceiling-light height, which leaves the swivel too high to aim comfortably. Checkpoint: with the arm at mid-travel, the beam should reach the task without you leaning forward.
- 3. Offset from the pillow or chair: Place the light 20–30 cm to the side of the pillow or chair back so the shade is not directly in your eyeline. Common mistake: centring the light above the pillow, which throws glare into your eyes when you sit up. Checkpoint: sit in position and look straight ahead; you should not see the bulb or the brightest part of the shade.
- 4. Space multiple lights evenly: For a run of wall lights, space them at regular intervals and keep the same distance from any corner or door frame. As a starting point, use the wall length divided by the number of lights plus one, then adjust so no light sits closer than about 15 cm to a corner. Common mistake: spacing by eye, which shows up as a lopsided row once the lights are on. Checkpoint: measure from the corner to the first light and repeat that measurement between each fitting.
- 5. Aim the swivel and lock it: With the light on, swivel the arm left and right through its range and stop where the task is brightest and your eyes are comfortable. Tighten the joint or fixing so it holds that position. Common mistake: aiming the light before checking the switch reach, then finding you have to stretch past the beam to turn it on. Checkpoint: you can reach the switch or dimmer from your normal seated or standing position without moving the light.
- 6. Live with it for a week before making good: Use the light for a few evenings and note whether you keep re-aiming it or shielding your eyes. Adjust the height or offset once, then fill, sand and touch up the wall. Common mistake: filling and painting immediately, then discovering the position needs to move. Checkpoint: if you have not touched the swivel for three nights, the placement is right.
Product facts that affect placement
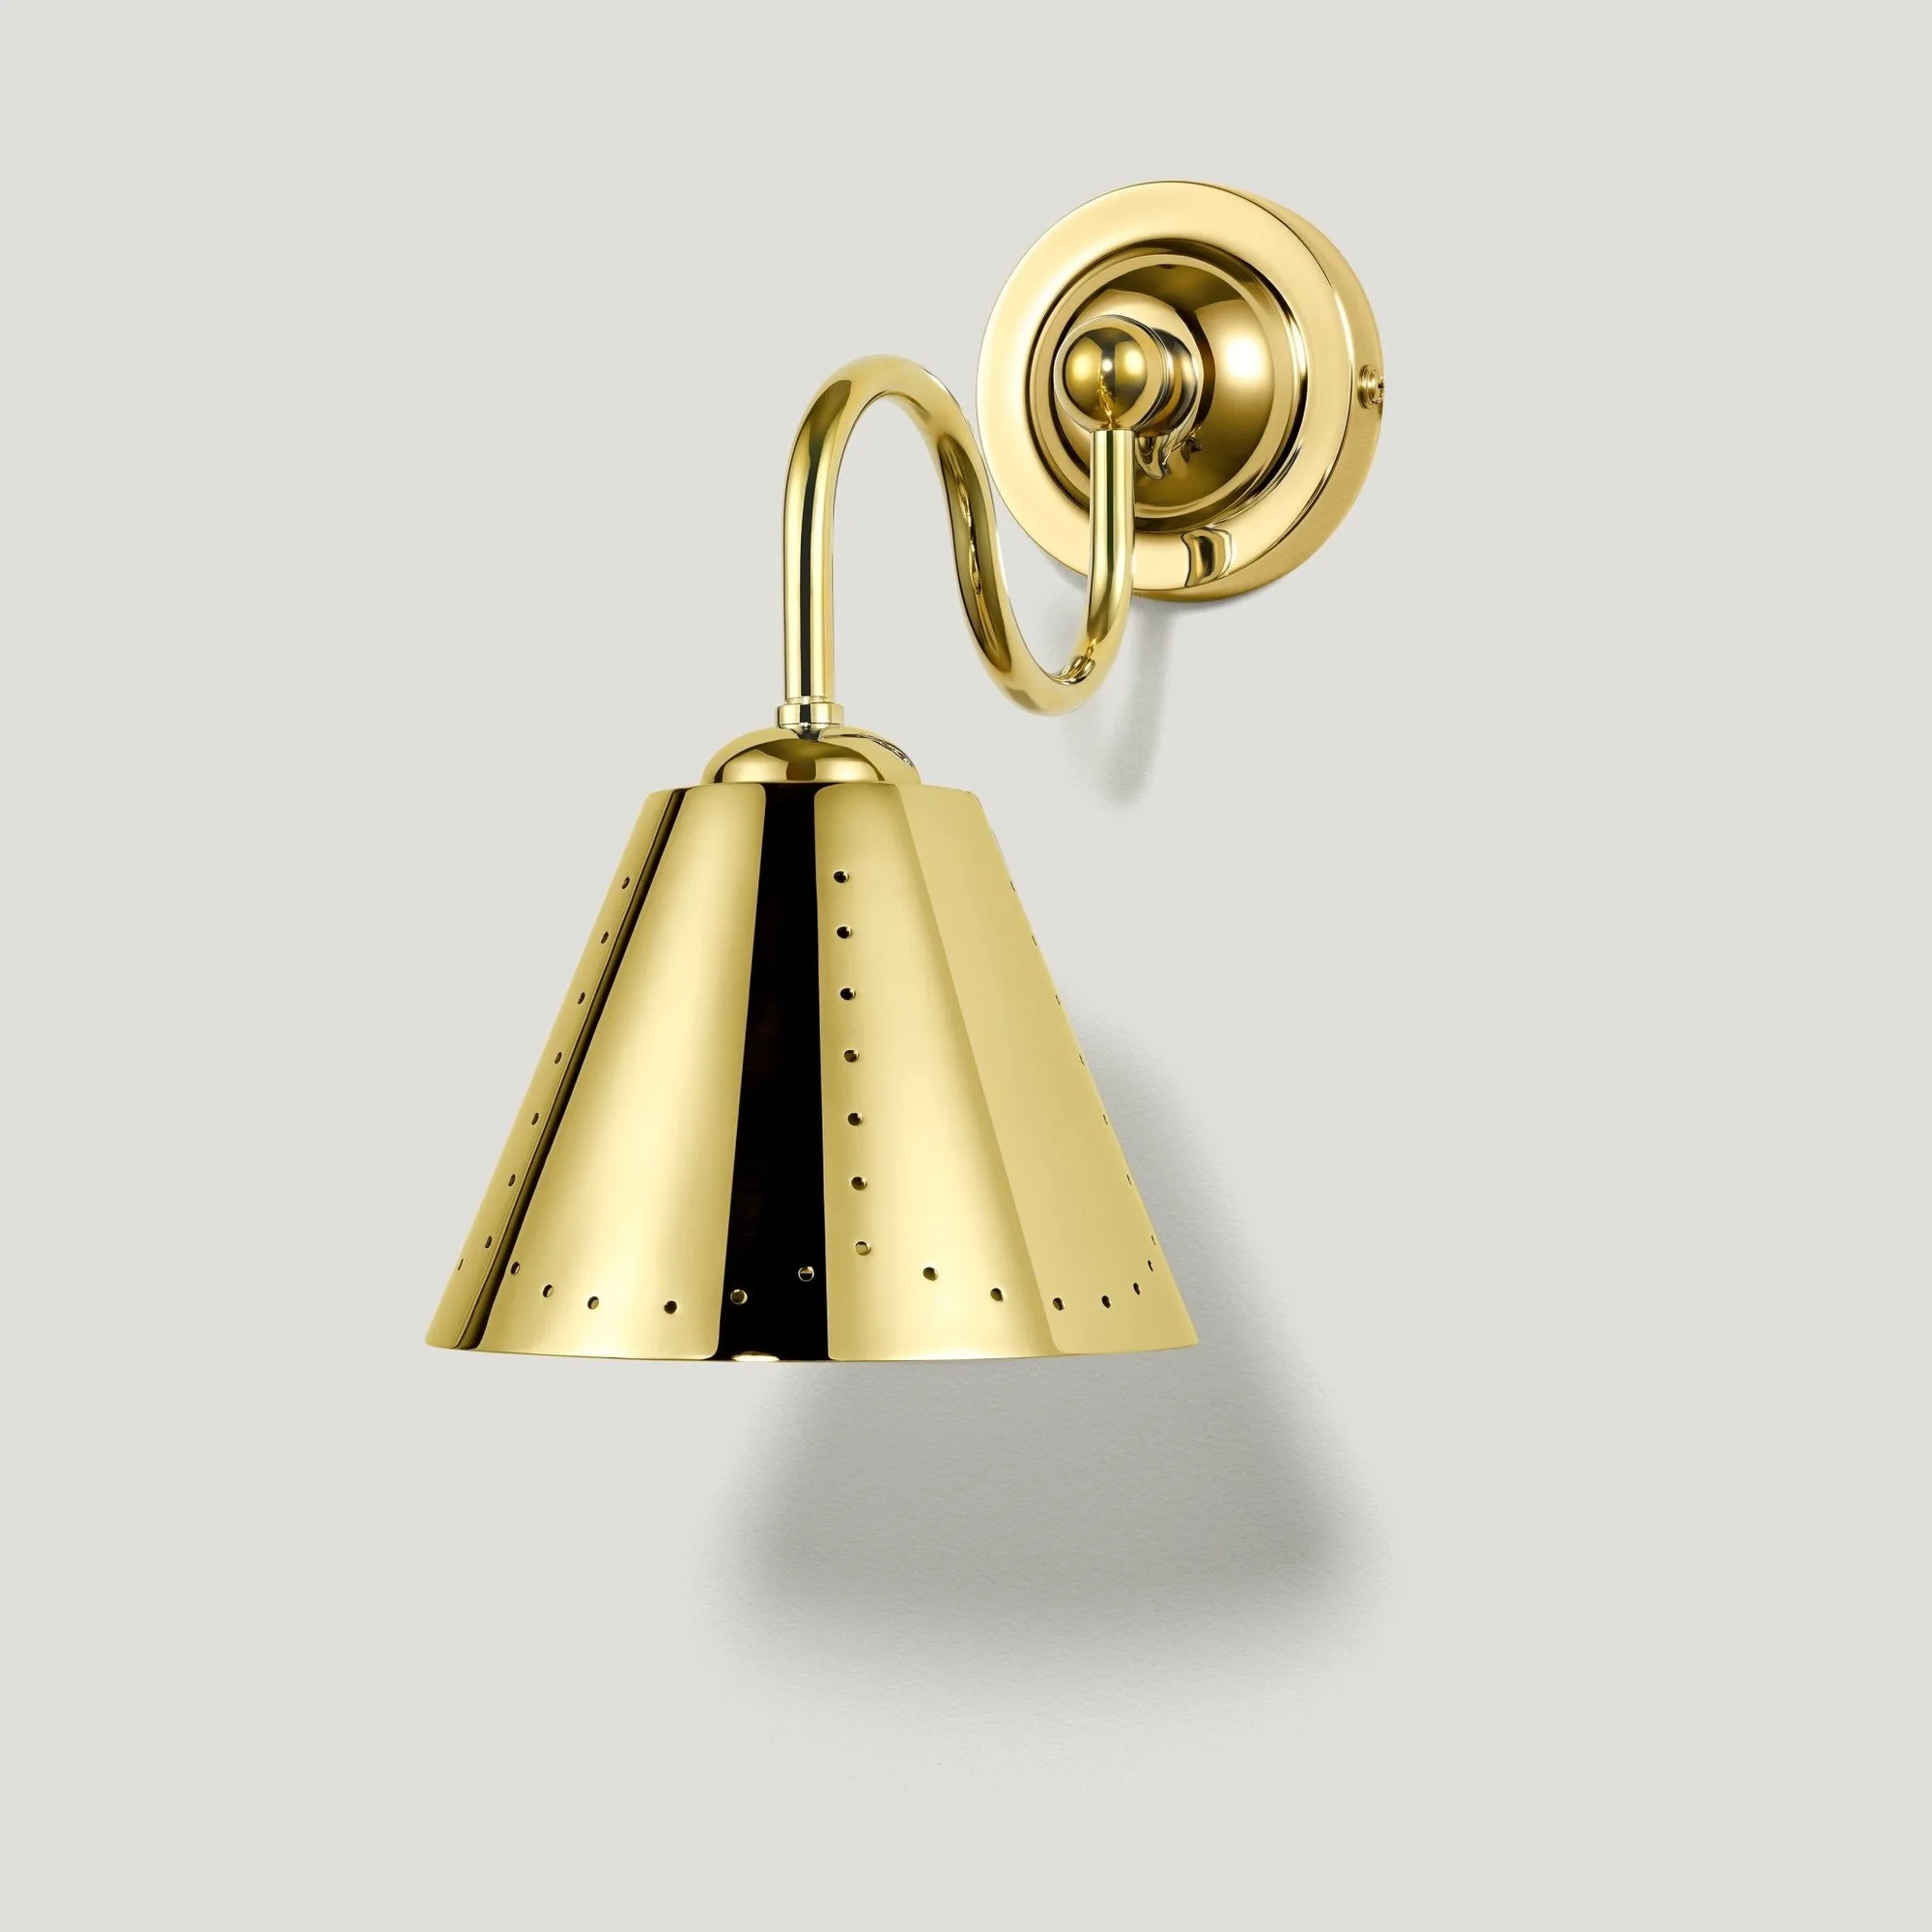
- STELLA Swivel Wall Light - Unlacquered Brass: The STELLA Swivel Wall Light has a perforated shade that scatters soft, patterned light while hiding the bulb, and a swivel arm that adjusts left and right. It sits close to the wall with minimal projection. Because the beam is soft and patterned rather than a tight spotlight, it works best as ambient or bedside light where you want glow without glare. The left-to-right swivel means you can aim it along the wall, so position it where that arc covers your reading or dressing spot.
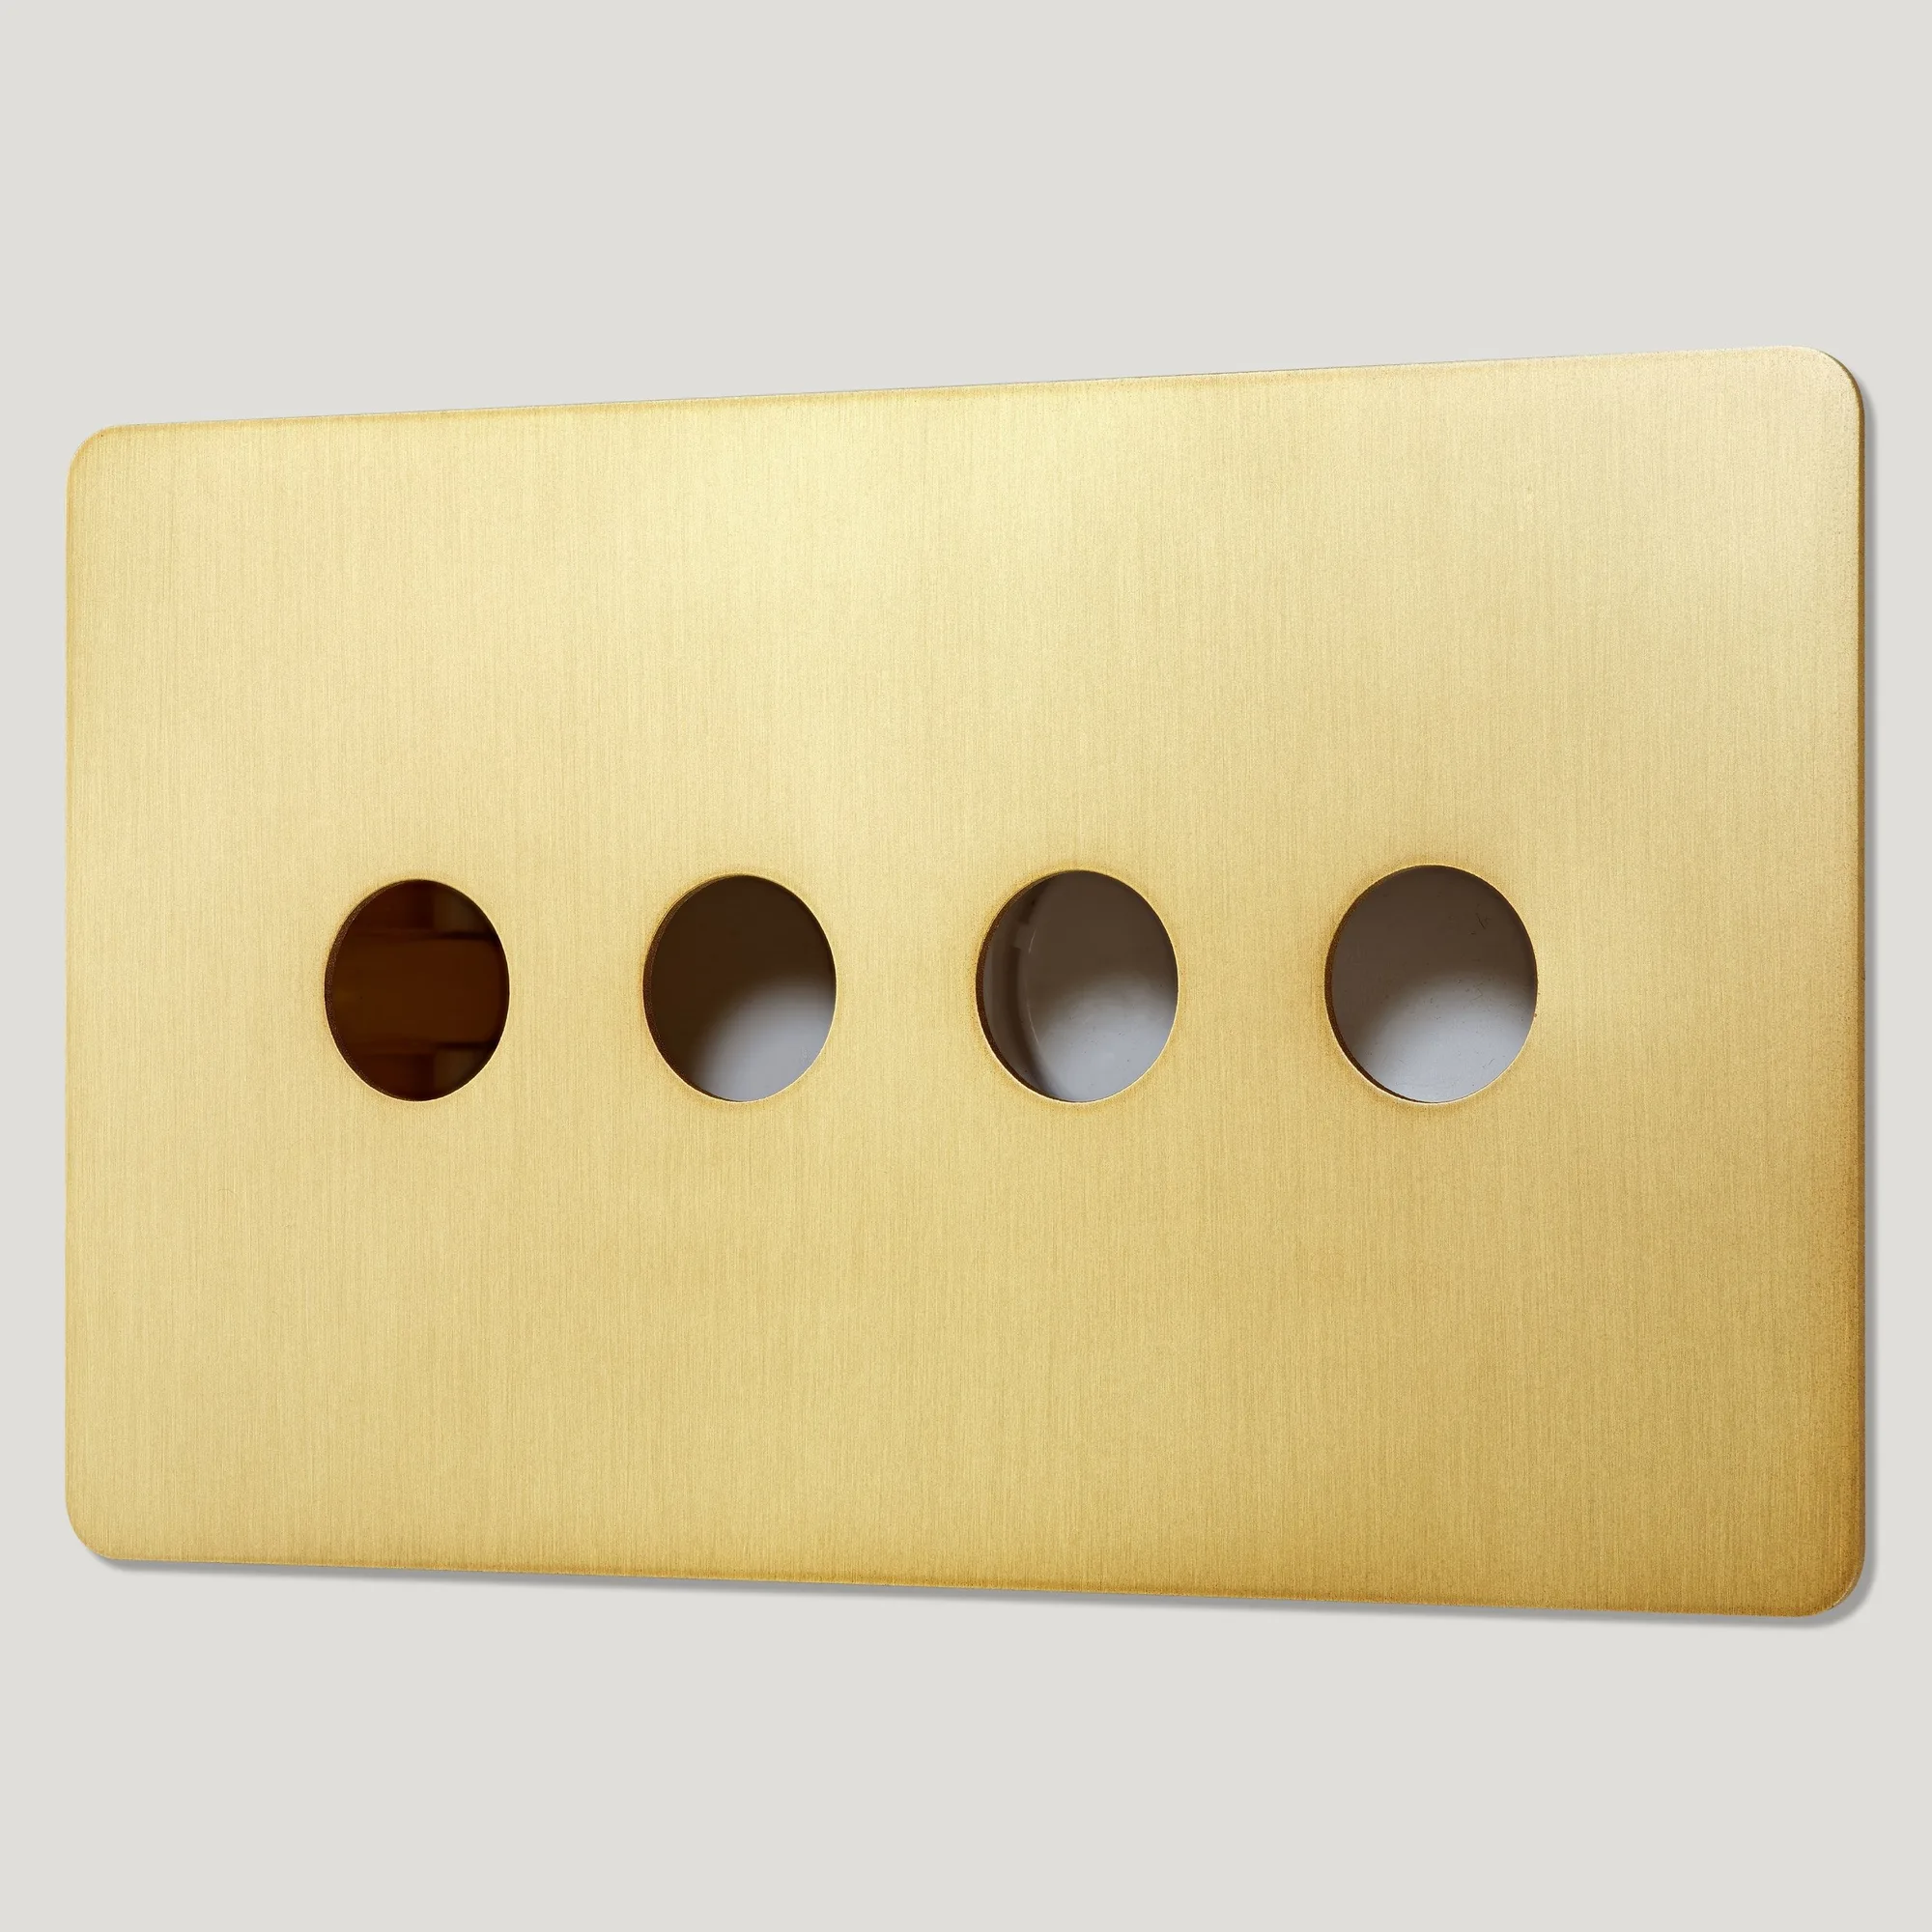
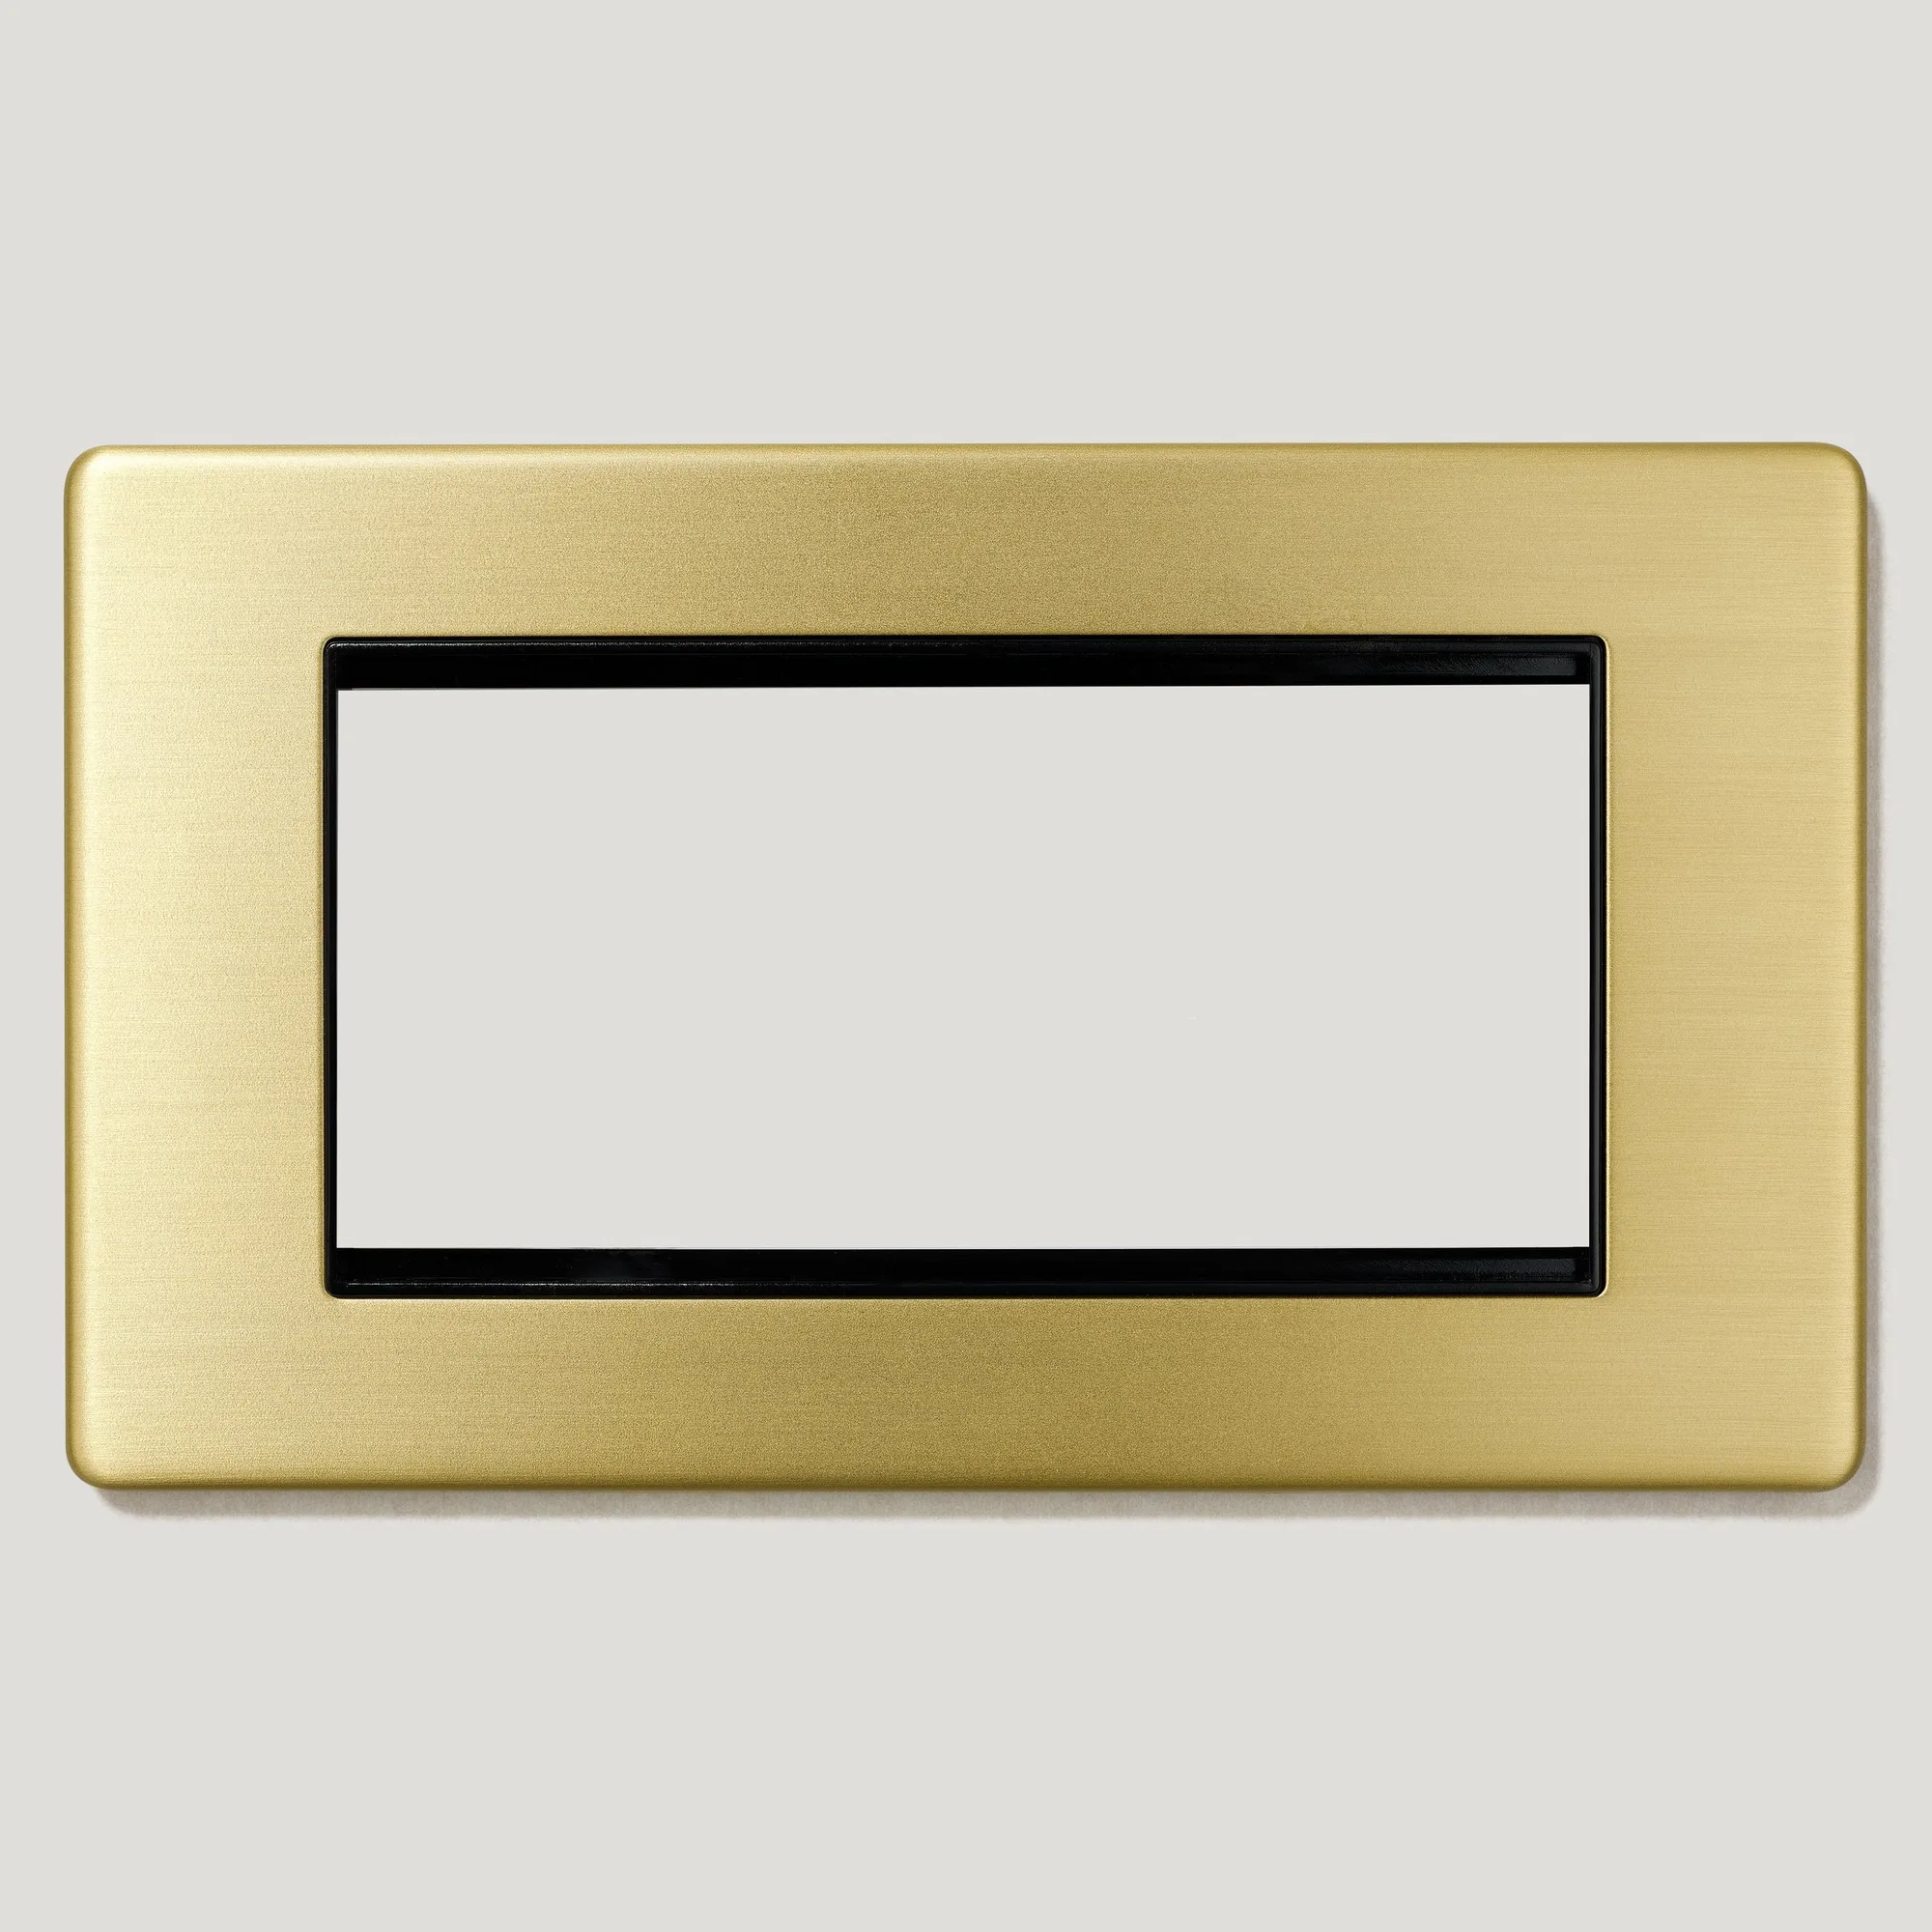
- 4G Light Switch Plate - Brass: The 4G Light Switch Plate in Brass is a four-gang plate that accommodates up to four separate switches or outlets and is designed to work with Plank Hardware's interchangeable switch modules. If your wall light is one of several switched fittings in the room, a four-gang plate lets you group controls in one place. That matters for placement because you can keep the light switch near the door and still have the swivel light where you need it.
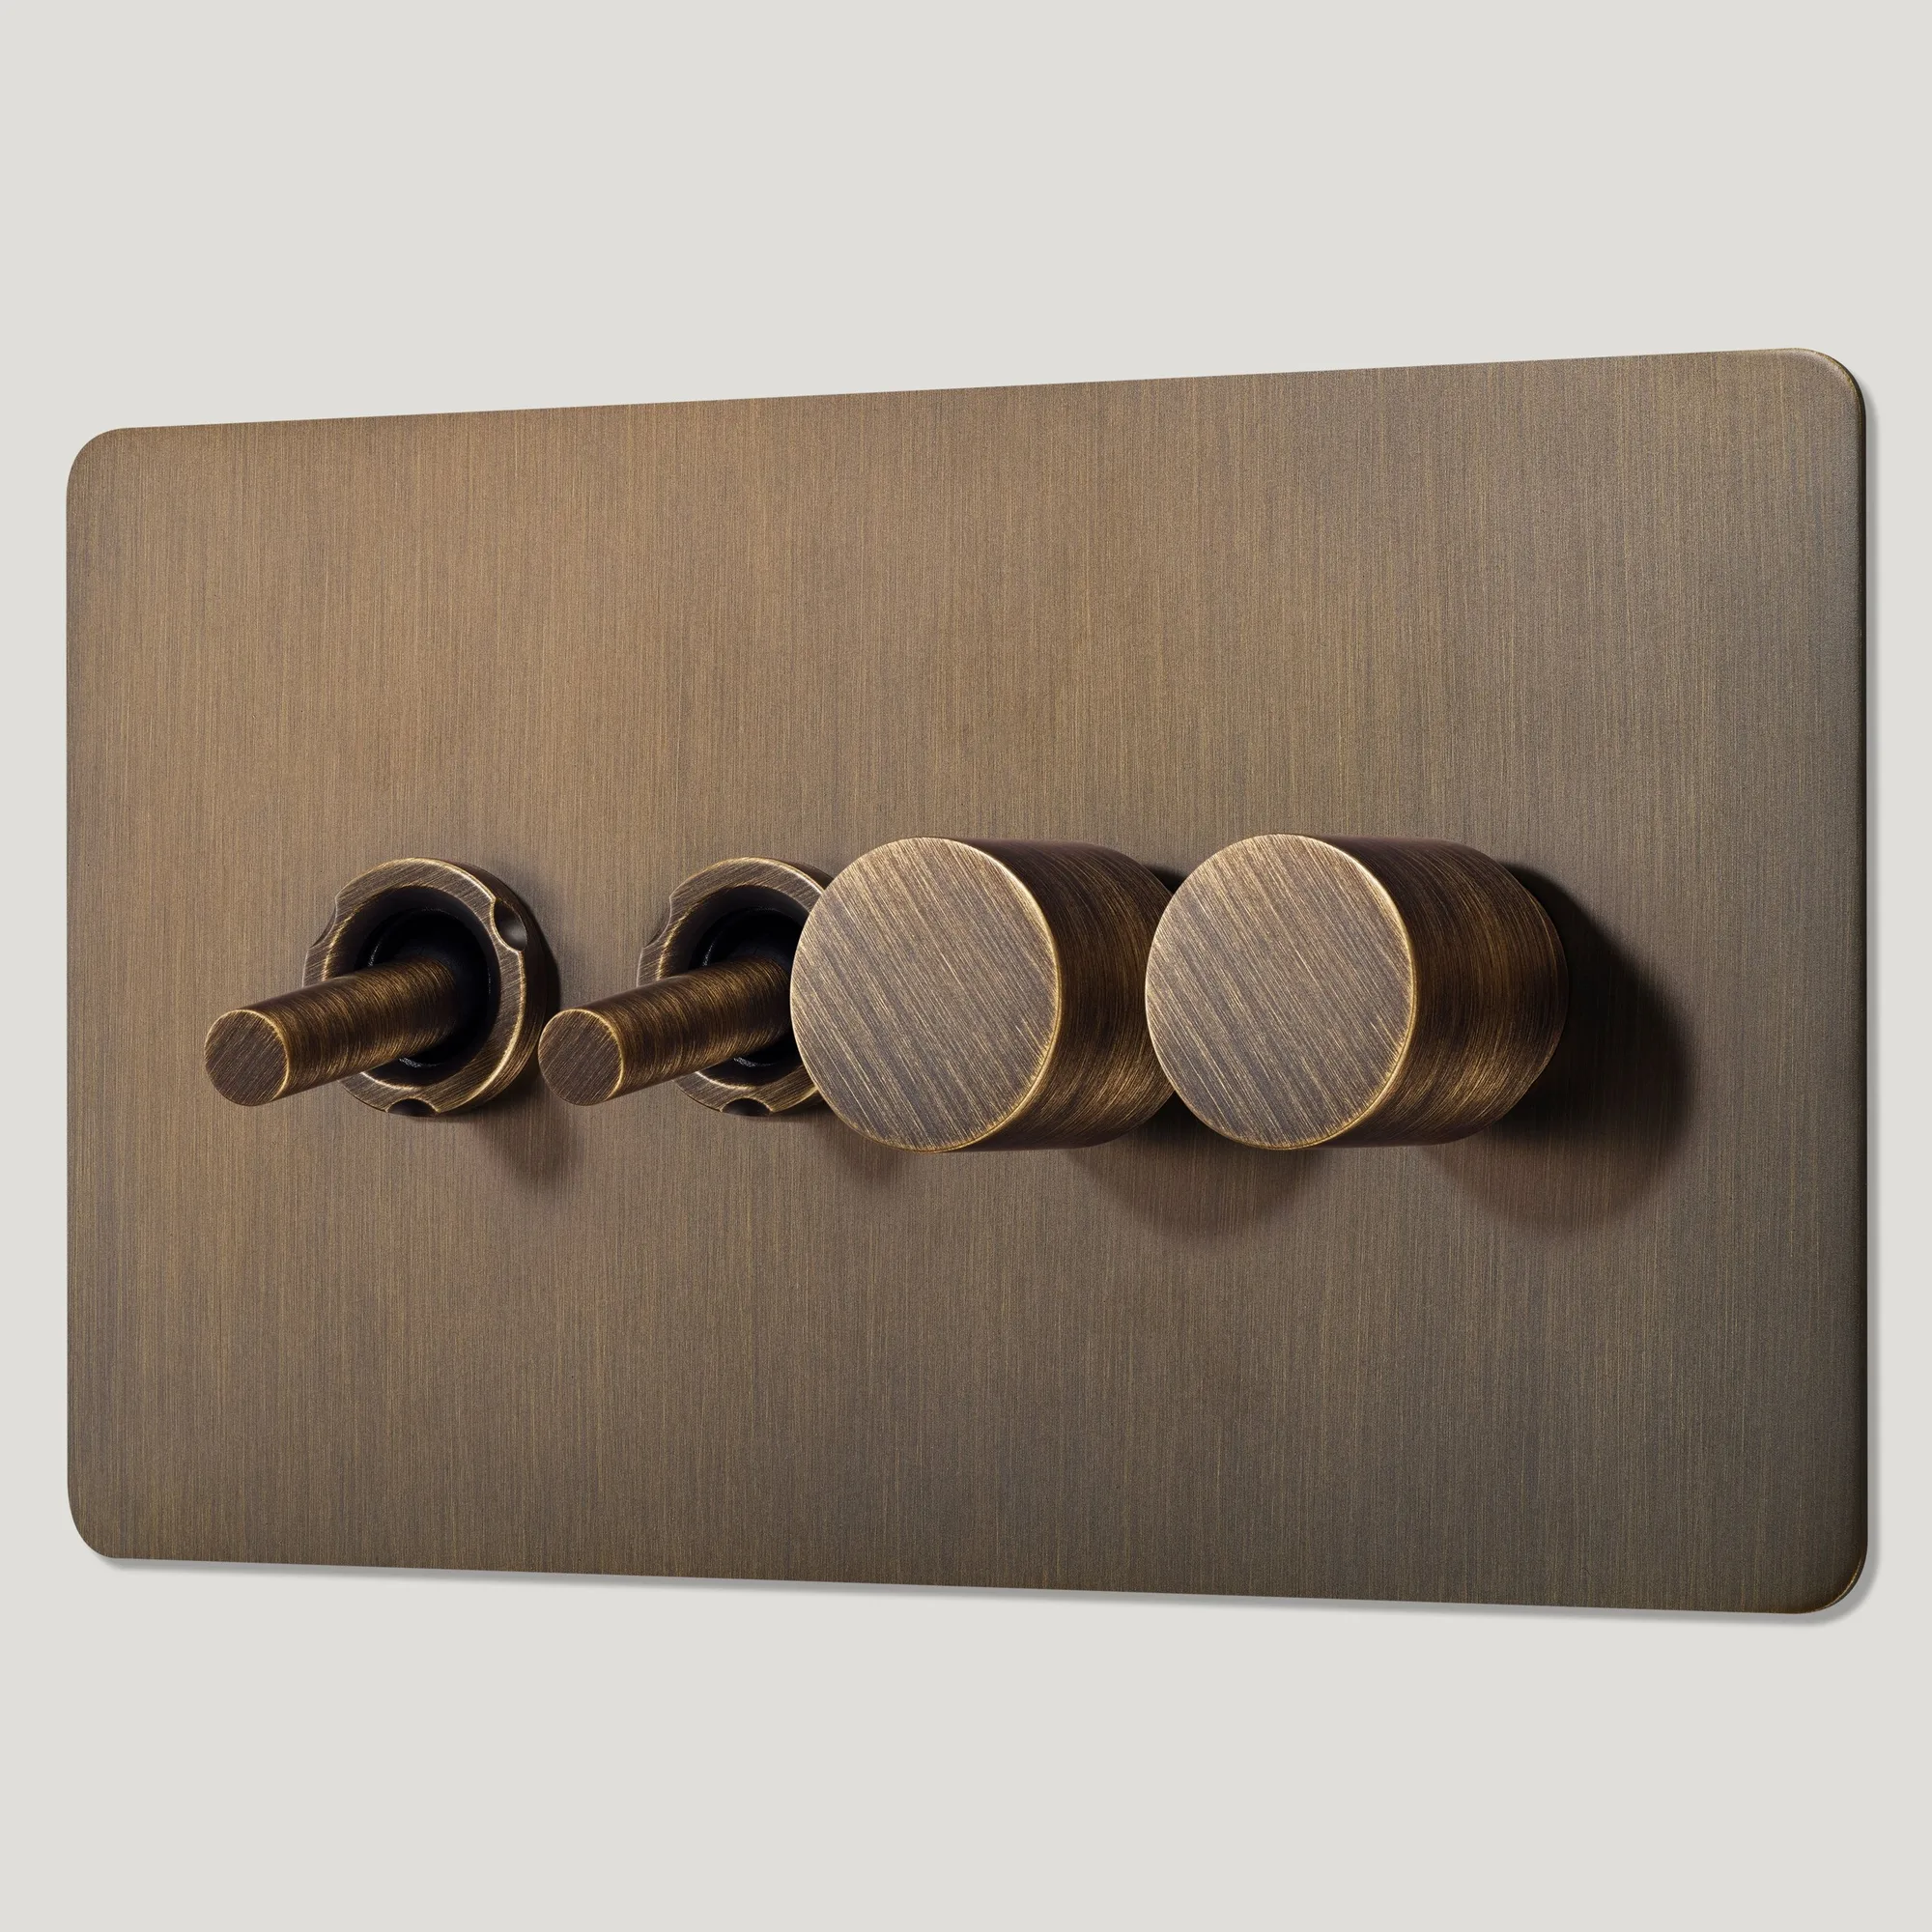
- MAXWELL 4G Smooth Mixed Light Switch 2 Toggle / 2 Dimmer - Antique Brass: The MAXWELL 4G Smooth Mixed Light Switch combines 2 toggle and 2 dimmer controls on one antique brass plate, with toggle and dial turned from solid brass on a slim, low-profile plate. A dimmer on the same plate as your toggles lets you set a low level for a bedside swivel light without adding a separate dimmer module. Plan the switch position so you can reach it from the bed or doorway, not behind a wardrobe.