Quick answer
Clean your tactical flashlight every few weeks and after any wet, dusty, or salty trip. Wipe the body and lens with a soft damp cloth, clean and lightly lubricate the O-rings with silicone grease, and keep batteries charged or replaced before they leak. Store the light with the tail cap loosened slightly or with a battery isolator, and never leave alkaline cells inside a light you are not using.
Why a simple routine beats a deep clean
Most tactical flashlight failures are not sudden. They build up from grit in the threads, a dry or cracked O-ring, a corroded battery contact, or a lens that has been wiped with the wrong cloth. A five-minute routine every few weeks prevents all of these. The goal is not to disassemble the light into pieces; it is to keep the sealing surfaces clean, the contacts bright, and the battery healthy.
Work on a clean, well-lit surface with a small tray for parts. You need a soft microfiber cloth, cotton swabs, isopropyl alcohol, silicone grease, and replacement O-rings if yours are worn. Avoid paper towels, abrasive pads, and household cleaners, which can scratch the lens or dry out rubber seals.
Match the care to how you carry the light
A light that lives in a pocket or pouch collects lint and dust, so it needs more frequent lens and thread wiping but rarely gets soaked. A light mounted on a pack or vest sees rain, mud, and impact, so O-ring condition and thread lubrication matter more. A light kept in a vehicle or emergency kit may sit for months, which makes battery care and storage the priority.
If you carry a compact light in a small crossbody bag or on a dog vest during hikes, check it after every trip. The same grit that gets into zippers and MOLLE webbing will find its way into flashlight threads and the tail switch.
Cleaning products and tools that are safe
Isopropyl alcohol is the right cleaner for metal threads and contacts because it evaporates quickly and leaves no residue. Use it on a cotton swab, not poured directly into the light. For the body, a barely damp microfiber cloth is enough. For the lens, breathe on the glass and wipe with a clean microfiber section, then dry with a second dry section to avoid streaks.
Silicone grease is the standard lubricant for flashlight O-rings. Petroleum jelly and general-purpose grease can degrade some rubber compounds over time, so keep a small tube of silicone grease in your kit. If you do not know the O-ring material, silicone is the safer default.
Battery care by chemistry
Alkaline cells are the most likely to leak and damage a light that sits unused. If your light takes alkalines, remove them when the light will be stored for more than a few weeks, and replace them at the first sign of dimming or swelling. Rechargeable batteries need different handling: charge them before they are fully drained when you can, store them at partial charge for long periods, and use a charger that matches the cell chemistry.
Do not mix old and new cells, and do not mix brands or chemistries in the same light. A mismatched set can cause uneven discharge, overheating, or leakage. If a battery or contact shows white crust or green corrosion, clean it with isopropyl alcohol on a swab and inspect the spring and contact plate for pitting.
Step-by-step tactical flashlight maintenance
- Remove the battery first: Unscrew the tail cap or head and take out the cell before you clean anything. This prevents accidental activation and keeps moisture away from live contacts. Checkpoint: if the battery is swollen, leaking, or has crusty residue, dispose of it safely and clean the compartment before inserting a new cell.
- Wipe the body and lens: Use a barely damp microfiber cloth on the aluminum body, then clean the lens with a dry microfiber section. Do not use paper towels or abrasive pads, which can scratch the lens coating. Common mistake: spraying cleaner directly onto the light. Apply cleaner to the cloth or swab instead.
- Clean the threads and contacts: Use a cotton swab lightly dampened with isopropyl alcohol to wipe the threads and the battery contact points. Let them dry completely before reassembly. Checkpoint: threads should look bright metal, not dark or gritty. If grit remains, repeat with a fresh swab.
- Inspect and lubricate the O-rings: Look for cracks, flattening, or missing O-rings. Apply a thin film of silicone grease to each O-ring with a clean finger or swab. A thin film is enough; excess grease attracts grit. Common mistake: over-greasing. If grease squeezes out when you reassemble, you used too much.
- Reassemble and test: Reinstall the battery and screw the light back together until it is snug, not forced. Cycle through every lighting mode and confirm the tail switch feels normal. Checkpoint: if a mode flickers or fails, clean the contacts again and check that the tail cap is fully seated.
- Store it correctly: For long storage, remove alkaline batteries or leave the tail cap loosened a quarter turn to break contact. Keep the light in a dry pouch or case, away from direct sun and extreme heat. Common mistake: storing a light with alkaline cells installed for months. That is how leaks start.
- Set a repeat schedule: Clean and inspect every few weeks for daily carry, after every wet or dusty trip, and before any season where you rely on the light. Replace O-rings at the first sign of wear. Next step: keep spare O-rings and a small tube of silicone grease with your gear so maintenance never gets postponed.
Product facts
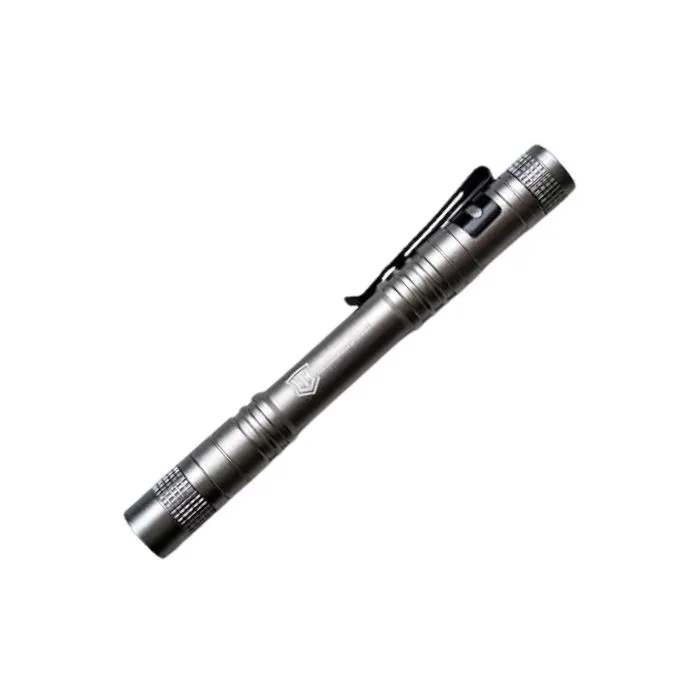
- Tactical Flashlight: Crafted from high-grade aluminum alloy, this flashlight delivers ultra-bright illumination while remaining lightweight and easy to carry, with multiple lighting modes and long battery life. Aluminum threads and a multi-mode switch benefit from regular cleaning and lubrication, and long battery life means you can go longer between charges if you store cells correctly.