Quick answer
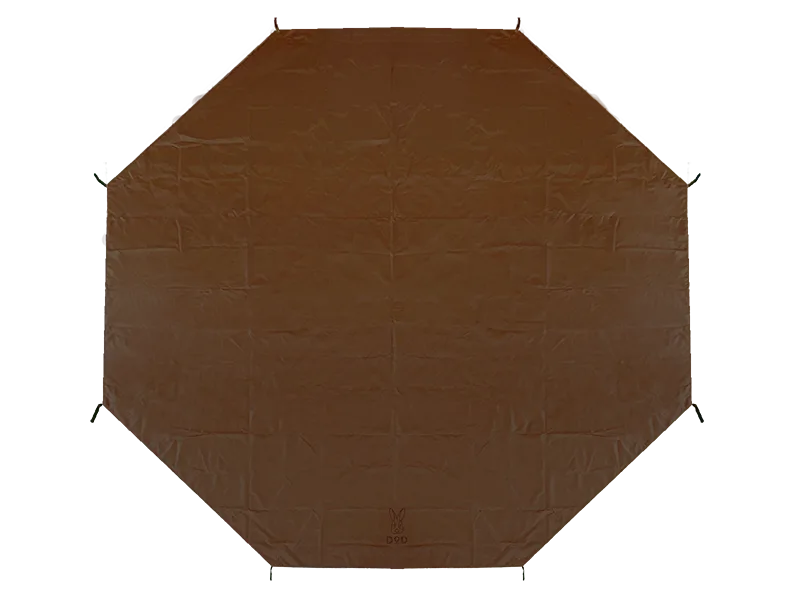
Peg the Takenoko Ground Sheet down first, then spread the Takenoko Tent over it and hook the tent loops onto the same pegs. The loops on the sheet sit in the same positions as the tent pegs, so the tent lands correctly without measuring. Use the sheet whenever the ground is abrasive, damp, or likely to stain the tent floor; skip it only when every gram counts and the pitch is soft, clean grass.
Why the Takenoko sheet is pitched before the tent
Most footprints are laid out after the tent and then tucked under, which usually means lifting a pitched tent or re-pegging it. The Takenoko Ground Sheet reverses that order on purpose. Its loops are positioned to match the pegs on the Takenoko Tent, so the sheet becomes the template: peg the sheet, spread the bamboo tent on top, and hook the loops. The tent fits the sheet exactly, with no overhang to catch rain or trip you at the door.
That extra layer of defense matters most on gravel, pine needles, and hard-packed dirt, where abrasion wears a floor faster than moisture does. It also keeps mud and sap off the tent floor, which is the part you cannot remove and wash.
Choosing between a footprint and a bare floor
A ground sheet is not automatic. On soft, clean grass in dry weather, a bare tent floor pitches faster and packs smaller, and the Takenoko Tent already has its own floor. Add the sheet when the ground is rough, when you expect rain and want to keep the underside of the floor out of standing water, or when the site is shared and you cannot control what previous campers left behind.
Weight and bulk are the real tradeoff. The sheet rolls into its own space in the bag, so on a long carry-in trip the decision is usually about whether the terrain justifies it rather than whether the sheet is useful.
- Use the sheet on gravel, rock, roots, and compacted dirt.
- Use it on wet ground or when rain is forecast during your stay.
- Skip it on soft grass when you are counting grams.
- Skip it if you are moving camp daily and want the fastest possible pack-down.
Cleaning and storage that extend sheet life
Shake or brush off grit before the sheet goes back in the bag; trapped sand acts like sandpaper against the coating on the next trip. If the sheet is muddy, rinse it with plain water and a soft brush, then let it dry completely in the shade before folding. Fold along the original creases so it packs flat and the loops do not tangle.
Store it loosely rather than compressed for long periods, and keep it away from sharp tools in the car. Check the loops and seams once a season; a frayed loop is easy to spot before it fails at the moment you are pegging out in the rain.
How the other DOD ground sheets compare
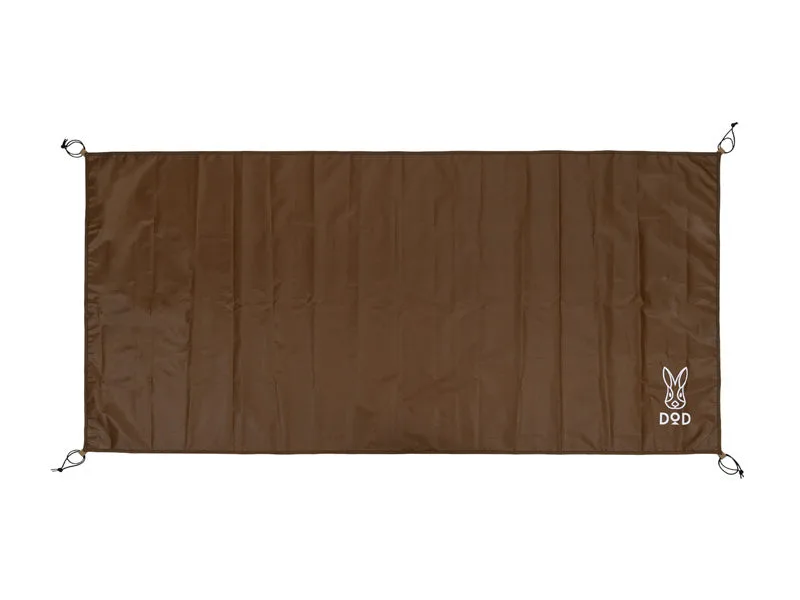
If you own a Pup Like Tent rather than a Takenoko, the matching sheet is the Pup Like Tent Ground Sheet, made from 300D Oxford polyester with a stated water pressure resistance of 5000mm and supplied with a dedicated carry bag. It is a lighter, lower-cost add-on than the Takenoko sheet, so it suits campers who want floor protection without a large outlay.
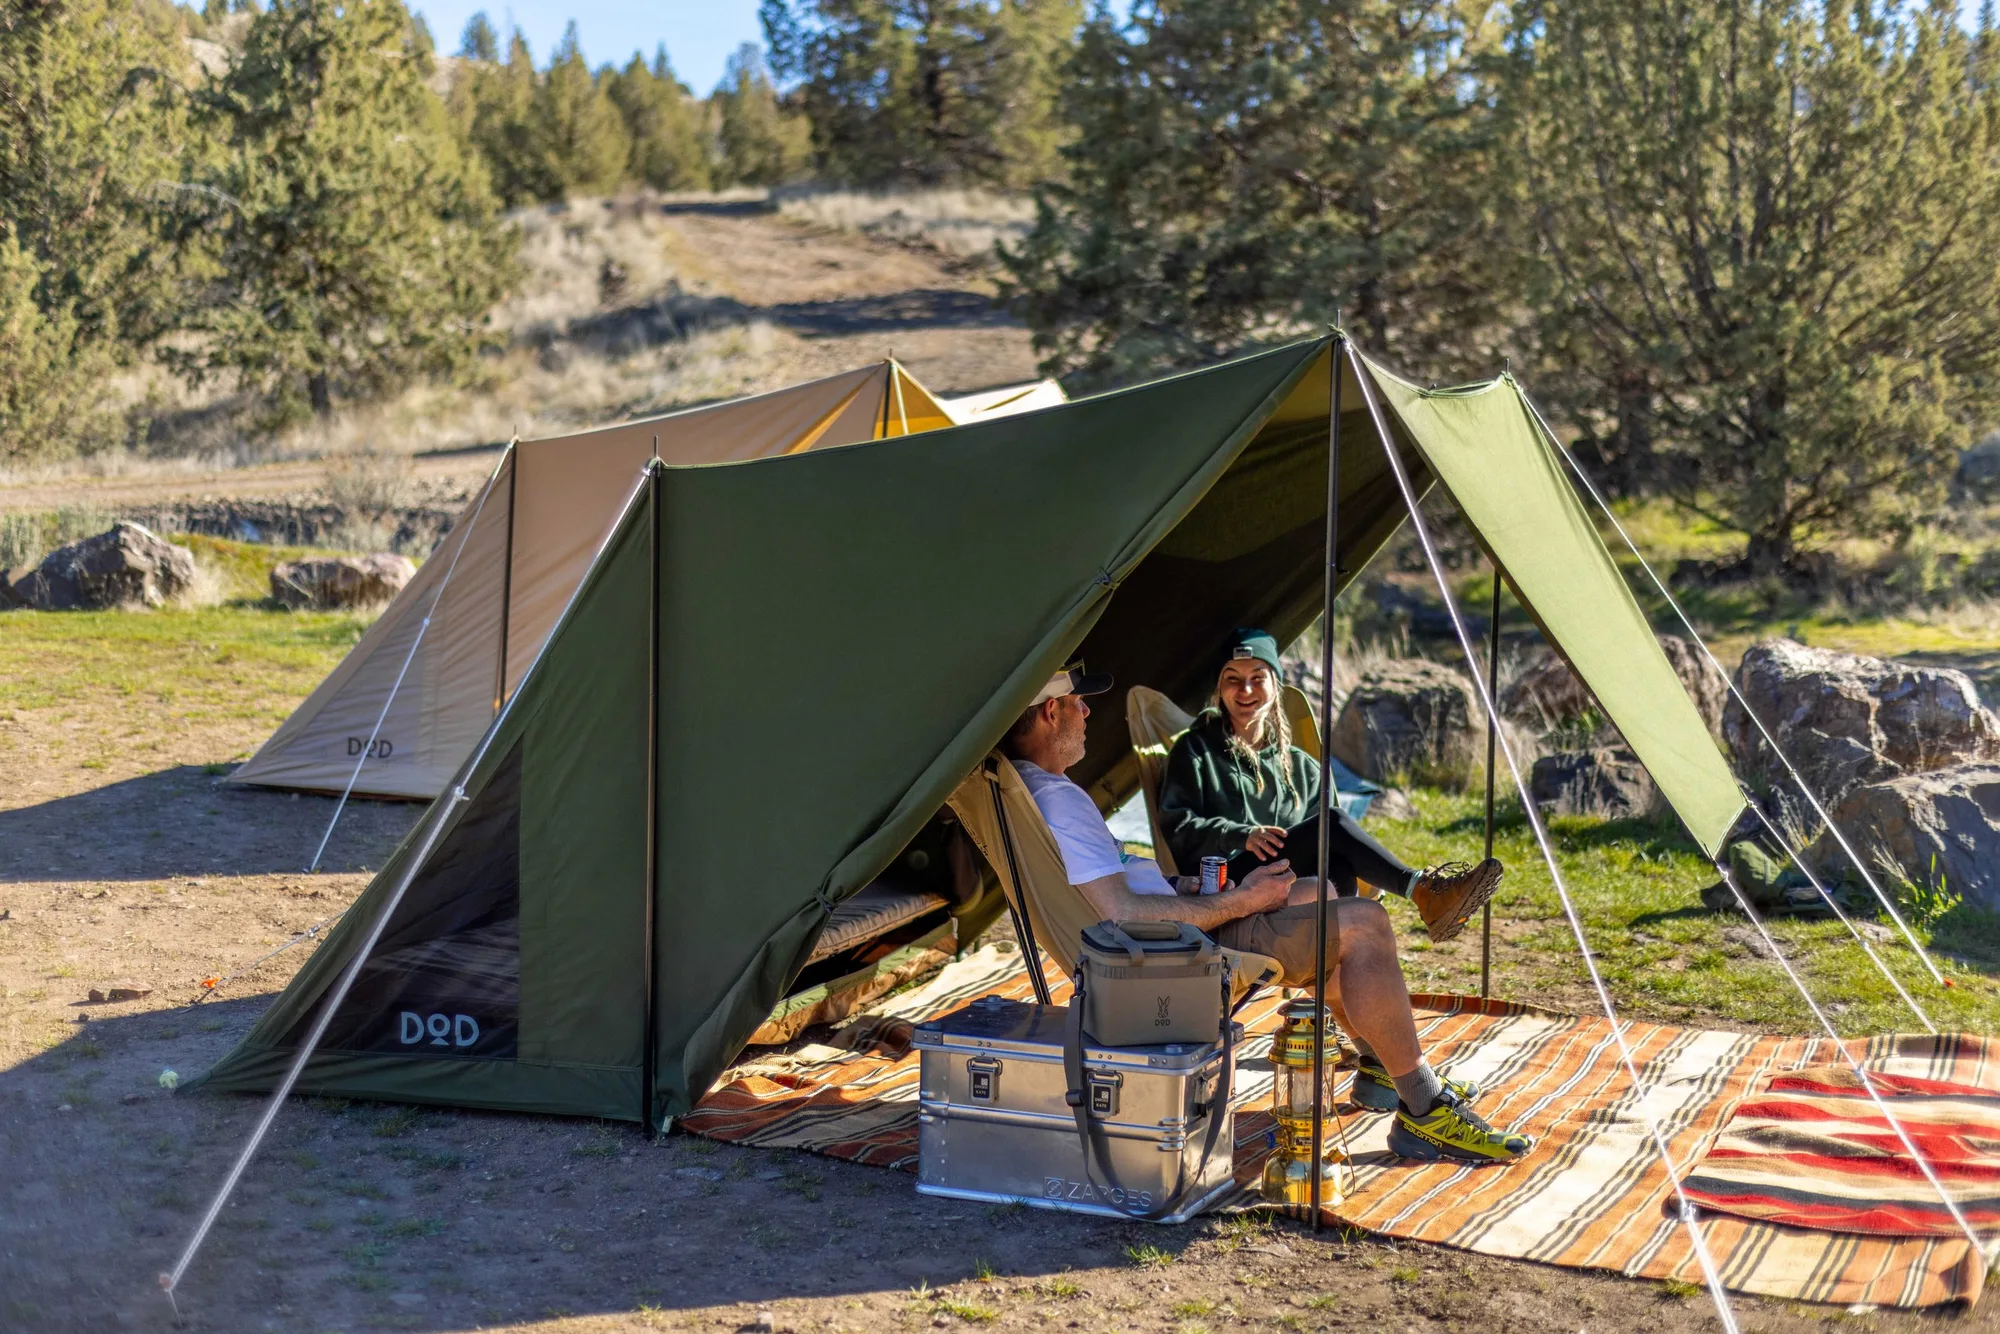
Pup Like Tent
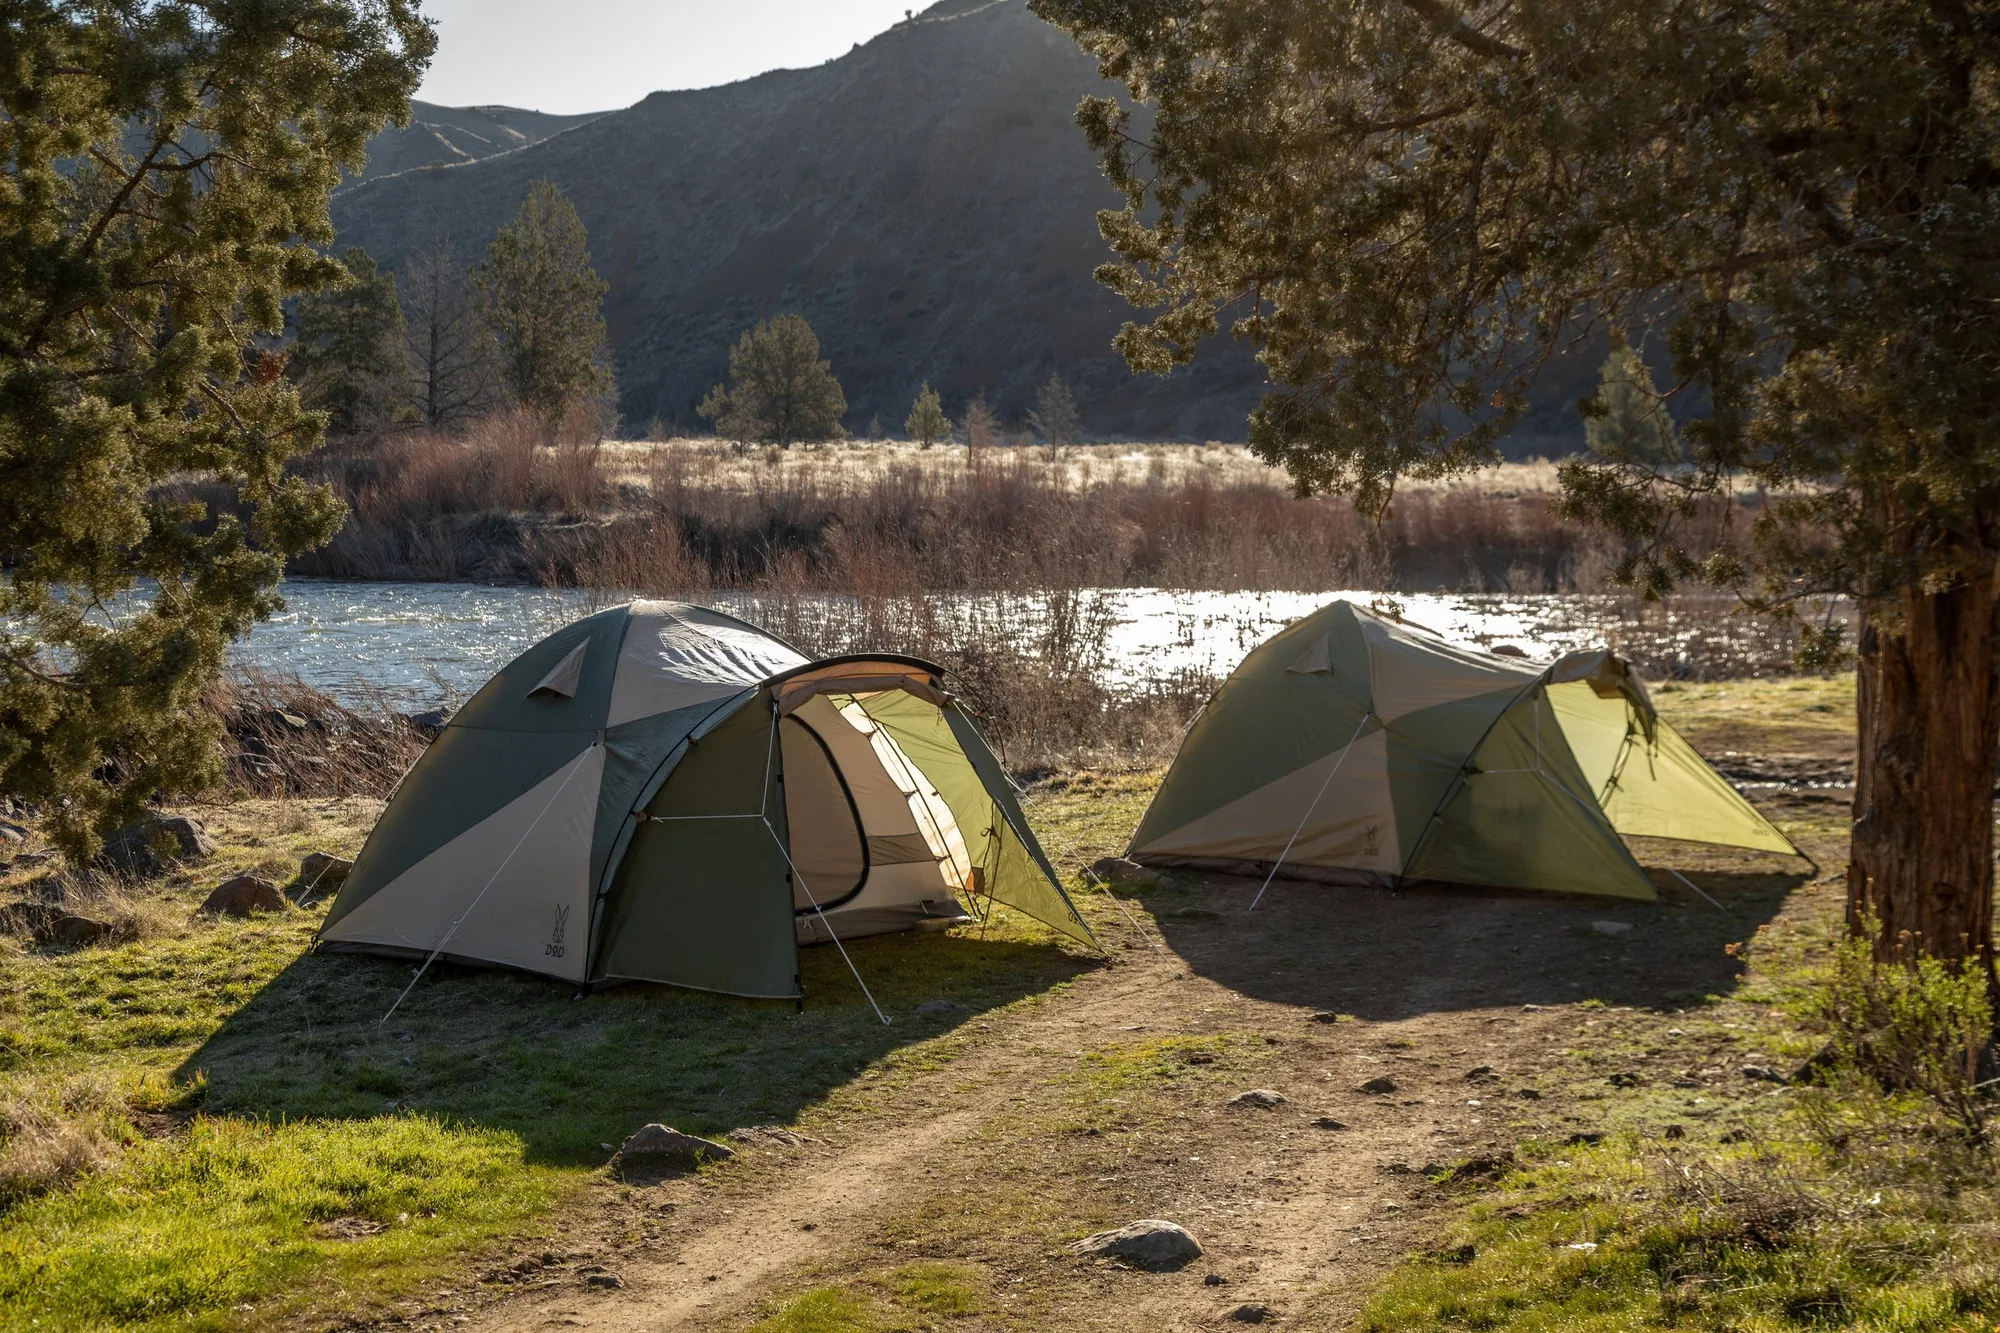
For campers who would rather not buy a separate footprint at all, THE Dome Tent includes a ground sheet with the tent and uses durable 150D fabric with a front room that can be extended into a canopy area. That is a different buying decision: you trade the ability to replace the sheet independently for one less item to remember.
Takenoko ground sheet setup, step by step
- Clear and inspect the pitch: Remove stones, sticks, and pine cones from the footprint area, then unroll the Takenoko Ground Sheet with the loops facing up. Common mistake: leaving sharp debris underneath, which presses into the sheet and the tent floor all night. Checkpoint: the ground under the sheet should be smooth enough to kneel on.
- Peg the sheet down first: Drive pegs through the sheet loops at the corners, then work around the perimeter, keeping the sheet taut but not stretched. Common mistake: pegging only the corners, which lets the middle ride up and bunch under the tent. Checkpoint: the sheet should lie flat with no ridges when you press it with your palm.
- Spread the Takenoko Tent over the sheet: Lay the tent out on top of the pegged sheet and align the tent pegs with the sheet loops, then hook the loops onto the same pegs before tensioning the tent. Common mistake: tensioning the tent first, which pulls the sheet out of position and misaligns the loops. Checkpoint: the tent floor should sit fully inside the sheet edge, with no sheet visible beyond the walls.
- Finish the pitch and re-check the edges: Complete the remaining pegging and guylines, then walk the perimeter and confirm no sheet edge is folded under or sticking out. Common mistake: leaving a folded edge that channels rainwater between the sheet and the tent floor. Next step: if rain is forecast, confirm the sheet edge sits below the tent wall so water runs off rather than underneath.
- Break down and pack in the right order: Unhook the tent loops, fold the tent, then remove the sheet pegs and fold the sheet along its original creases. Common mistake: rolling a wet or gritty sheet into the bag, which traps moisture and abrasive dirt against the coating. Next step: dry the sheet fully at home before long-term storage.
Product facts
- Takenoko Ground Sheet: The loops on the Takenoko Ground Sheet are designed to sit in the same position as the pegs on the Takenoko Tent, so the sheet is pegged first and the tent is spread over it and hooked on. You get an exact fit without measuring or adjusting, and you never have to lift a pitched tent to slide a footprint underneath.
- Pup Like Tent Ground Sheet: The Pup Like Tent Ground Sheet is built from 300D Oxford polyester with a stated water pressure resistance of 5000mm and comes with a dedicated carry bag. It is a straightforward protection layer for damp or dirty ground, and the carry bag keeps it separate from the tent in your pack.
- THE Dome Tent: THE Dome Tent comes with a ground sheet and is made with durable 150D fabric, with a high ceiling in the inner tent and a large front room that can be extended into a canopy area. If you prefer one purchase with the footprint included, this removes the separate buying step but also removes the option to replace the sheet on its own.