Quick Answer
Most tarp setup problems come down to three things: choosing a size that covers your actual gathering area, tensioning guylines evenly so the fabric doesn't flap, and using stakes matched to your ground. Pitch the tarp low and angled into the wind, keep the ridge line taut, and re-check tension after the first hour. A hexagonal tarp like the Itsuka Tarp, which includes poles, guylines, and stakes, removes most of the guesswork for beginners.
Itsuka Tarp
A tarp is the most flexible shelter you can carry: shade at lunch, a dry kitchen at dinner, a windbreak when the weather turns. That flexibility is also why tarp setup questions keep coming up. There is no single correct pitch, only a pitch that suits the site, the weather, and what you plan to do underneath.
Below are the questions campers ask most often, answered directly. Each answer stands on its own, so you can jump to the one that matches your situation rather than reading start to finish. Where a specific product helps, it is mentioned because it solves a real setup problem, not as a sales pitch.
How do I choose the right tarp size?
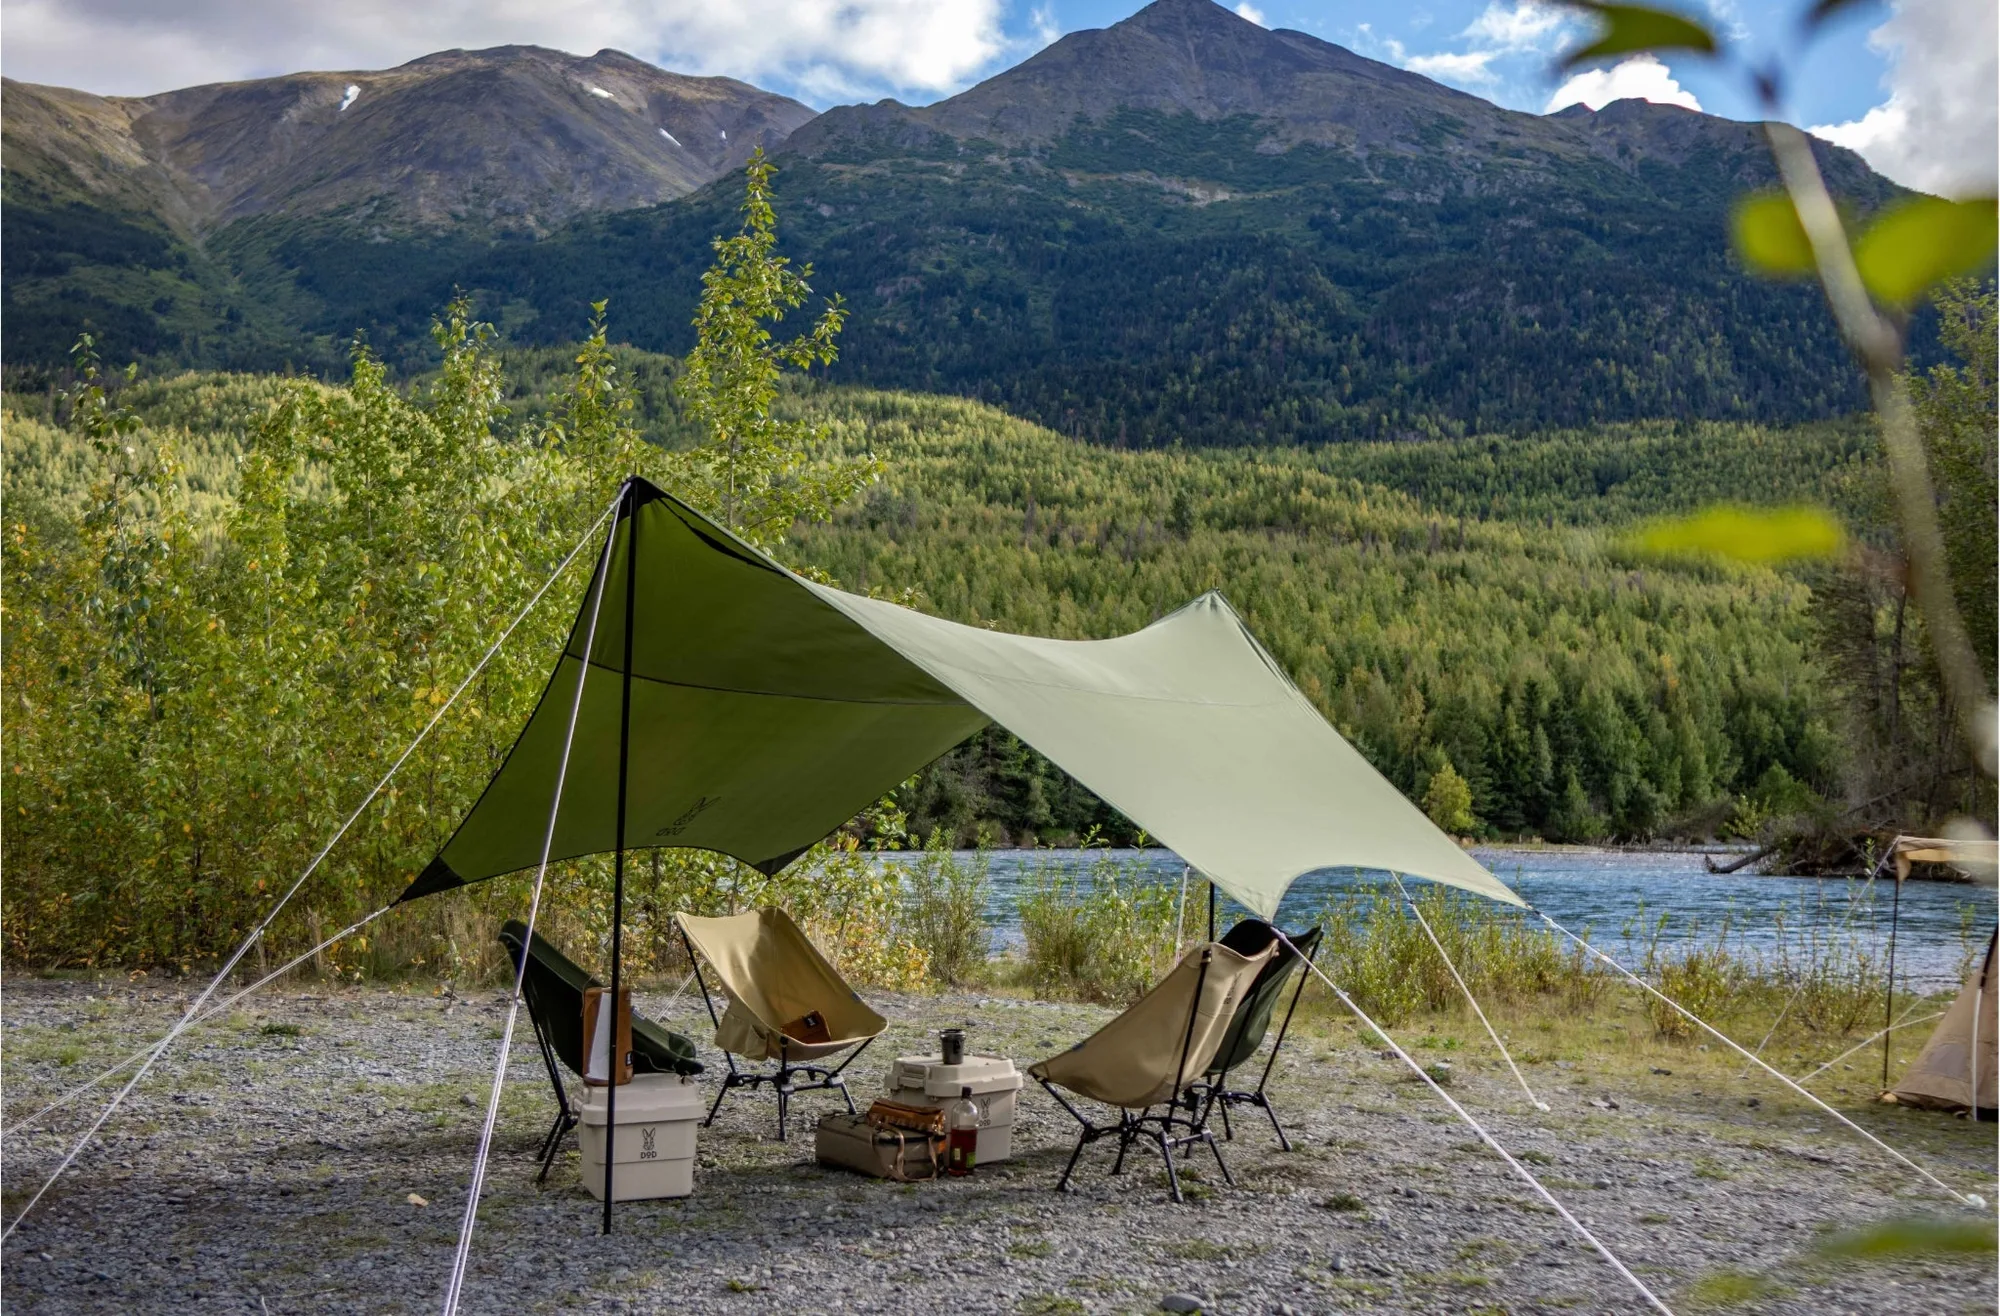
Start with the footprint you need to cover, then add overhang. For a dining area with a table and chairs, you want the tarp's widest span to extend at least a couple of feet past the people and furniture on every side, so rain blown at an angle still lands outside. A 13.8 ft x 13.5 ft hexagonal tarp covers a generous communal area, while a smaller rectangular tarp suits a solo sleeper or a gear stash.
Height matters as much as width. If the tarp is pitched too low, you will stoop all weekend; too high, and wind drives rain underneath. Aim for a ridge height that lets you stand comfortably at the center and slopes down toward the windward side.
- Measure your table or sleeping area before buying, not after.
- Hexagonal shapes shed wind better than flat rectangles because the corners create natural tension points.
- If you camp in groups, size up rather than pitching two small tarps.
Can one person pitch a tarp alone?
Yes, and the trick is to work from the windward side. Stake the two upwind corners first, then raise the ridge with poles, then tension the downwind corners. This sequence stops the fabric from becoming a sail while you are still setting up. If the tarp has a fixed shape, like a hexagonal cut, there are fewer decisions to make and the pitch goes faster.
For solo campers, a tarp that ships with its poles, guylines, and stakes saves a lot of trial and error. You are not hunting for a compatible pole or guessing at line length; you are just pitching.
- Lay the tarp out flat and orient it before attaching any poles.
- Use your body weight against the pole while clipping the ridge line.
- In wind, leave the downwind side loose until the upwind side is solid.
What is the difference between guylines and stakes?
Guylines connect the tarp to the ground or to a tree and control tension and shape. Stakes anchor those lines. A tarp with sagging guylines will flap, pool water, and eventually pull stakes out. A tarp with tight guylines but undersized stakes will hold shape until a gust yanks everything loose. You need both working together.
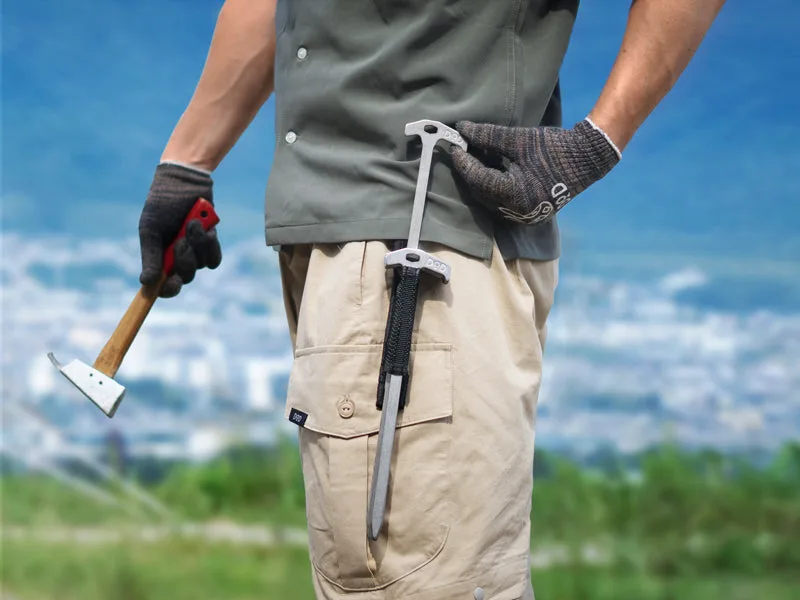
Stake length should match your ground. Loose sand or soft soil calls for longer stakes with more surface area; firm grass or compacted dirt is fine with shorter ones. Stainless steel resists bending and rust, which matters if you camp near the coast or leave stakes in damp ground.
- Add a small loop or tensioner to each guyline so you can adjust without re-tying knots.
- Angle stakes away from the tarp, not straight down.
- Replace bent or blunt stakes before a trip rather than mid-setup.
How do I stop rain from pooling on the tarp?
Water pools in any low spot, so the fix is geometry. Pitch one side higher than the other so water runs off, and keep the fabric drum-tight. If the tarp has a center pole, raise it slightly so the fabric slopes away from the middle. If it is a flat pitch, create a deliberate low corner as a drain point.
Check the pitch before you sleep. A tarp that looks fine in calm air will sag once it is wet and heavy. Re-tension guylines after the first rain shower, because fabric stretches and lines settle.
- Never let a tarp touch your sleeping bag; condensation and drips travel along the fabric.
- A slightly asymmetric pitch sheds water better than a perfectly symmetrical one.
- If you expect heavy rain, lower the tarp and widen the angle of the sides.
Do I need a tarp if I already have a tent?
A tarp and a tent solve different problems. The tent is your sleeping shelter; the tarp is your living space, kitchen, and shade. Many campers use both: a tent for sleeping and a tarp over the picnic table or cooking area. That keeps gear and food out of the rain and gives you a place to sit that is not your bedroom.
If you camp in hot, sunny conditions, a tarp may matter more than the tent. It blocks direct sun over a much larger area than a tent fly and lets air move through, which keeps the space underneath noticeably cooler.
- Use the tarp as a sunshade over the tent to reduce heat buildup inside.
- Keep cooking under the tarp but never use a stove inside a fully enclosed tent.
- A tarp over the tent door creates a dry entry and exit zone.
How do I handle wind with a tarp?
Wind is the tarp's biggest enemy because a loose tarp acts like a sail. Pitch the lowest edge into the wind and angle the tarp so wind glances off rather than filling it. Use every guyline point you have; skipping one corner to save time is how tarps fail. If gusts are strong, lower the whole pitch and accept less headroom.
Choose a sheltered site when you can: behind a hedge, a rock, or a vehicle. If the site is exposed, consider a tarp with a shape that sheds wind, and use longer stakes driven at a shallow angle. Check the tension after the first hour and again before bed.
- Never leave a tarp pitched and unattended in strong wind.
- Add a second line to any corner that is taking the brunt of the gusts.
- If the tarp is flapping loudly, it is too loose; tighten before the wind finds a weak point.
What accessories make tarp setup easier?
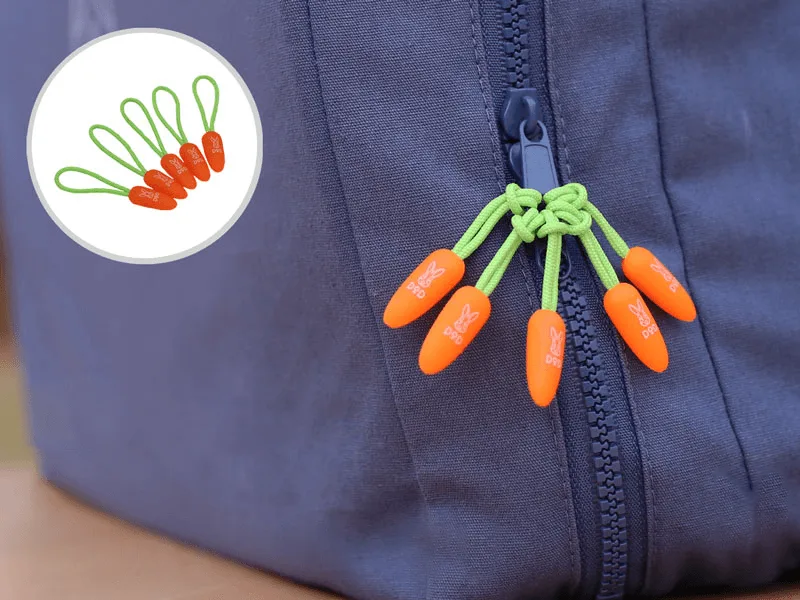
The small items matter more than the tarp itself once you are on site. A peg set with the right lengths for your ground, a few extra guylines, and a way to tension them without knots will save time and frustration. Zipper pulls seem unrelated until you are fumbling with a cold, wet tent zipper in the dark; a simple pull makes a real difference in comfort.
If you are buying your first tarp, look for a kit that includes poles, guylines, and stakes. You can add specialized accessories later once you know what your usual sites demand.
- Keep a small stake bag with a mix of lengths so you can adapt to changing ground.
- Carry two spare guylines; they weigh almost nothing and solve most emergency pitches.
- A dedicated peg set beats borrowing stakes from your tent.
Tarp Setup Quick Checks
Size check
Lay out your table, chairs, or sleeping pad on the ground and confirm the tarp overhangs at least two feet on every side. If it does not overhang, size up or change the pitch angle.
Tension check
Pluck each guyline. It should feel taut and give a low tone, not a loose flap. Re-tension after the first hour and after any rain.
Stake check
Match stake length to ground: long for sand and soft soil, medium for firm grass. Drive at an angle away from the tarp. Carry a mix of lengths so you can adapt on site.
Wind check
Pitch the lowest edge into the wind, use every guyline point, and lower the ridge if gusts pick up. Never leave a tarp unattended in strong wind.
Drainage check
Make sure one side is higher than the other so water runs off instead of pooling. A tight, angled pitch is the simplest way to stay dry.
DOD Gear That Answers These Questions
- Itsuka Tarp: Hexagonal polyester tarp with a 13.8 ft x 13.5 ft x 7.5 ft high footprint including poles; comes with poles, guylines, and stakes included; available in Olive and Black. The included poles and lines remove the most common beginner setup problem, and the hexagonal shape sheds wind and rain better than a flat rectangle. The generous footprint covers a full dining area.
- Shakeen Peg Set: Available in Large (11 inches) and Medium (8 inches); each set includes 8 pegs made from high-hardness stainless steel. Larger pegs hold better in soft ground, while medium pegs suit firm grass. Stainless steel resists bending and rust, so they stay reliable trip after trip.
- Ninjin Pull: Carrot-shaped zipper pull designed to make opening and closing zippers more convenient; fits jackets, bags, and any zippered item; available in multiple colors. A small upgrade that makes tent and gear zippers easier to grab with cold or wet hands, especially when you are setting up in low light.
Tarp setup gets easier with every pitch, and the questions above cover the situations that trip up most campers. Start with a tarp that includes its own poles and lines, match your stakes to the ground, and check tension before you sleep. If a specific question is not answered here, the DOD Outdoors range includes tarps, pegs, and accessories designed to work together, so you can build a setup that fits how you actually camp.