Quick answer
Place the pads on clean, dry skin over the area where your cramps hurt most, start at the lowest intensity, and increase gradually until you feel a comfortable tingling without muscle twitching. Use it in short sessions and stop if anything feels sharp or wrong.
Why pad placement matters more than intensity
TENS works by sending mild electrical pulses through the skin to interrupt pain signals. If the pads sit too far from the cramping area, you may turn the intensity up without much benefit. The Kinetik Wellbeing Complete TENS Machine comes with both butterfly and precision pads, which gives you two placement styles: butterfly pads for broader lower-abdomen coverage and precision pads for a more targeted spot. Try the broader pads first, then switch if you need to focus on a specific point.
When drug-free relief is not the whole plan
TENS is a comfort tool, not a diagnosis. If your period pain regularly stops you from working, sleeping, or eating, or if it is getting worse over time, talk to a clinician before relying on any device alone. The WW-300 TENS machine offers 6 treatment modes and 20 intensity levels, so you can adjust as your pain changes, but it does not replace medical advice for severe or unusual symptoms.
Step-by-step: using a TENS machine for period cramps
- 1. Check the basics before you start: Read the device instructions and confirm the pads and leads are in good condition. Do not use TENS if you have a pacemaker, are pregnant (unless cleared by your clinician), or have broken skin in the area. Common mistake: skipping the contraindications because you used a TENS machine before. If anything in the manual is unclear, ask a clinician before your first session.
- 2. Clean and dry the skin: Wipe the lower abdomen with a damp cloth and let it dry completely. Avoid lotions, oils, or powders where the pads will go. Common mistake: applying pads over moisturizer, which stops them sticking and can irritate the skin.
- 3. Place the pads around the pain: Stick the butterfly pads on either side of the area where cramps are strongest, following the manual's placement diagram. Keep pads at least a few centimeters apart and never overlapping. Common mistake: placing pads directly over the navel or on the same spot as a previous session without moving them slightly. If the tingling feels off-target, reposition before turning up the intensity.
- 4. Start low and build slowly: Turn the device on at the lowest intensity and choose a mode that feels comfortable. Increase one level at a time until you feel a gentle tingling, not a muscle contraction. Common mistake: jumping straight to a high level because the first setting feels too mild. A comfortable tingle is the target; sharpness or twitching means you have gone too high.
- 5. Time your session and reassess: Use the device for the session length given in the manual, then switch it off and remove the pads. You can repeat later if needed. Common mistake: leaving it on for hours without checking your skin. Check the skin under each pad when you finish; redness that does not fade is a reason to pause.
- 6. Store pads and device properly: Re-seal the pads on their backing and keep the device dry and out of reach of children. Replace pads when they stop sticking or feel uneven. Common mistake: leaving pads stuck to fabric or letting the lead wires bend sharply.
Product facts
-
Kinetik Wellbeing | Complete TENS Machine for Period Cramps WW-300: Uses clinically validated TENS technology and includes both butterfly and precision pads. Two pad shapes let you cover a broad area or target a specific cramp without buying extra accessories.
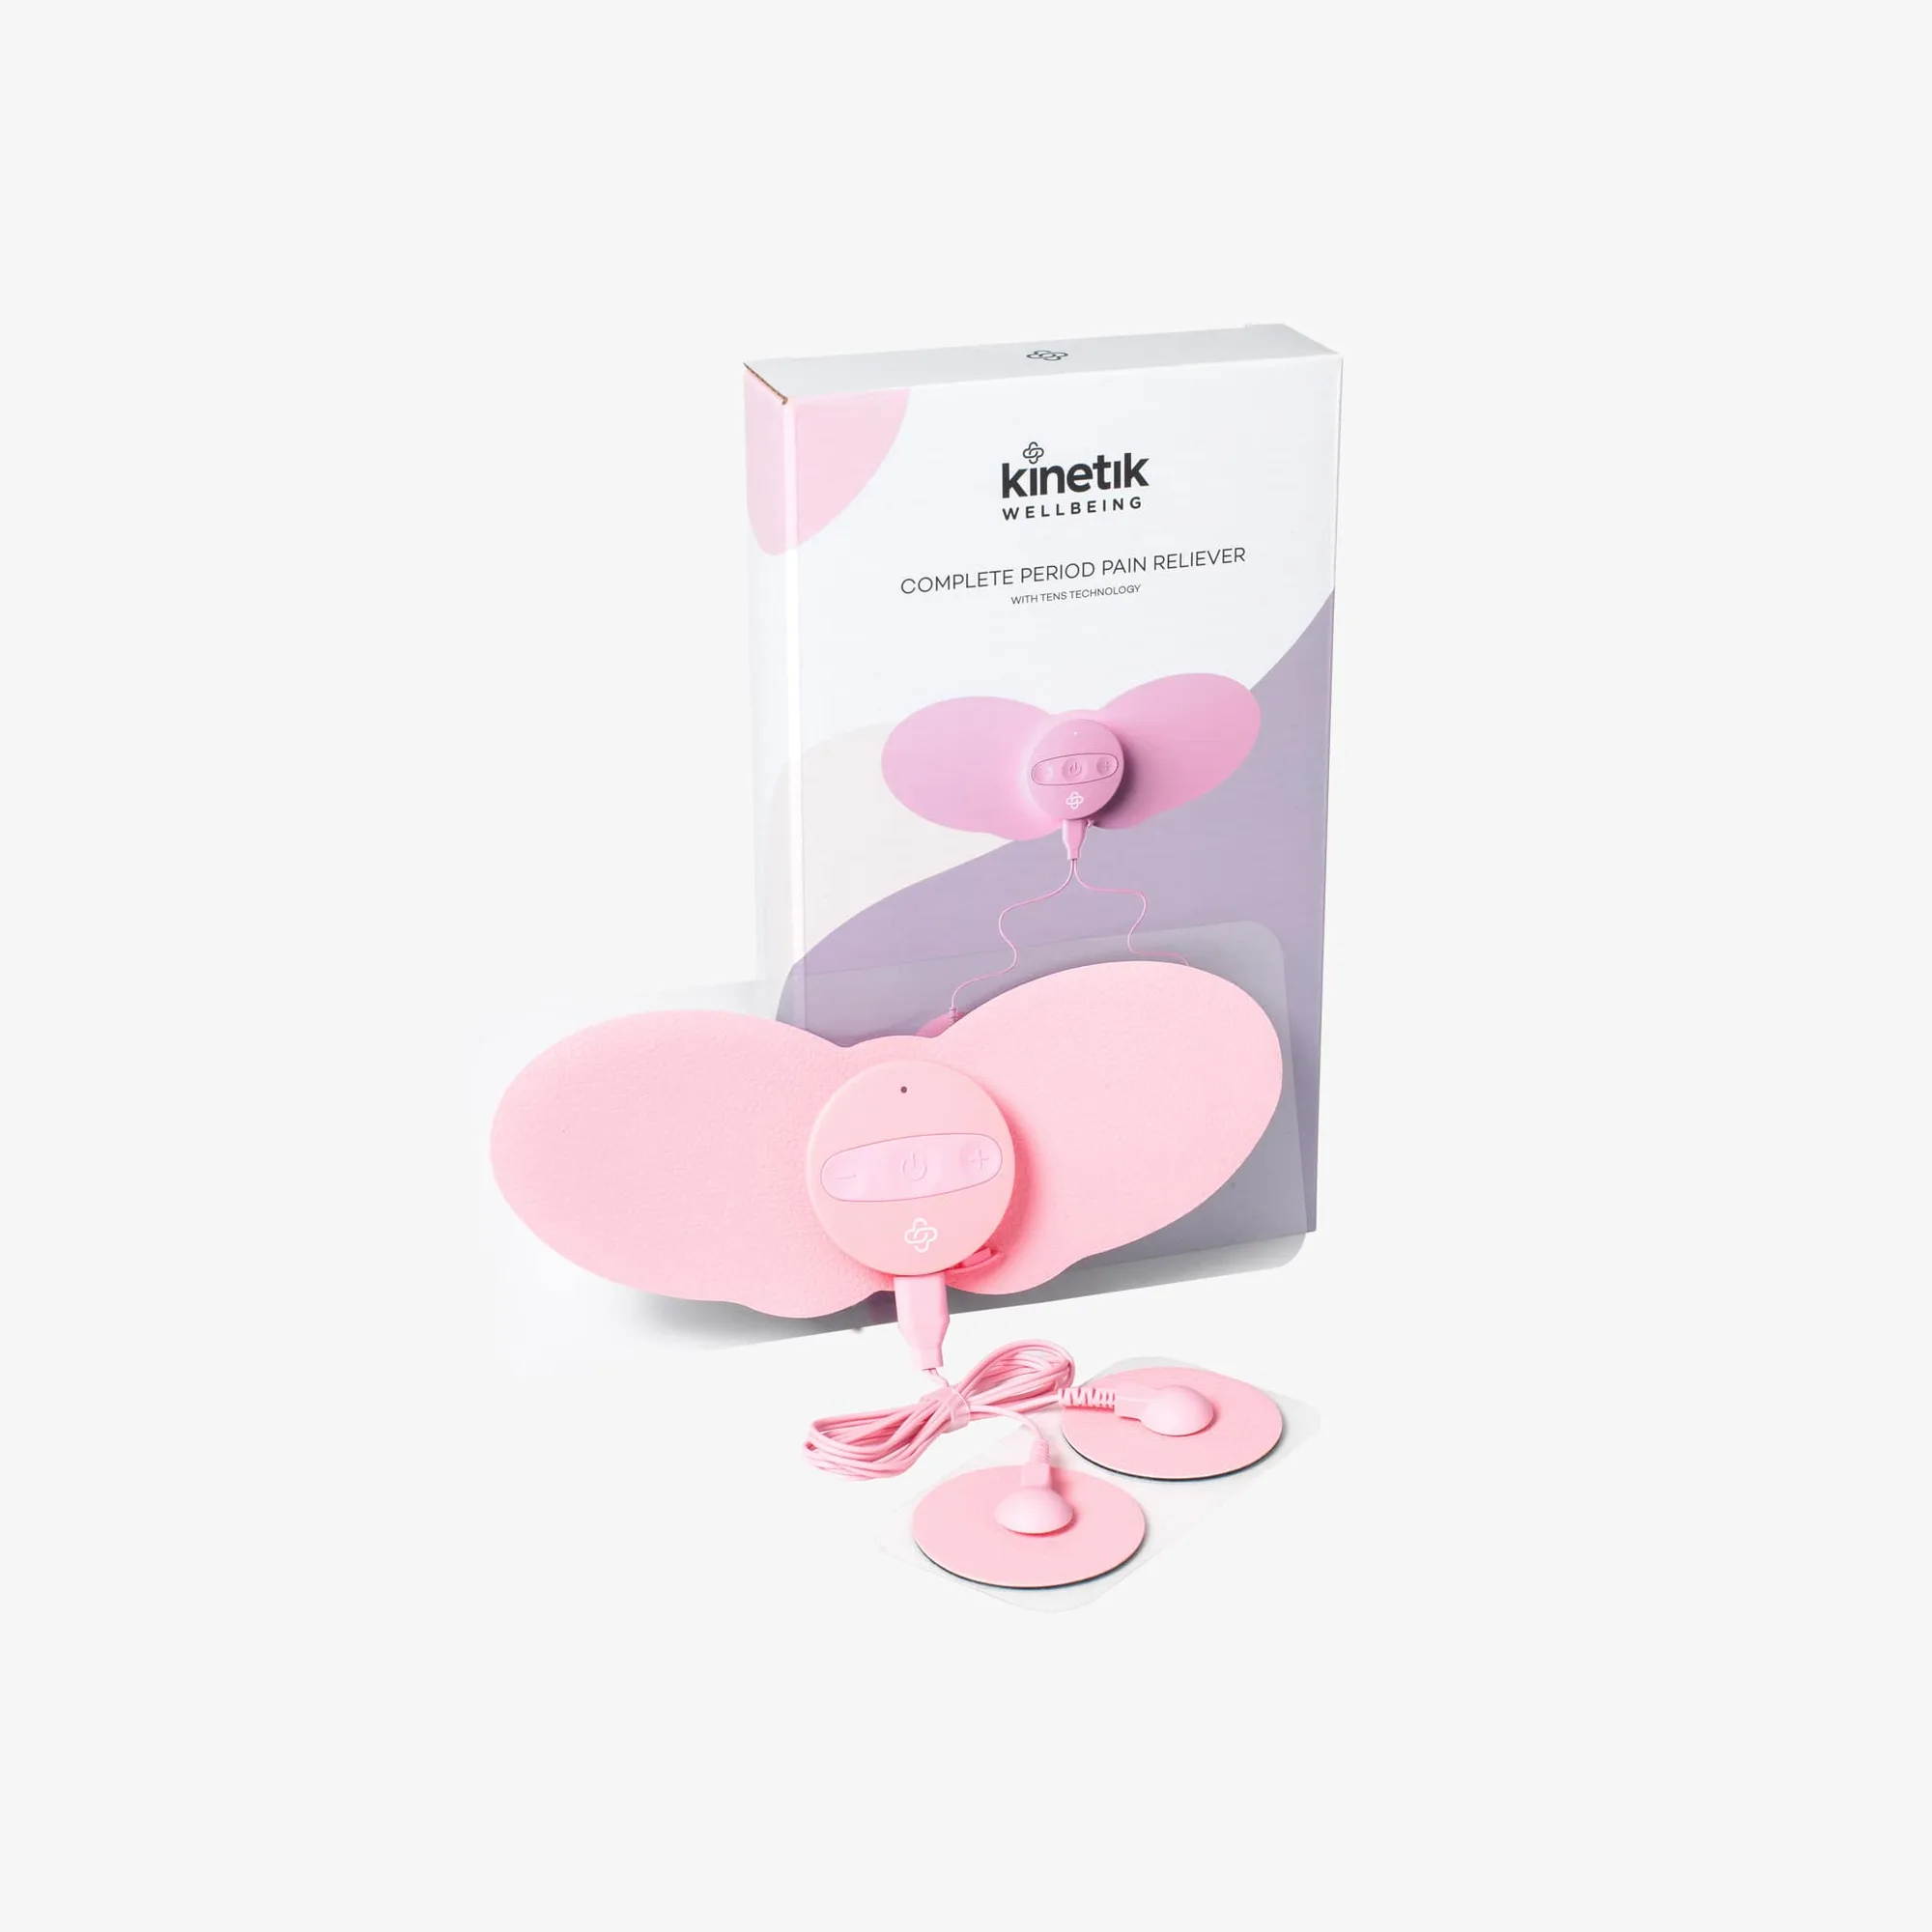
Kinetik Wellbeing | Complete TENS Machine for Period Cramps WW-300
-
Kinetik Wellbeing | Complete TENS Machine for Period Cramps WW-300: Offers 6 treatment modes and 20 intensity levels. You can start low and fine-tune the setting as your pain shifts during your period.