Quick Answer
Select a cohesive sticker theme, arrange the stickers on a blank card base, add your personal message, and seal the card. This turns ordinary planner stickers into a professional‑looking greeting card set.
Planner stickers are designed for daily organization, but their high‑quality vinyl and vibrant artwork make them perfect for greeting card projects. By treating each sticker as a decorative element, you can build themed cards that feel both handmade and polished.
This tutorial walks you through every stage—from picking a theme and gathering supplies to laying out stickers and finishing touches—so you can create a consistent set of cards without waste or frustration.
Gather Materials and Choose a Theme
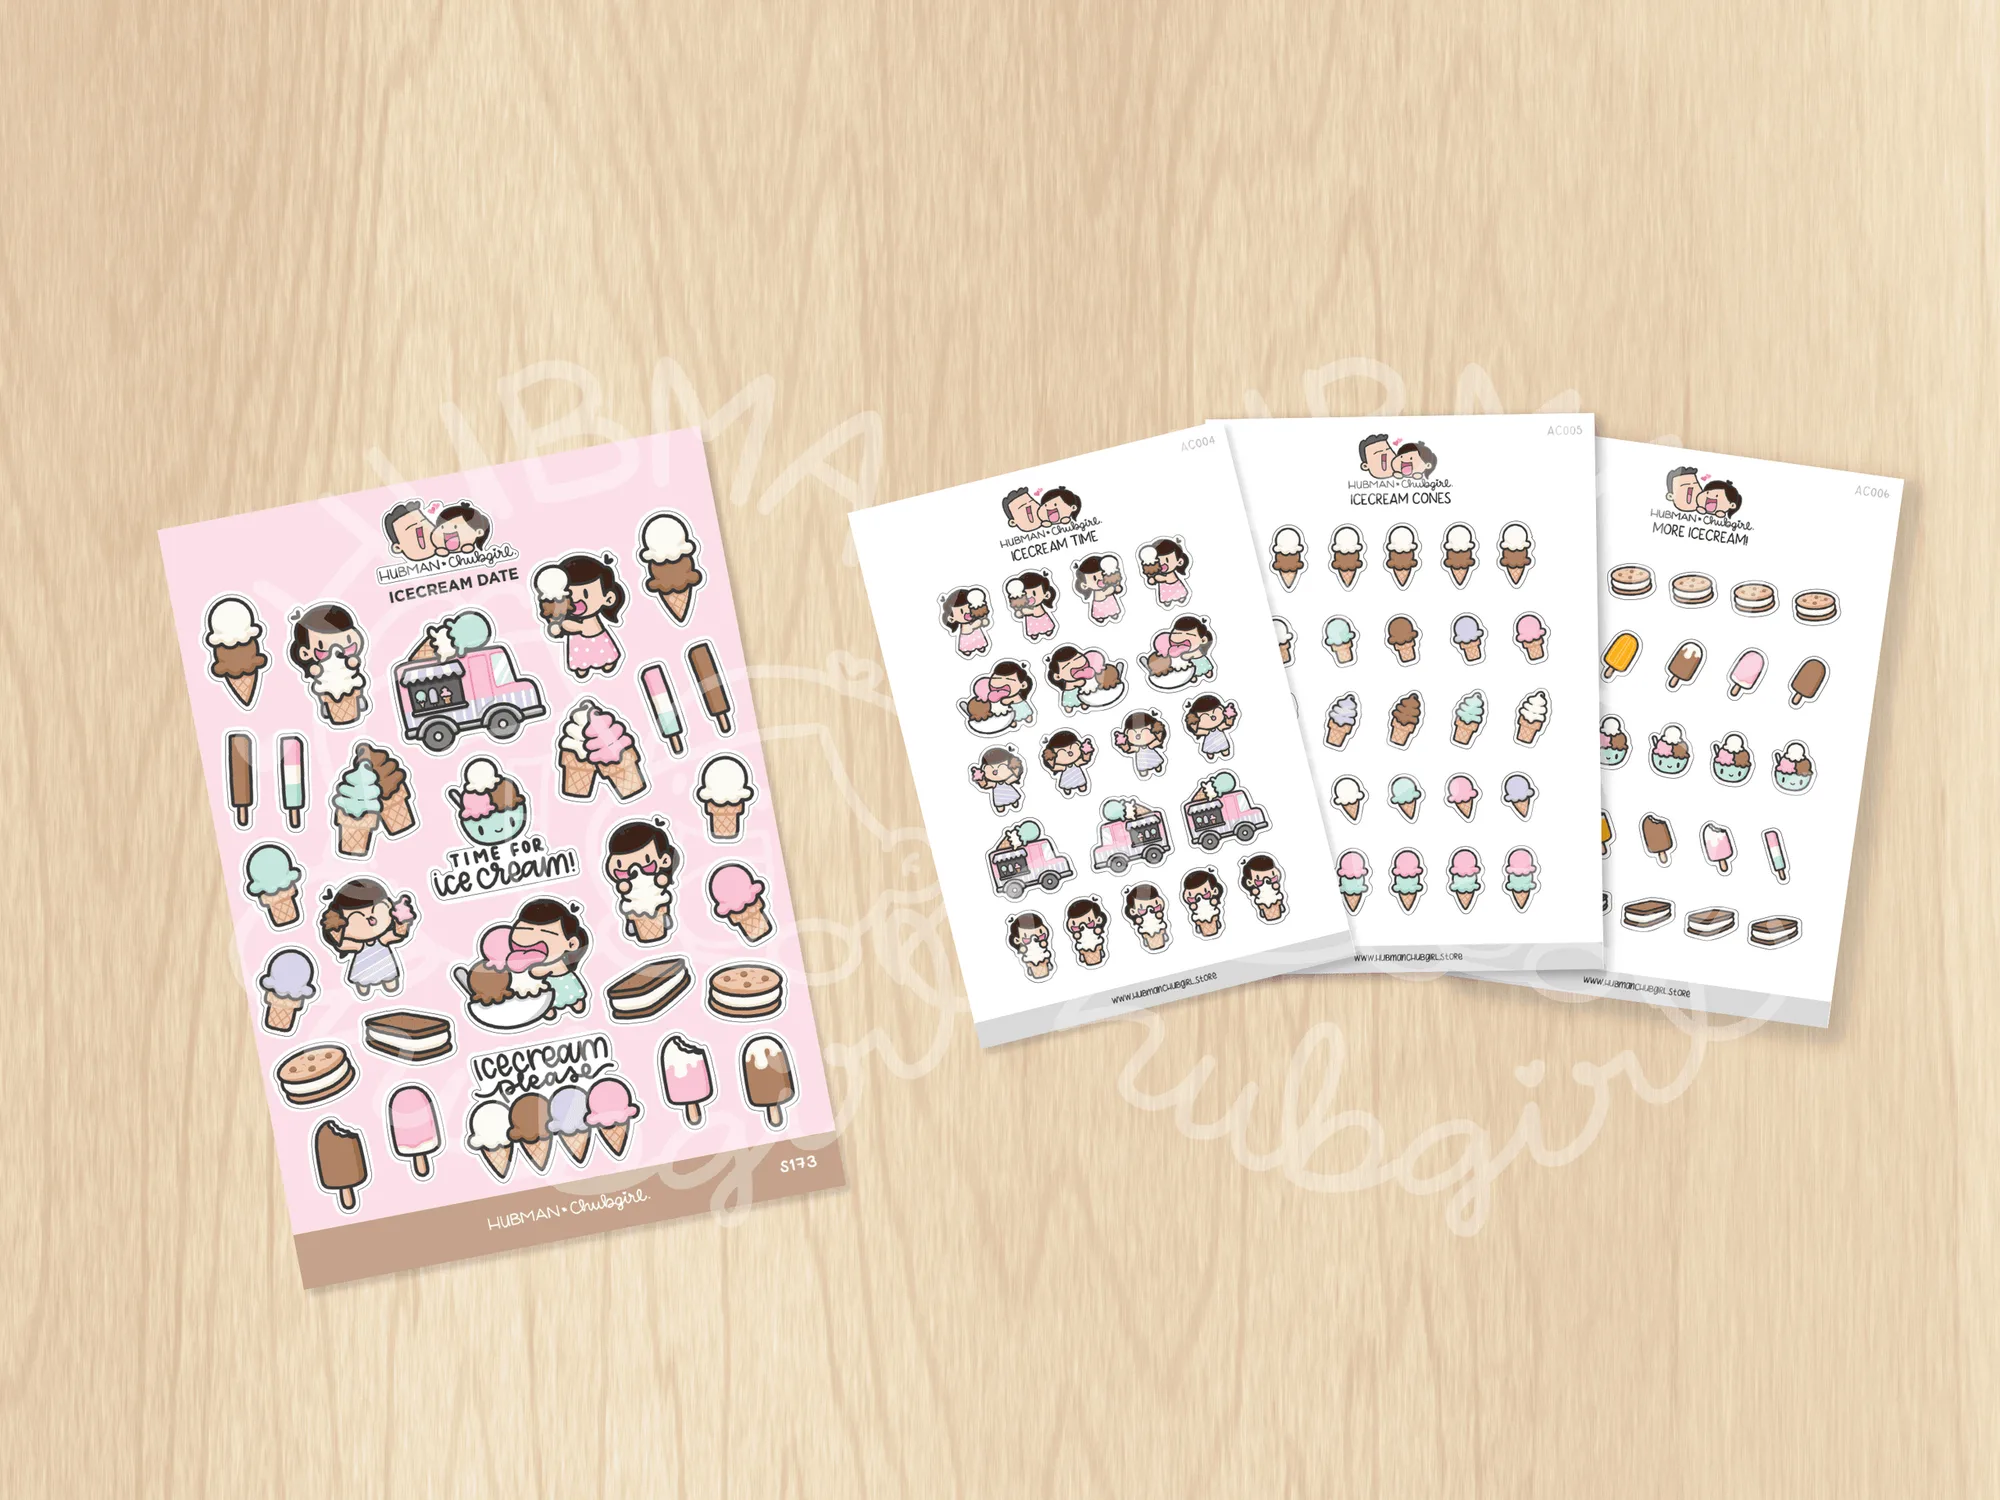
Start by deciding the overall mood of your card set—birthday, seasonal, or a hobby theme. Once you have a concept, pull the relevant planner stickers. For a summer vibe, the Summer Ice Cream Sticker Set works well; for a rustic feel, the Howdy, Cowboy Planner Stickers add a playful western touch. Keep a plain cardstock or pre‑cut card base, a fine‑point pen for messages, and a clean surface for layout.
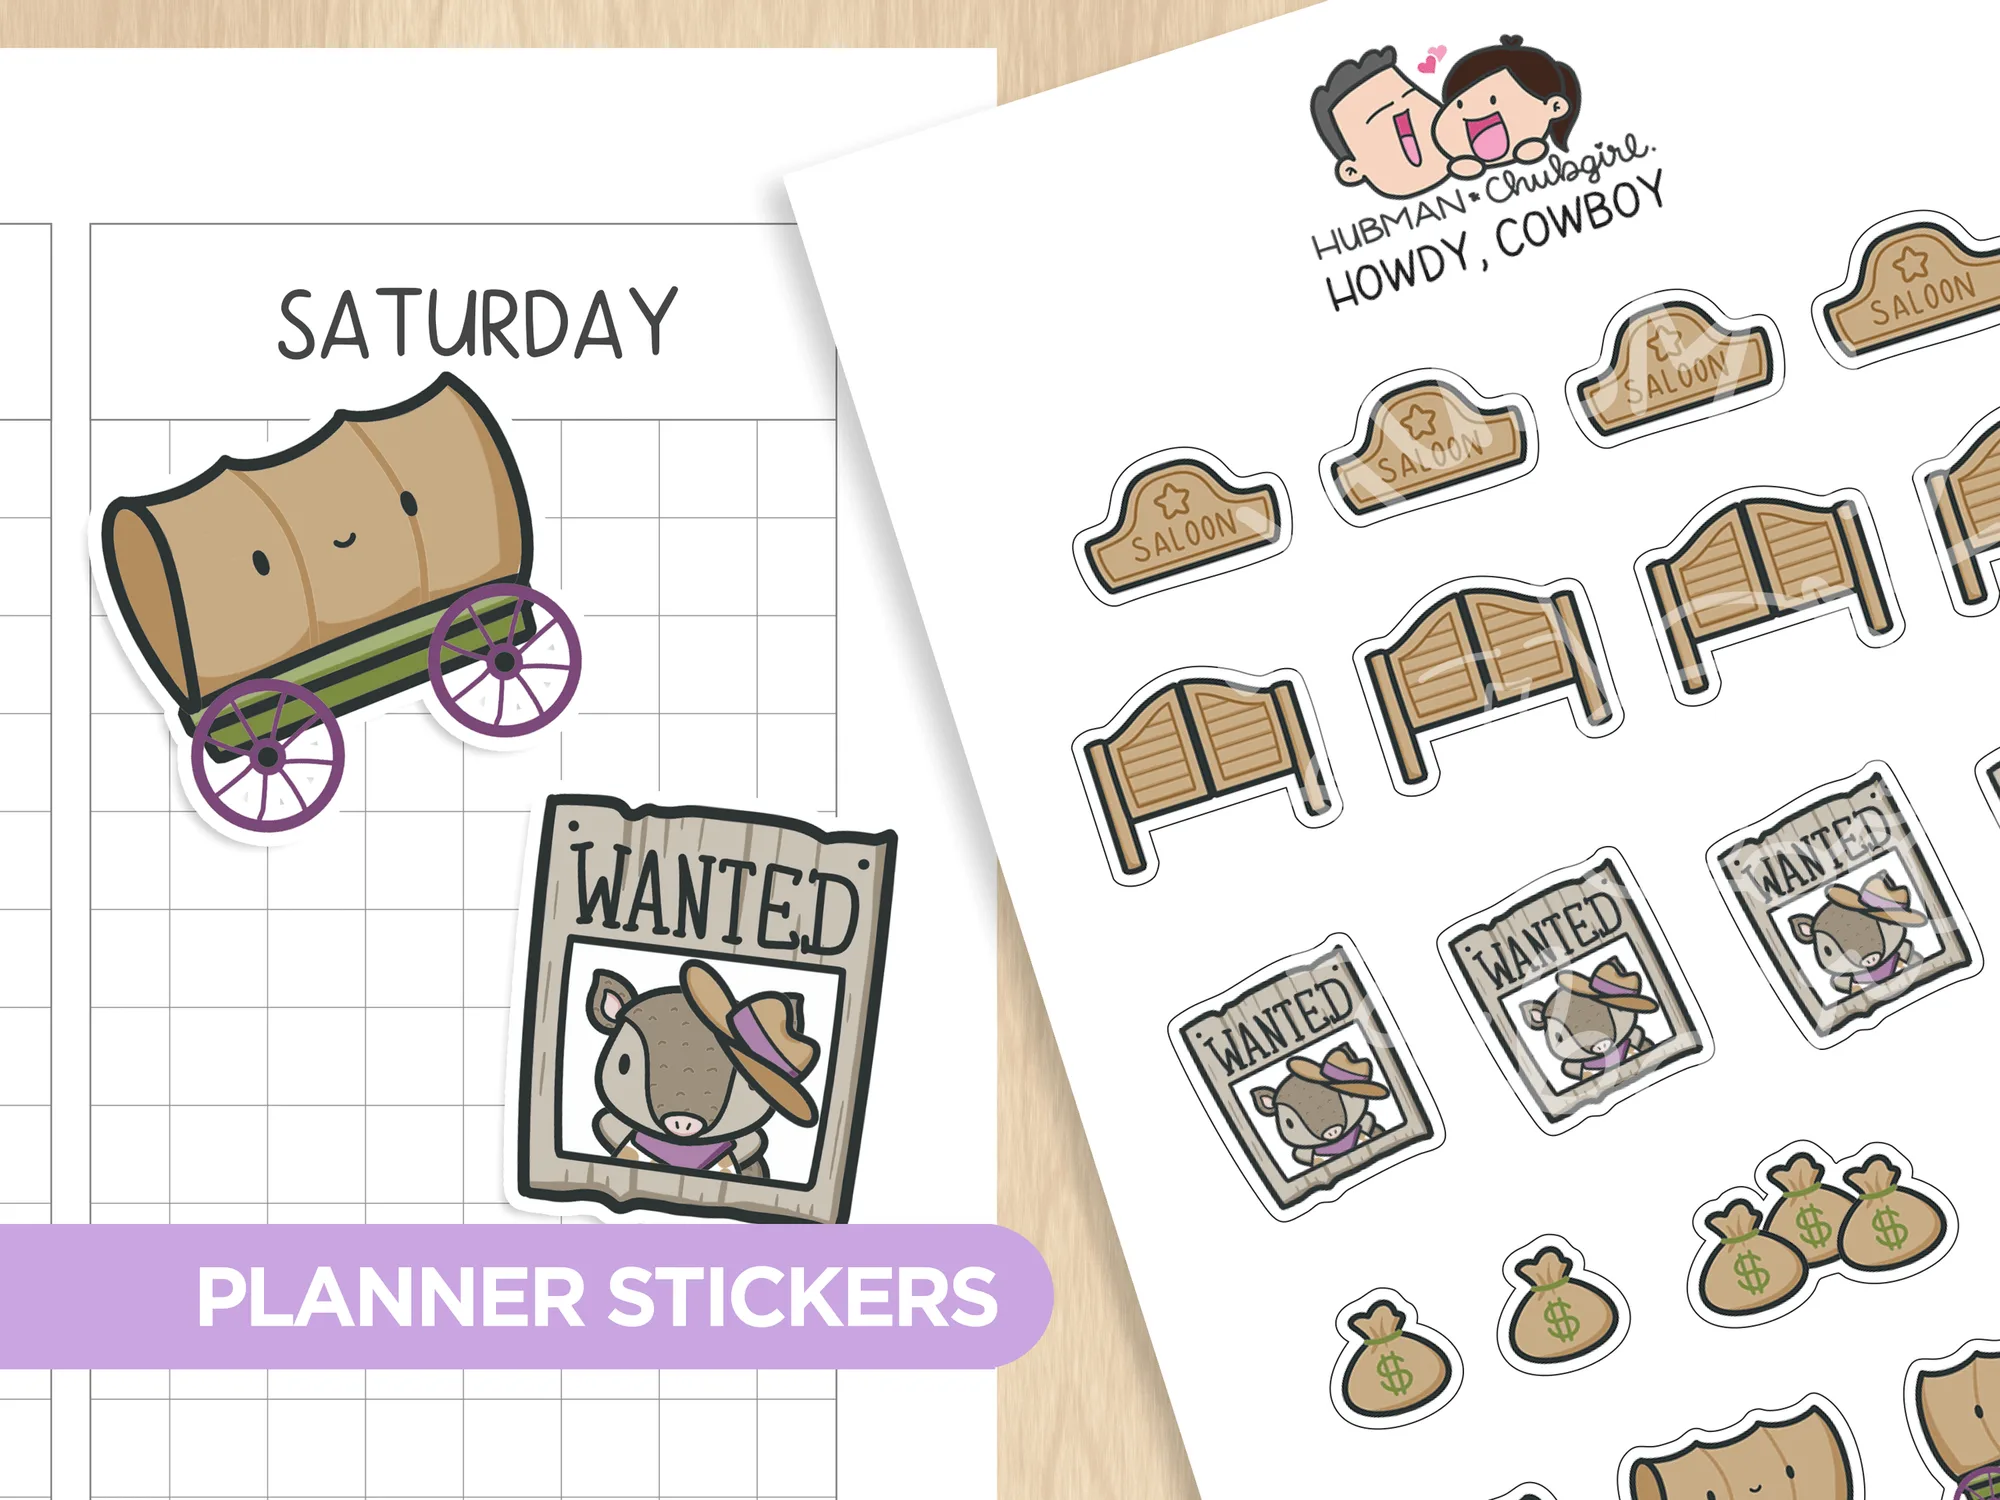
Howdy, Cowboy Planner Stickers
A common mistake at this stage is selecting too many sticker styles, which can make the card look cluttered. Check that each sticker contributes to the theme and that colors harmonize before you start gluing.
- Tip: Lay stickers on the card face‑up first; you can rearrange them without committing.
Plan Your Layout Before Applying
Arrange the stickers on the card without adhesive. Use a light pencil grid or masking tape to mark margins, ensuring consistent spacing across the set. This preview helps you spot gaps or overlapping elements early, saving time and preventing misaligned designs.
Checkpoint: If a sticker blocks space needed for your message, reposition it now. Remember that the waterproof vinyl can be peeled and repositioned, but excessive handling may reduce stickiness.
- Practical tip: Reserve a clear area of at least 1‑inch for the handwritten greeting.
Apply Stickers and Add Final Details
Once satisfied with the layout, gently press each sticker onto the card, smoothing out bubbles with a fingertip or a soft card. Because the stickers are waterproof vinyl, they will survive handling and mailing. After the stickers are set, write your personalized note using a fine‑point pen or gel pen that won’t smudge the vinyl.
Common error: Pressing too hard can cause the vinyl to lift at the edges. Apply even pressure and let the stickers sit for a minute before moving on.
- Finish with a thin border of coordinating washi tape for extra flair, if desired.
Step‑by‑Step Process
- 1. Choose a theme and select stickers: Define the card’s purpose, then pick planner stickers that match the mood—e.g., Howdy, Cowboy for western, Summer Ice Cream for bright summer cards. Avoid mixing unrelated sticker styles; a unified theme makes the set look intentional.
- 2. Layout stickers on a blank card base: Arrange stickers without adhesive, using a pencil grid or masking tape to keep margins even. Adjust until the composition feels balanced. Check that there’s space for a handwritten message; reposition stickers now to prevent later clashes.
- 3. Apply stickers, write your message, and finish: Press each sticker firmly, smooth out bubbles, then add your greeting with a pen that won’t smudge the vinyl. Optionally seal with a thin washi‑tape border. Press evenly to avoid lifting edges; let stickers set for a minute before handling further.
Planner Sticker Products You Can Use
- Howdy, Cowboy Planner Stickers: All sticker designs are drawn by Chubgirl! Sheet size: 3.5” x 5”, 21 individual stickers, high‑quality vinyl, waterproof, can be peeled and re‑positioned. The waterproof vinyl ensures the stickers stay vivid after handling, and the re‑positionable feature lets you perfect the layout without waste.
- Summer Ice Cream Sticker Set: High quality vinyl, waterproof. Includes 1 sticker sheet; perfect for sunny season themes. Bright, seasonal imagery adds a cohesive summer feel to your cards, and the vinyl durability keeps the design intact through mailing.
With a clear theme, thoughtful layout, and the right planner stickers, you can craft a charming greeting card set that feels both personal and professionally designed. Enjoy the creative process and share your handmade cards with friends and family!