Quick Overview
Start with a clean journal page, pick a Jelly Friends sticker set that matches your color theme, and arrange the stickers to anchor each section. This creates visual flow while keeping the layout flexible for future additions.
A themed journal spread ties together colors, motifs, and stickers to turn a plain planner into a personal canvas. Using Jelly Friends stickers lets you add whimsical characters that guide the eye and reinforce your chosen story.
This guide walks you through planning, placement, and finishing touches, while highlighting common pitfalls such as overcrowding and mismatched colors.
Plan Your Theme and Gather Materials
Decide on a central color palette—soft pastels work well with most Jelly Friends designs. Sketch a rough layout on a scrap piece of paper, marking where each sticker will sit and what text or doodles will accompany it. This blueprint prevents last‑minute scrambling and ensures balance across the spread.
Gather your chosen Jelly Friends stickers, a fine‑point pen for headings, and a ruler for straight lines. If you plan to use additional embellishments like washi tape, lay them out now so you can see how they interact with the stickers.
- Tip: Test sticker placement on a separate page before committing to your journal page.
Apply Stickers with Precision
Peel the backing gently and position the sticker at the intersection of your pre‑drawn guides. Press from the center outward to avoid air bubbles. Because the stickers are waterproof vinyl with UV laminate, they stay intact even if the journal gets splashed.
If a sticker feels slightly misaligned, use a thin card (like a credit card) to lift it gently and reposition. The flexible yet heavy‑duty material tolerates careful repositioning without tearing.
- Common mistake: Pressing too hard before the sticker fully adheres can cause edge lifting later.
Add Final Details and Seal the Layout
Write headings, dates, or short notes around the stickers using a pen that won’t bleed through the page. Add small decorative lines or dots to connect stickers to related entries, creating a visual narrative.
Close the journal for a few minutes to let any adhesive settle. The waterproof coating ensures the stickers remain vibrant and resistant to humidity.
- Checkpoint: Verify that no sticker edges are lifting before you finish the spread.
Your Step‑by‑Step Checklist
- 1. Define Your Theme: Choose colors, sketch layout, and select matching Jelly Friends stickers before opening your journal. A clear plan avoids overcrowding and keeps the spread cohesive.
- 2. Position and Apply Stickers: Place each sticker according to your sketch, press from center outward, and adjust gently if needed. Proper placement ensures stickers stay flat and aligned with your text.
- 3. Finish with Writing and Details: Add headings, notes, and connecting lines; let the page settle before closing the journal. Final touches tie the visual story together and protect sticker edges.
Sticker Choices That Work Well in Journals
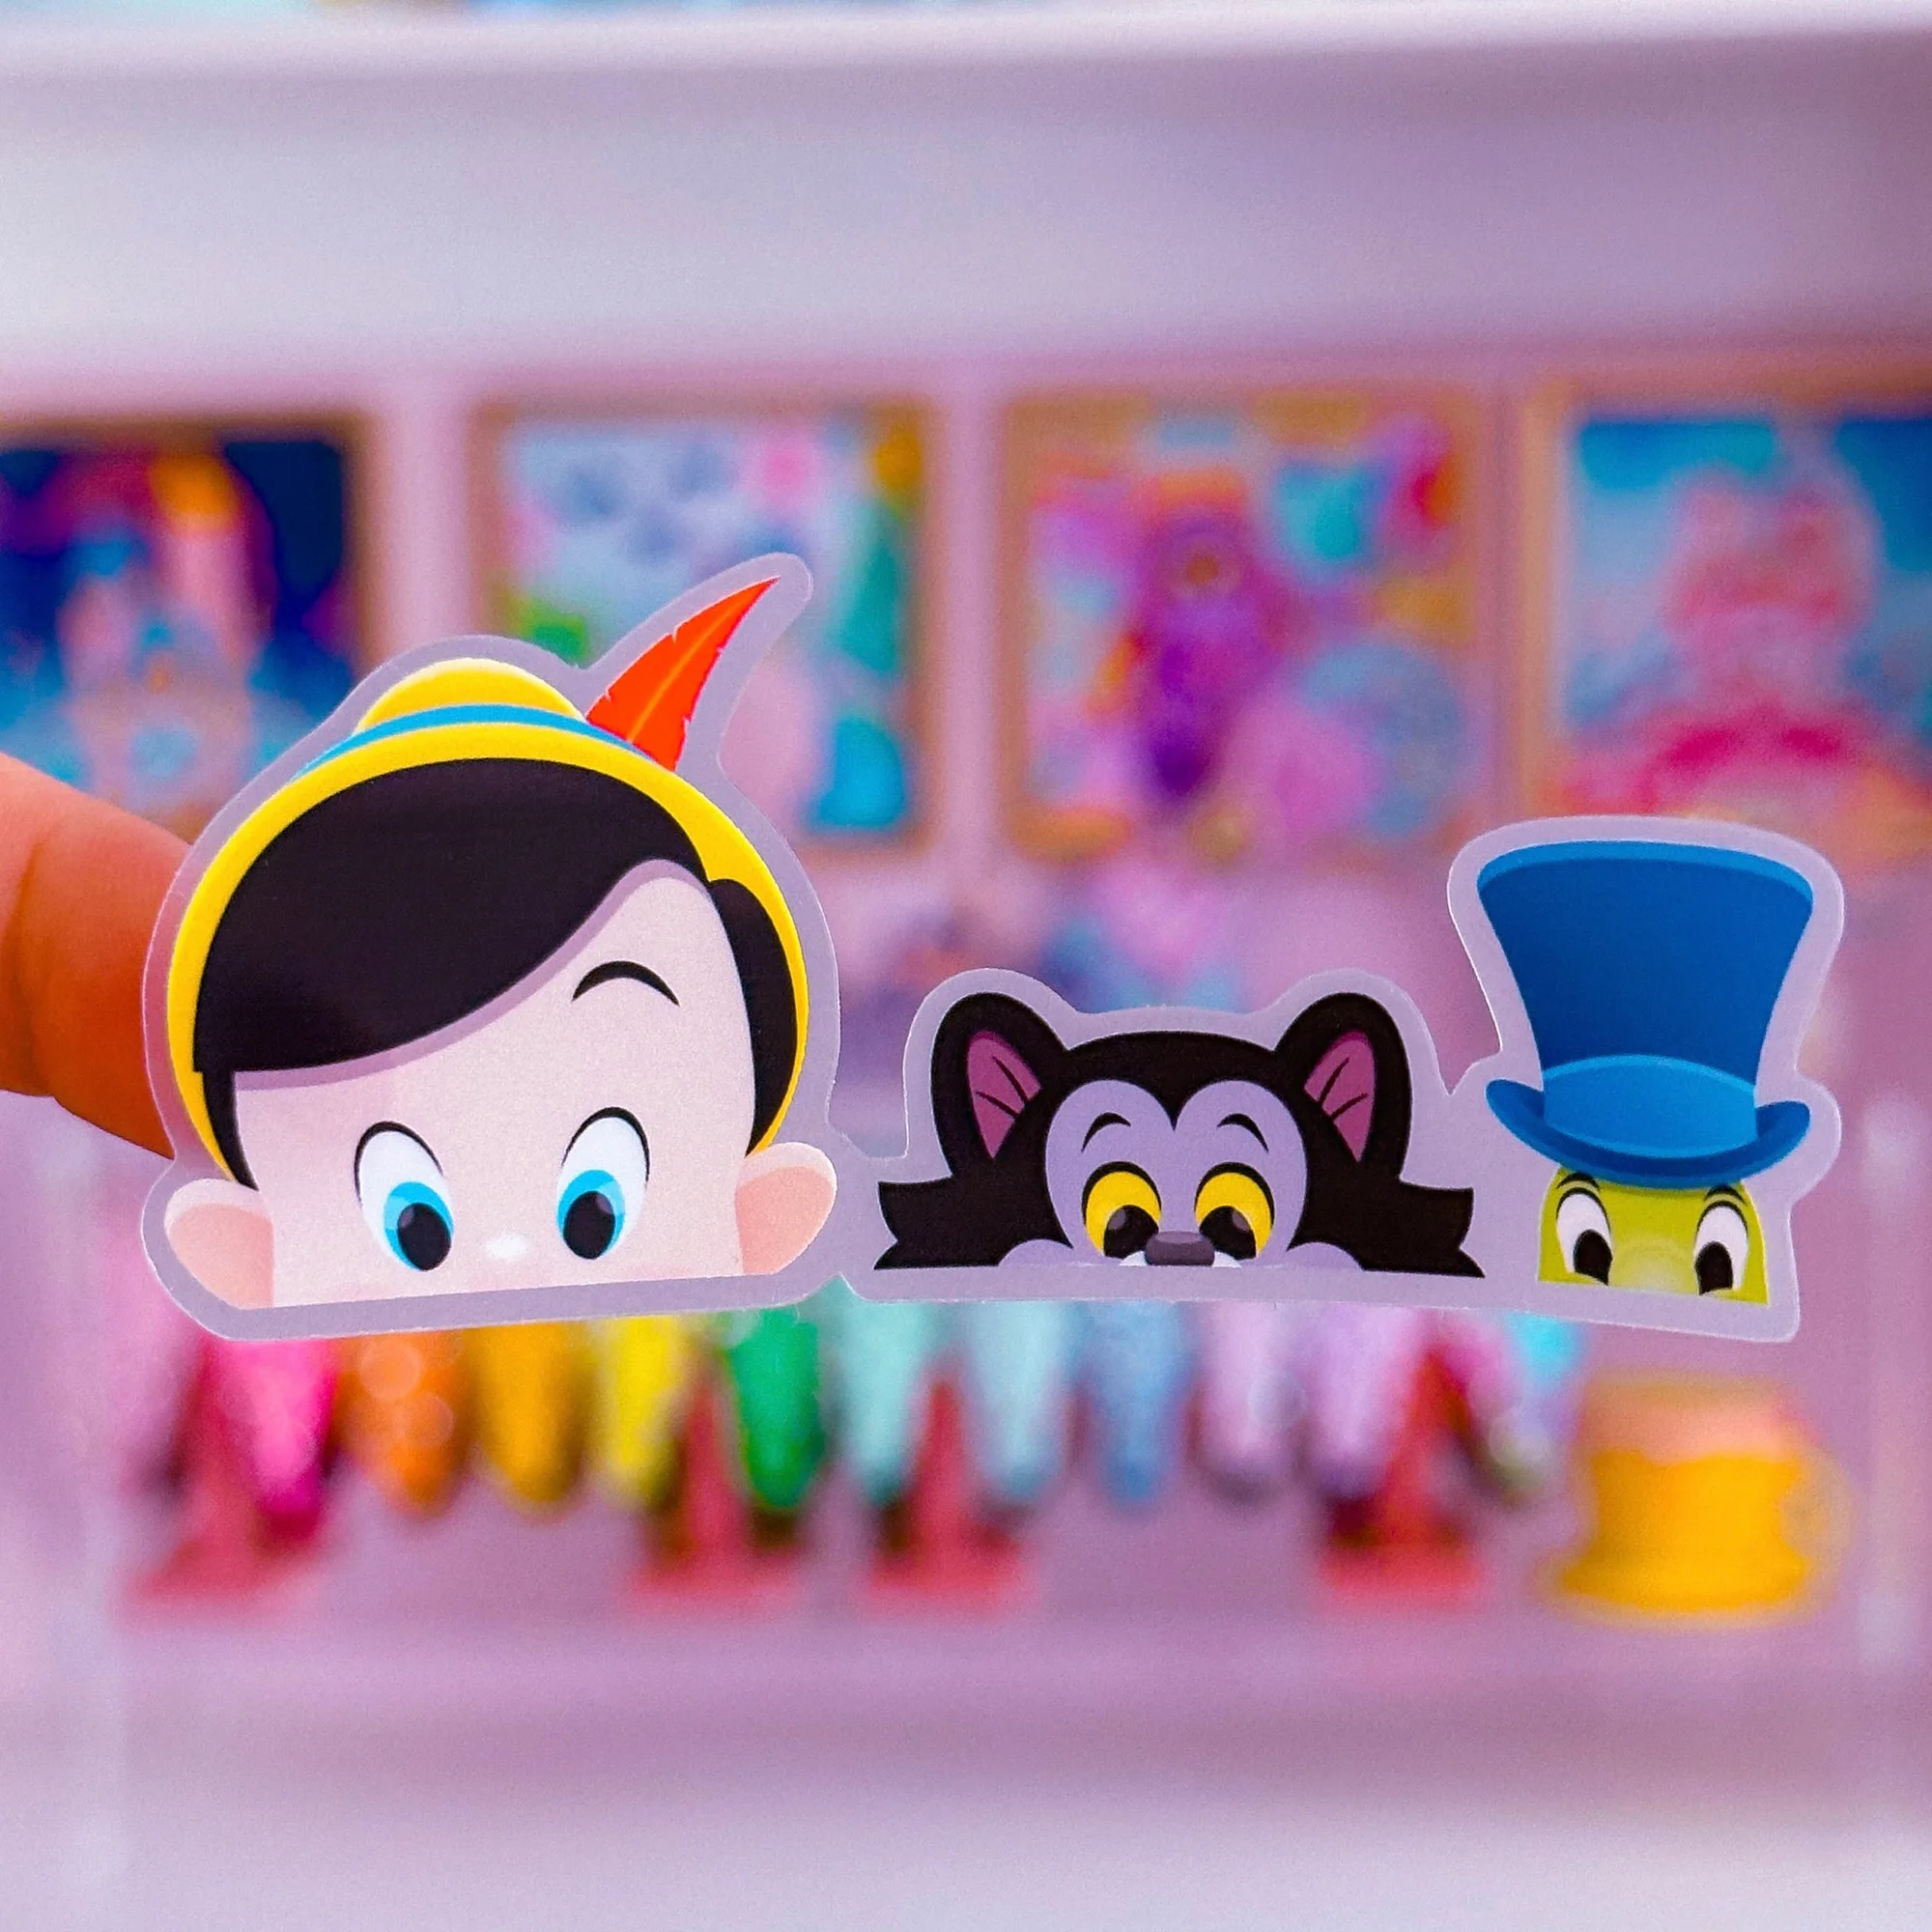
- Waterproof Sticker - (Pinocchio) Peeking Friends: Durable, waterproof vinyl/clear sticker approx. 2" size, protected with UV laminate – heavy‑duty yet flexible for water bottles and planner covers. The UV laminate prevents fading from sunlight, and the flexible vinyl adheres smoothly to paper without curling.
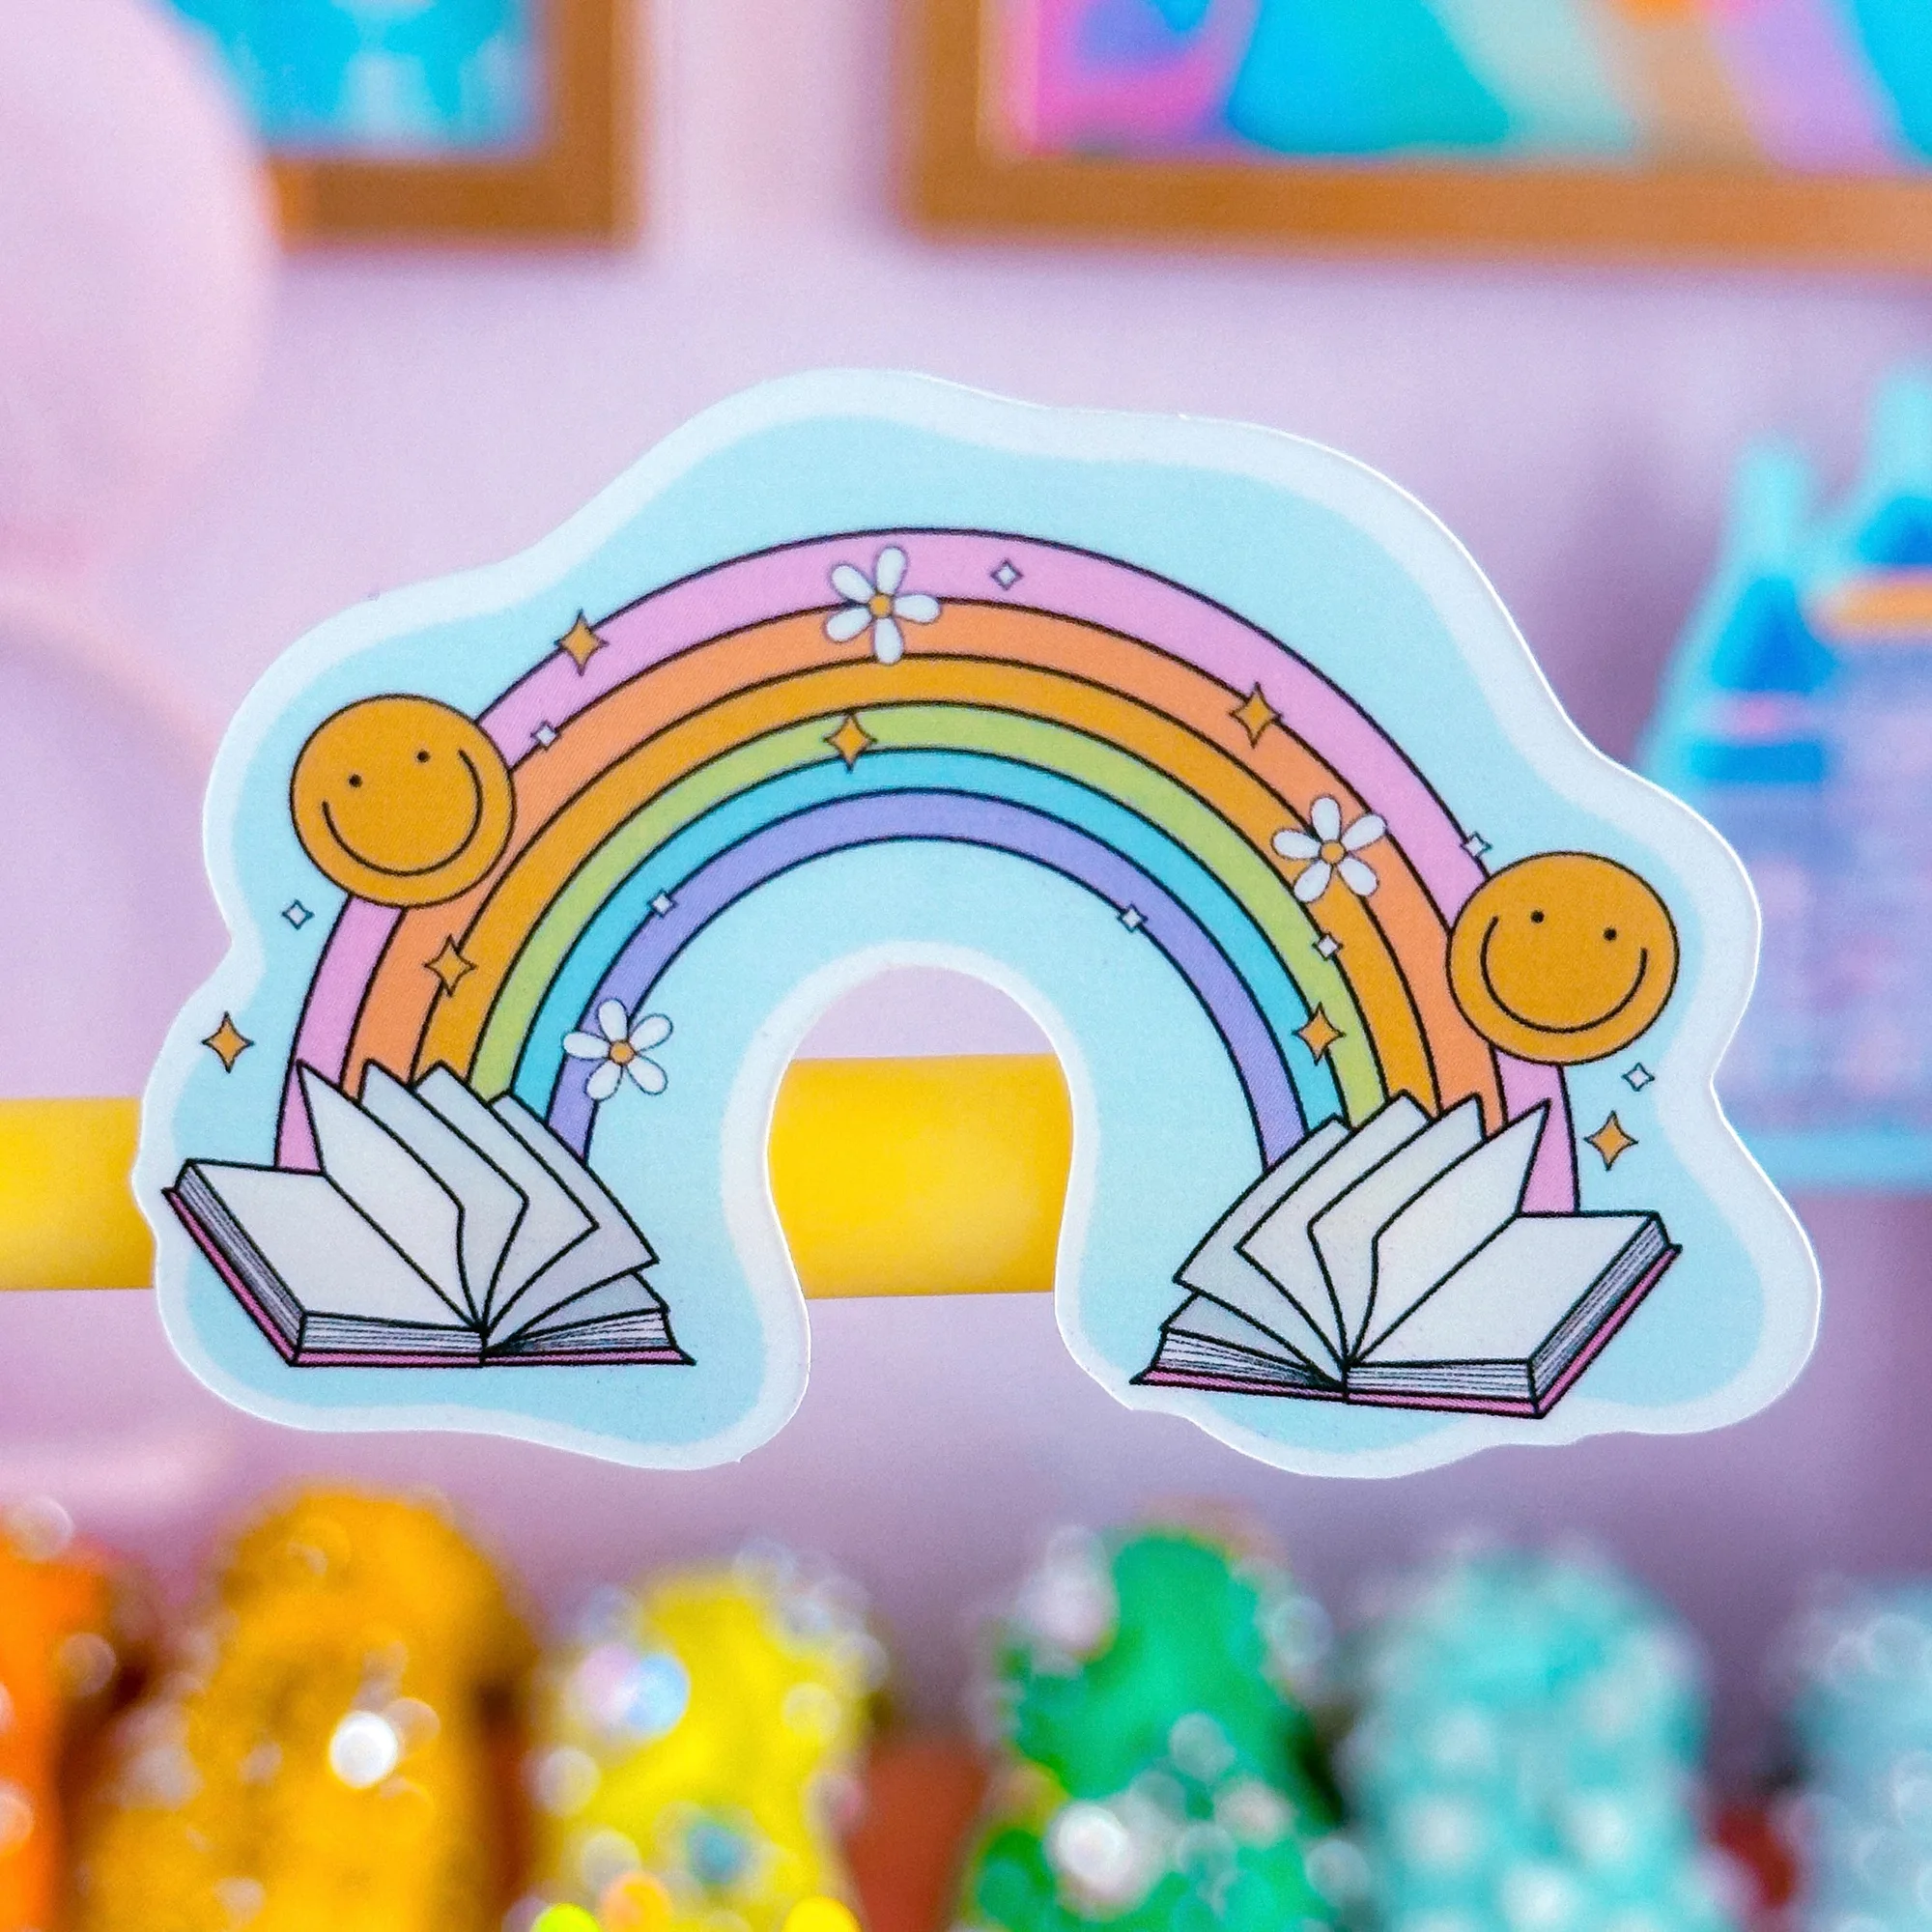
- Waterproof Sticker - Bookish Rainbow: Durable, waterproof vinyl sticker approx. 2.6" x 1.8", protected with UV laminate – flexible for water bottles, planner covers, laptops, and planner carts. Its slightly larger size offers a bold focal point, while the waterproof finish keeps colors bright even with frequent handling.
With a thoughtful theme, the right Jelly Friends stickers, and careful placement, your journal becomes a vibrant, personalized space that inspires daily planning and creative expression.