Start with the mat, not the poles
The Tiny Land Teepee Tent with Mat is designed around a padded non-slip mat, so the most reliable first step is to decide where that mat will live. Pick a corner with enough floor space for the mat to lie flat and for the tent to open without blocking a walkway. Because the supplied information does not list exact dimensions, measure your intended spot and compare it with the tent once unboxed before you commit to a permanent corner.
This order matters for a simple reason: the mat defines the cozy footprint. Once it is down, you can position the teepee over it, check that the tie-back flap door opens toward the room, and confirm that the breathable window is not pressed against a wall. That small check keeps airflow and visibility working as intended.
A simple assembly sequence for the wooden frame
The supplied details describe smooth wooden poles, an integrated sleeve design, and easy assembly, folding, moving, and storage. They do not include a numbered manufacturer instruction sheet, so treat the following as a practical order of operations rather than a replacement for any printed guide that comes in the box.
- Unpack and sort the poles: Lay out the thick solid pine poles and the canvas so you can see how the integrated sleeves line up. Sorting first avoids threading poles twice.
- Thread the poles through the sleeves: Feed each pole through its sleeve as indicated by the tent's design. The integrated sleeve system is what keeps the canvas tensioned around the frame.
- Stand the frame and spread the base: With the poles threaded, stand the teepee upright and spread the base until the canvas is taut. The heavier canvas fabric is intended to create a stable play space, so a level floor helps here.
- Place the padded mat inside: Lay the non-slip mat inside the footprint. Its padding is meant for sitting, reading, playing, or napping, so smooth it flat before adding cushions or books.
- Set the door and window: Use the tie-back flap door to hold the entrance open, and check that the breathable window is unobstructed. Two storage pockets can hold small books or toys within reach.
Choosing a corner that actually works
A cozy corner needs three things: a flat surface for the mat, a little breathing room around the canvas, and a sightline for you. The teepee's open door and breathable window support that last point, but only if you do not push the tent tight into a corner with the window facing the wall. Leave a gap so air can move and so you can glance in from across the room.
Indoors, the teepee works as a reading nook, a pretend-play hideaway, or a quiet spot for relaxing. Outdoors, the same tent can be used for play, but the supplied information does not include weather ratings or ground-stake instructions, so avoid treating it as an all-weather shelter. Bring it back inside or store it when conditions turn wet or windy.
What the Tiny Land Teepee Tent with Mat includes
-
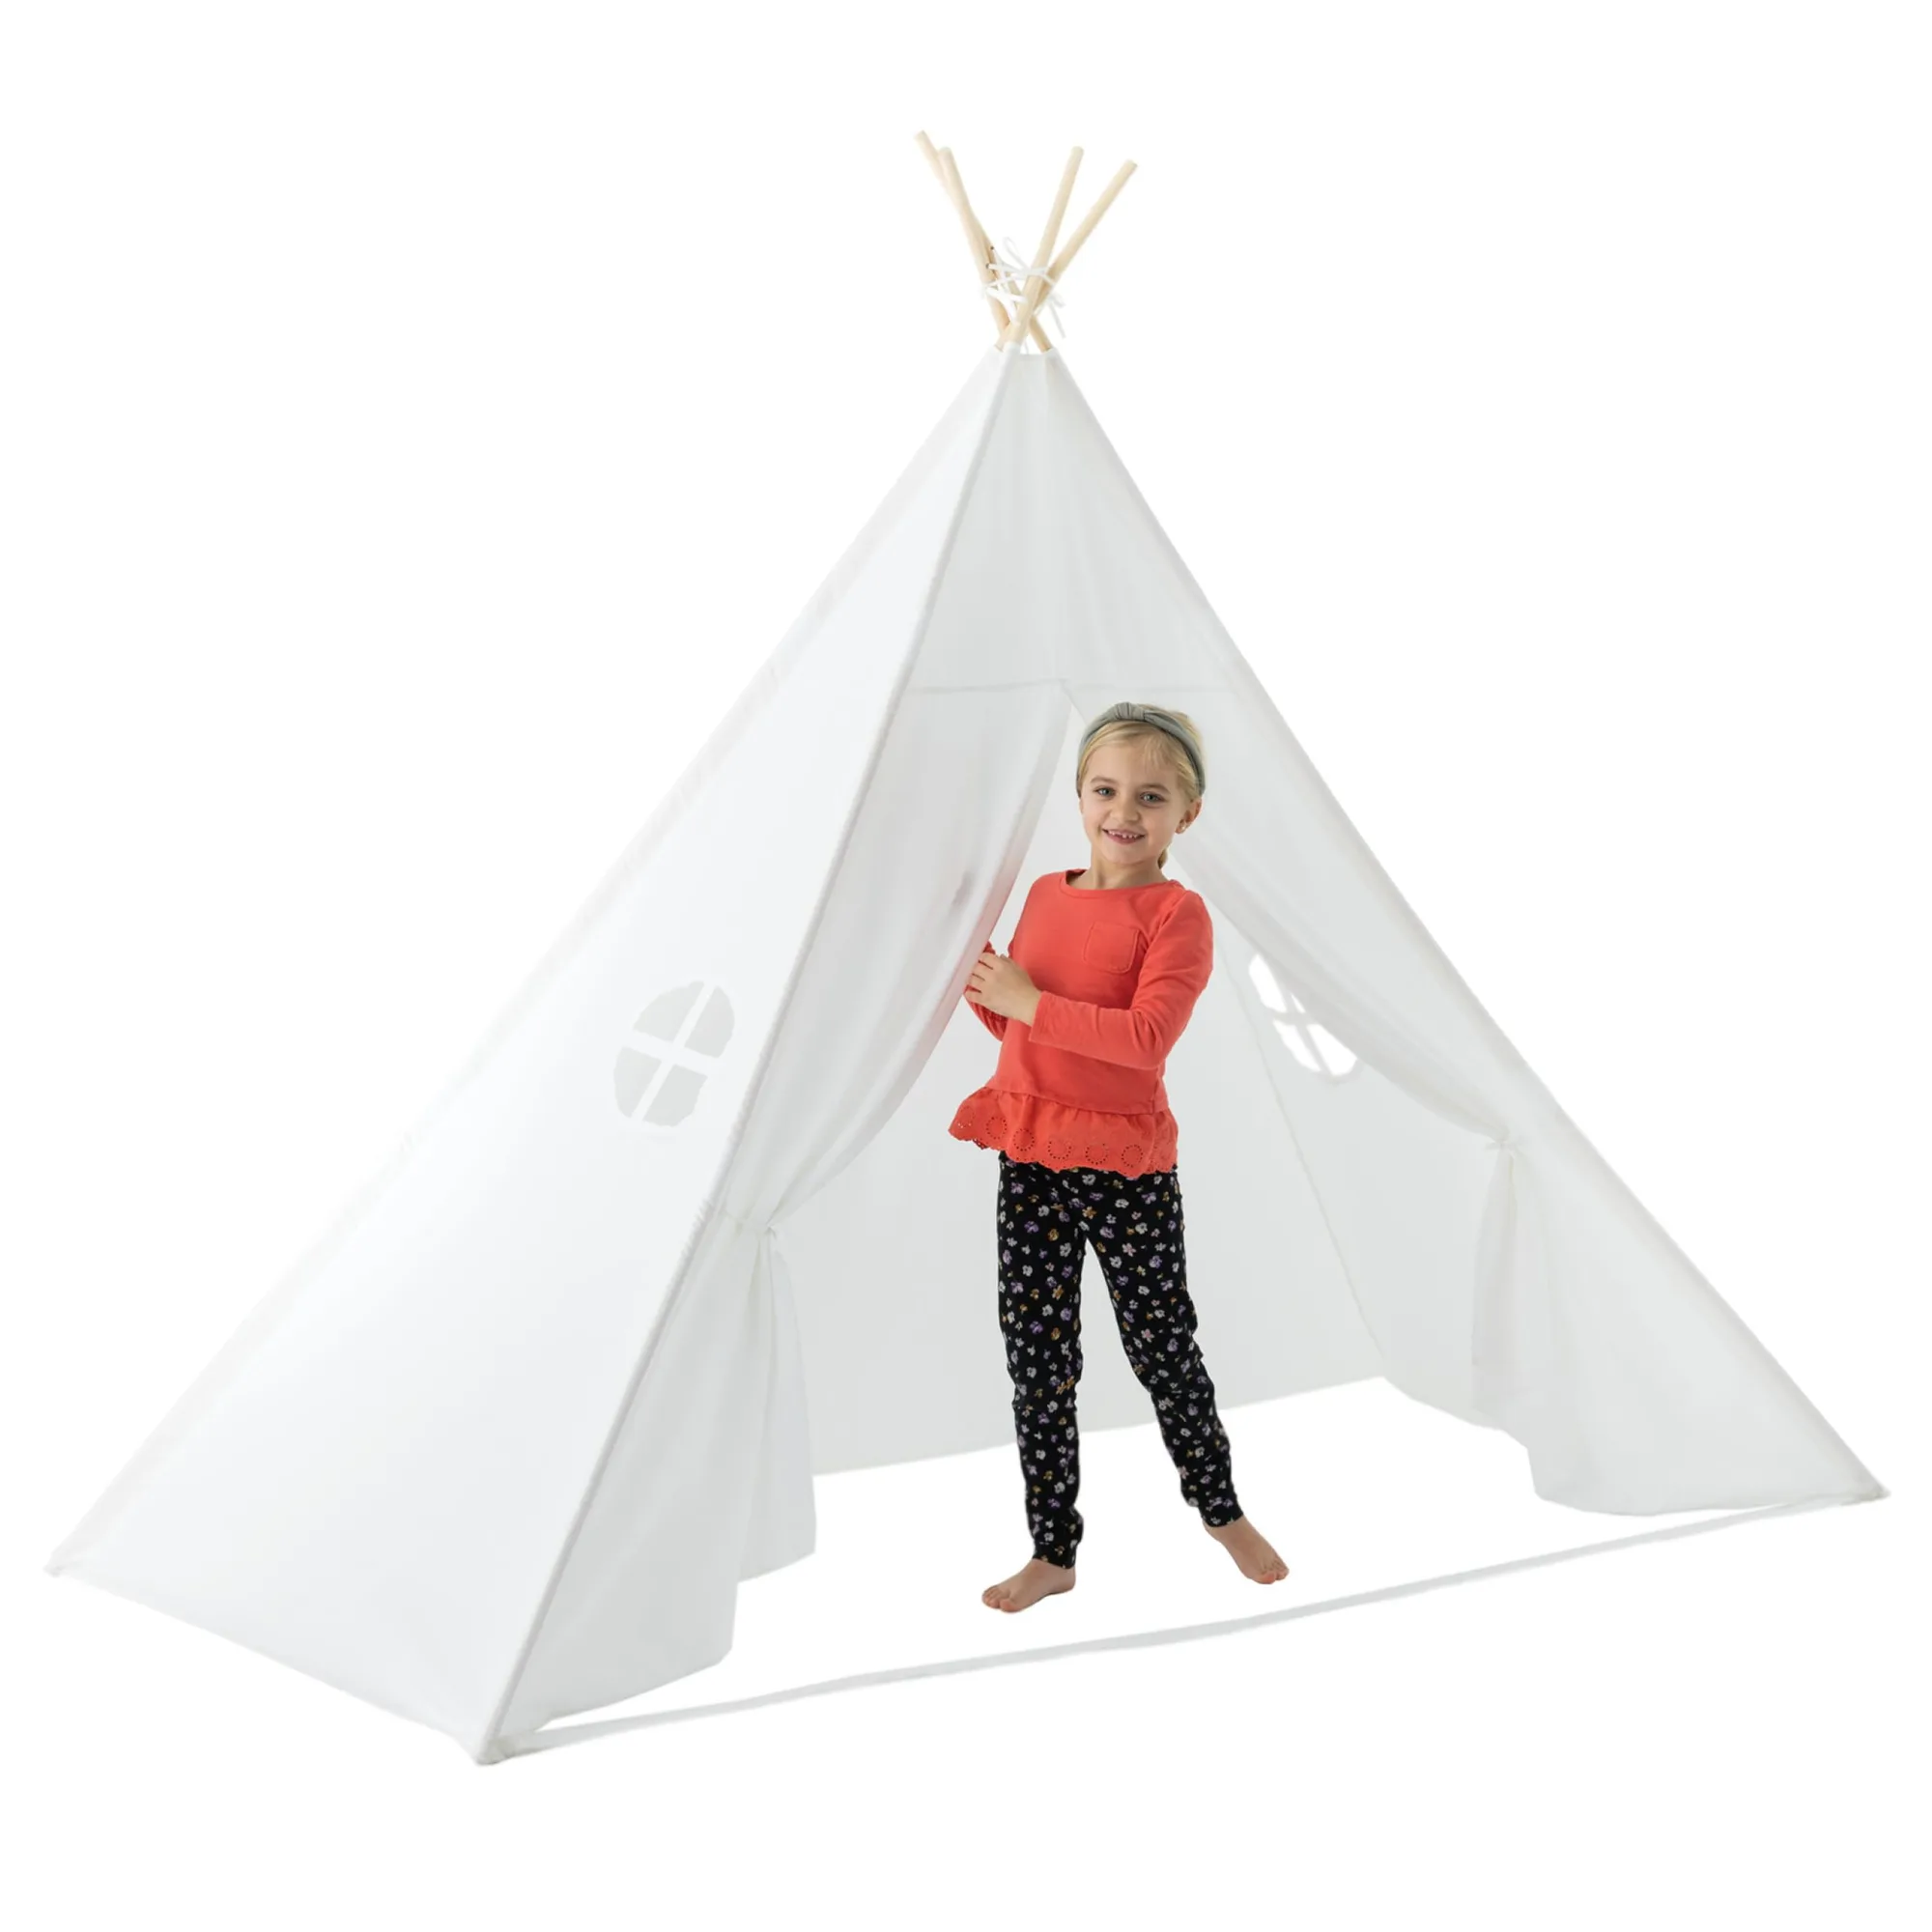
Tiny Land® Teepee Tent for Kids with Mat – Indoor Play Tent with Floor Mat: Heavier canvas fabric, thick solid pine poles, and a padded non-slip mat create a stable, durable, and cozy play space for sitting, reading, playing, or napping. These three components are the core of the setup, and the mat is the piece that makes the floor comfortable for longer reading sessions.
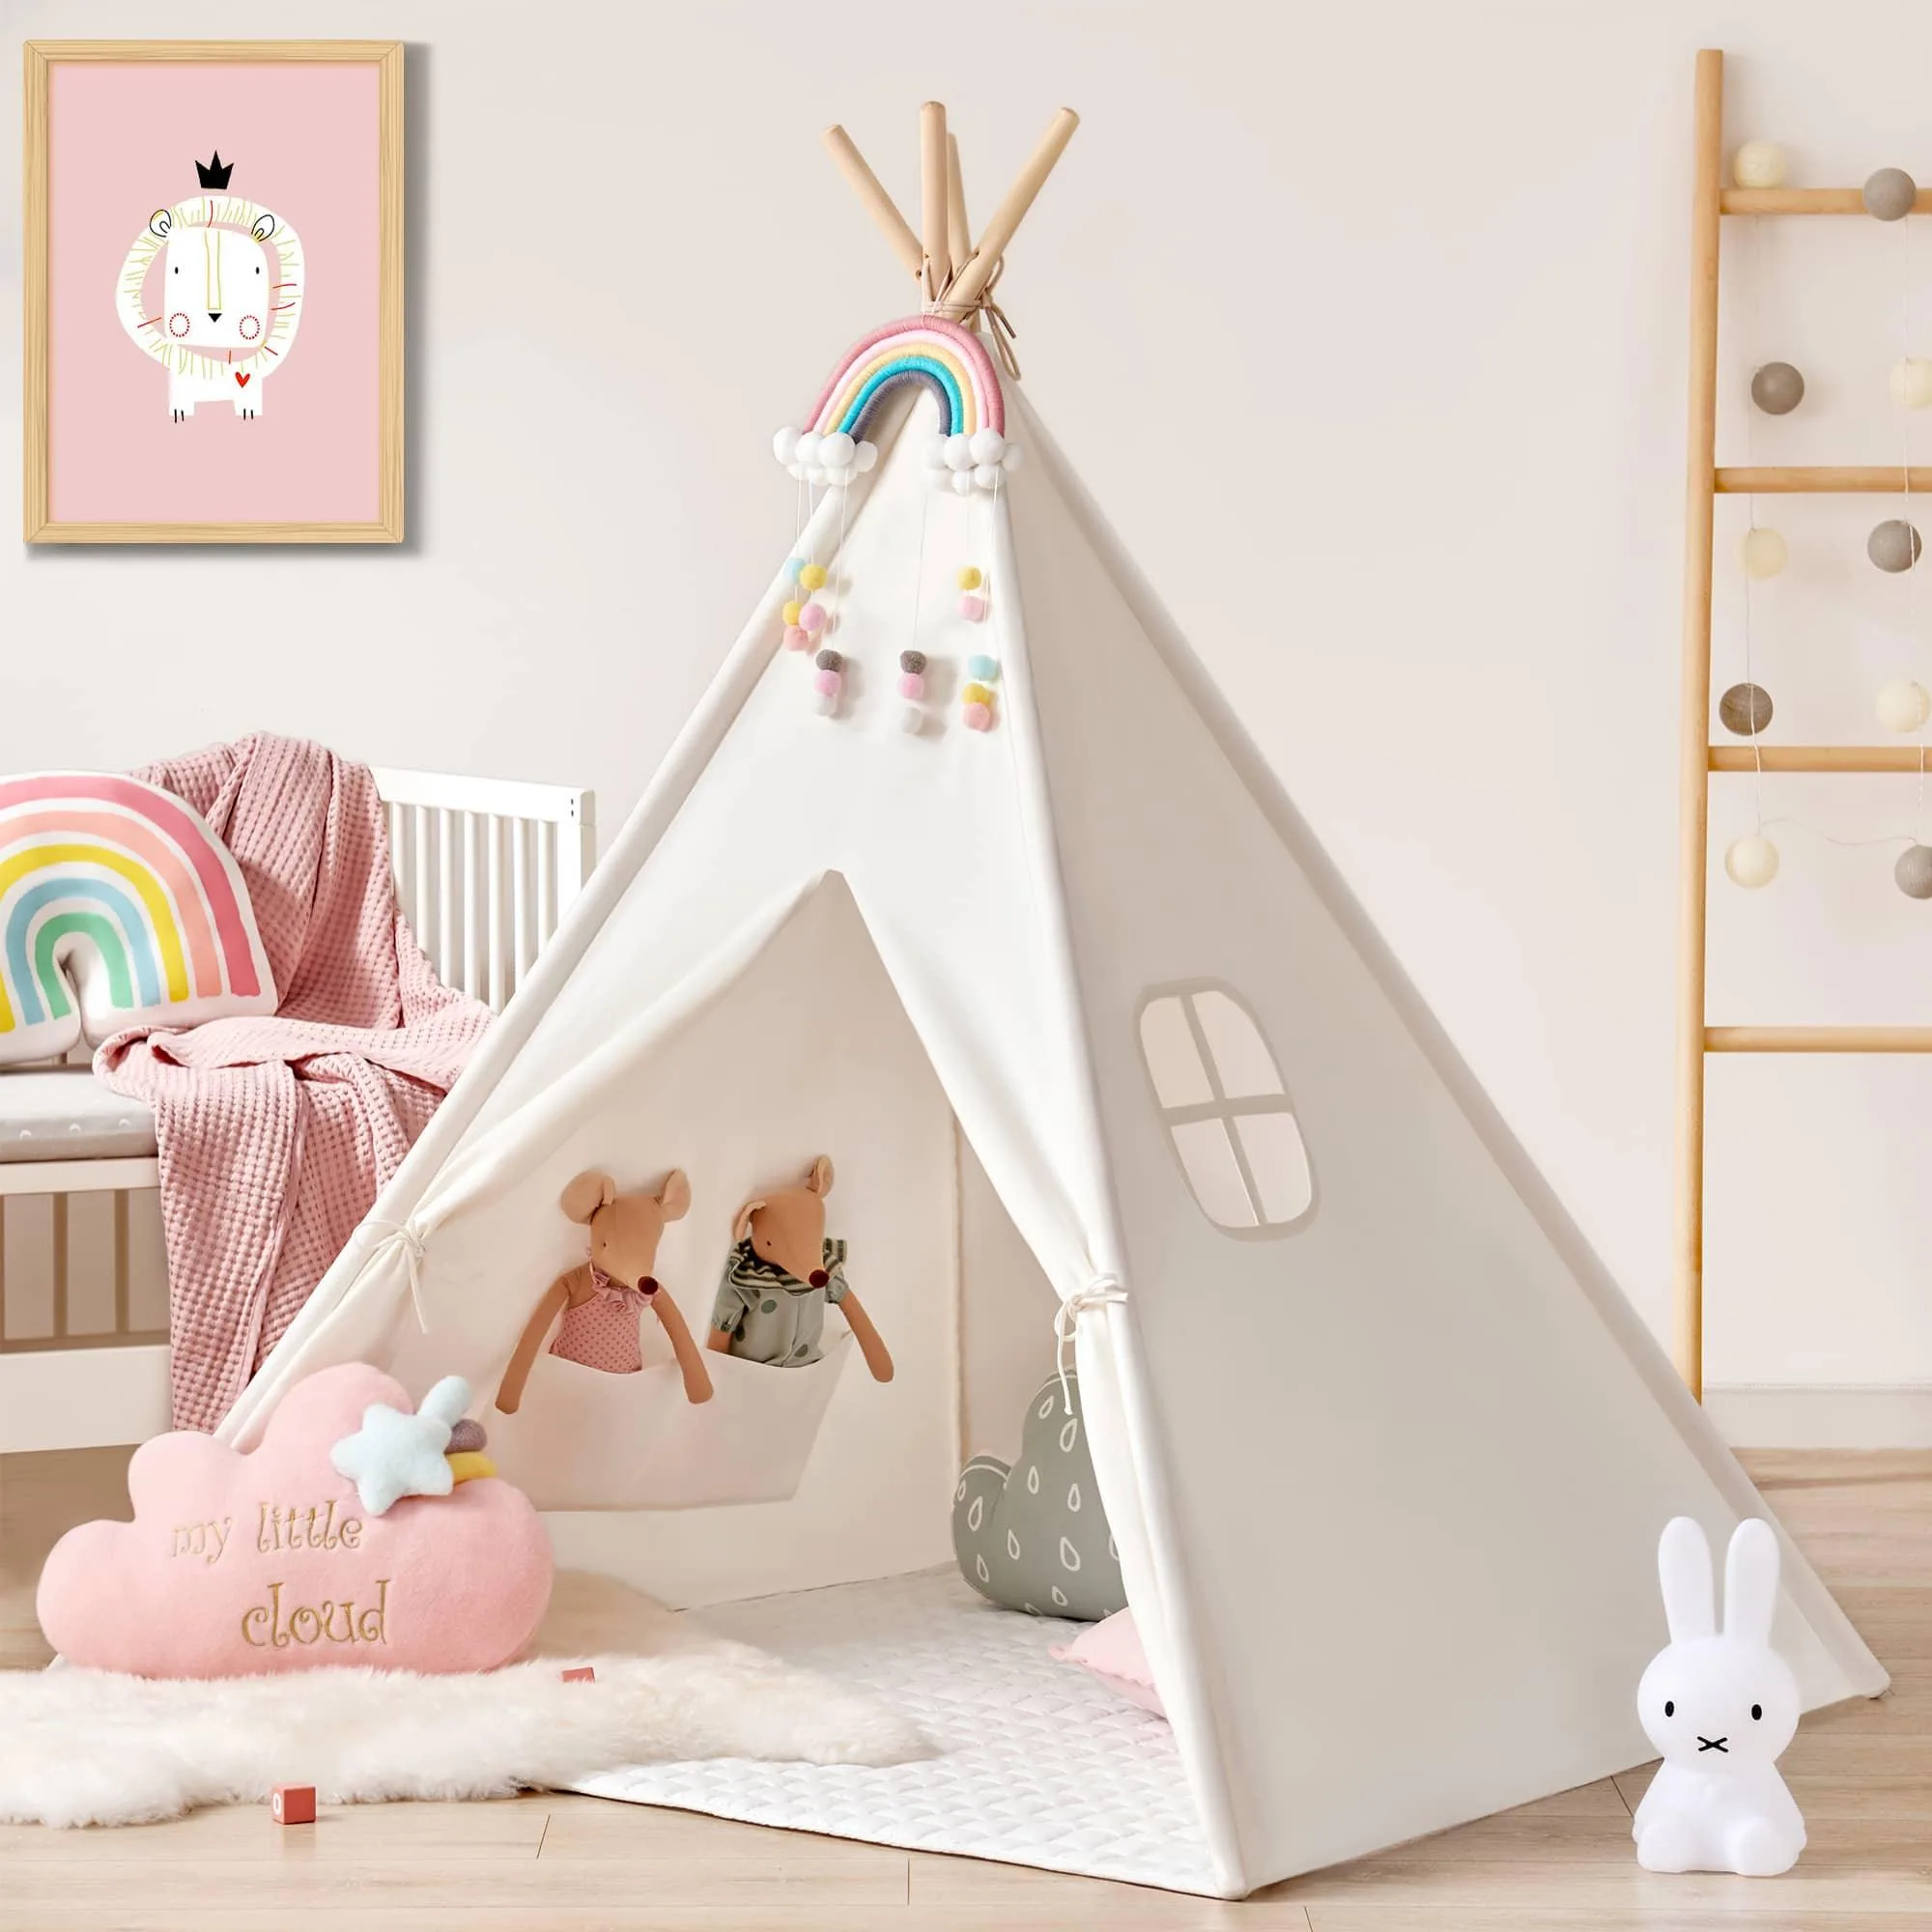
Tiny Land® Teepee Tent for Kids with Mat – Indoor Play Tent with Floor Mat
-
Tiny Land® Teepee Tent for Kids with Mat – Indoor Play Tent with Floor Mat: The tent has a breathable window for airflow, two handy storage pockets for books and toys, and a tie-back flap door. These details shape how you position and use the tent: the window needs clearance, the pockets keep small items off the mat, and the tie-back door keeps the entrance open for easy supervision.
-
Tiny Land® Teepee Tent for Kids with Mat – Indoor Play Tent with Floor Mat: Smooth wooden poles and an integrated sleeve design make the tent simple to set up, fold, move, and store. If you plan to move the teepee between rooms or bring it out for play sessions, the sleeve design is the feature that makes that practical.
Cozy corner ideas that work with the supplied features
These ideas use only what the teepee already provides: a padded mat, two pockets, a tie-back door, a breathable window, and a canvas surface that can be decorated.
- A reading nook with a small book stash: Use the two storage pockets for a few picture books and keep the mat clear for sitting. The padded mat is the comfortable base; add a floor cushion only if it still fits inside without bunching.
- A pretend-play hideaway: Tie back the flap door during active play so kids can move in and out easily, and keep the window unobstructed so you can keep an eye on them.
- A personalized canvas: The supplied details note that kids can decorate the tent with stickers, lights, or safe paints. If you use lights, choose battery-operated options and keep them away from the fabric where possible; the supplied information does not include electrical guidance.
- A quiet nap corner: The padded non-slip mat is described for napping, so a thin blanket and a small pillow can turn the teepee into a restful spot. Keep the window clear for airflow.
What to check before you call it done
Give the assembled teepee a gentle nudge to confirm the frame stands steadily on its base. Check that the mat lies flat and does not slide when a child steps on it; the non-slip backing is intended to help, but a smooth hard floor may still allow some movement. Make sure the tie-back door holds the flap open and that the window is not covered by curtains, furniture, or the wall.
The supplied information does not include a weight limit, age recommendation, or cleaning instructions, so those details are worth confirming with the retailer or the printed materials in the box before heavy use. What the evidence does support is a straightforward setup: thread the poles, spread the base, lay the mat, and position the door and window for airflow and visibility.