Quick Recommendation
For the best extra waterproofing, apply a clear UV‑resistant sealant that is compatible with vinyl. A thin, even coat of a spray acrylic sealant or clear nail polish works well, and let it cure fully before handling. This adds a durable barrier without obscuring the design.
Protective coating stickers can transform a regular vinyl design into a rugged, rain‑proof accessory. Whether you’re decorating water bottles, laptops, or outdoor gear, an extra waterproofing layer helps the artwork survive splashes, sunlight, and daily wear.
Below are step‑by‑step DIY sticker coating instructions, extra waterproofing tips, and common mistakes to watch for. You’ll also see how a few of our own waterproof stickers already include UV laminate for built‑in protection.
Choosing the Right Sealant
Look for a sealant labeled as UV‑resistant, clear, and suitable for vinyl or paper. Acrylic spray sealants provide even coverage and dry quickly, while brush‑on clear nail polish offers more control for small stickers. Avoid oil‑based products, as they can react with the sticker’s adhesive and cause peeling.
Test the sealant on a spare sticker first. Apply a tiny dab, let it cure, and check for any discoloration or loss of flexibility. This simple checkpoint prevents a batch‑wide mistake and ensures the coating won’t crack when the sticker flexes.
- Prefer spray for large surfaces; brush for detailed, small stickers.
Step‑by‑Step Guide
- Step 1: Clean the Sticker Surface: Wipe the sticker with a lint‑free cloth and mild soap, then let it dry completely. Any residue will prevent the sealant from bonding evenly. Checkpoint: No visible dust or oil before coating.
- Step 2: Apply the Sealant: Hold the spray about 12 inches away and mist a thin, even layer. For brush‑on products, use a light hand to avoid drips. Apply in a well‑ventilated area. Common mistake: Applying too thick a coat, which can cause bubbles and slow drying.
- Step 3: Cure and Test: Allow the coating to cure for the manufacturer’s recommended time (usually 15‑30 minutes). Gently touch the edges; the surface should feel smooth and not tacky. Final check: Water resistance test – sprinkle a few drops; if they bead and roll off, the coating is successful.
Product Examples with Built‑In Waterproofing
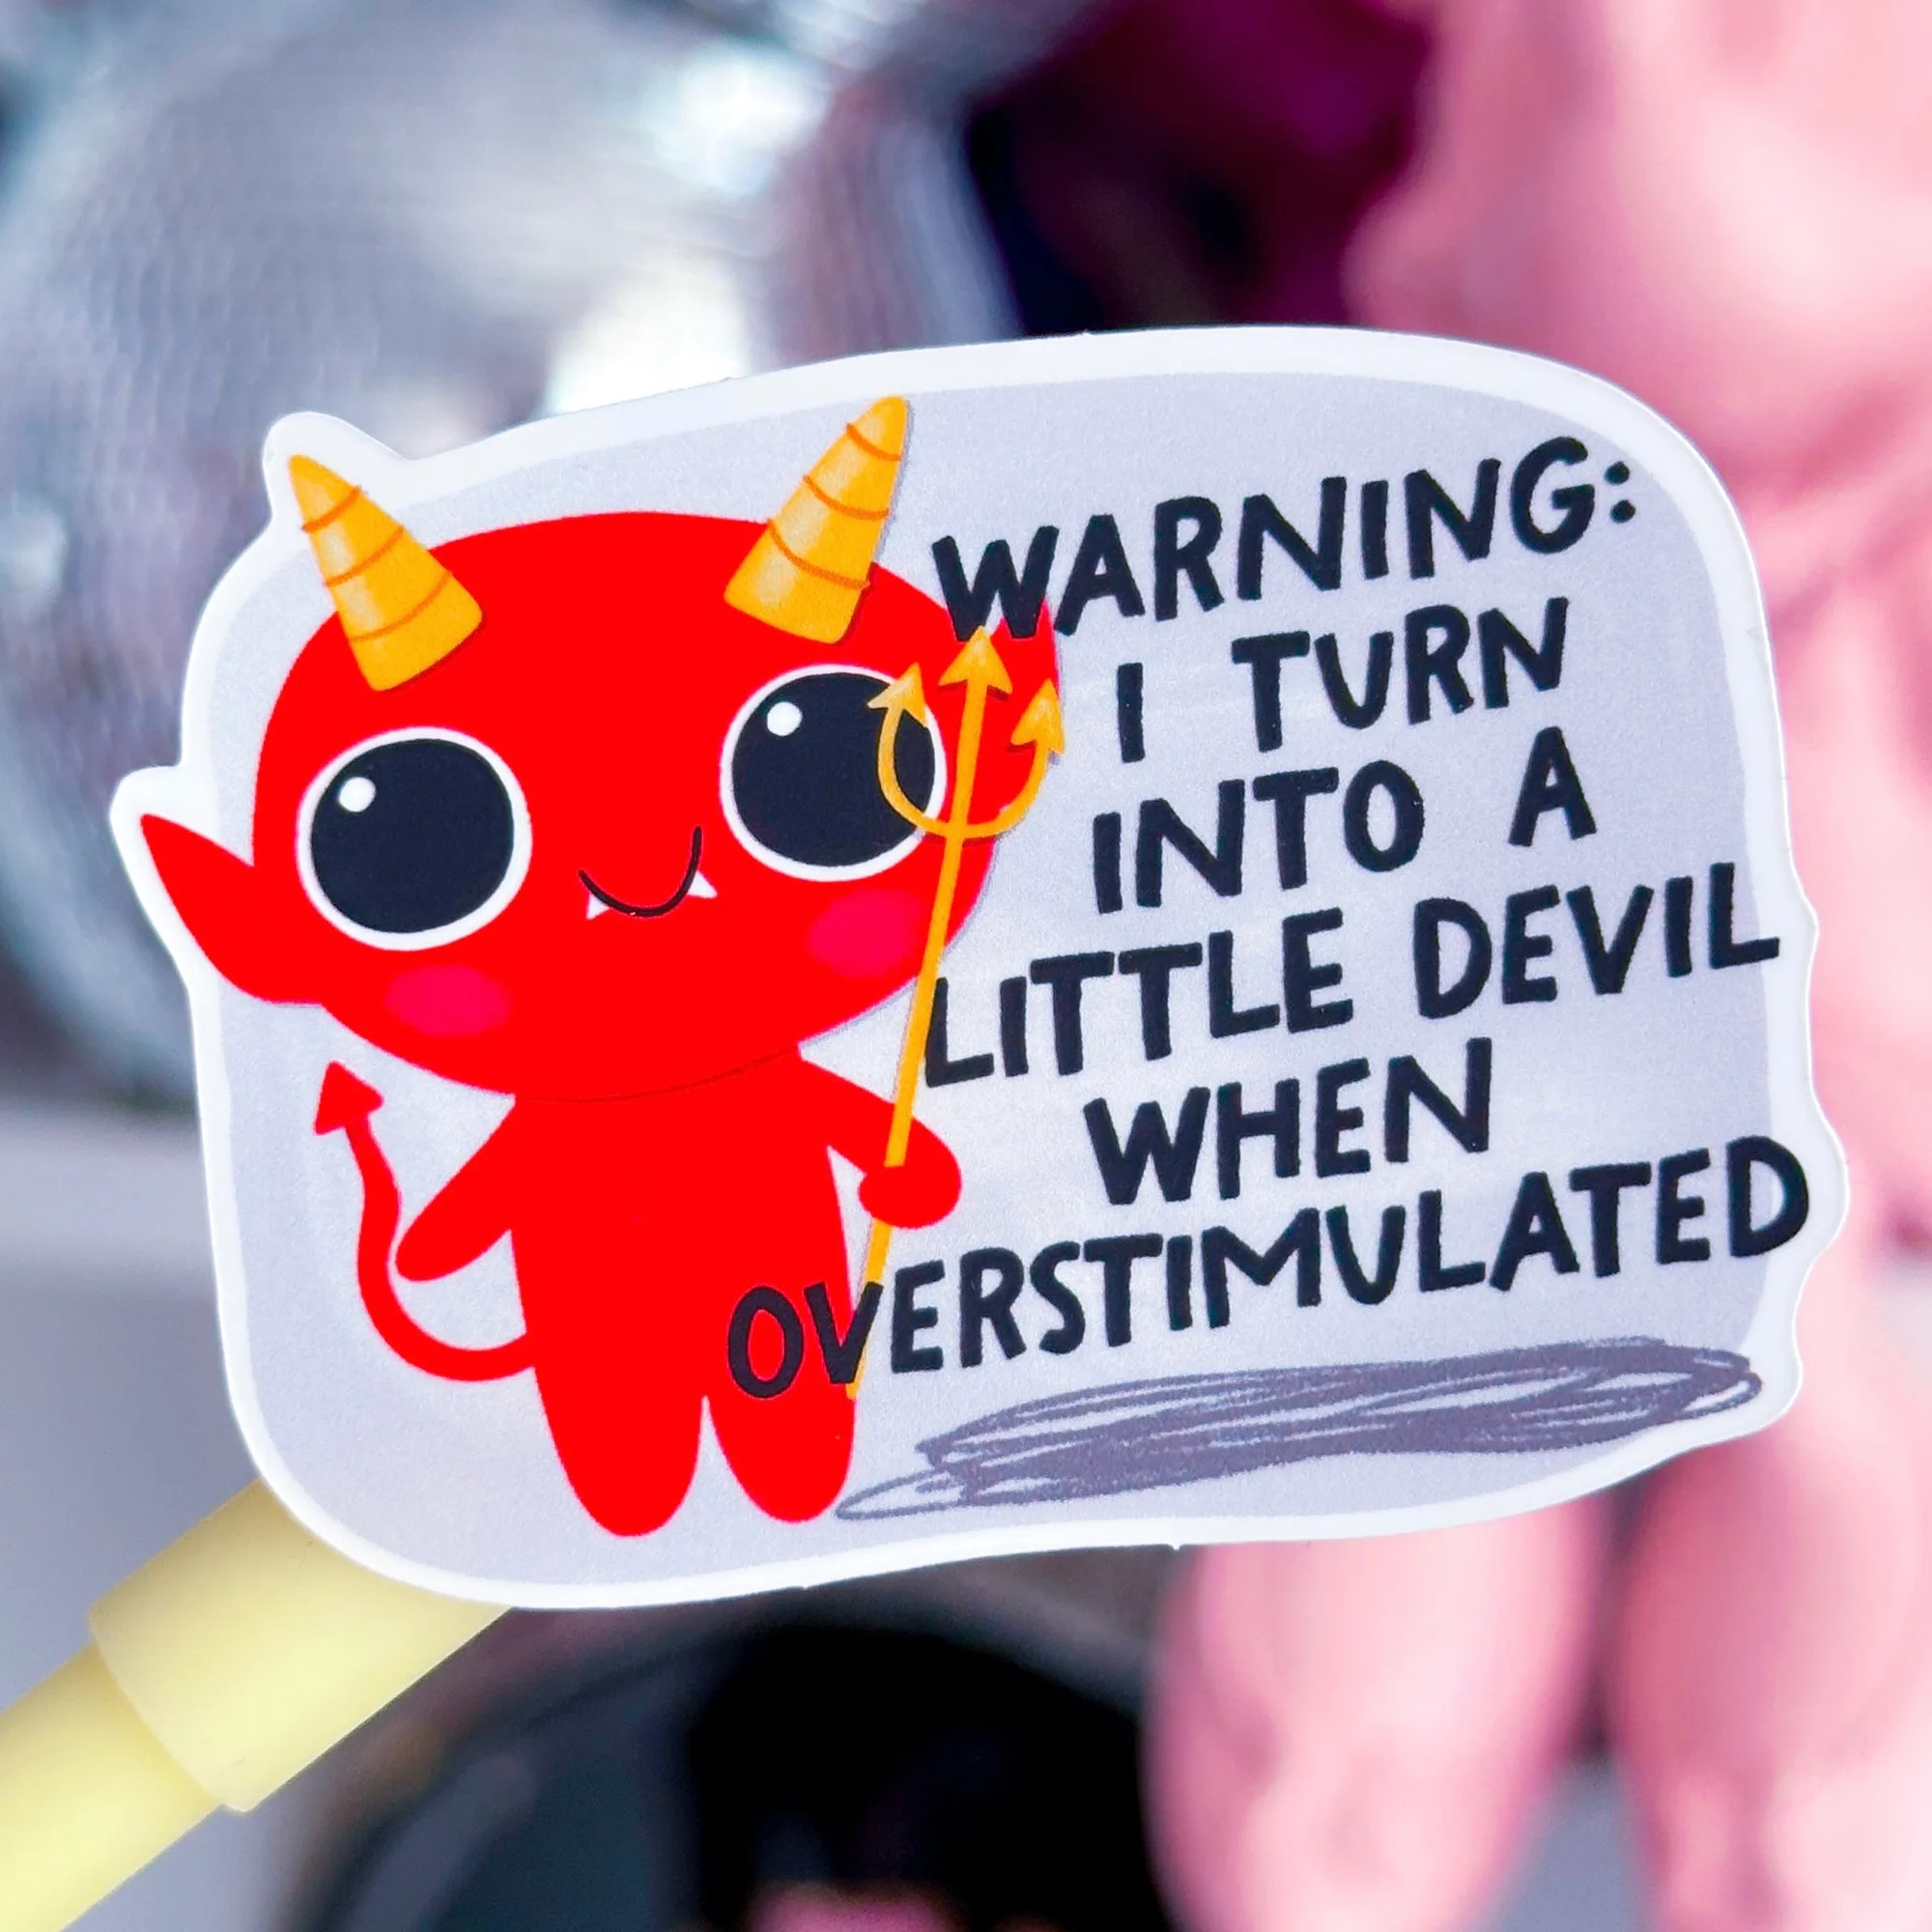
- Waterproof Sticker - Overstimulated Devil: Sticker is protected with UV laminate - durable against rain or shine! The sticker is heavy duty, but still flexible and easy to use on water bottles, planner… The UV laminate already provides a waterproof barrier, so you can skip an extra sealant or use a thin top coat for extra shine.
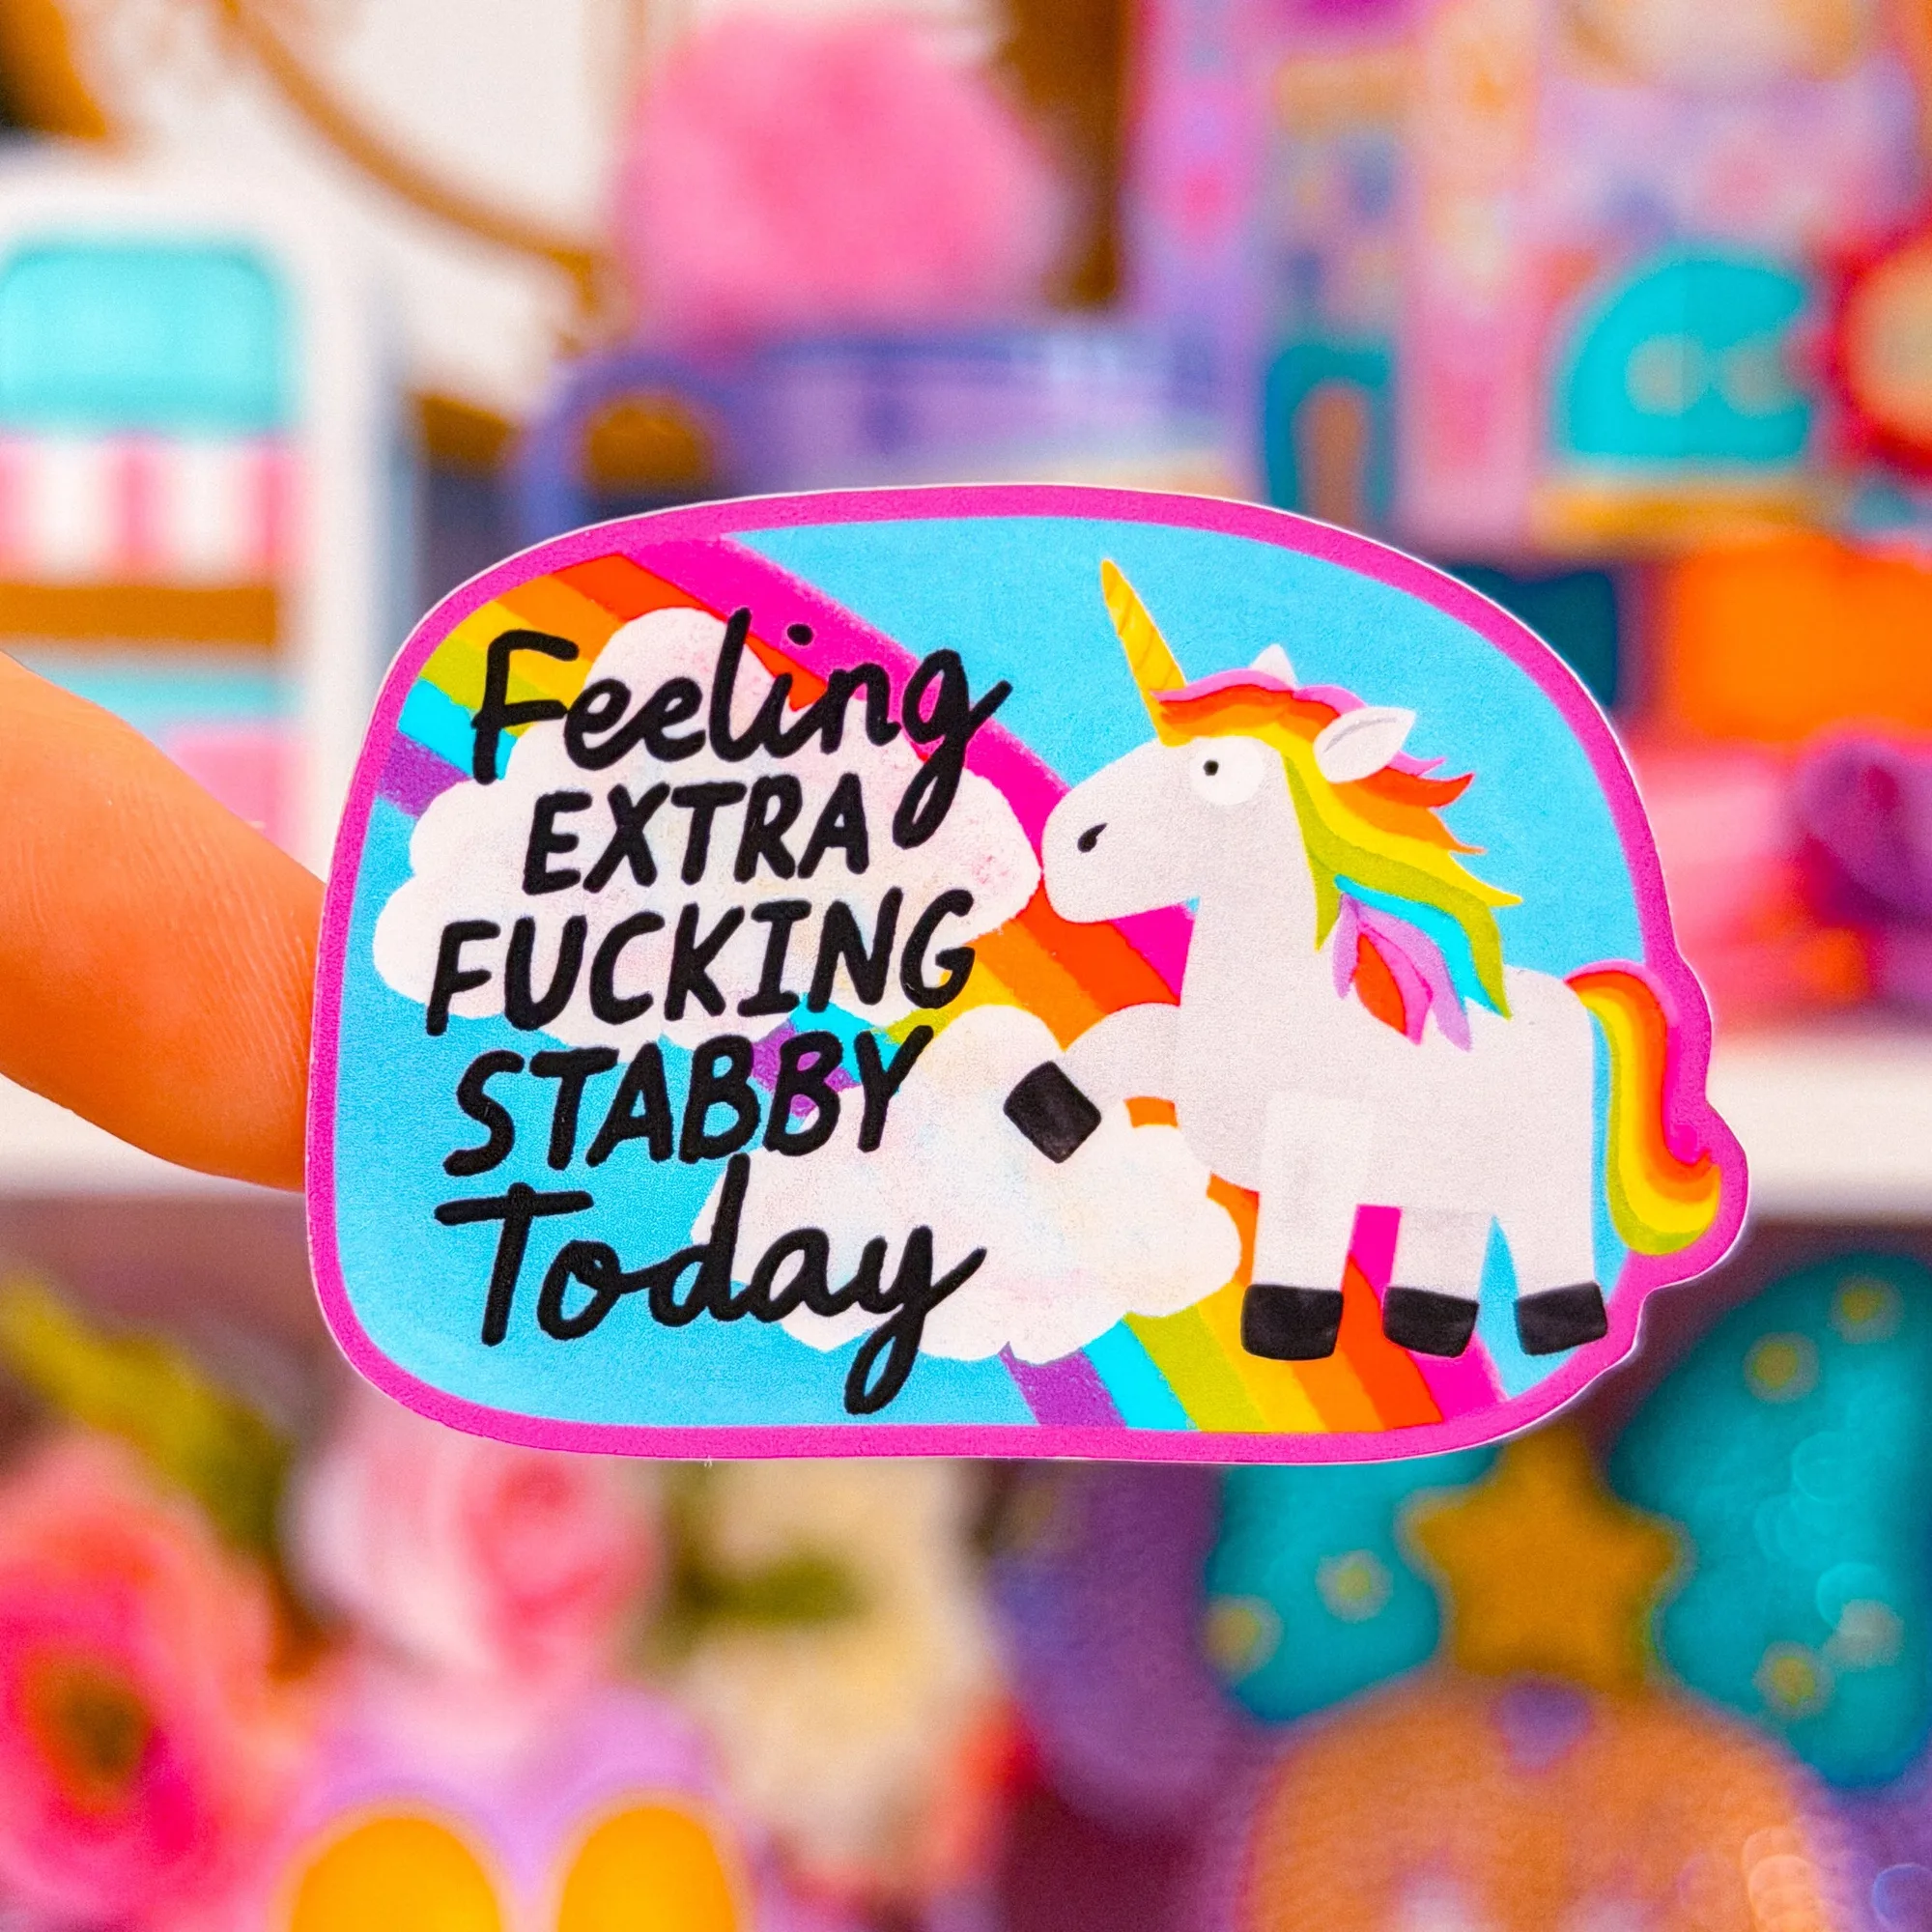
- Waterproof Sticker - Stabby Unicorn: Sticker is protected with UV laminate - durable against rain or shine! The sticker is heavy duty, but still flexible and easy to use on water bottles, planner… Because the sticker is already water‑resistant, applying a clear acrylic sealant adds a scratch‑resistant layer for outdoor use.
Adding a protective coating is a simple, cost‑effective way to boost the durability of any sticker. With the right sealant and careful application, your designs stay vivid and waterproof, whether they’re on a planner or an outdoor adventure gear.