A clean hummingbird feeder is essential for the health of your tiny backyard visitors. Mold, bacteria, and fermented nectar can quickly build up, especially in warm weather, causing diseases that can harm or even kill hummingbirds. If you own a smart hummingbird feeder, regular cleaning is even more important because the built-in camera and sensors can trap moisture and debris. In this guide, we’ll walk you through the best practices for smart hummingbird feeder cleaning, from daily checks to deep cleans, and recommend products that make maintenance easier.
Whether you’ve just installed a Smart Hummingbird Feeder Pro or are using a classic model, proper bird feeder hygiene keeps your feeder attractive to hummingbirds and extends its lifespan. By following these tips, you’ll prevent mold in bird feeder reservoirs, avoid clogged ports, and ensure your camera captures clear, beautiful footage all season long.
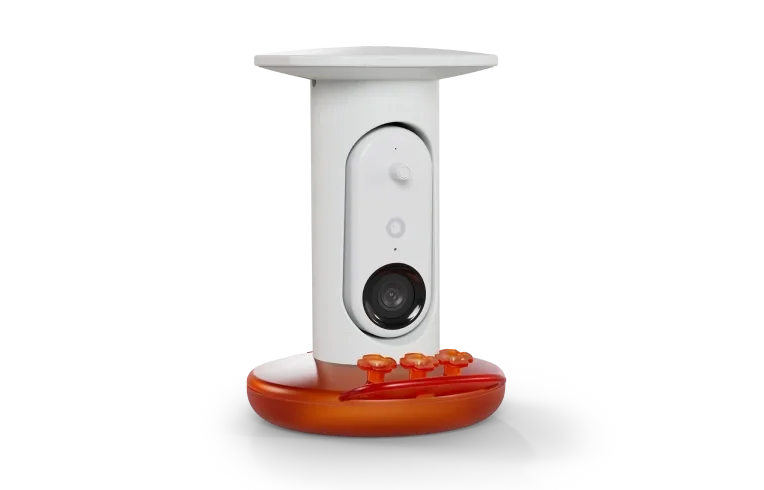
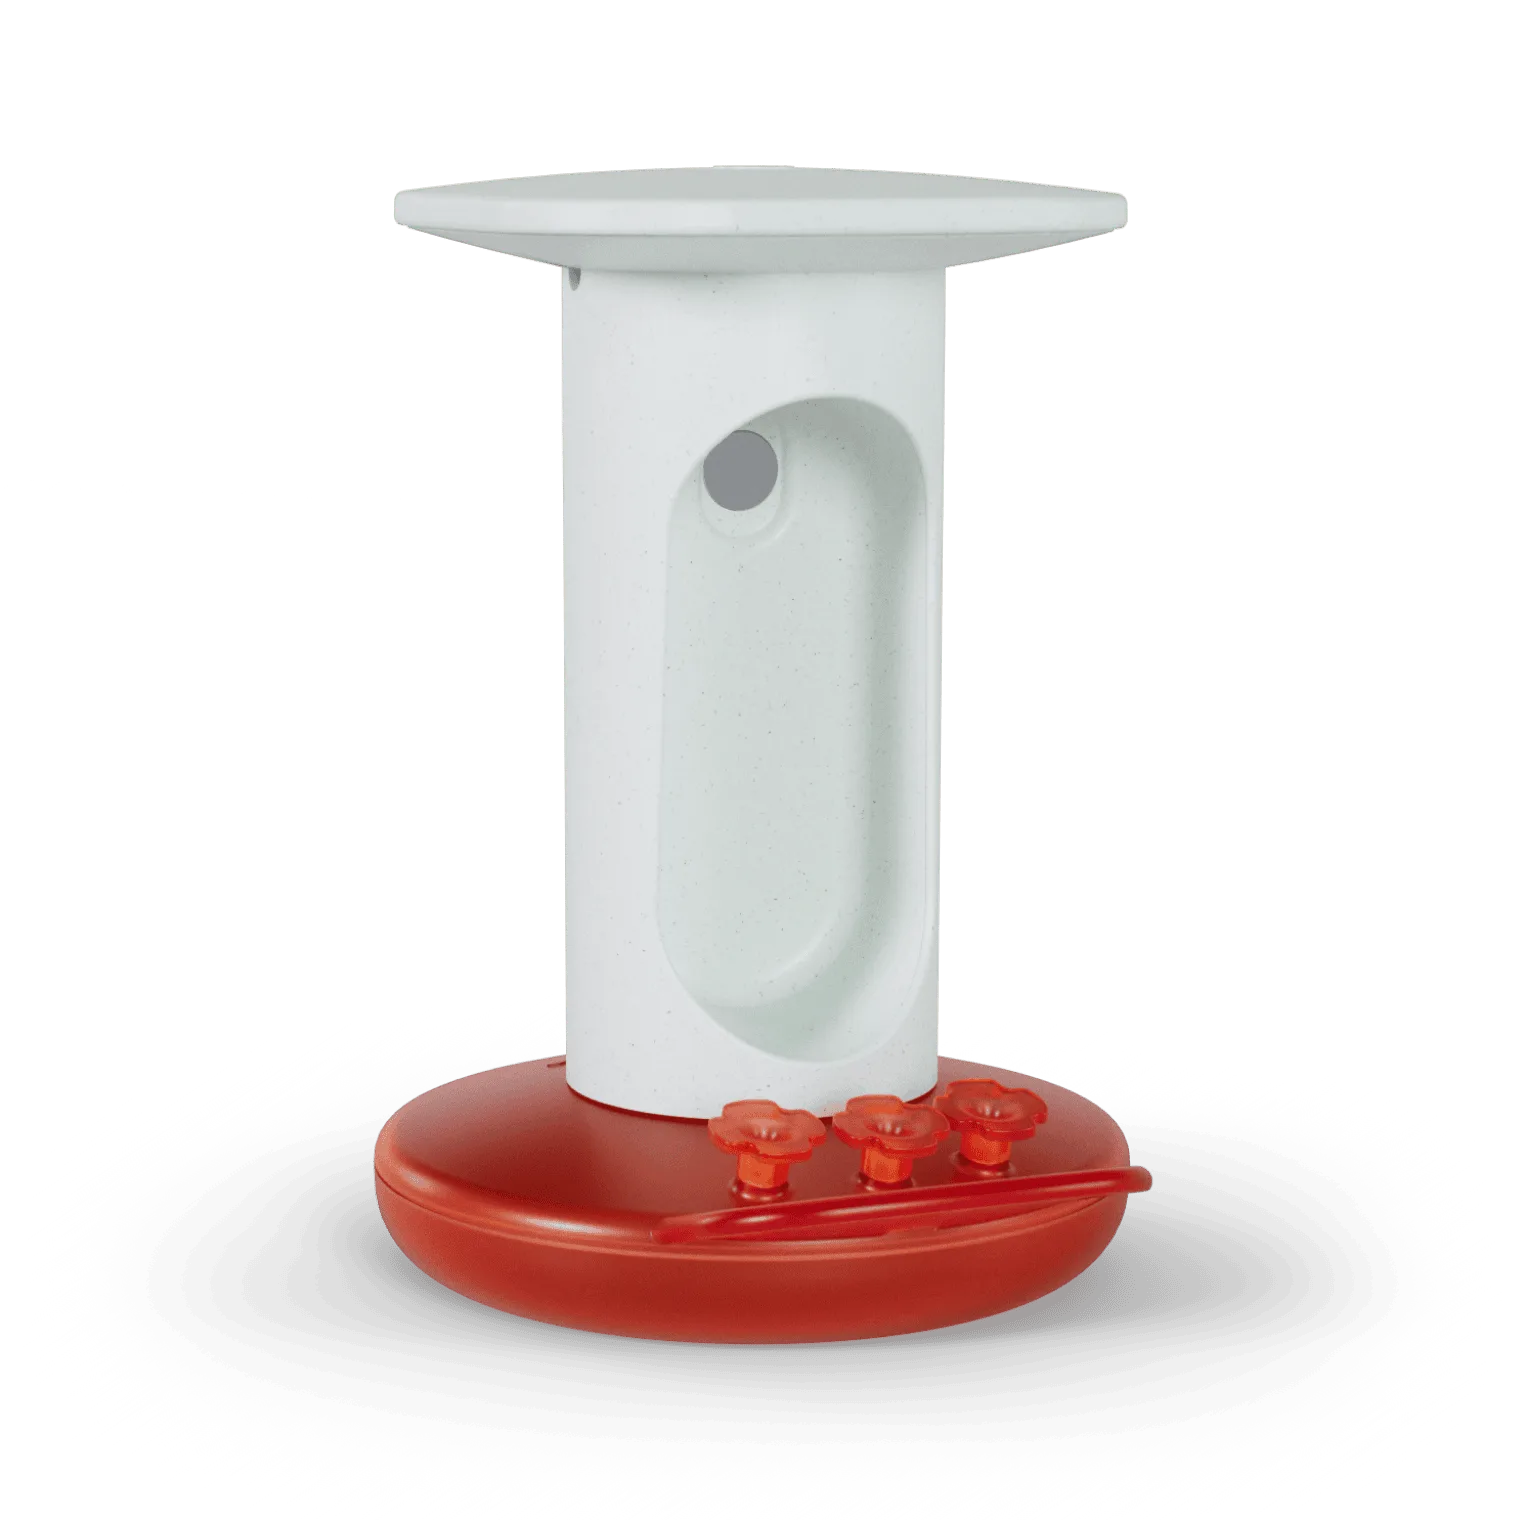
Smart Hummingbird Feeder Pro
Why Regular Hummingbird Feeder Maintenance Is Crucial
Hummingbirds rely on sugar water for energy, but that same sweet solution is a perfect breeding ground for harmful microorganisms. Nectar left at room temperature for more than two days can ferment, producing alcohol that intoxicates birds. Black mold (Aspergillus) is another common threat; it grows in crevices and can cause fatal respiratory infections. Smart feeders, with their electronic components and seals, require extra attention because moisture can accumulate around the camera lens or battery compartment.
Consistent cleaning not only protects the birds but also keeps your smart feeder functioning correctly. Nectar residue on the base or ports can interfere with motion sensors or camera clarity. A clean feeder also attracts more hummingbirds, as they are drawn to fresh, visible nectar. Make cleaning a habit—just a few minutes every two to three days—and your feeder will remain a safe, popular spot in your yard.
- Always discard old nectar before refilling to prevent bacterial growth.
- Check for black spots or slime inside the reservoir—these are signs of mold.
- If you notice a sour smell, clean the feeder immediately with a mild vinegar solution.
Step-by-Step Cleaning Routine for Smart Hummingbird Feeders
Start by unplugging or removing any electronic components like the camera or solar roof. For models such as the Smart Hummingbird Feeder Solar Roof, detach the top cover carefully to avoid damaging the solar panel. Rinse the reservoir and base with warm water first to remove loose debris. Do not use soap unless it’s a very mild dish soap; soap residues can be harmful. Instead, use a mixture of one part white vinegar to four parts water—vinegar is a natural disinfectant that kills mold and bacteria without leaving toxic traces.
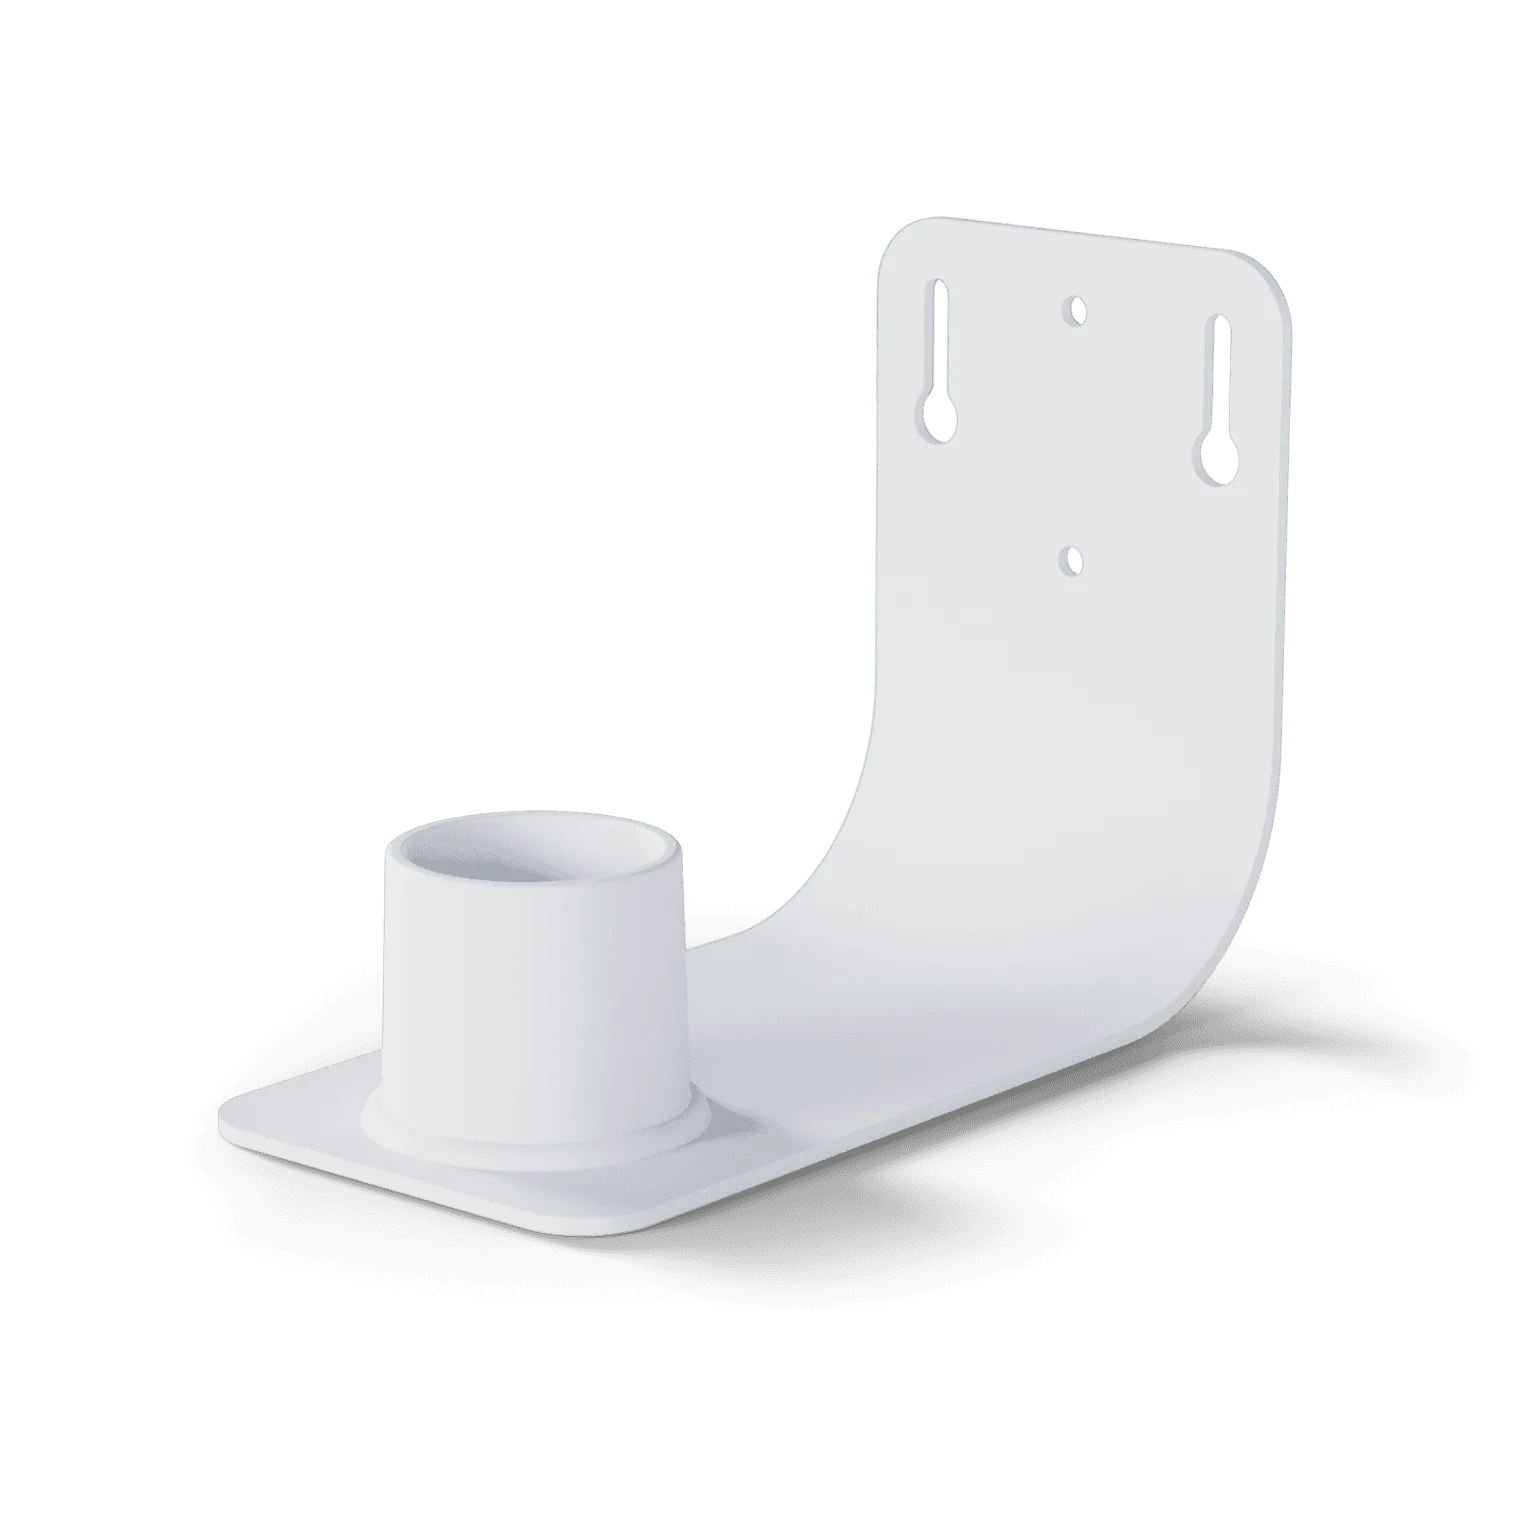
Scrub all surfaces with a bottle brush, paying special attention to the feeding ports and the nectar channel. For stubborn deposits, soak the parts in the vinegar solution for 15-20 minutes. Rinse thoroughly with clean water until no vinegar smell remains. Dry everything completely before reassembling—moisture can contribute to mold growth. Once dry, reattach the electronics and refill with fresh nectar. If your feeder has a perch extender or wall mount, clean those too, as they can collect drips and attract ants.
- Use a dedicated bottle brush that reaches all corners of the reservoir.
- Never use bleach, as it can leave harmful residues even after rinsing.
- Dry all parts in the sun or with a lint-free cloth to prevent water spots on the camera lens.
How to Prevent Mold in Bird Feeder Reservoirs
Prevention is easier than cure. Start by placing your smart hummingbird feeder in a location that gets some shade—intense heat speeds up nectar fermentation and mold growth. If your feeder has a solar roof, like the Smart Hummingbird Feeder Solar Roof, it can help protect the nectar from direct sunlight while still powering the camera. Also, consider using a feeder with a built-in moat or ant guard to keep insects away; pests can introduce bacteria.
Trim your nectar recipe to a 1:4 ratio of white sugar to water—no honey, artificial sweeteners, or red dye. Boil the water to dissolve the sugar and kill any initial bacteria, then let it cool before filling. In very hot weather, change the nectar every two days; in mild weather, every three to four days. A small feeder size, like the Smart Hummingbird Feeder Pro’s 12-ounce reservoir, encourages more frequent refills and reduces waste. Always wash your hands before handling the feeder to avoid transferring oils or germs.
- Avoid overfilling—only add as much nectar as the birds will consume in a few days.
- Install a drip tray or place the feeder over a pollinator-friendly garden bed to catch spills.
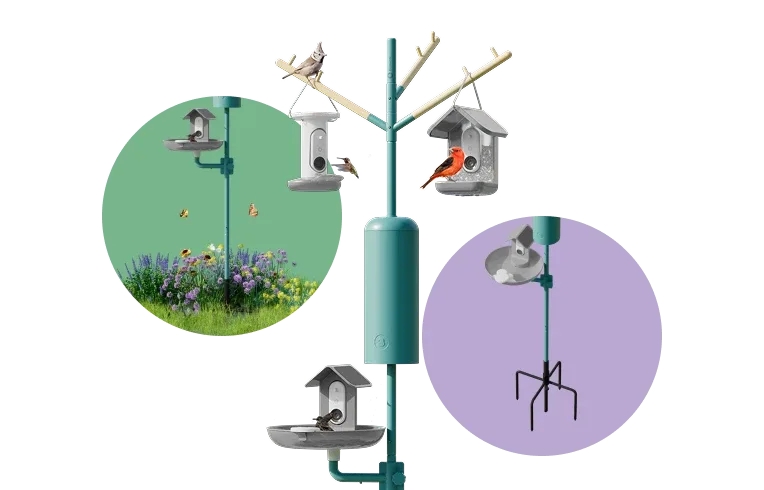
- Consider adding a Nature Station Essential nearby to provide perching spots and reduce crowding at the feeder.
Common Mistakes in Bird Feeder Hygiene
One of the most common errors is using dish soap without thorough rinsing. Soap can leave a film that alters the taste of nectar or causes foaming. Another mistake is cleaning only the reservoir while ignoring the feeding ports and ant moat—these hidden areas collect the most buildup. Also, don’t assume that a smart feeder’s electronics are waterproof; never submerge the camera or solar components. Instead, wipe them with a damp cloth.
Some people skip daily checks because they think the camera will alert them to problems. While smart features are helpful, they can’t detect mold inside the feeder. Always perform a visual inspection when refilling. Finally, avoid using metal brushes or abrasive sponges on acrylic or glass reservoirs—they create scratches where bacteria can hide. Stick to soft brushes and vinegar solutions. A little routine effort goes a long way in keeping your hummingbirds healthy and your smart feeder capturing stunning moments.
- Never mix old and new nectar—always empty and clean first.
- If you see ants or bees, address the issue promptly with an ant moat or bee guard.
- Store unused nectar in the refrigerator for up to one week.
Keeping your smart hummingbird feeder clean is the single most effective way to support the health of your local hummingbirds while getting the most out of your feeder’s smart features. By following these tips, you’ll enjoy clear camera footage, fewer maintenance headaches, and happy, frequent visitors. For an easier cleaning experience, consider upgrading to a model with removable components like the Smart Hummingbird Feeder Solar Roof, which simplifies access to every nook and cranny.