Traveling with a Nintendo Switch opens up a world of portable gaming, whether you’re on a long flight, a road trip, or waiting in a hotel lobby. But the Switch is more than just a console—it’s a system that comes with delicate Joy‑Cons, a fragile screen, and a tangle of cables and game cartridges. Without proper planning, your gaming gear can get scratched, lost, or damaged. That’s why smart packing and the right accessories make all the difference.
In this guide, we’ll share practical tips for traveling with your Nintendo Switch and accessories, from choosing a protective case to organizing cables and keeping everything secure. Whether you’re a casual player or a dedicated gamer, these strategies will help you enjoy your Switch on the go without worry.
Choose a Dedicated Travel Case for Your Switch
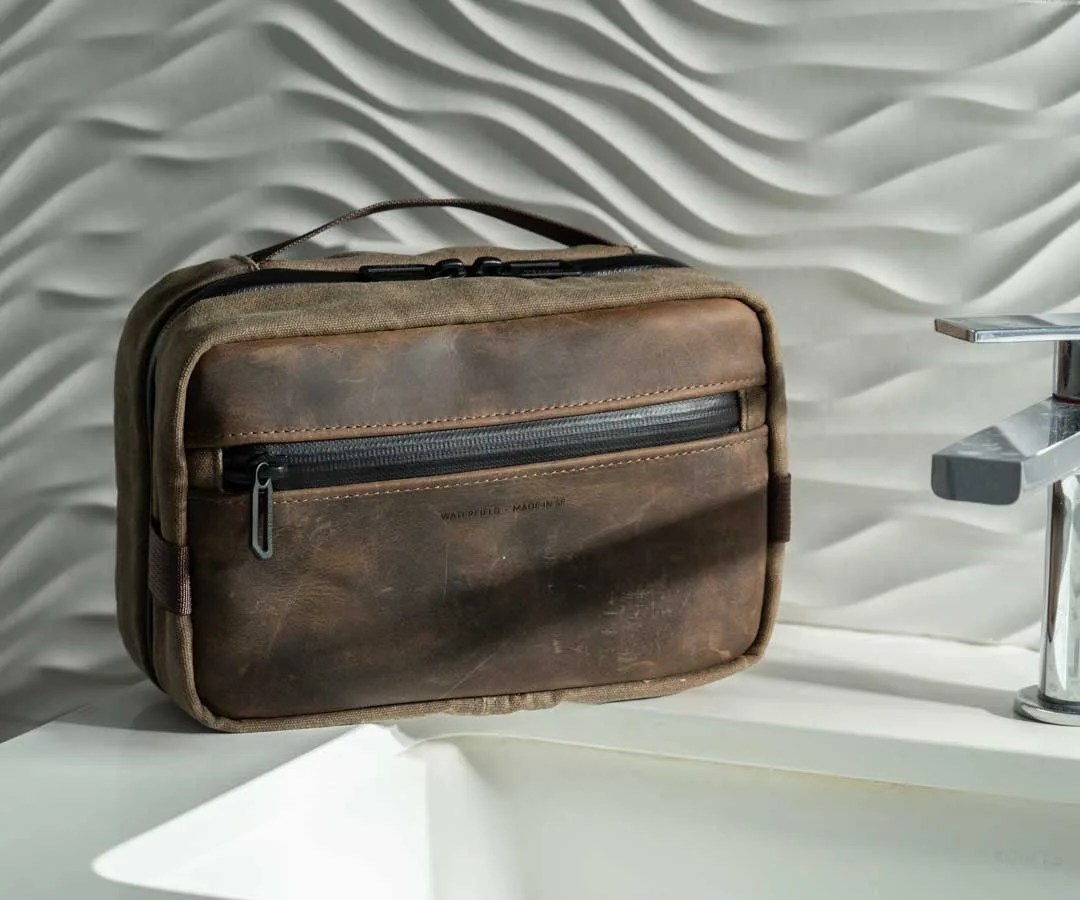
The first step to traveling with your Nintendo Switch is investing in a high‑quality travel case. A soft pouch or a generic bag won’t provide the shock absorption or snug fit your console needs. Look for a case that has a padded interior, a dedicated compartment for the console, and extra pockets for accessories like Joy‑Cons, a Pro Controller, or a power bank. Many premium cases also include a zippered mesh pocket for cables and game cards, keeping everything organized and easy to find.
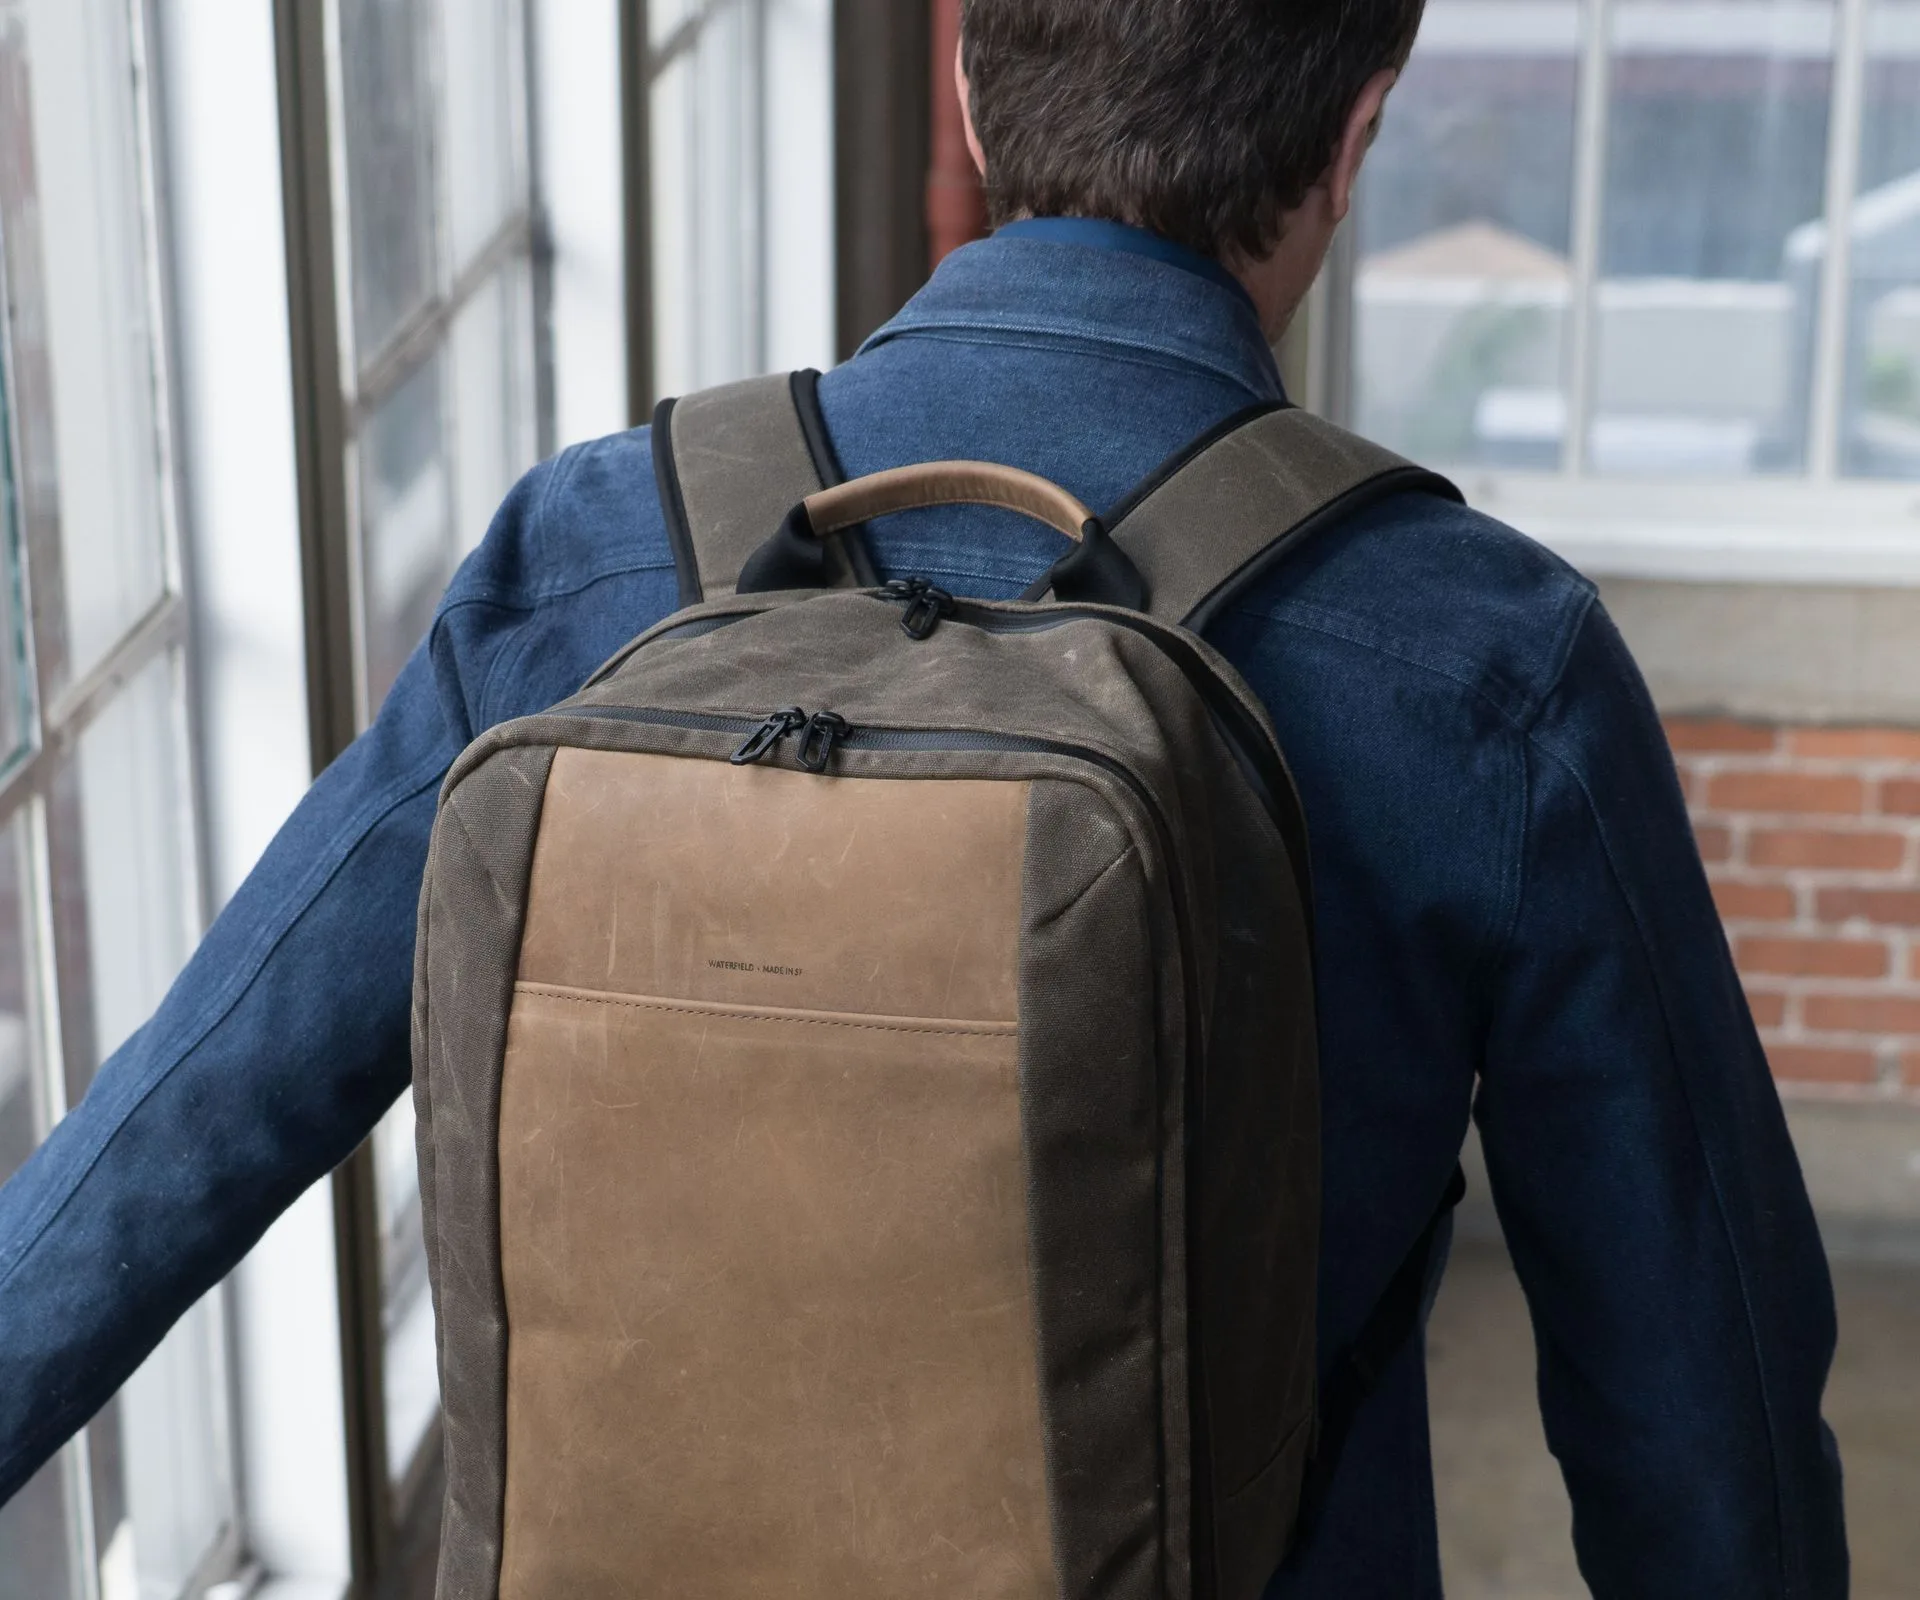
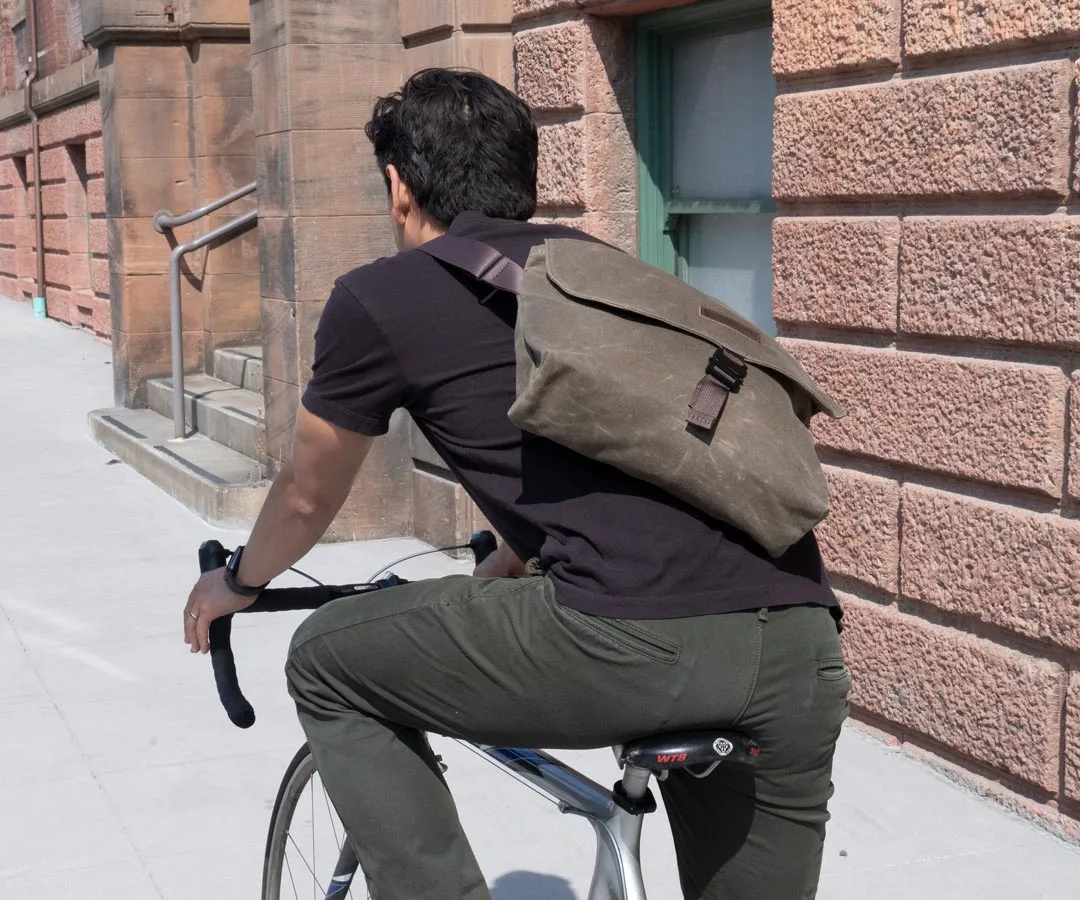
When selecting a case, consider the size of your travel bag. If you’re using a backpack or messenger, a slim, hard‑shell case can slide into a main compartment without taking up too much space. For maximum protection, choose a case with a reinforced exterior that can withstand bumps in overhead bins or crowded subway cars. Remember, the goal is to keep your Switch safe from drops, pressure, and dust while you’re on the move.
- Always power down your Switch completely before packing to prevent accidental button presses and battery drain.
- Use a microfiber cloth to wipe the screen before storing it to avoid scratches from dust or debris.
Organize Your Accessories with a Tech Folio or Pouch
Cables, chargers, game cartridges, and extra Joy‑Cons can quickly become a tangled mess inside your bag. A dedicated accessory organizer, like a tech folio or a slim pouch, keeps everything in its place. Look for a folio with elastic loops for cables, a zippered pocket for small items like earbuds or a USB‑C adapter, and a clear ID window for quick access to game cards. This way, you can grab what you need without digging through your entire bag.
For travelers who prefer a minimalist approach, a compact pouch that fits inside your main bag works well. You can also use a small zip‑up case that attaches to a keychain or carabiner for easy reach. The key is to separate your Switch from its accessories so that you can access them independently. For example, keep your charging cable and power bank in one pouch, and your game cartridges in another. This reduces clutter and makes airport security checks smoother.
- Label your game cartridges with a permanent marker or use color‑coded cases to quickly identify your favorite titles.
- Store your charging cable in a looped elastic band to prevent kinks and tangles.
Protect Your Screen and Joy‑Cons During Transit
The Nintendo Switch’s screen is its most vulnerable part. A single scratch can ruin your gaming experience, especially if you play in handheld mode. Always apply a tempered glass screen protector before you travel—it’s a cheap investment that can save you from costly repairs. Additionally, consider using a Joy‑Con grip or a protective bumper to shield the controllers from drops. Some travel cases come with a built‑in screen divider that keeps the console from pressing against other items.
If you’re packing your Switch in a larger bag, make sure it’s not placed under heavy items like a laptop or a water bottle. Use a padded sleeve or a dedicated compartment within your backpack to isolate the console. For extra peace of mind, you can wrap the Switch in a soft cloth or a neoprene sleeve before placing it in the main case. This added layer of cushioning absorbs shocks and prevents scratches from zippers or other hardware.
- Remove the Joy‑Cons from the console when packing to reduce stress on the rail mechanism.
- Use a silicone skin for the Switch to add grip and protect the back from scuffs.
Maximize Battery Life and Charging Efficiency
Nothing kills a gaming session faster than a dead battery. Before you travel, fully charge your Switch and consider carrying a portable power bank that supports USB‑C Power Delivery. A 10,000 mAh or 20,000 mAh power bank can give you several extra hours of playtime. Also, pack the original charger or a high‑quality third‑party alternative that matches the Switch’s power requirements. Avoid using cheap cables that may overheat or charge slowly.
To save battery during transit, lower the screen brightness, turn off Wi‑Fi and Bluetooth when not needed, and close background apps. If you’re on a long flight, use Airplane Mode to prevent the console from searching for signals. Some travelers also disable the vibration feature to extend battery life. Remember to charge your power bank as well—keeping both devices topped off ensures you’re ready to play whenever you have downtime.
- Use a USB‑C cable with a 90‑degree angled connector to reduce strain on the port when charging in tight spaces.
- Pack a multi‑port USB charger to charge your Switch, phone, and power bank simultaneously.
Keep Your Games and Save Data Secure
Losing or damaging game cartridges is frustrating. Use a compact game card case that holds 4 to 12 cartridges securely. Look for one that has individual slots to prevent scratching and a latch to keep them from spilling out. If you prefer digital games, ensure your Switch is connected to your Nintendo account and that you have cloud saves enabled (if you have a Nintendo Switch Online subscription). This way, even if your console is lost or damaged, your progress is safe.
For physical cartridges, always store them in a designated case rather than loose in your bag. Avoid exposing them to extreme temperatures or direct sunlight, as this can warp the plastic. If you’re traveling internationally, remember that the Switch is region‑free for physical games, so you can pick up titles abroad. Just keep your cartridges in your carry‑on to prevent theft or loss in checked luggage.
- Use a small adhesive pouch on the inside of your travel case to store a few extra game cards.
- Back up your save data to the cloud before any major trip, especially if you’re in the middle of a long game.
Traveling with your Nintendo Switch doesn’t have to be stressful. With the right case, organized accessories, and a few smart habits, you can enjoy your favorite games anywhere without worry. Explore WaterField Designs’ range of premium tech bags and accessories to find the perfect travel companion for your Switch and other gear.