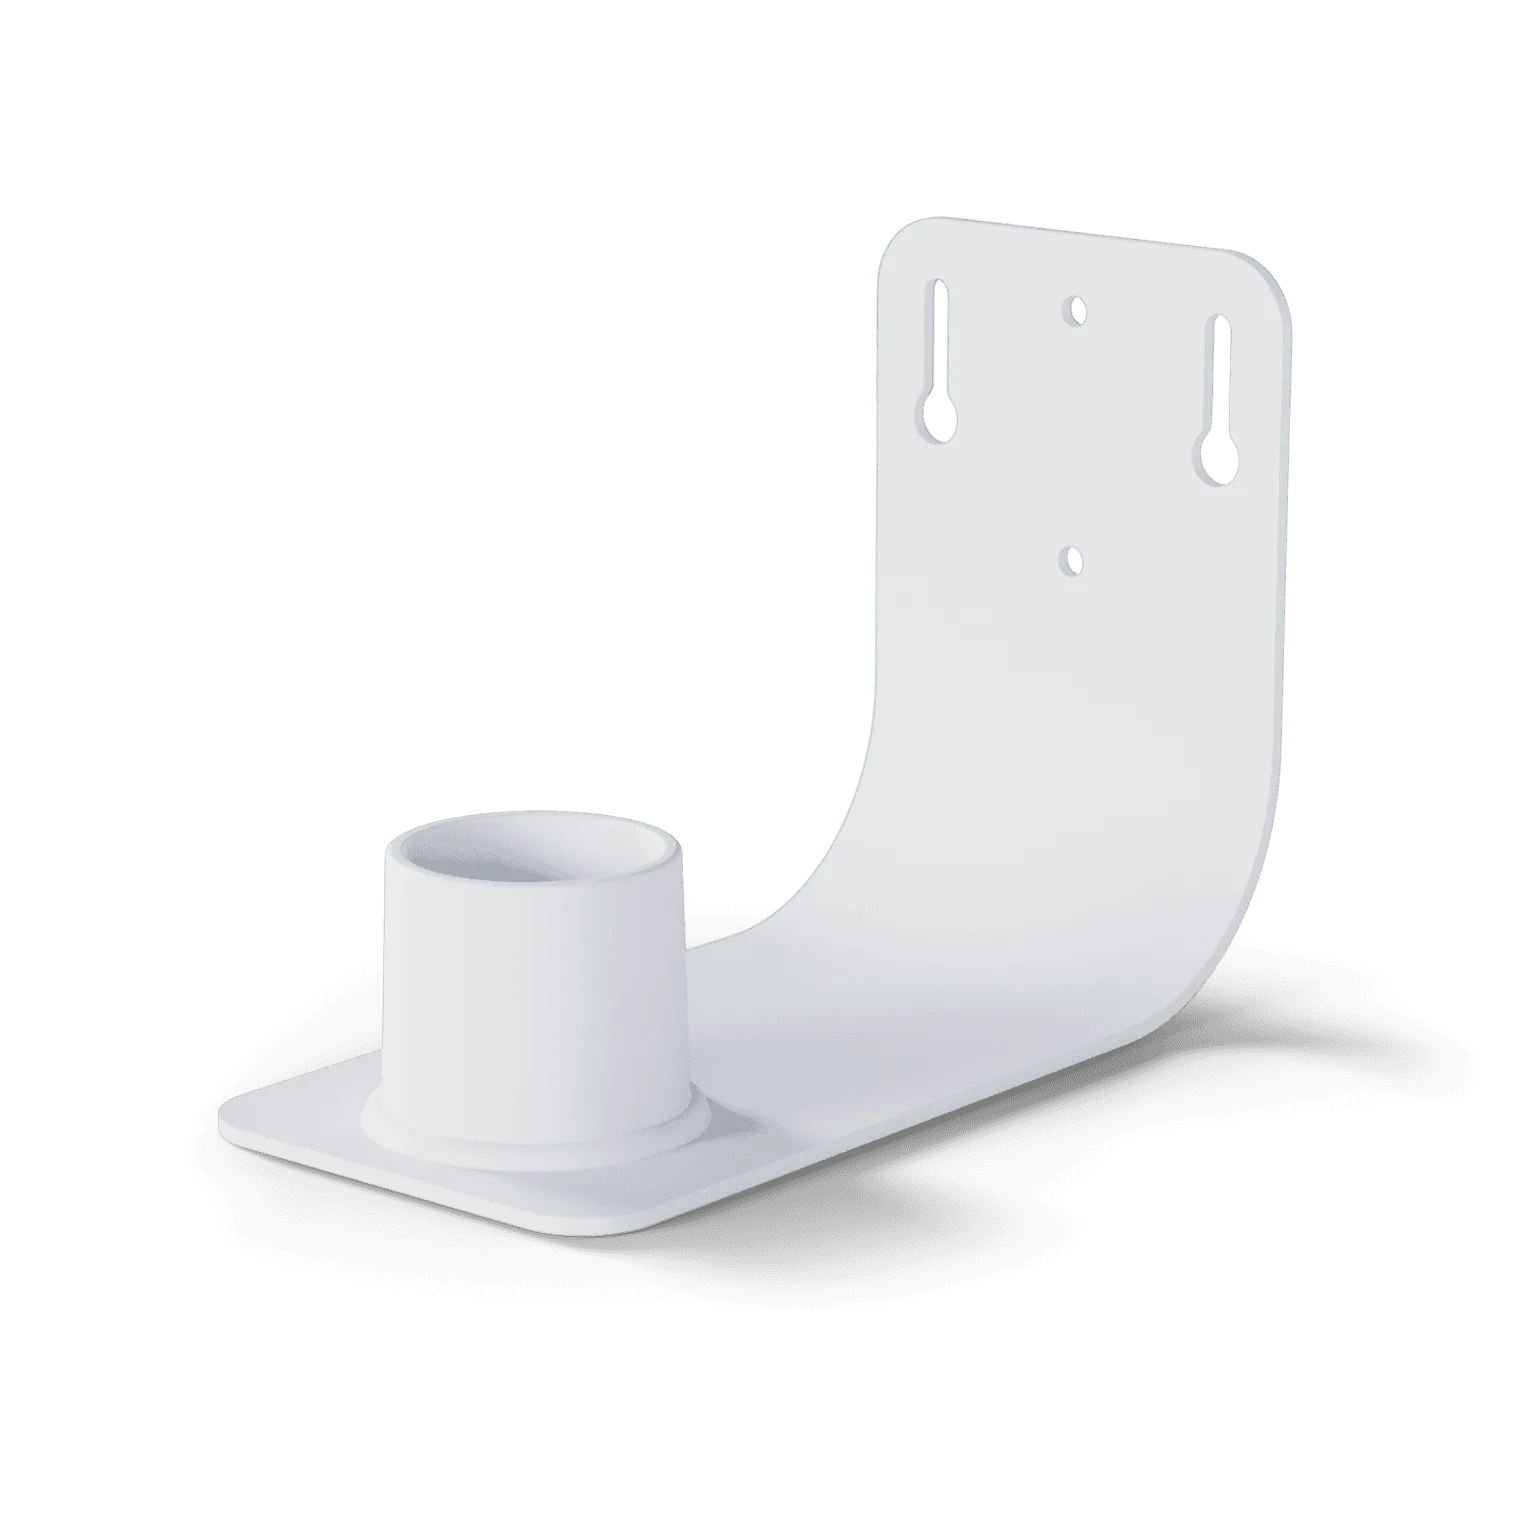
A reliable wall mount is one of the most versatile ways to position your smart bird feeder for optimal viewing and bird safety. Whether you want to attach the mount to a wooden fence, a brick wall, or modern vinyl siding, proper installation is key to ensuring long-term stability and protecting your home. In this guide, we’ll walk through surface-specific tips for using the wall mount, covering the tools, anchors, and techniques you’ll need for a secure setup every time.
wall mount
The wall mount is designed to hold smart feeders like the Birdbuddy Pro or the Smart Hummingbird Feeder Housing firmly in place, but the mounting method varies depending on the surface material. Using the wrong hardware or technique can lead to a loose mount or even damage to your wall. Follow these tips to get the most out of your installation, whether you're a first-timer or upgrading an existing feeder station.
General Wall Mount Installation Tips
Before diving into surface-specific advice, there are a few universal steps to follow. Always hold the wall mount against your chosen surface and use a level to mark the screw holes precisely. Pre-drilling pilot holes helps prevent splitting in wood and reduces the risk of cracking in masonry. Use the included hardware when possible, but be prepared to substitute if your surface requires specialized anchors.
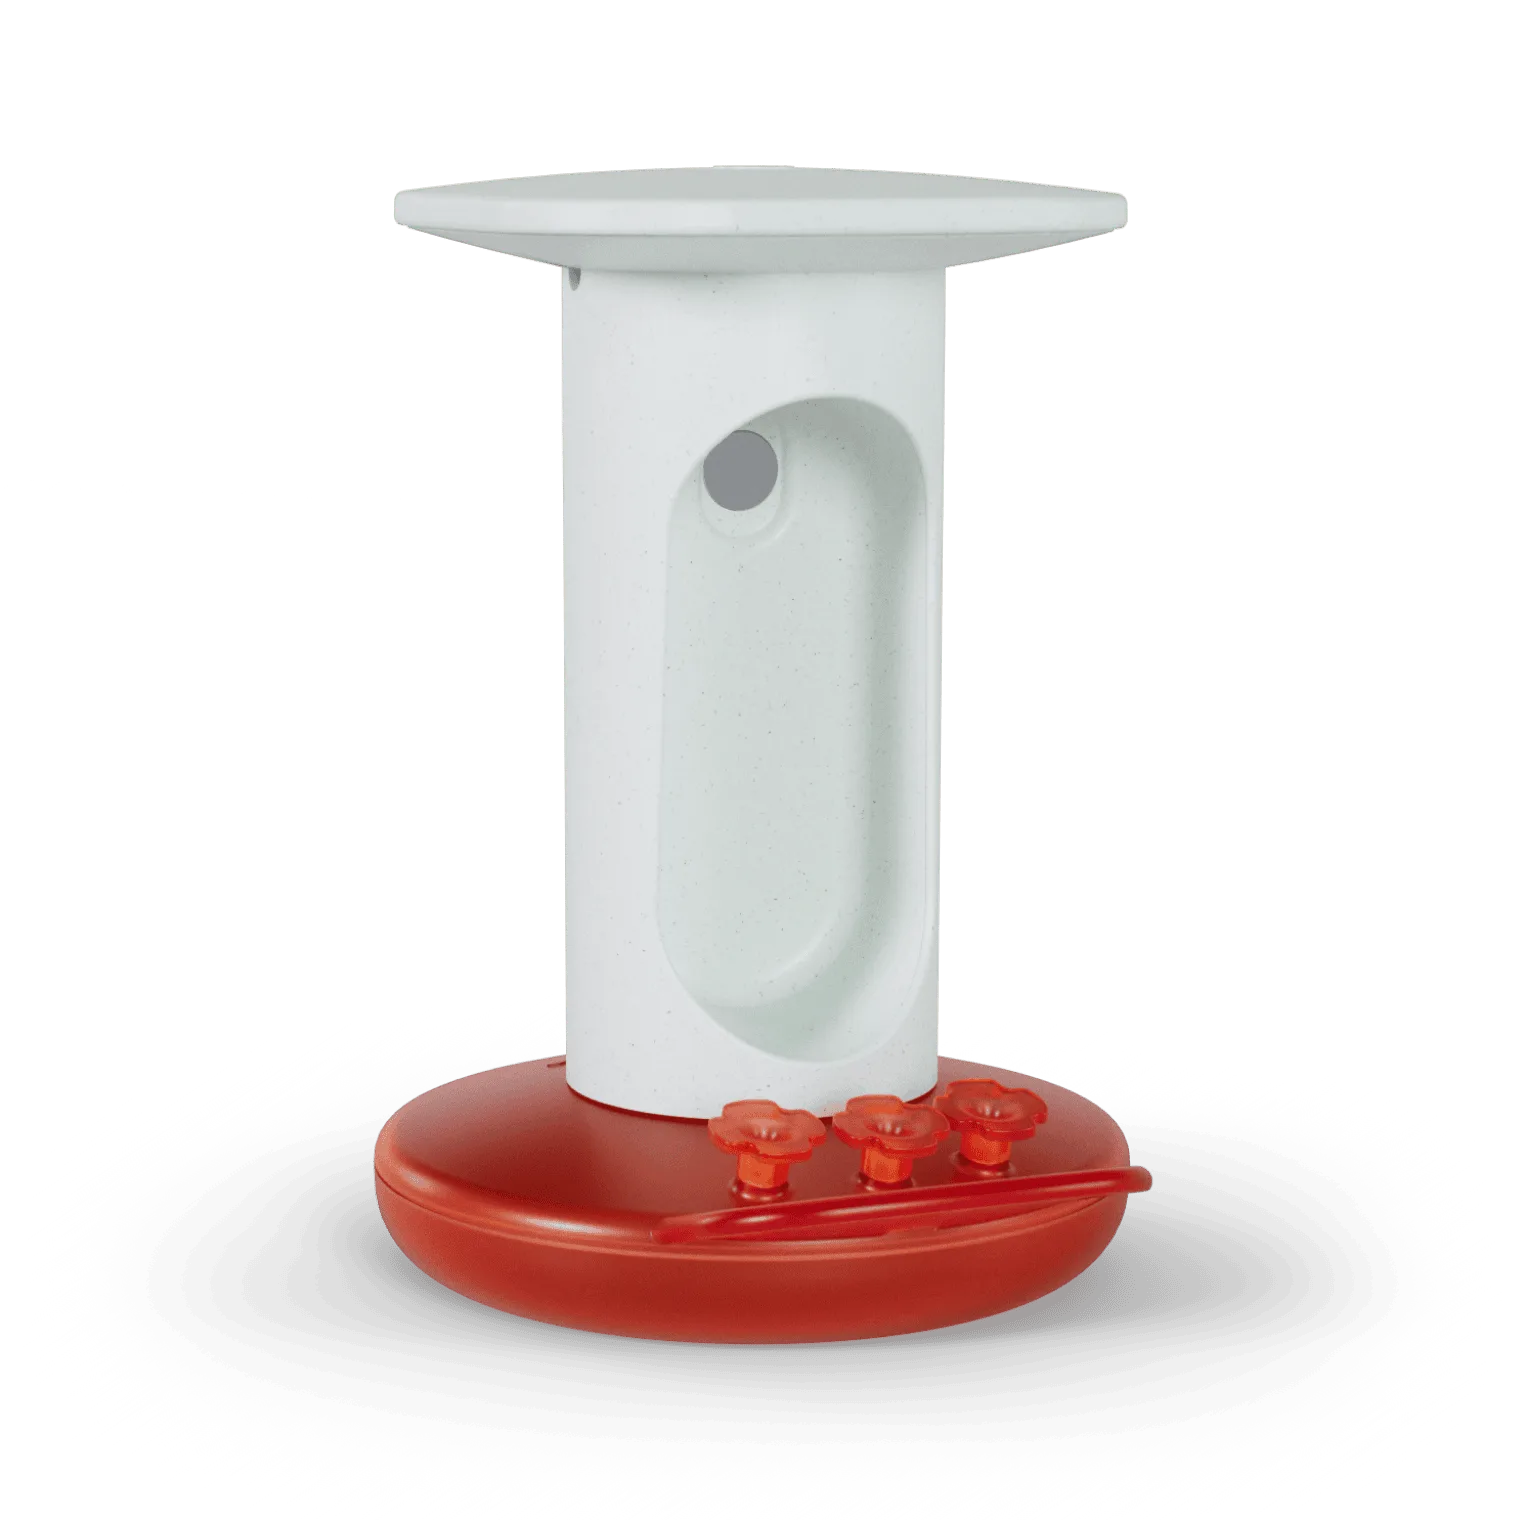
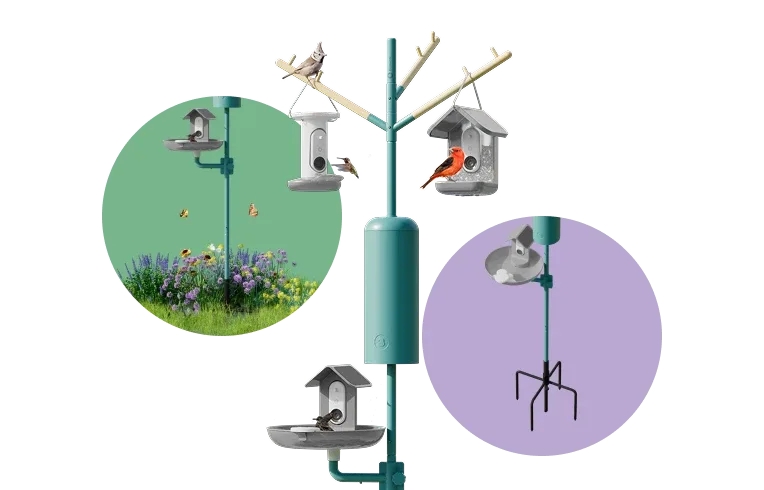
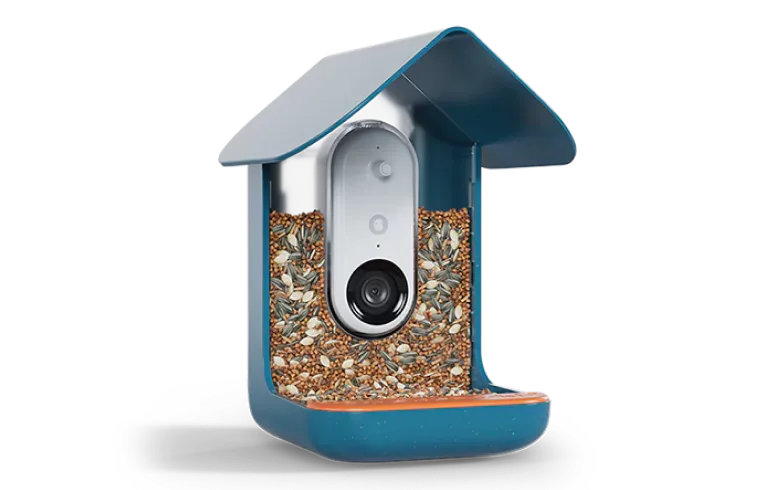
The wall mount works with most standard smart feeders. For example, the Birdbuddy Pro pairs perfectly with the mount, allowing you to position the feeder at eye level for easy refilling and observation. Similarly, the Smart Hummingbird Feeder Housing can be attached to the mount, giving hummingbirds a stable perch. Always check that the feeder clicks securely into the mount before leaving it unattended.
- Use a level to ensure the mount is straight – a tilted feeder can spill seed or nectar.
- Mark all holes with a pencil before drilling to avoid misalignment.
- If mounting near a window, position the mount at least 3 feet away to reduce bird collisions.
Mounting on Wood Siding and Fences
Wood is one of the easiest surfaces for installing a wall mount, but it still requires caution. Use exterior-grade screws that are at least 1.5 inches long to penetrate the wood securely. Pre-drill holes slightly smaller than the screw diameter to prevent the wood from splitting. For painted or treated wood, avoid overtightening, as this can crack the surface.
If your wood surface is unfinished, consider applying a dab of exterior caulk around the screw heads after installation to prevent moisture from seeping in. The Birdbuddy Pro is lightweight enough that standard wood screws provide ample support, but for larger feeders like the Smart Hummingbird Feeder Housing (when filled with nectar), ensure the mount is anchored into a stud or solid framing, not just thin paneling.
- For softwoods like cedar, use stainless steel screws to resist rust.
- If you can't find a stud, use toggle bolts rated for the weight of your filled feeder.
Mounting on Brick, Stone, and Concrete
Masonry surfaces require masonry bits and expansion anchors. Start by drilling a hole with a carbide-tipped bit to the depth specified by your anchor. Insert the anchor into the hole after cleaning out dust, then drive the screw into the anchor. For brick walls, always drill into the brick itself (not the mortar) for the strongest hold, as mortar can crumble over time.
When mounting on a brick wall, use a hammer drill for faster and cleaner holes. Wear eye protection, as brick dust can be irritating. After installing the wall mount, test its stability by gently pulling on it. A secure mount will not wiggle. This is especially important if you plan to use the mount for a heavier setup like the Birdbuddy Pro with its solar roof attachment, which adds extra weight.
- Use sleeve anchors for concrete or stone – they expand as you tighten the screw.
- Seal the gap around the mount with silicone caulk to prevent water from seeping behind the brick.
Mounting on Vinyl Siding and Stucco
Vinyl siding is tricky because it expands and contracts with temperature changes. Use vinyl siding clips or a specialized siding mount block that allows you to attach the wall mount without drilling into the siding itself. Alternatively, you can drill through the siding into the sheathing behind it, but be sure to use a bit that won't crack the vinyl. A rubber gasket between the mount and siding helps reduce vibration.
Stucco requires a masonry approach similar to brick, but be extra careful to drill straight. Stucco is brittle and can crack if you wobble the drill. Use a twist-style masonry anchor rather than a hammer-in anchor to minimize impact. Once the mount is secure, the Smart Hummingbird Feeder Housing will stay safe even in windy conditions, provided the anchors are suitable for the stucco depth.
- For stucco, drill through the finish coat and into the wire mesh underneath – avoid going too deep.
- If drilling into vinyl, apply gentle pressure only; let the drill do the work.
By matching your installation technique to the surface material, you can enjoy a rock-solid wall mount that holds your smart feeder securely for seasons to come. Whether you're setting up a Birdbuddy Pro or a Smart Hummingbird Feeder Housing, a properly mounted feeder means less maintenance and more time watching your backyard visitors. Explore our full range of feeders and accessories to build your perfect bird-watching station today.