Building a convincing WWII US paratrooper impression takes more than just a jump jacket and trousers. The details — the small accessories that paratroopers carried into battle — are what separate a basic look from a museum-quality portrayal. Whether you are a seasoned reenactor or just starting out, this guide covers the essential gear that will elevate your kit to the next level.
From headgear to footwear, each piece on this list has been chosen for its historical accuracy and practical use in the field. We have focused on items that are both iconic and functional, ensuring your impression is ready for any event. Let's dive into the top 10 accessories that will complete your US paratrooper setup.
1. The Helmet: More Than Just a Shell
No paratrooper impression is complete without the correct helmet. The iconic M1 helmet used by US airborne troops had a distinctive liner and chinstrap setup. For authenticity, look for a reproduction that captures the correct shape and finish. The https://wildernessworks.shop/products/reproduction-wwii-m1-helmet-99250Reproduction WWII M1 Helmet is a solid choice, offering accurate details that match the originals used by the 101st and 82nd Airborne divisions. Pair it with a proper helmet net and you will have the foundation of your kit.
Remember that paratroopers often modified their helmets with extra padding or camouflage netting. Adding a helmet cover in a camouflage pattern can increase realism, but keep in mind that many early-war paratroopers went without covers. Focus on the base helmet first, then add layers as you refine your impression.
- Ensure the helmet liner fits snugly for comfort during long events.
- Use period-correct chinstraps — avoid modern plastic buckles.
2. Footwear: The https://wildernessworks.shop/products/low-quarter-shoes-99220Low Quarter Shoes
Paratroopers were issued the same low-cut service shoes as other infantry, but they often wore them with canvas leggings or jump boots. The Low Quarter Shoes are an excellent reproduction of the standard-issue footwear. They are comfortable for marching and have the correct sole pattern for the era. Whether you are walking through a reenactment field or standing in a living history display, these shoes provide the right look and feel.
For a true paratrooper impression, consider pairing these shoes with M1942 canvas leggings or the more common M1938 leggings. This combination is often seen in photos of airborne troops preparing for jumps. Proper footwear is not just about appearance — it also affects your comfort and mobility during events.
- Break in your shoes before an event to avoid blisters.
- Use wool socks for warmth and moisture management.
3. The M1936 Musette Bag: Essential Carry-All
The musette bag was the standard field pack for paratroopers, replacing the larger haversack used by regular infantry. It was worn high on the back or slung over one shoulder. An original or reproduction M1936 musette bag is a must-have for carrying your personal gear, rations, and extra ammunition. Look for one with the correct buckle and strap configuration to match early-war production.
Many paratroopers personalized their bags with unit markings or added extra straps. For a clean impression, keep the bag simple and avoid modern modifications. The Original Griswold Bag #1 is a great example of a period-correct bag that can serve as a centerpiece for your kit. It offers ample storage and authentic details that reenactors appreciate.
- Pack light to maintain the correct silhouette of the bag.
- Attach a canteen or mess kit to the D-rings for easy access.
4. The M1 Garand or Carbine: Choosing Your Weapon
While not strictly an accessory, the weapon you carry defines your role in the squad. Paratroopers were issued the M1 Garand, M1 Carbine, or Thompson submachine gun depending on their position. The M1 Carbine was especially popular among airborne troops due to its lighter weight. For a realistic impression, ensure your weapon has the correct sling and oiler.
Reenactors often use non-firing replicas or deactivated weapons for safety. Whichever you choose, make sure it is period-correct for your specific unit and time frame. The M1 Garand sling should be the M1907 pattern, while the carbine uses a simpler web sling. Attention to these details will impress fellow reenactors and spectators alike.
- Check event rules regarding weapon safety and authenticity.
- Practice proper weapon handling for realistic demonstrations.
5. The M1910 or M1923 Cartridge Belt
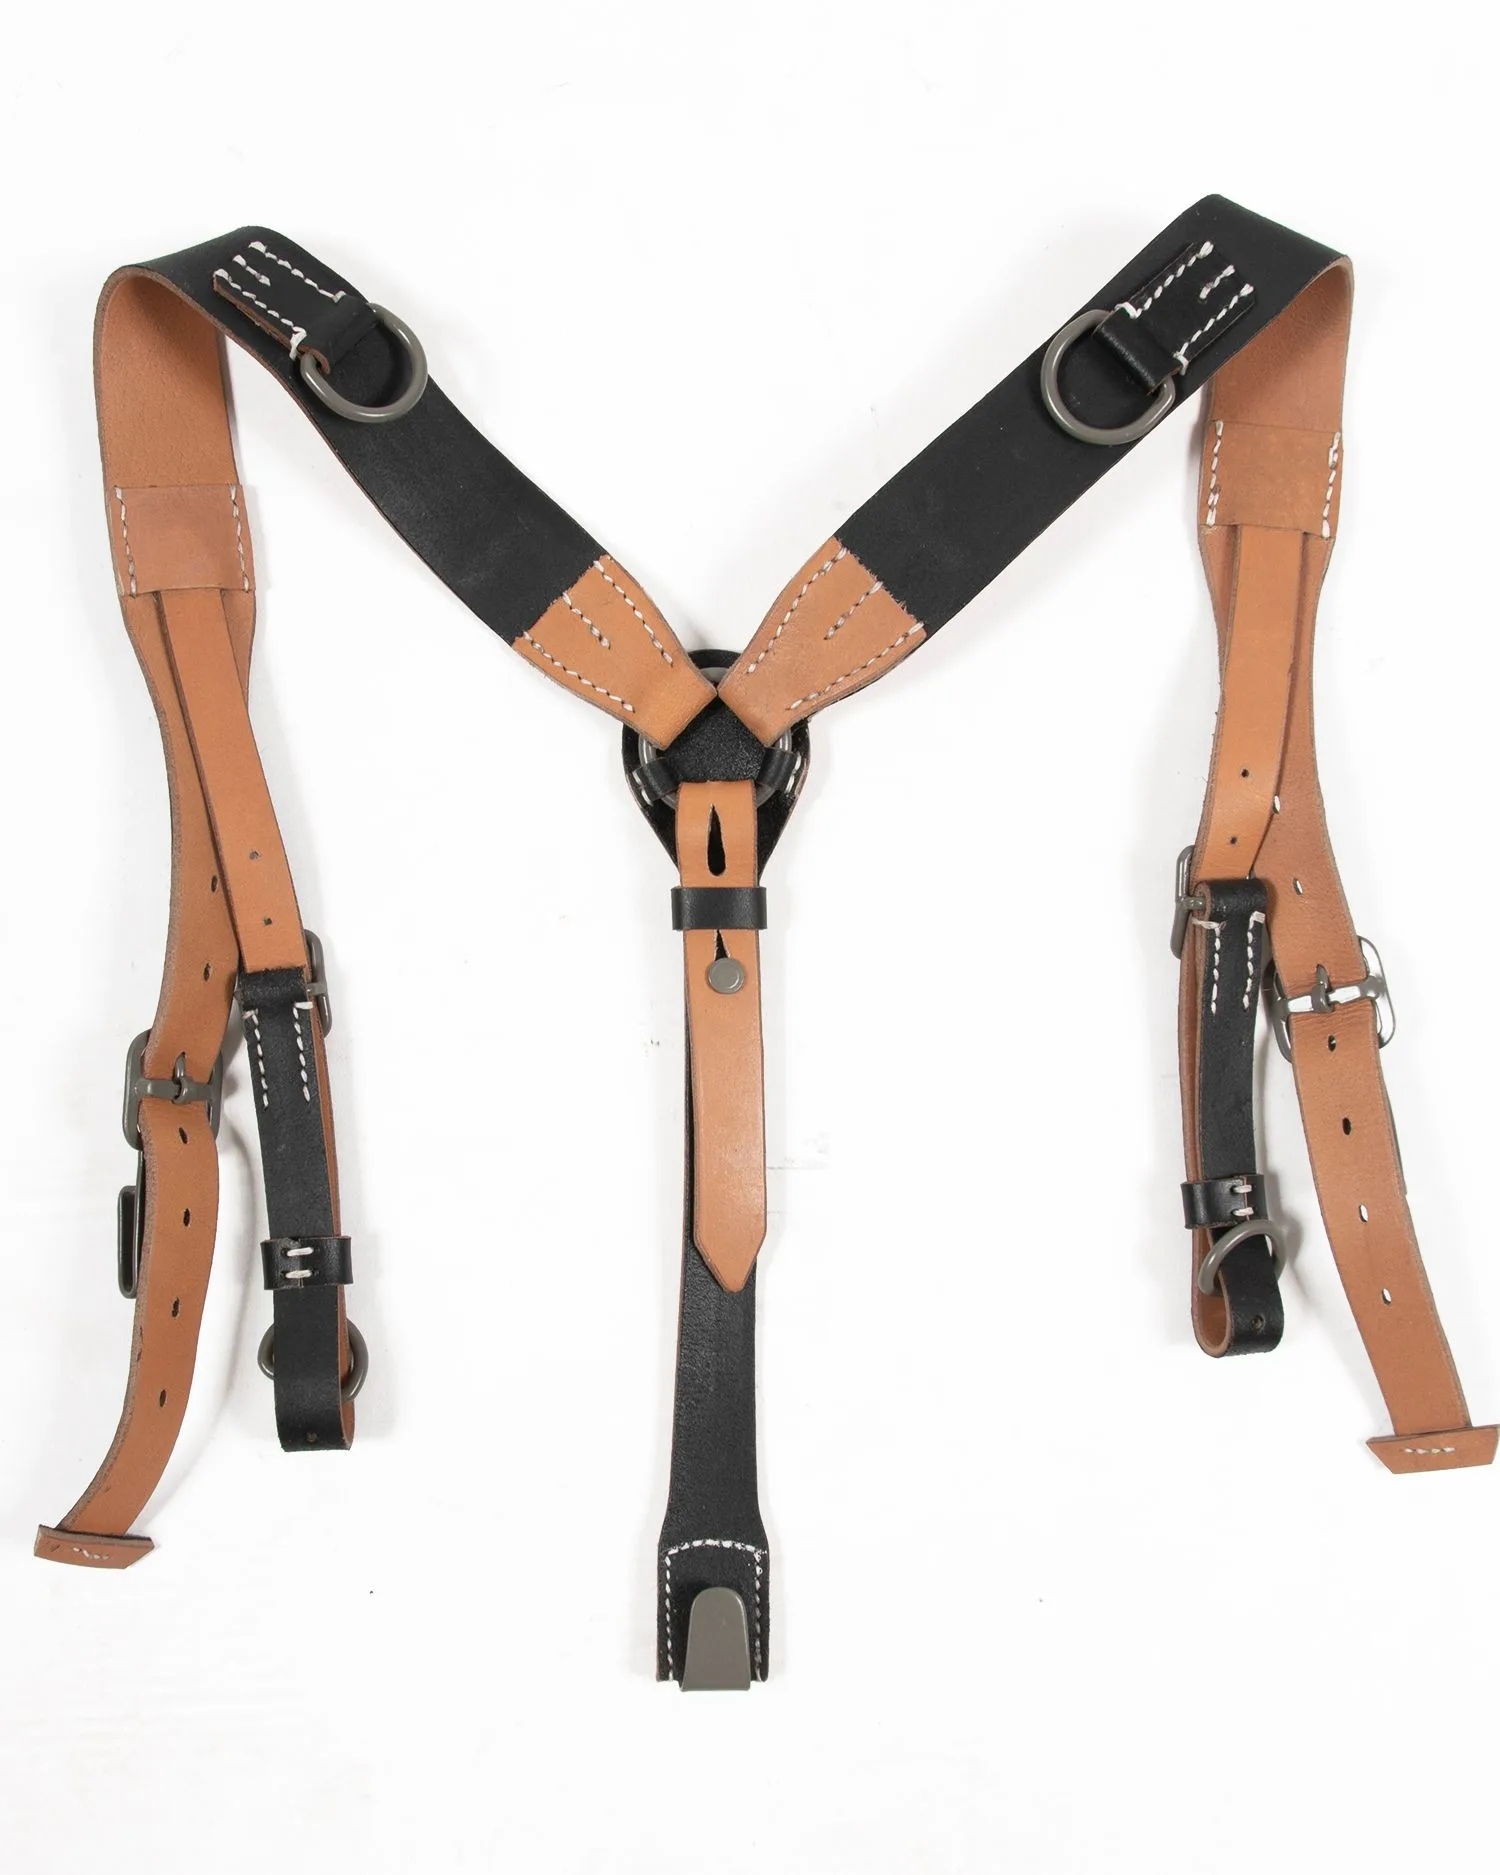
Your ammunition belt is a critical piece of gear. Paratroopers used the M1923 cartridge belt for the M1 Garand, which held ten clips. For carbine users, the M1917 or M1 carbine belt was common. These belts were worn with suspenders to distribute weight. Look for a reproduction that uses correct webbing and metal hardware.
The belt should fit snugly but allow for movement. Many reenators add extra pouches for grenades or a first aid kit. Keep the belt organized to avoid a cluttered look. A properly set up cartridge belt not only looks authentic but also helps you carry your ammunition efficiently during tactical events.
- Use original or reproduction clips for realism.
- Attach a canteen cover to the belt for hydration.
6. The M1942 Jump Jacket and Trousers
The M1942 jump jacket and trousers are the iconic uniform of the US paratrooper. These garments feature multiple pockets and a distinctive cut that allowed for ease of movement. Reproduction versions are widely available, but pay attention to details like zipper placement and pocket sizes. The 1st Division, Wool jacket is a great alternative for cooler weather, offering the same style in a heavier fabric.
For trousers, the Mint Marsh Winter Trousers provide excellent warmth and authenticity for winter events. They are designed to fit over the standard jump trousers and add an extra layer of insulation. Make sure your uniform fits well — baggy or tight clothing will detract from the overall impression.
- Wear the jacket bloused over the trousers for the classic paratrooper look.
- Use period-correct insignia and patches to denote your unit.
7. The M1941 Haversack: A Versatile Pack
While the musette bag was common, some paratroopers also used the M1941 haversack for carrying heavier loads. This pack was designed to be worn with the cartridge belt and suspenders. It has a distinctive shape with a top flap and side pockets. A reproduction M1941 haversack is a valuable addition to your kit, especially for longer events where you need to carry more gear.
The haversack can be used to store rations, shelter halves, and personal items. It is also a good place to keep your M31 Breadbag, which is a smaller bag for food and essentials. Together, these bags provide a complete carrying system that is both functional and historically accurate.
- Pack the haversack to maintain its shape and avoid sagging.
- Attach a bayonet or entrenching tool to the exterior.
8. The M1911 Pistol: A Secondary Weapon
Many paratroopers carried the M1911A1 pistol as a secondary weapon, especially officers and non-commissioned officers. This iconic sidearm was issued with a holster and extra magazines. For reenactment, a non-firing replica or deactivated pistol is safe and realistic. The holster should be the M1916 pattern, made of leather with a flap closure.
Wearing a pistol adds authenticity to your impression, but it is not necessary for all roles. If you are portraying a rifleman, you may skip this accessory. However, for squad leaders or machine gunners, the M1911 is a historically accurate addition that completes the kit.
- Ensure the holster is correctly attached to your belt.
- Practice drawing and reholstering safely during drills.
9. The M1942 First Aid Pouch and Field Gear
Every paratrooper carried a first aid pouch on their belt, typically containing a Carlisle bandage. The M1942 first aid pouch is a small canvas pouch that attaches to the cartridge belt. It is a simple but important accessory that shows attention to detail. Other field gear includes the canteen, mess kit, and entrenching tool. Each piece should match the period and be carried in the correct position.
The German Duffle Bag is a great option for carrying your gear to and from events, though it is not part of the US paratrooper kit. For your impression, focus on US-issue items. The M31 Breadbag is another useful accessory that can hold rations and small items. Keep your field gear clean and organized for the most authentic look.
- Use reproduction bandages for a realistic appearance.
- Attach the first aid pouch to the left side of the belt for easy access.
10. Insignia and Badges: The Finishing Touches
Unit patches, jump wings, and rank insignia are essential for identifying your specific paratrooper unit. The 101st Airborne Division patch with the screaming eagle is one of the most recognizable, while the 82nd Airborne patch is equally iconic. Jump wings are worn on the left chest, above the pocket. For awards, the Infantry Assault Badge, Silver is a common decoration that adds realism to your impression.
Be careful to place insignia correctly according to regulations. The shoulder patch should be on the left sleeve, and rank insignia on the collar or sleeves. Research your specific unit and time period to ensure accuracy. Small details like these make your impression stand out and show your dedication to historical authenticity.
- Use reproduction patches that match the correct colors and sizes.
- Attach insignia with period-correct stitching or adhesive.
Building an authentic WWII US paratrooper impression is a rewarding journey that combines historical research with hands-on gear selection. By focusing on these ten accessories, you will create a kit that looks great and functions well at any reenactment. Start with the essentials like the Reproduction WWII M1 Helmet and build from there. For more high-quality reproduction gear, explore our full collection of paratrooper accessories at At The Front.