There's something primal and satisfying about cooking over an open flame. When you pair a cowboy fire pit with a sturdy grill grate, you unlock a world of outdoor cooking possibilities—from seared steaks to smoky vegetables. But grilling over a fire pit isn't quite the same as using a backyard gas grill. The heat is less predictable, the coals need more attention, and the setup requires a bit of know-how.
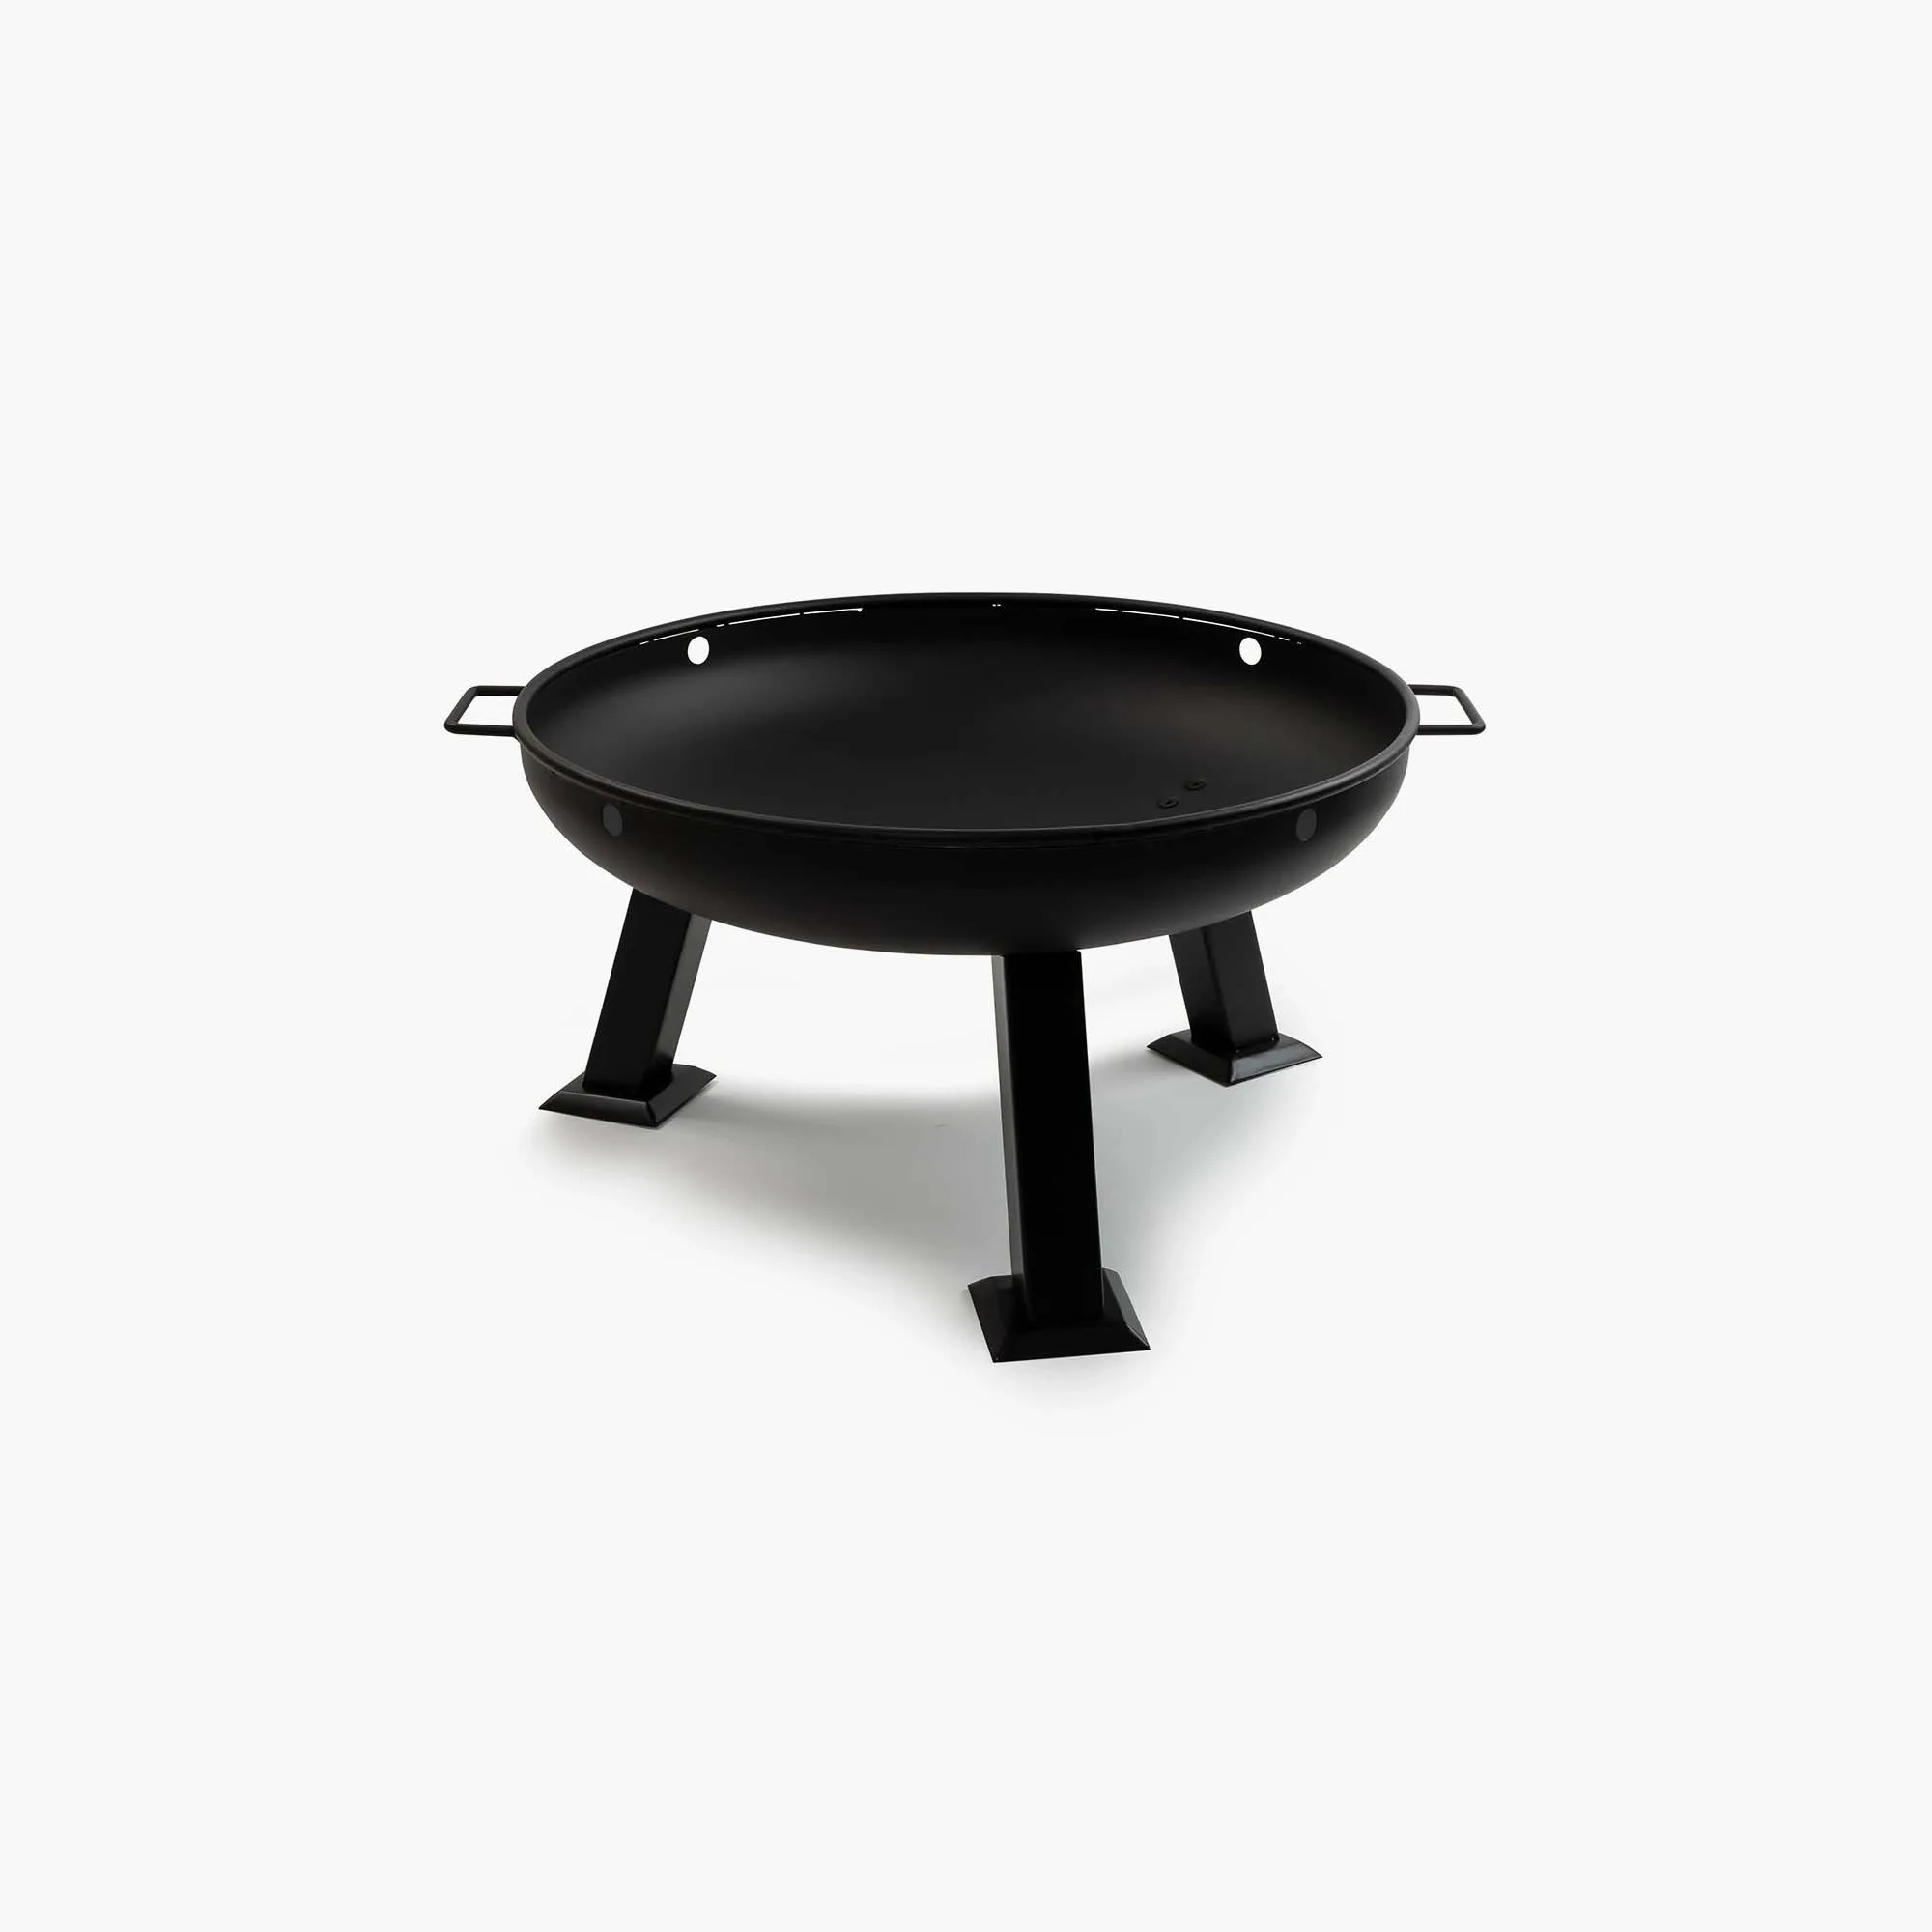
fire pit
Whether you're a seasoned camp chef or a beginner looking to elevate your fire pit meals, these five tips will help you get the most out of your cowboy grill grate. We'll cover heat management, seasoning, tool selection, and more—so you can cook with confidence and enjoy delicious food under the open sky.
1. Master the Art of Coal Management
The key to great fire pit grilling is controlling where and how hot your coals are. Unlike a gas grill with adjustable burners, a cowboy fire pit relies on you to arrange the embers. Start by building a good wood fire and letting it burn down to glowing coals—this usually takes 30 to 45 minutes. Once you have a bed of hot coals, use a long-handled shovel or tongs to spread them evenly under the area where your grill grate will sit.
For direct heat cooking (like searing steaks or burgers), pile coals thicker in one zone. For indirect heat (like roasting chicken or vegetables), create a cooler zone with fewer coals. This two-zone setup lets you sear first, then move food to the cooler side to finish cooking without burning. Patience here pays off: rushing to cook over flames often leads to charred exteriors and raw centers.
- Always let the fire burn down to coals before placing your grate and food.
2. Season and Maintain Your Grill Grate
A well-seasoned grill grate is non-stick, rust-resistant, and easier to clean. Before your first use—and periodically after—coat the grate with a high-smoke-point oil (like canola or grapeseed) and heat it over the fire until the oil smokes and bonds to the metal. This creates a natural non-stick surface that also protects against corrosion. After each use, scrub the grate with a stiff brush while it's still warm, then wipe it down with a light coat of oil.
If you're using a cast iron grate, seasoning is especially important. Cast iron holds heat beautifully but can rust if neglected. For stainless steel grates, seasoning is less critical but still helps with release and cleanup. A little maintenance goes a long way toward extending the life of your gear and improving your cooking results.
- Re-season your grate after every few uses, especially if you notice food sticking.
3. Use the Right Tools for the Job
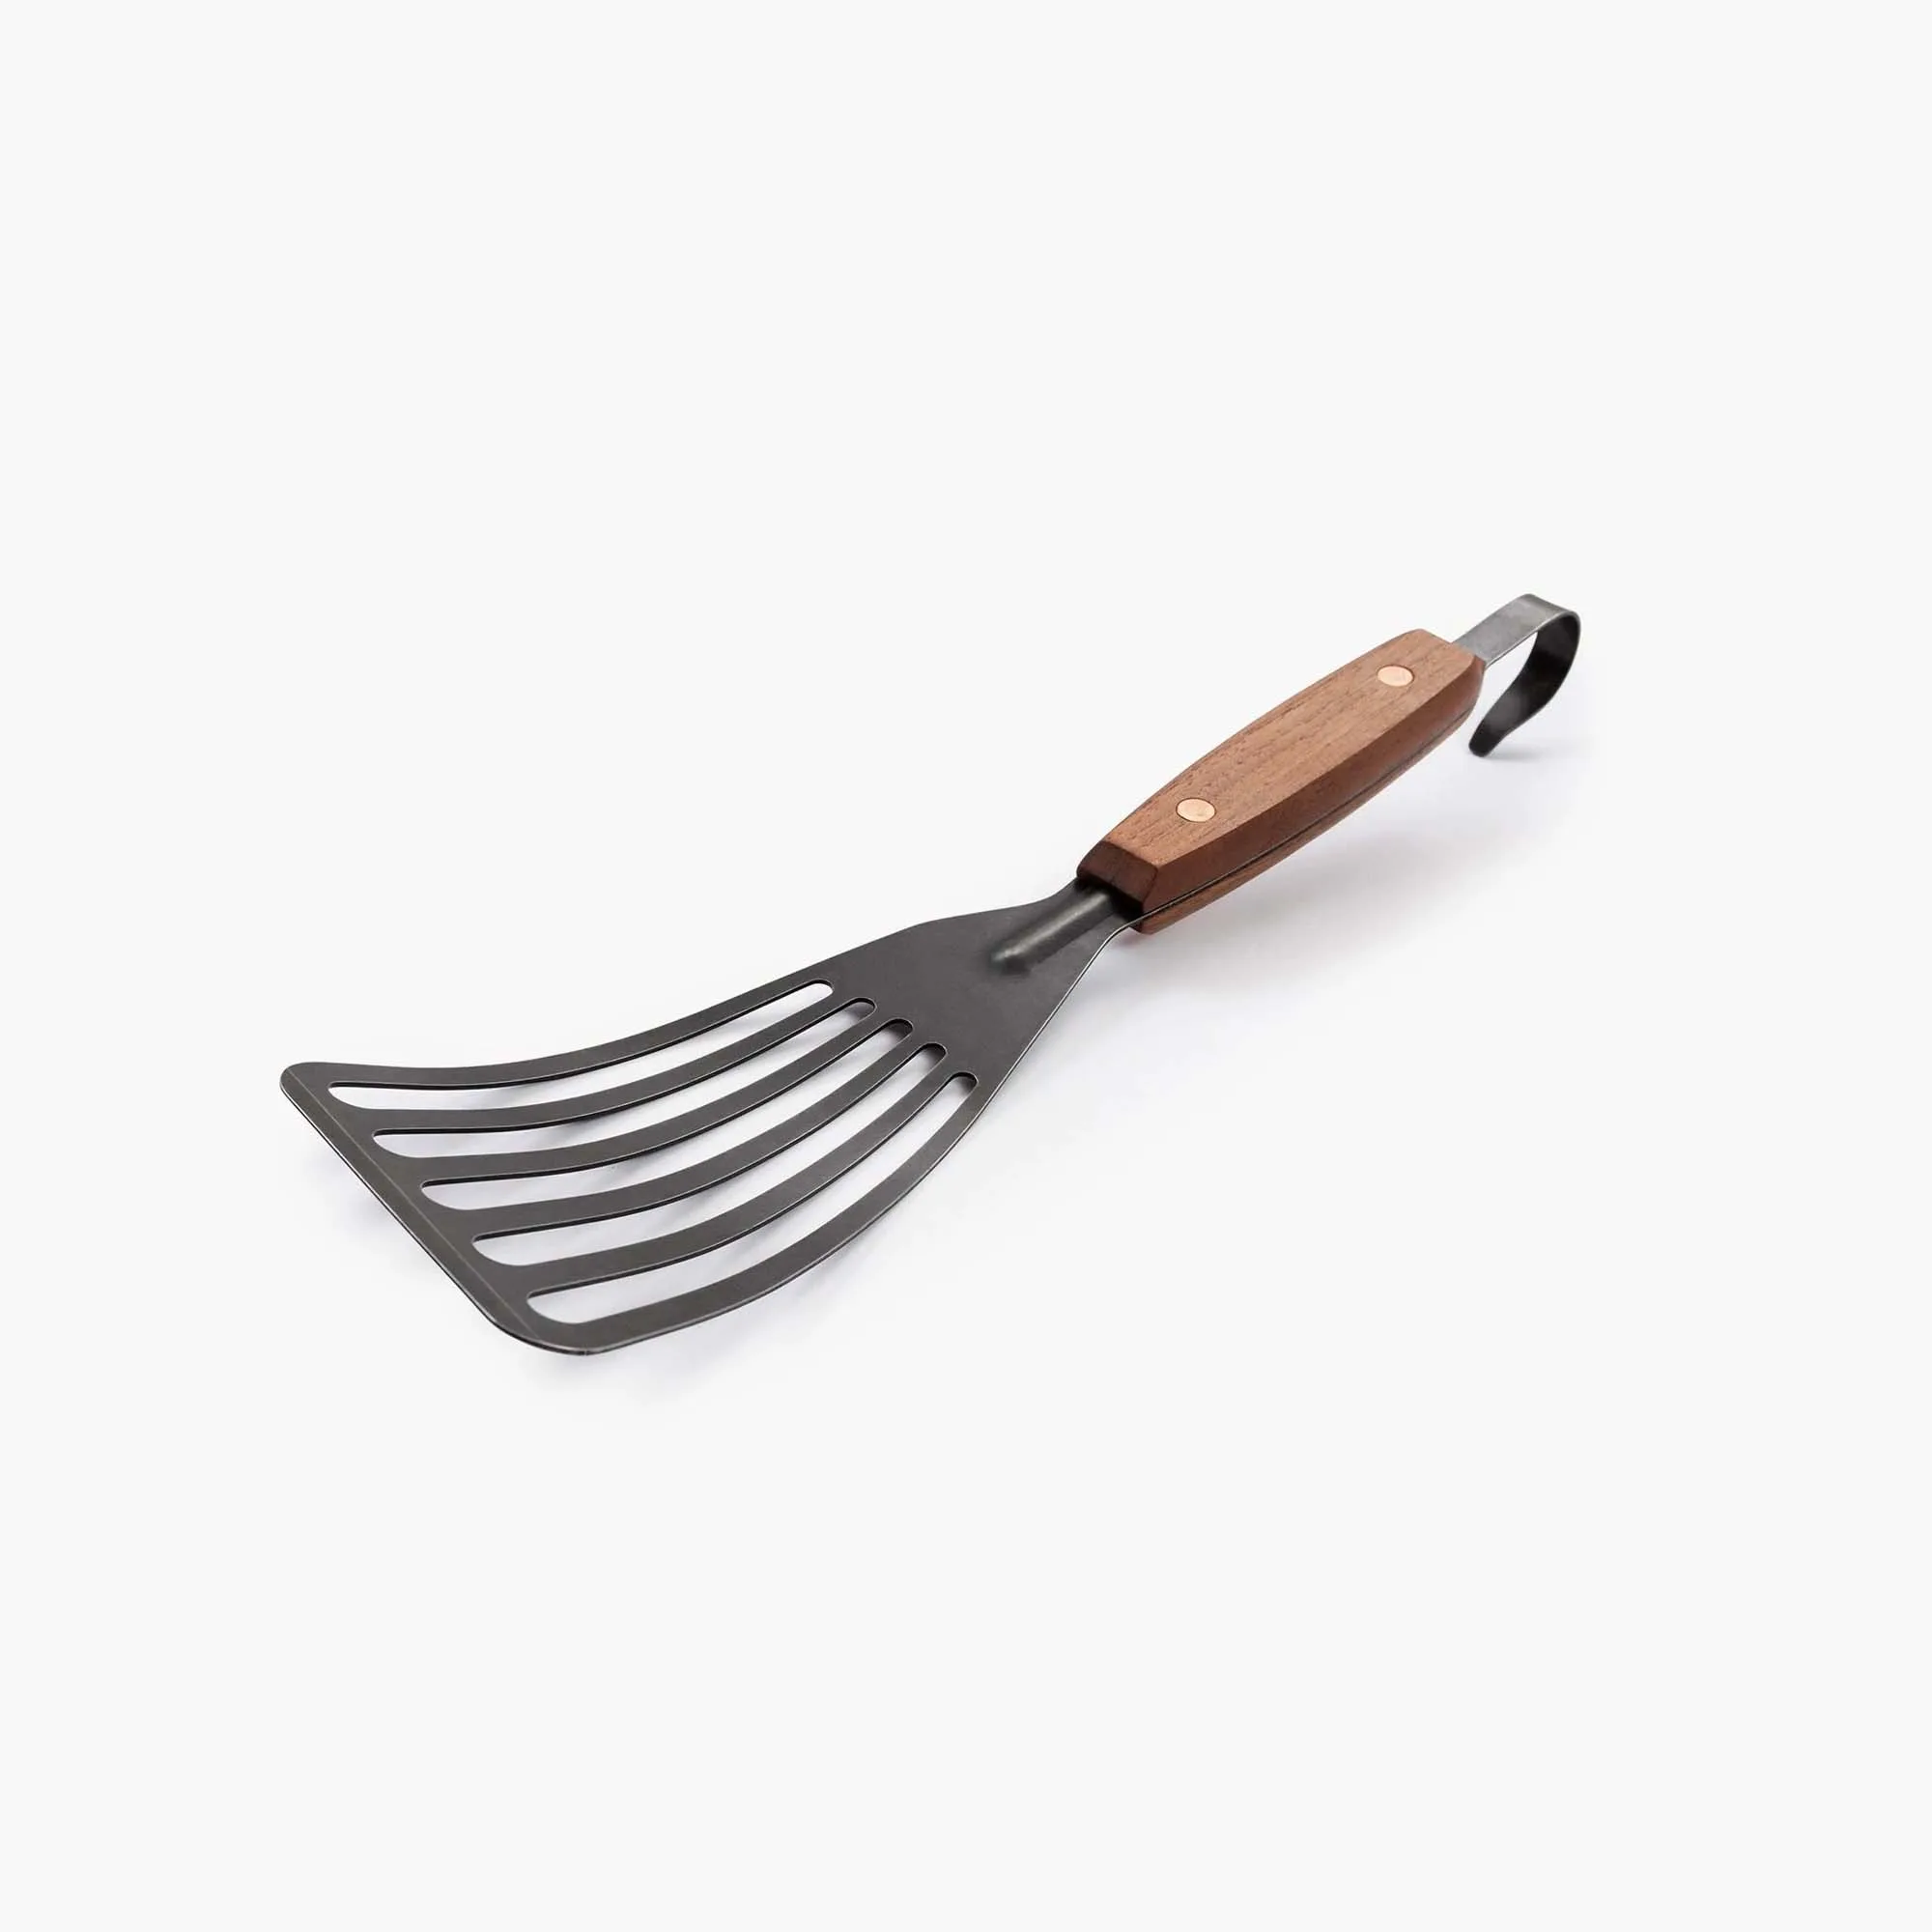
Grilling over a fire pit requires longer-handled tools to keep you safe from heat and sparks. A good pair of tongs, a sturdy spatula, and a grill brush are essential. But don't overlook the value of a quality knife for prepping ingredients at the campsite. A sharp, reliable blade makes slicing vegetables, trimming meat, and even opening packages much easier.
For example, the No. 4 Paring Knife is a compact, versatile tool that's perfect for detailed prep work—whether you're trimming fat off a steak or slicing garlic for a marinade. Pair it with a solid cutting board, and you'll have a mini prep station ready to go. Having the right tools not only makes cooking safer but also more enjoyable.
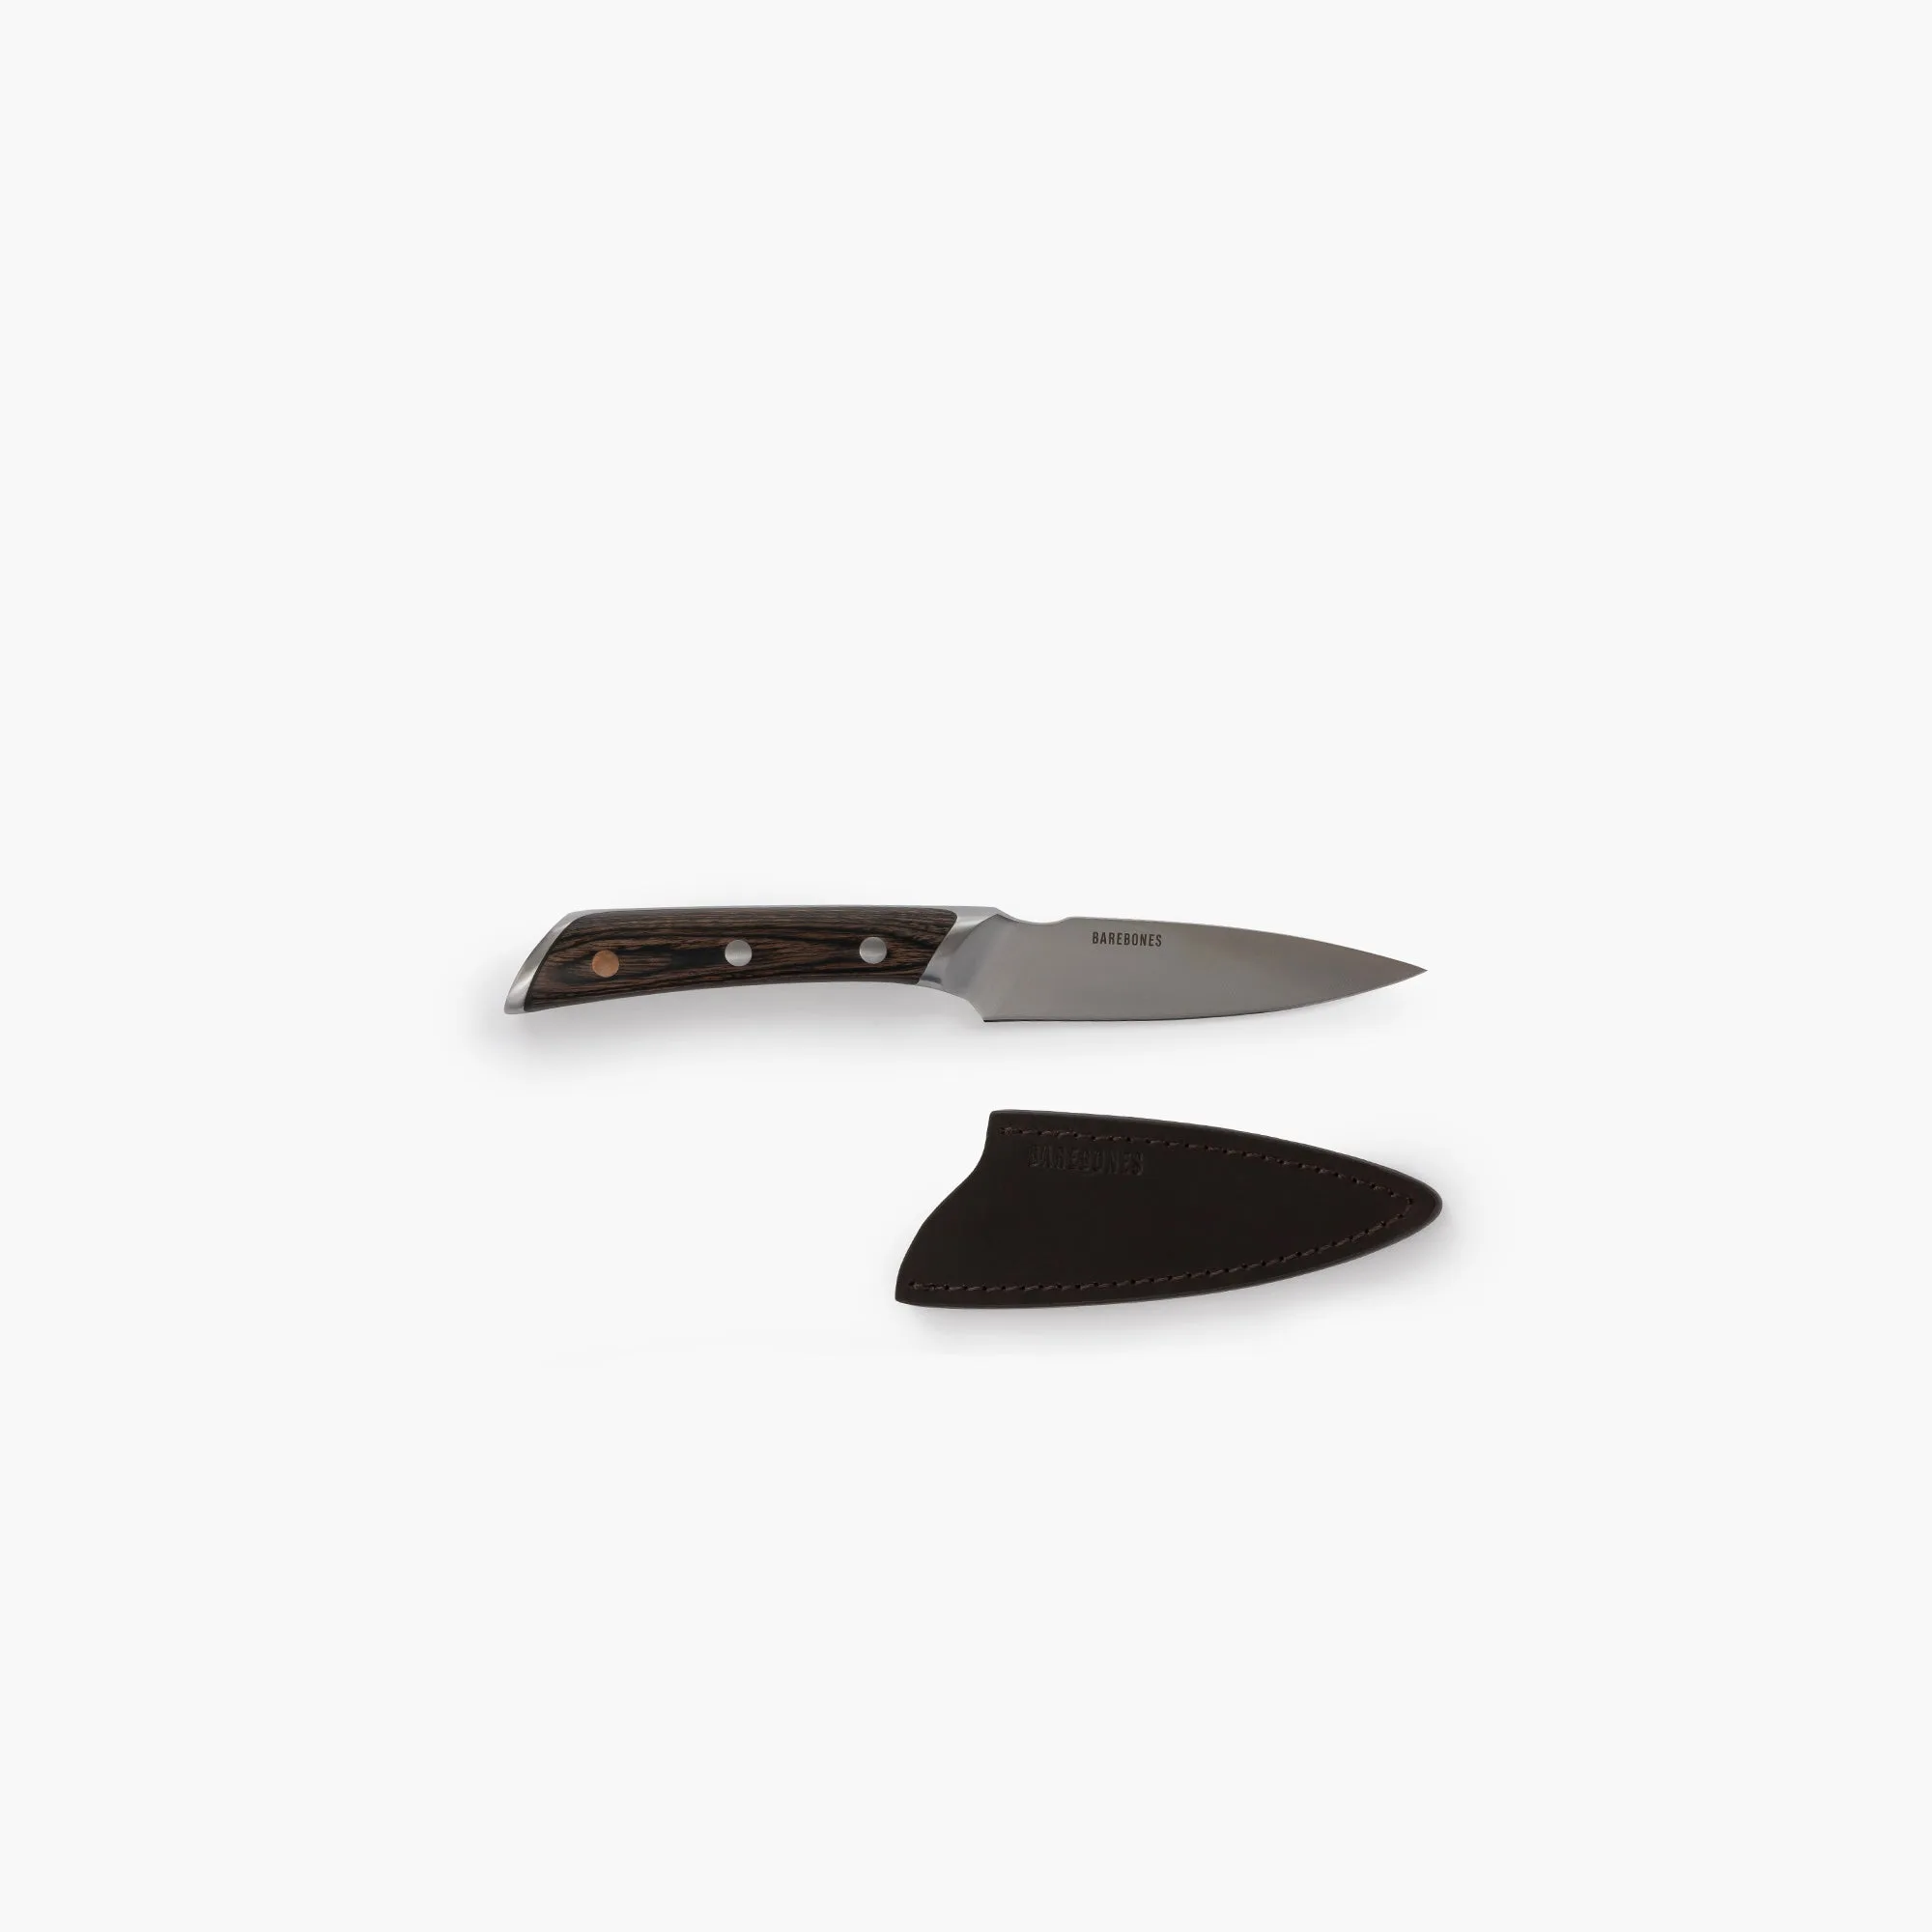
No. 4 Paring Knife
- Pack a long-handled spatula and tongs to keep your hands away from the heat.
4. Control Temperature with Grate Height and Coal Volume
One of the biggest advantages of a cowboy fire pit setup is the ability to adjust cooking temperature by changing the height of your grill grate. Many grates come with adjustable chains or hooks that let you raise or lower the cooking surface. For high heat (searing), lower the grate close to the coals. For moderate heat (roasting or baking), raise it higher.
You can also control temperature by adjusting the volume of coals. Add more coals for higher heat, or spread them out to reduce intensity. A simple trick: hold your hand about six inches above the grate. If you can keep it there for only 2-3 seconds, the heat is high; 4-5 seconds is medium; 6-7 seconds is low. Use this hand test to gauge your cooking zone before placing food.
- Use the hand test to estimate heat levels: 2-3 seconds = high, 4-5 = medium, 6-7 = low.
5. Plan Your Menu and Prep Ahead
Fire pit cooking is more rustic and less predictable than kitchen cooking, so a little preparation goes a long way. Marinate meats, chop vegetables, and pre-measure spices before you leave home. Store everything in reusable containers or bags to minimize waste and simplify cleanup. Consider foods that cook well over an open fire: steaks, sausages, skewers, foil packet vegetables, and even flatbreads.
For serving, durable enamelware is a great choice. The Enamel 2-Tone Mug Set Indigo Blue is perfect for hot drinks or soups, and it won't break if dropped. Pair it with a reliable set of utensils like the Flatware Set for a complete outdoor dining experience. Prepping ahead means you spend less time fussing and more time enjoying the fire and company.
- Foil packet vegetables (potatoes, onions, peppers) are easy, delicious, and require minimal cleanup.
Grilling with a cowboy fire pit grill grate is a rewarding way to cook outdoors. With a little practice in coal management, seasoning, tool selection, and temperature control, you'll be turning out meals that rival any backyard barbecue. Ready to upgrade your fire pit setup? Explore the durable and thoughtfully designed options at Barebones—like the versatile No. 4 Paring Knife—to make your next cookout even better.