Quick answer
To set up a gas regulator for jewelry soldering, first inspect all connections and hoses for damage. Then attach the regulator to the tank, tighten with a wrench, and open the tank valve slowly. Adjust the regulator knob to the recommended pressure for your torch—typically 2-5 PSI for propane or 5-10 PSI for natural gas. Always leak-test with soapy water, and never exceed the torch manufacturer's maximum pressure.
Why regulator setup matters for jewelry soldering
A gas regulator controls the pressure of fuel gas flowing from the tank to your soldering torch. Incorrect pressure leads to unstable flames, poor solder flow, or dangerous flashbacks. Jewelry soldering requires a small, precise flame, so even minor pressure fluctuations can ruin a delicate piece. Unlike large welding setups, jeweler torches operate at low pressures—often under 15 PSI. Always check your torch and regulator manuals for exact limits. Never guess; too much pressure can blow molten solder off the joint, while too little causes sputtering and incomplete melting.
Essential safety gear and workspace checks
Before touching the regulator, put on safety glasses and fire-resistant clothing. Remove any flammable materials from your bench, including paper, solvents, and plastic containers. Ensure your workspace has a fire extinguisher rated for gas fires and a clear path to an exit. Work in a well-ventilated area—soldering fumes from flux and metal can be toxic. If you use a fume extractor, position it close to the soldering area. Check that your torch tip is clean and free of debris; a clogged tip can cause pressure buildup. Finally, verify that your gas tank is secured upright to a wall or bench to prevent tipping.
Step-by-step regulator setup
Follow this sequence every time you connect a new tank or suspect a leak. Skipping steps risks gas leaks or regulator damage.
Regulator setup steps with common mistakes
- Inspect the regulator, hose, and torch: Look for cracks, cuts, or worn threads on the hose and regulator fittings. Check the torch valve for smooth operation. Replace any damaged part before proceeding. Mistake to avoid: using a hose with a slow leak—soapy water will reveal it later, but visual inspection catches obvious damage first.
- Attach the regulator to the gas tank: Thread the regulator onto the tank valve by hand, then tighten with a wrench until snug. Do not overtighten—it can damage the brass fitting or the tank valve. Mistake to avoid: cross-threading. If it doesn't turn easily by hand, stop and realign.
- Connect the hose to the regulator and torch: Push the hose onto the regulator outlet and torch inlet, then secure with hose clamps. Pull gently to confirm it won't slip off under pressure. Mistake to avoid: forgetting the clamp on one end—this is a common cause of leaks.
- Close the torch valve and open the tank valve slowly: Turn the tank valve counterclockwise just until you hear gas flow, then open it one full turn. Listen for hissing; if you hear it, close the valve immediately and check connections. Mistake to avoid: opening the tank valve quickly—it can slam the regulator and damage the diaphragm.
- Adjust the regulator to the correct pressure: Turn the regulator knob clockwise to increase pressure. Set it to the torch manufacturer's recommendation—typically 2-5 PSI for propane or 5-10 PSI for natural gas. Do not exceed the torch's maximum rating. Mistake to avoid: setting pressure by flame size alone. Always use the regulator gauge.
- Leak-test all connections with soapy water: Brush soapy water on every joint—tank valve, regulator, hose clamps, and torch inlet. If bubbles form, tighten the connection and retest. Never use a flame to check for leaks. Mistake to avoid: skipping the leak test because connections 'feel tight.'
- Ignite the torch safely: Open the torch valve slightly, then use a spark igniter or match to light the gas. Never use a lighter—it can burn your hand. Adjust the torch valve to fine-tune the flame after ignition. Mistake to avoid: holding the igniter directly over the tip; keep it to the side and let the gas meet the spark.
Tools that support safe soldering practice
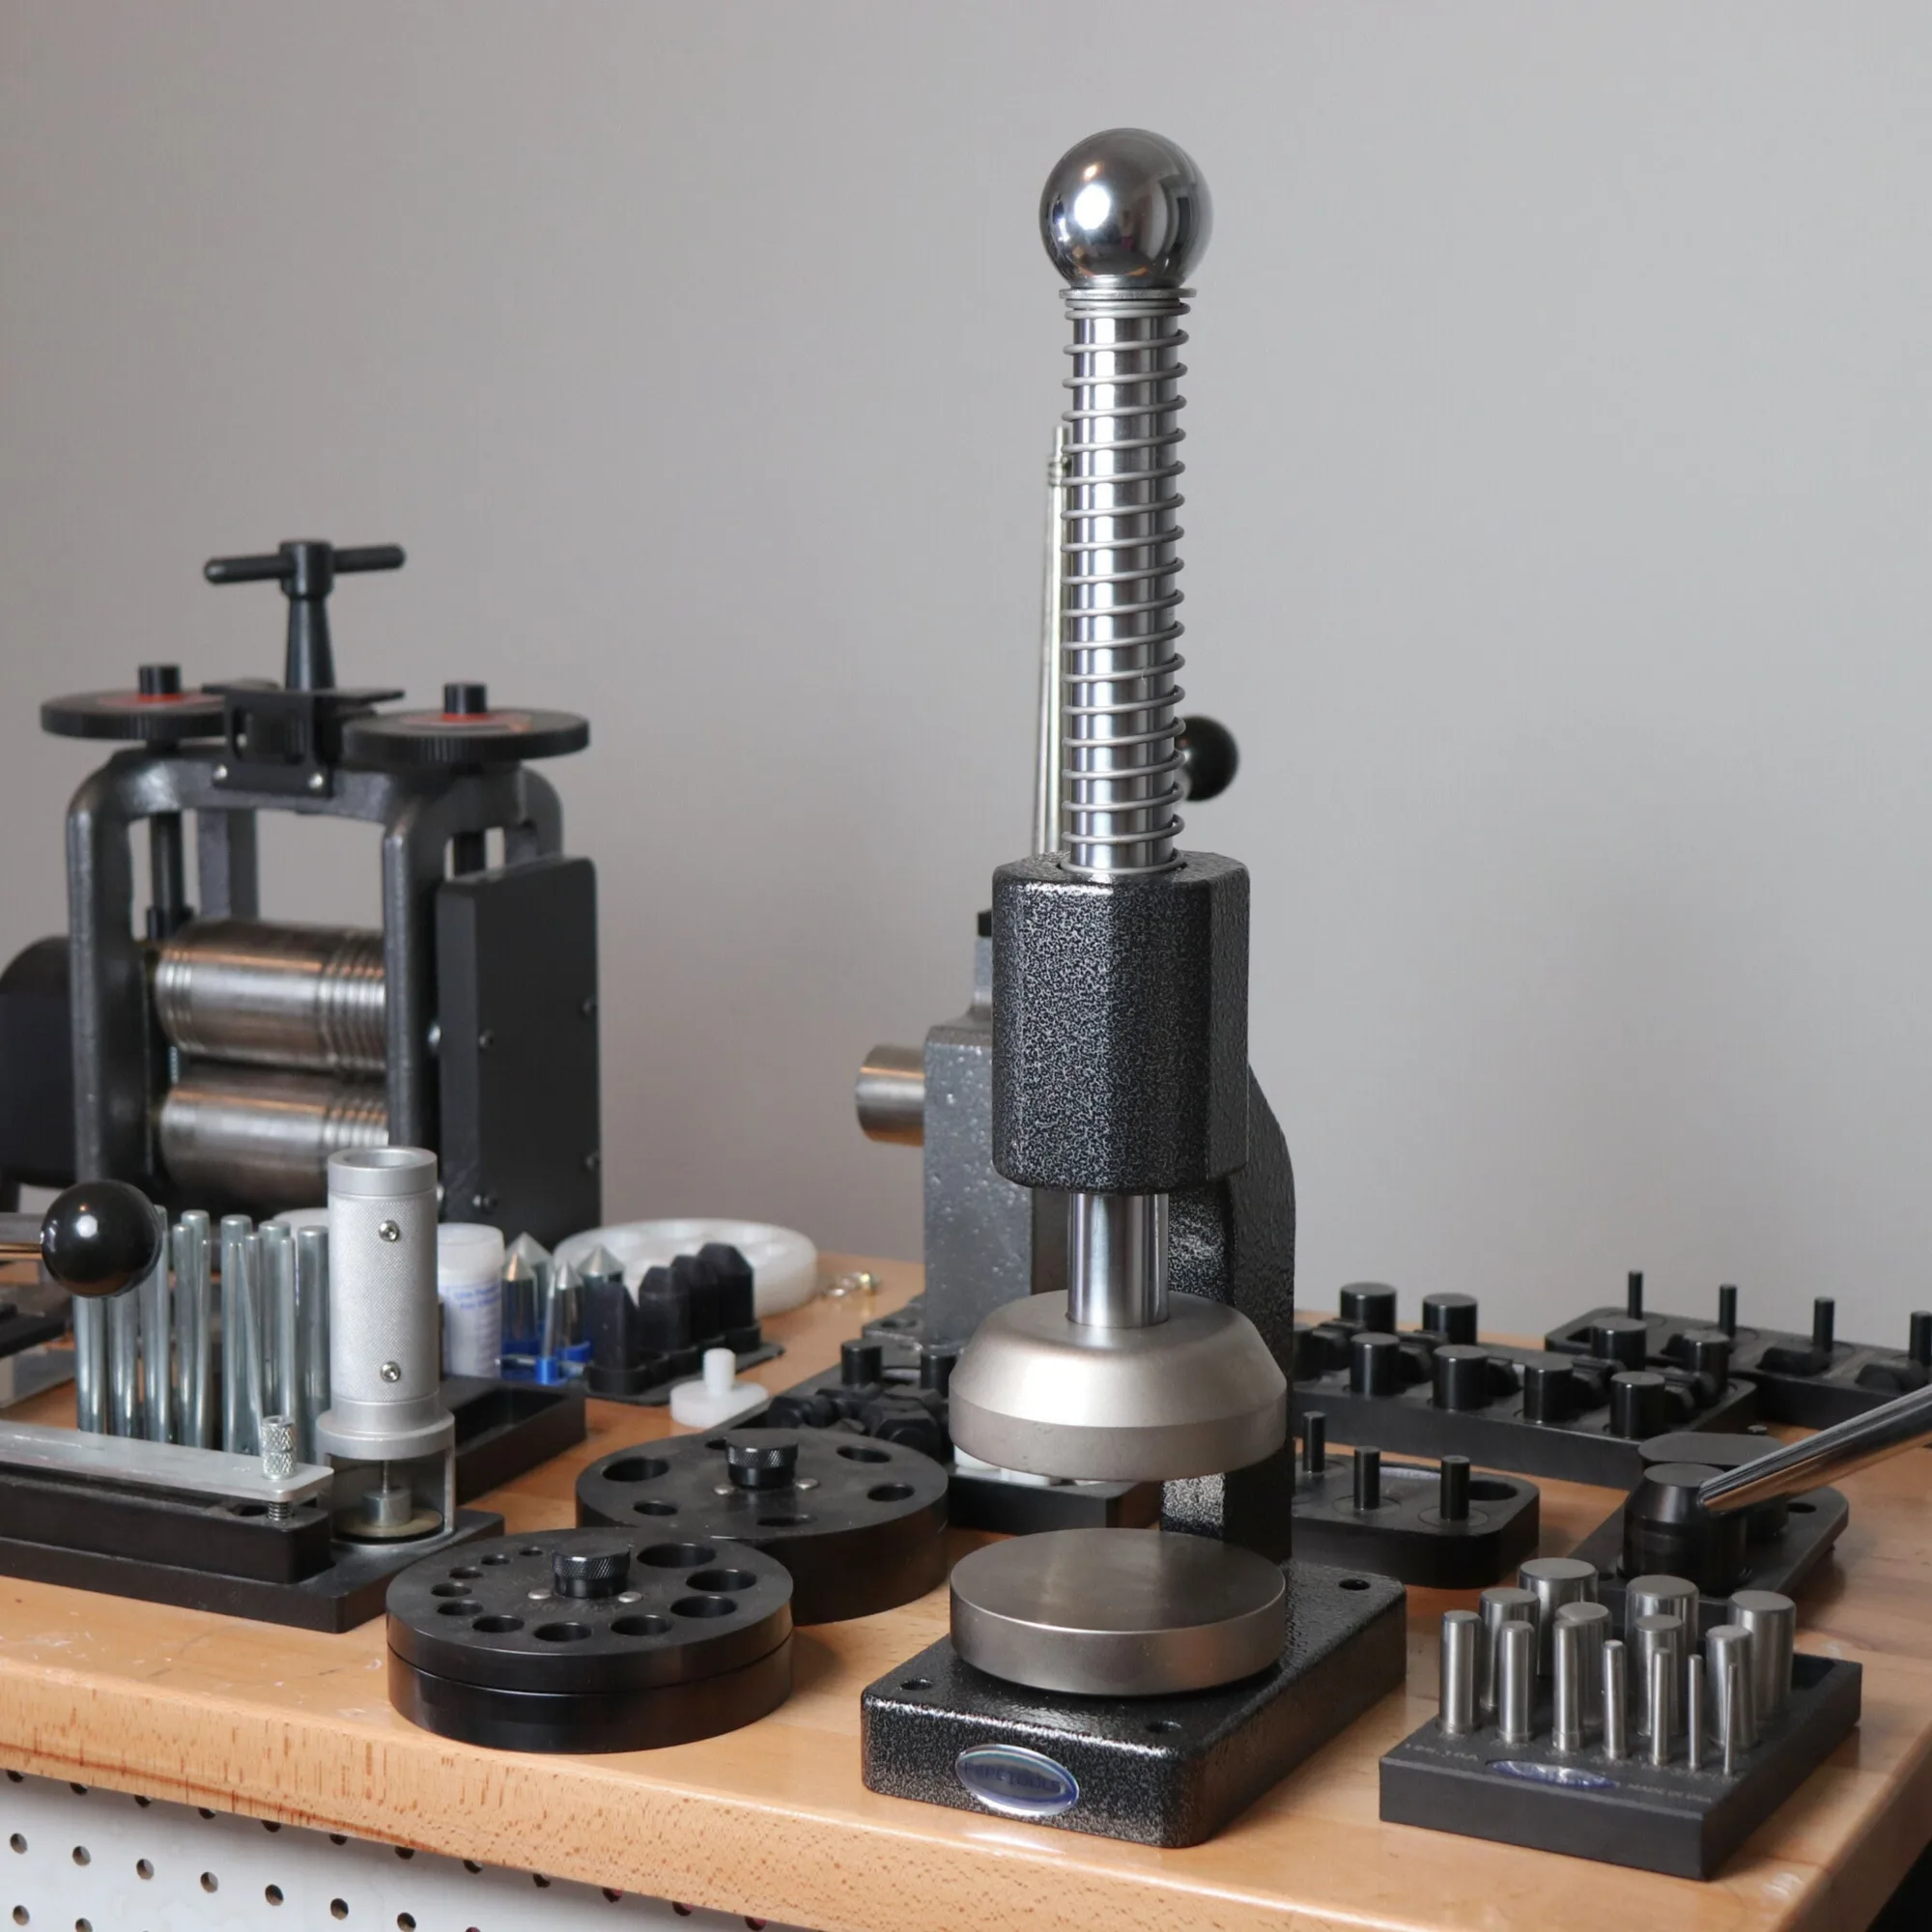
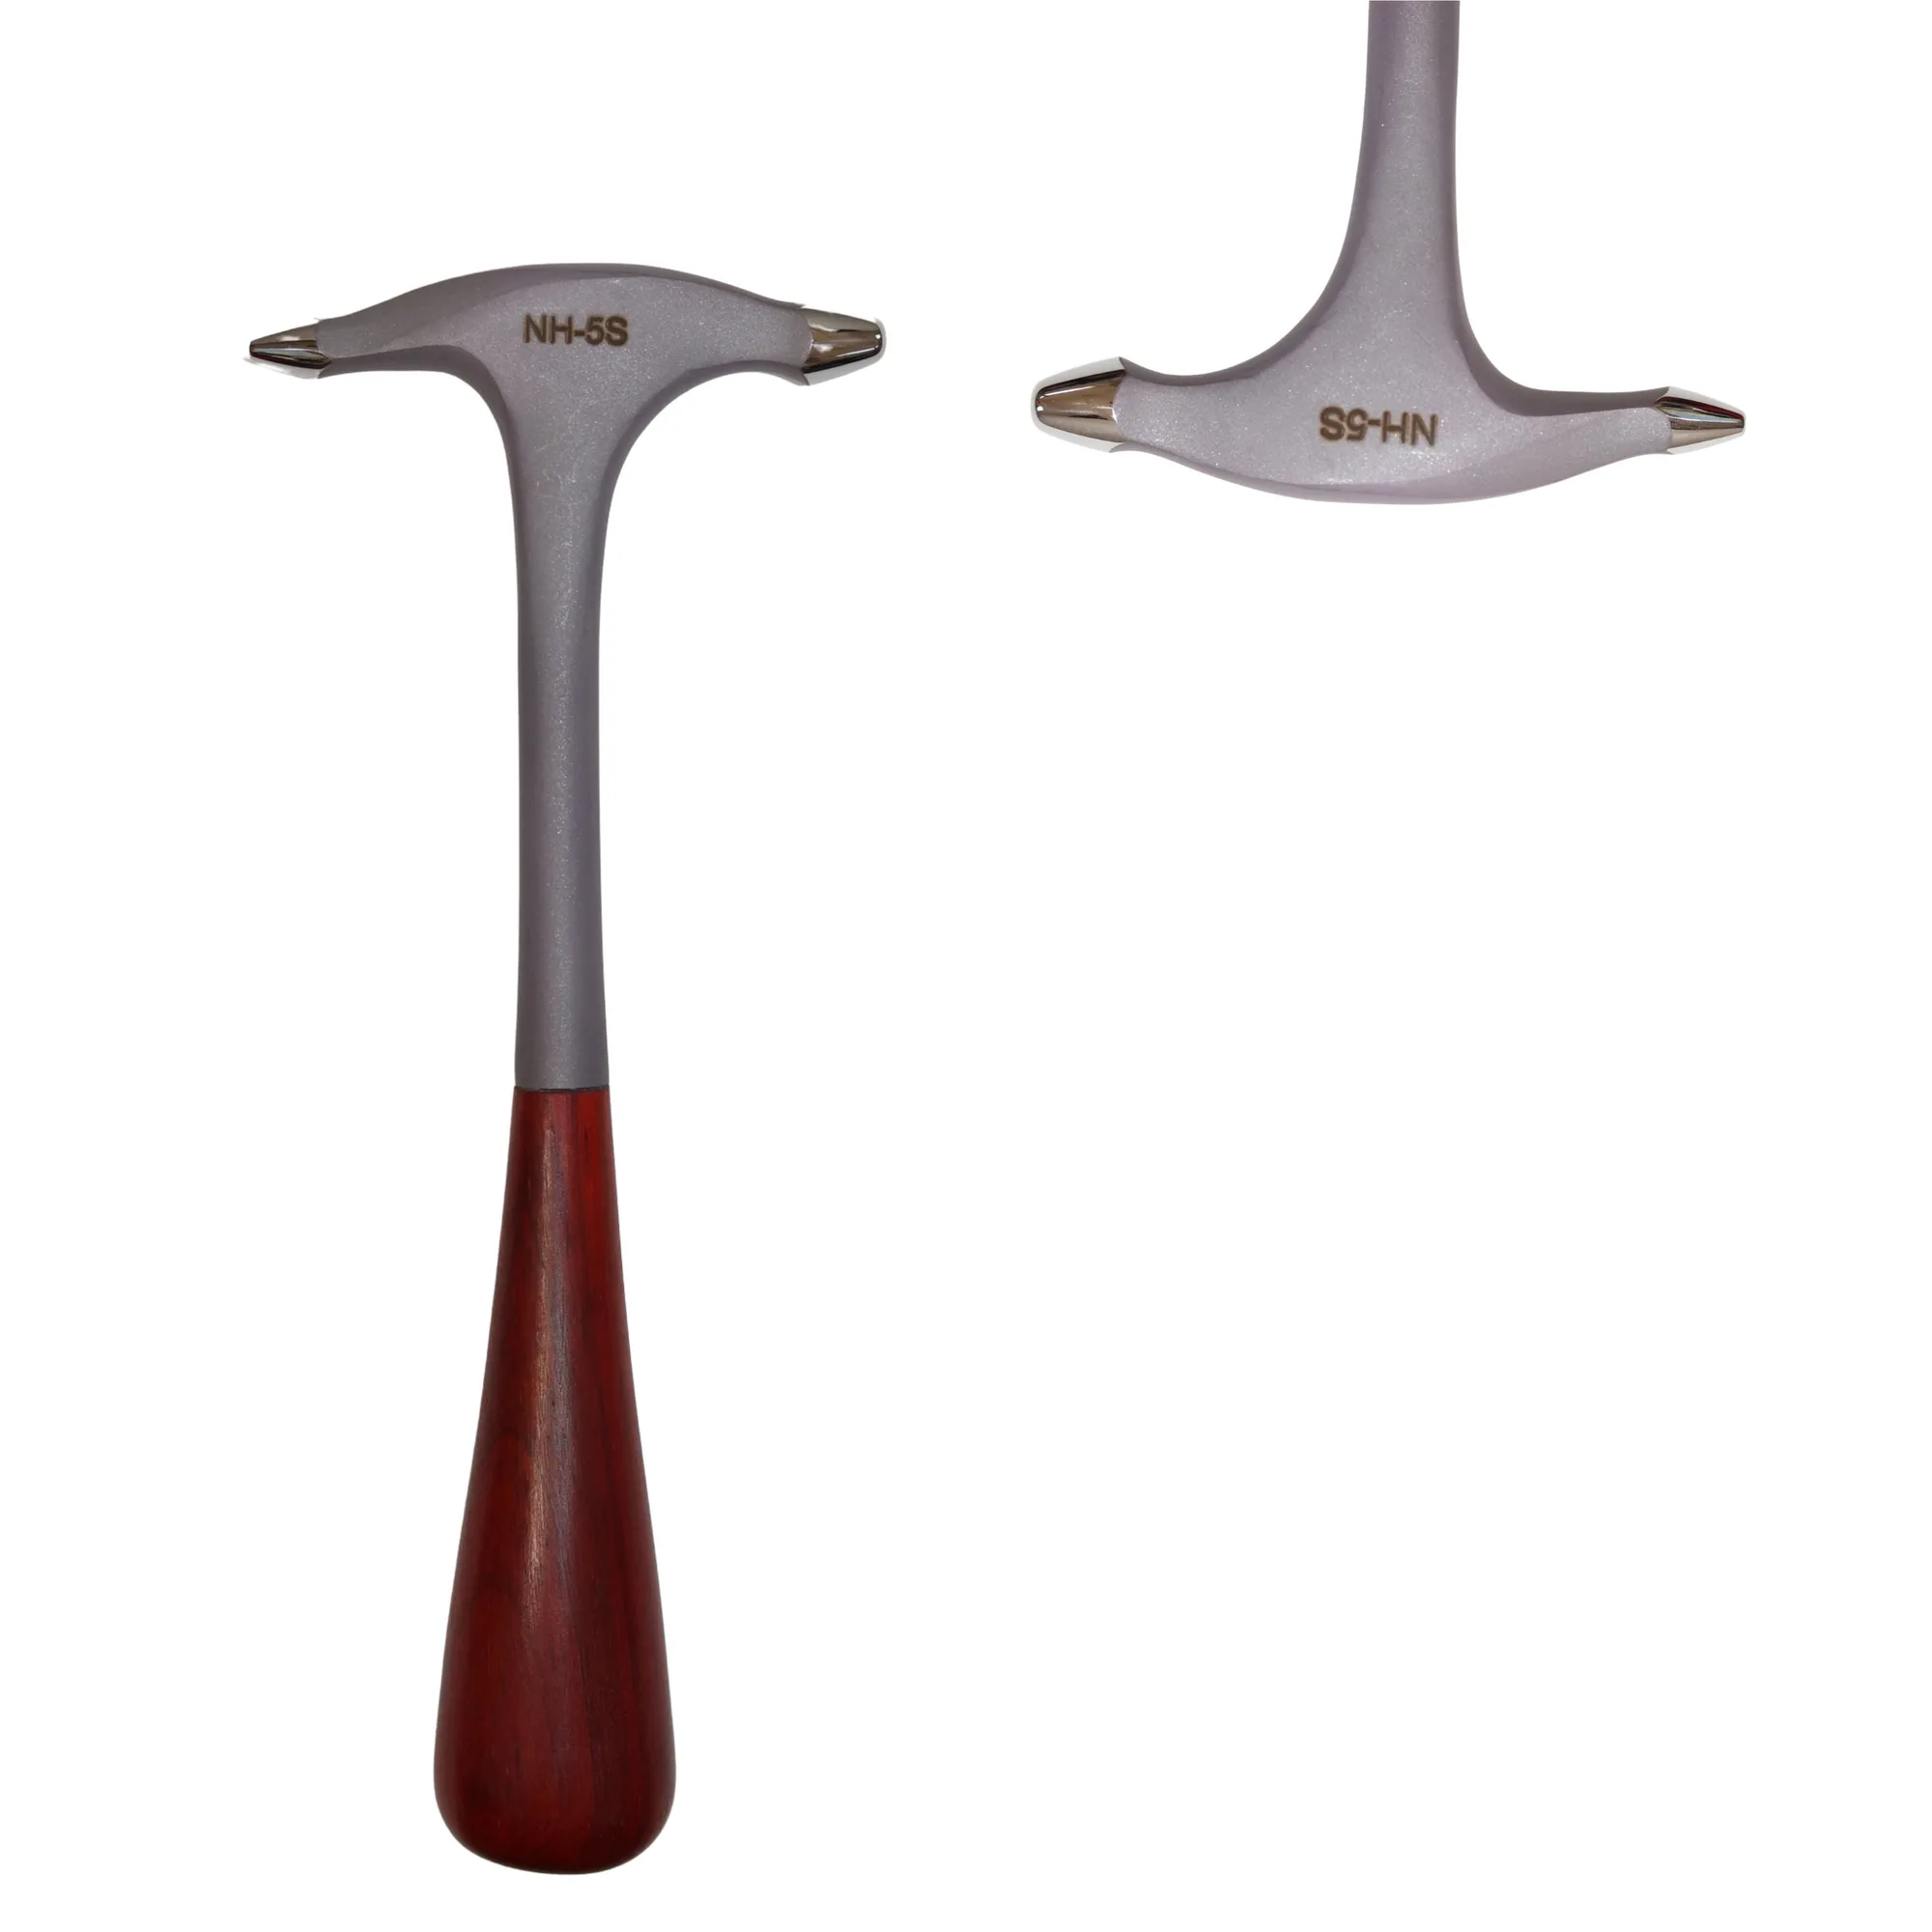
- Planishing Hammer, Spring Loaded with Hardened 100mm Platens: The Pepetools Spring-Loaded Planishing Hammer with hardened 100mm platens is designed for straightening wire and flattening metals after cutting, sawing, or annealing. After soldering, you may need to flatten or straighten a seam. This hammer lets you work the metal without a torch, reducing the time you spend with an open flame.
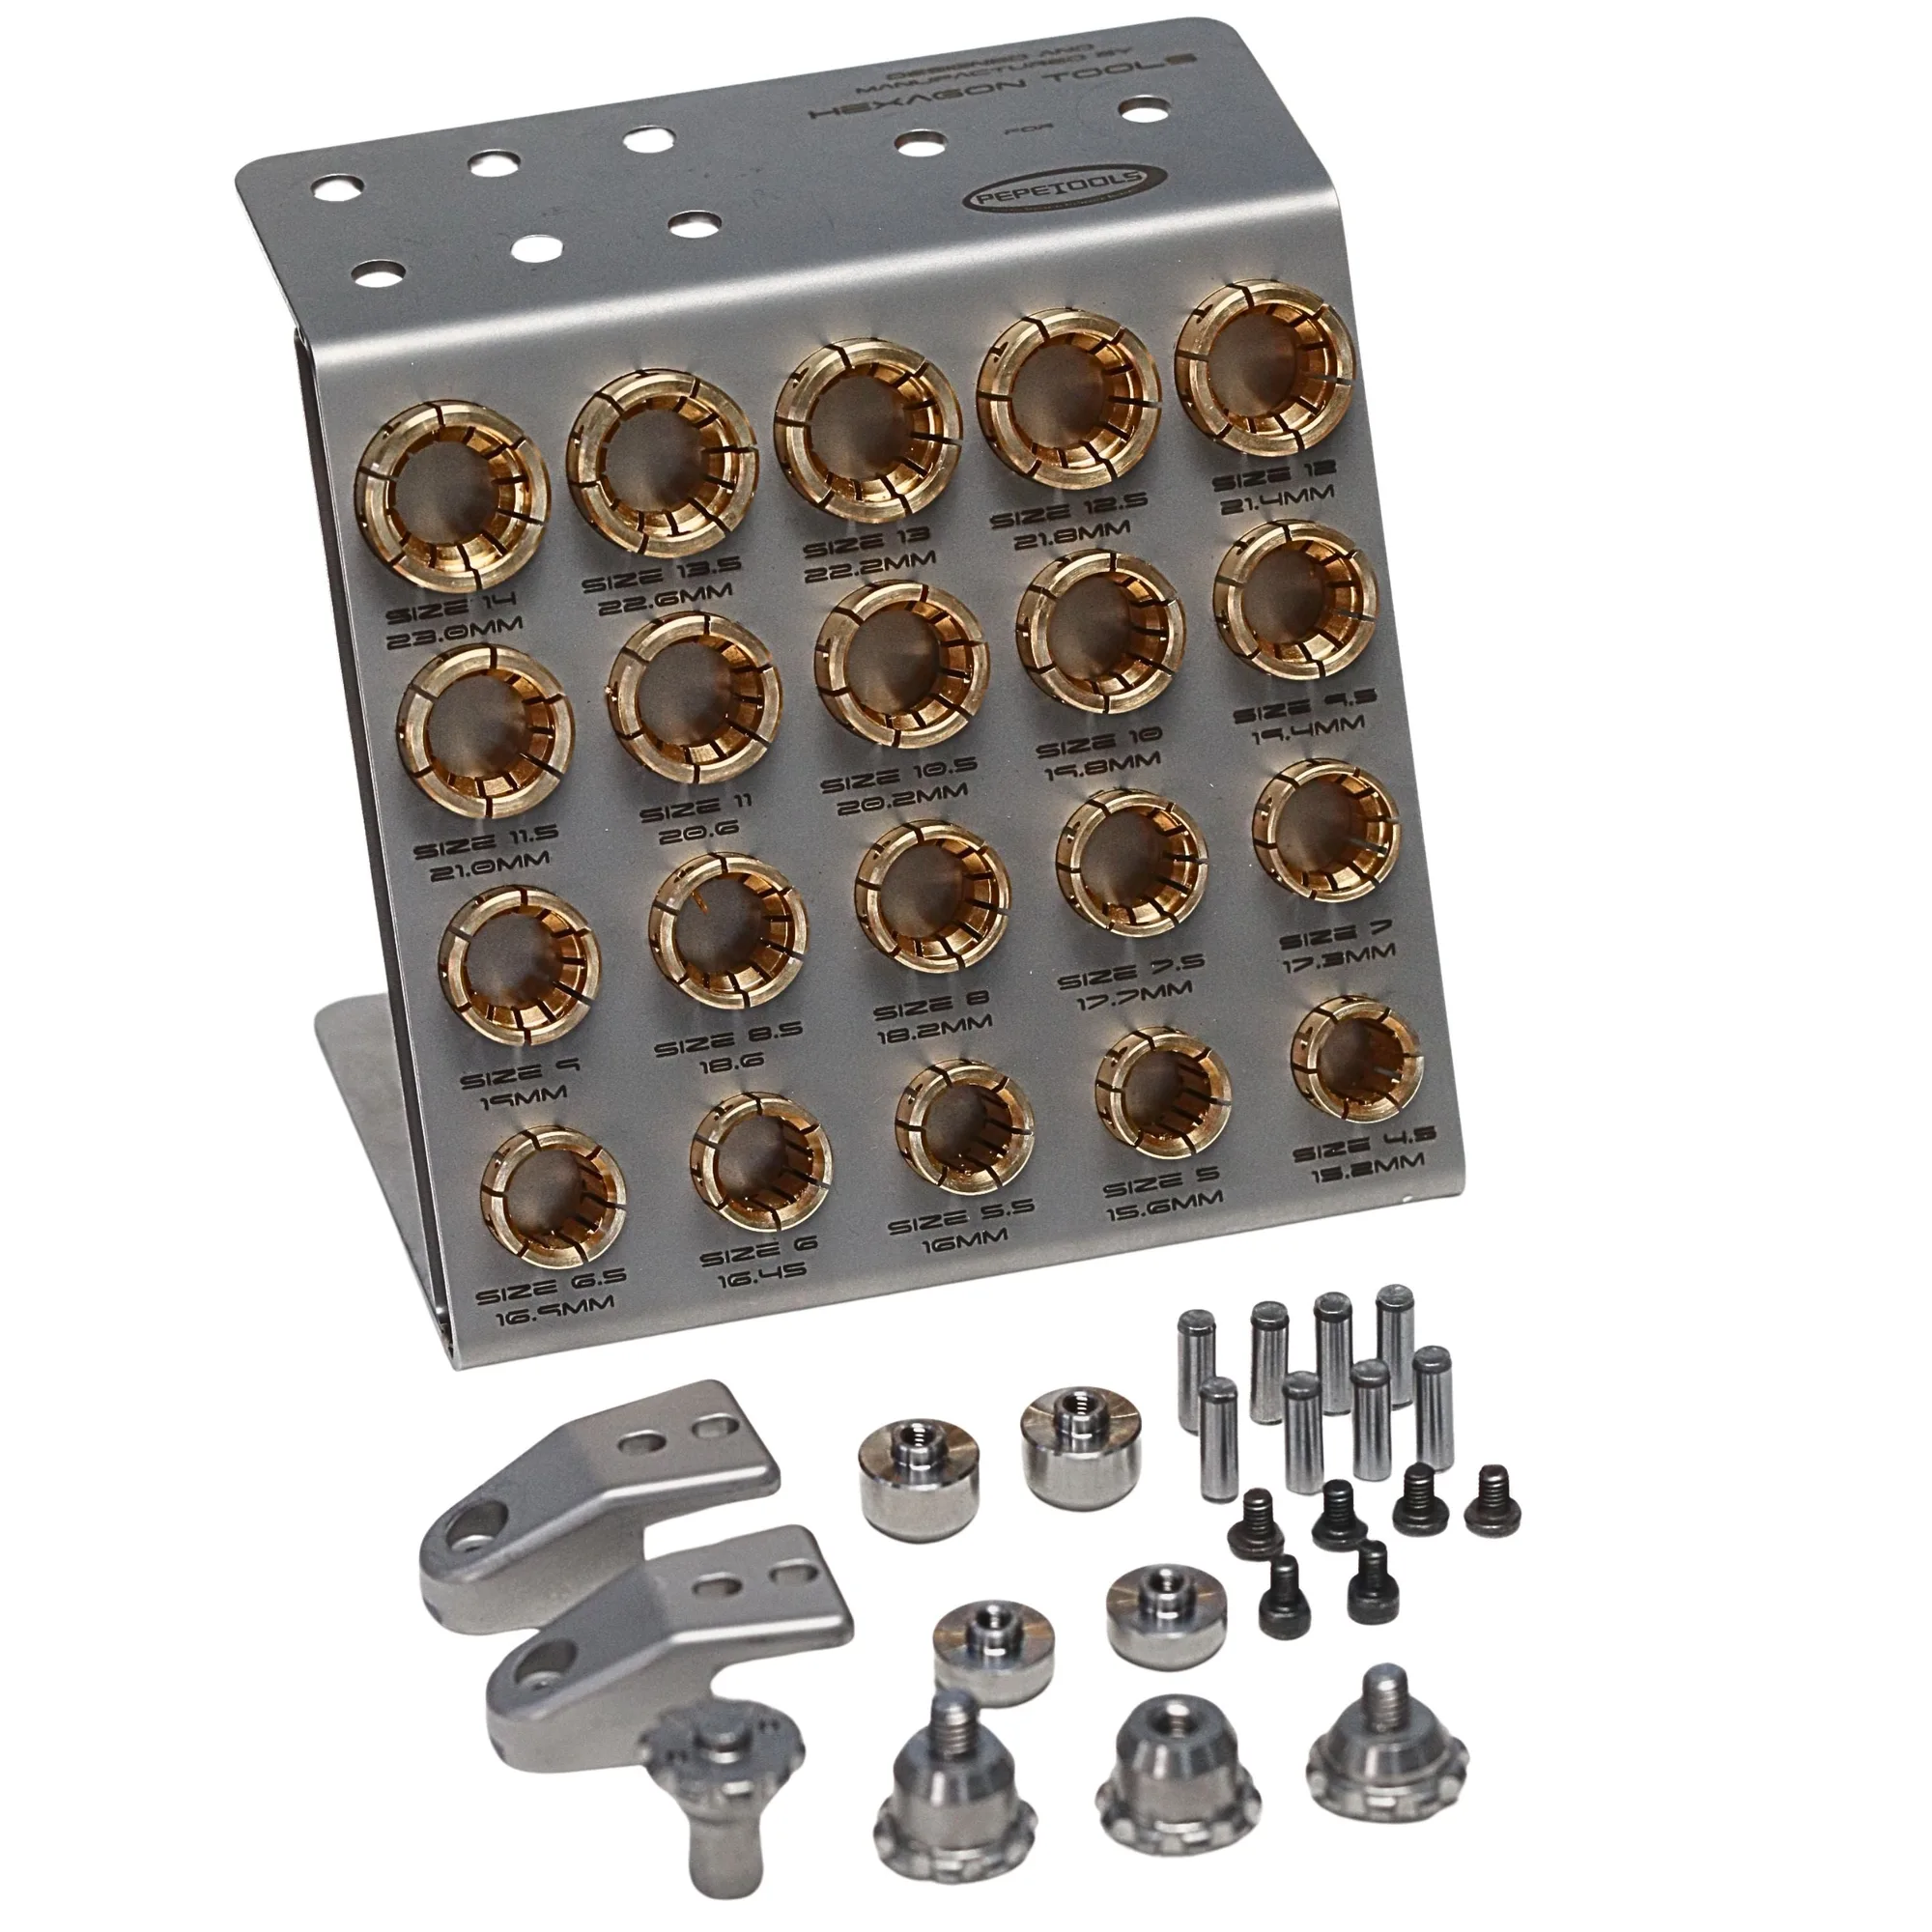
- 20 Piece Ring Holding Set - For Stone Setting & Engraving: The 20 Piece Ring Holding Set mounts on both the Pepetools 80mm and 100mm engraving vises and uses solid brass collets to hold rings from the inside. Holding a ring securely during stone setting or engraving means you can keep both hands free and avoid awkward torch positions when soldering near settings.