Quick answer
Replace the LED strip only when the lamp no longer lights or flickers after you have checked the power source and connections. The swap is a simple unplug-and-reconnect job that takes minutes and saves the whole lamp from being discarded.
When a new strip is the right fix
A replacement strip solves electrical failures inside the lamp, not every lighting problem. If the lamp is dim, flickering, or completely dark, first rule out a loose plug, a switched-off outlet, or a damaged cable. If the lamp still misbehaves with a known-good power source, the LED strip is the likely culprit.
Do not replace the strip for cosmetic issues such as a scratched shade or a loose silhouette disc. Those are separate parts and a new strip will not fix them.
Why Toverlux makes this a replaceable part
Toverlux designs its LED strips to be replaceable so a failed light does not mean a failed lamp. That matters for anyone who has built a bedtime routine around the same lamp: you keep the familiar housing and glow instead of starting over with a new fixture.
The trade-off is that you need to match the strip to your lamp model. The replacement strip is sold as a standalone part, so check your lamp's model or manual before ordering rather than assuming one strip fits every Toverlux lamp.
Step-by-step LED strip swap
- Unplug and let the lamp cool: Switch off the lamp and pull the plug from the wall. Wait a few minutes before touching the strip, especially if the lamp was on for a long time. Never work on a lamp that is still plugged in, even for a quick check.
- Open the lamp housing: Follow the opening method for your Toverlux model, usually a removable base or shade. Keep screws and small parts in a bowl so they do not roll away. If the housing does not open easily, stop and check the manual rather than forcing it.
- Photograph the old strip's position: Take a clear photo of how the strip sits and which way the connector faces before you remove it. This prevents guesswork when fitting the new strip. A photo now saves a second disassembly later.
- Disconnect and remove the old strip: Release the connector gently by hand or with the recommended tool. Do not pull on the wires themselves; grip the connector body. Tugging wires can damage the lamp's internal connection even if the strip is already dead.
- Fit the new strip in the same orientation: Place the Toverlux Replacement LED Strip where the old one sat, matching the connector direction shown in your photo. Press it into its channel or fixing points without over-bending it. If the strip does not sit flush, recheck orientation before applying pressure.
- Reconnect, close, and test: Plug the connector back in firmly, close the housing, and plug the lamp into the wall. Turn it on and check for steady light and no flicker. If the lamp still flickers, unplug it and reseat the connector before assuming the strip is faulty.
Product facts
-
Toverlux Replacement LED Strip: Toverlux Replacement LED Strip is a replaceable LED strip designed for Toverlux lamps. It lets you restore a lamp that has stopped lighting without discarding the whole fixture.
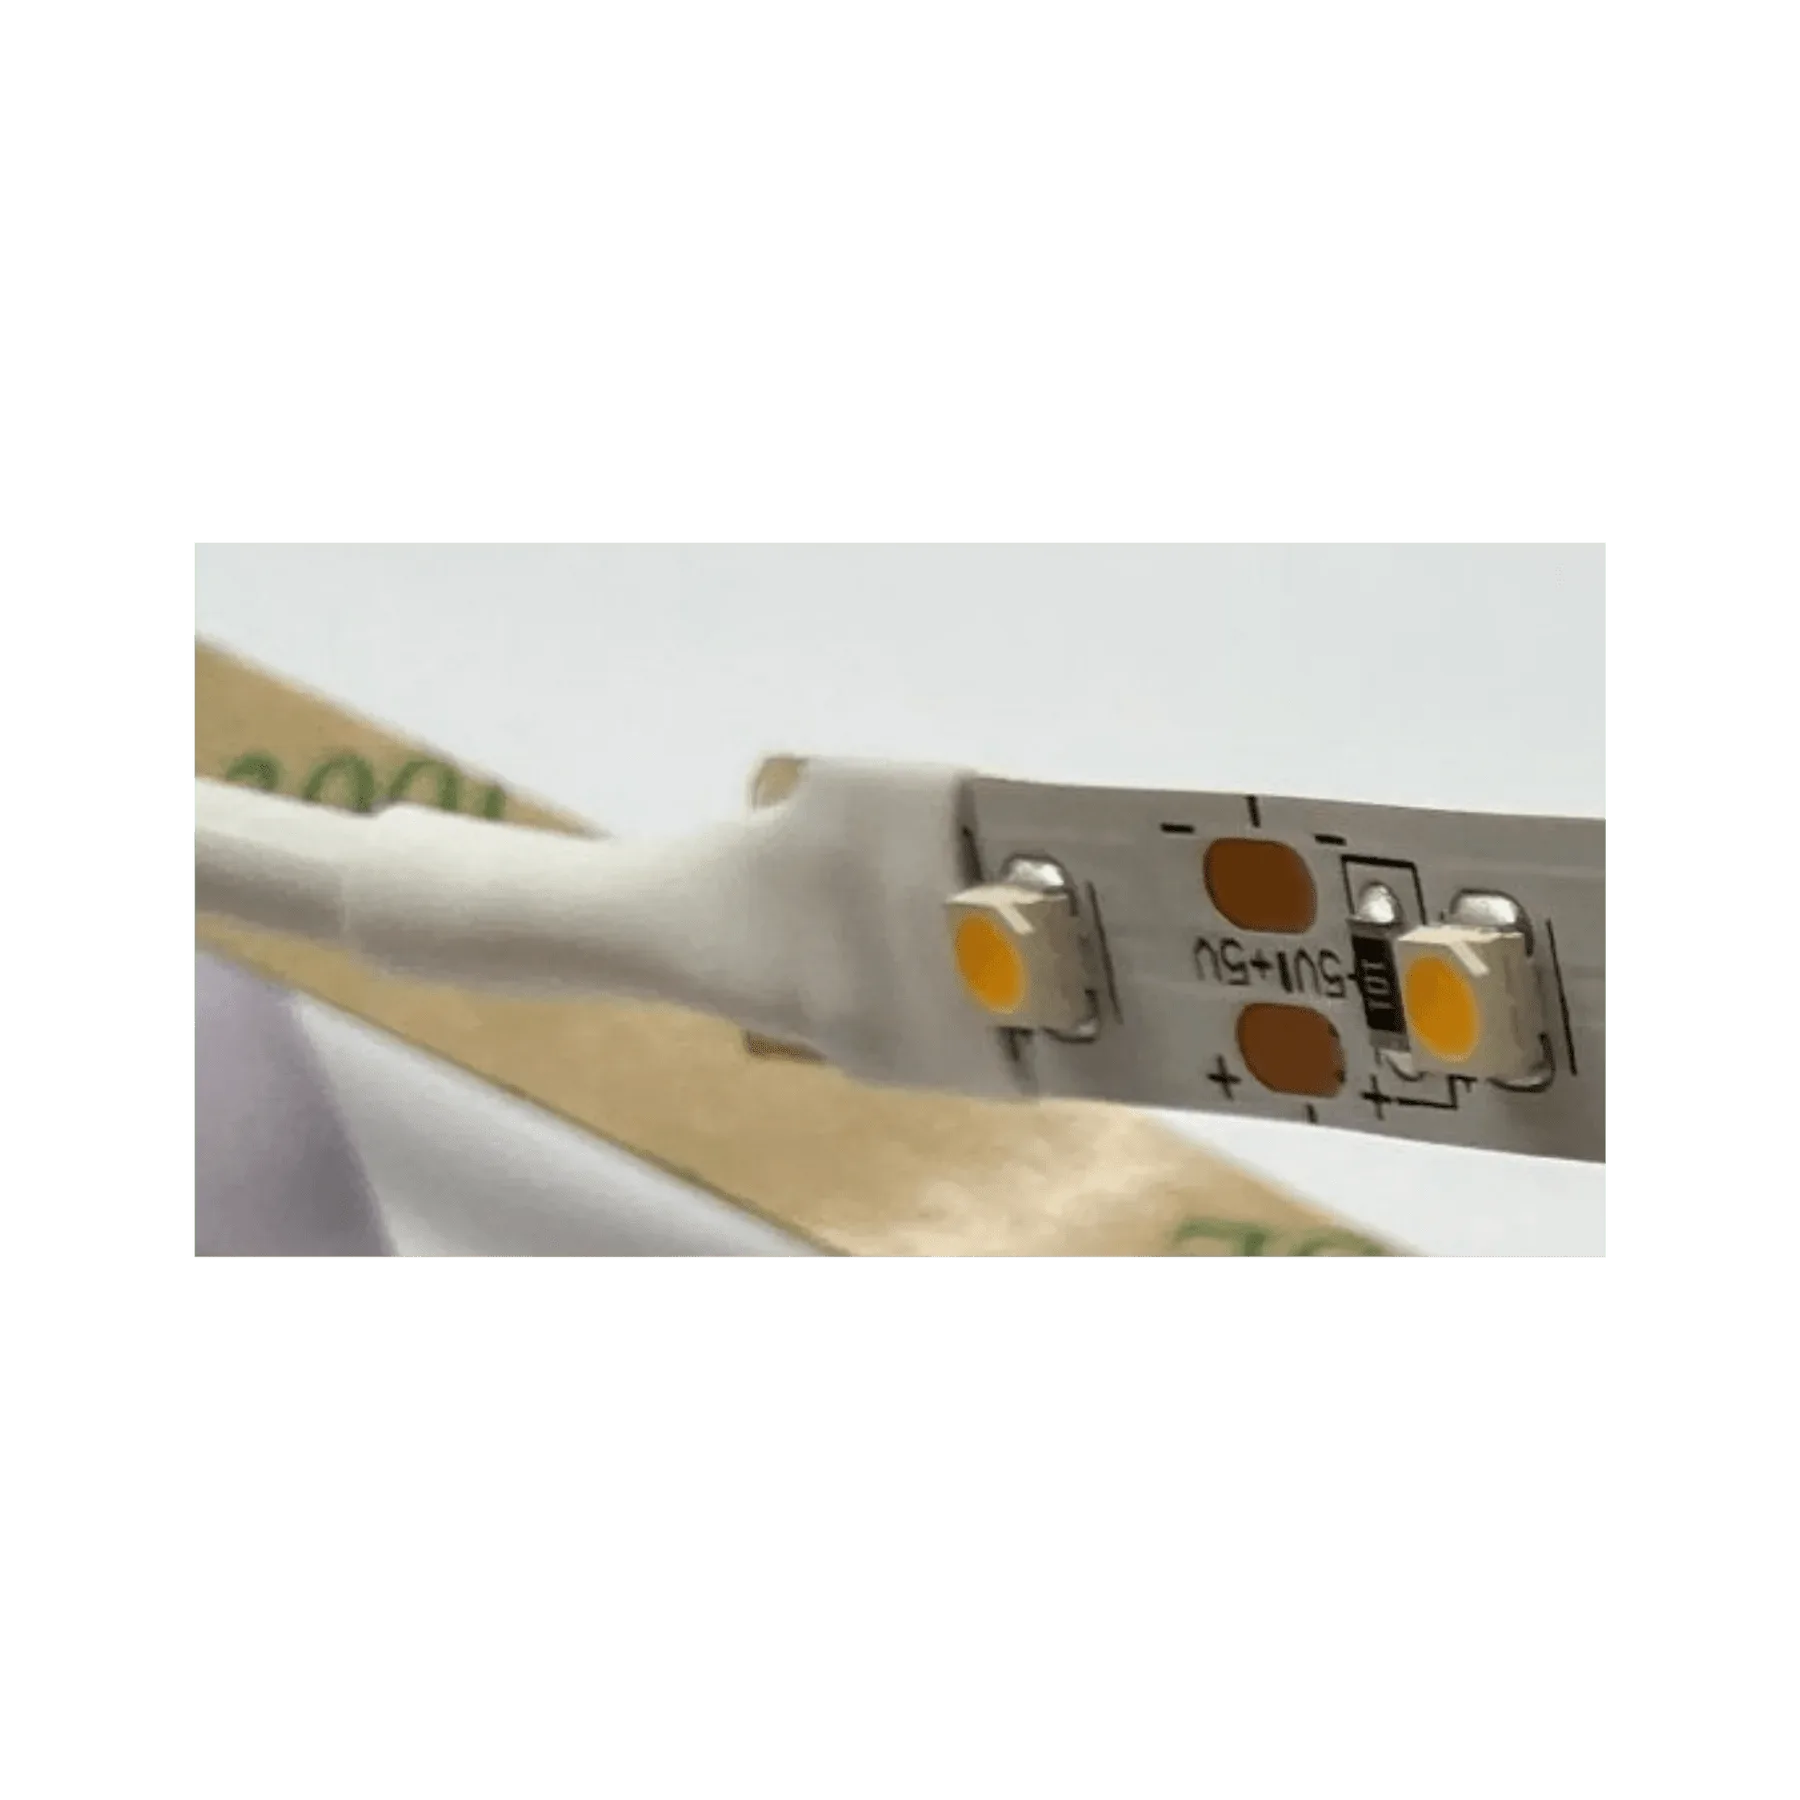
Toverlux Replacement LED Strip