Quick answer
To join two guide rails for long, straight cuts, use a pair of track saw connectors that attach underneath the track body. Align the rails on a flat surface, insert the connectors, and tighten them evenly to keep the saw from catching at the joint.
Why rail alignment matters more than connector torque
A track saw’s accuracy depends on the rail being perfectly straight. When you join two rails, any misalignment at the joint creates a bump that the saw can catch on, leading to a jagged cut or a kickback. The connectors hold the rails together, but they don’t force alignment—you do. That’s why checking straightness with a long level or straightedge before tightening is critical.
Over-tightening the connectors can also distort the rail ends, especially if the rails are not perfectly flat. Tighten in small increments, alternating between connectors, and recheck alignment after each pass.
When a single rail is the better choice
If your cut is shorter than your longest rail, don’t join rails just for the sake of it. Every joint introduces a potential failure point. For cuts under 59 inches (1500 mm), a single Triton track is more rigid and faster to set up. Reserve connectors for full-sheet breakdowns or long rips where one rail can’t span the distance.
Step-by-step: joining rails with track saw connectors
- Place rails on a flat, clean surface: Lay both guide rails end-to-end on a flat workbench or the sheet goods you’re cutting. Make sure the rubber splinter strips are facing the same direction and the ends meet without gaps. Common mistake: joining rails on an uneven floor, which twists the track and ruins alignment. Check flatness with a straightedge before inserting connectors.
- Insert connectors into the track slots: Slide one connector into the rear slot of each rail, then bring the rails together so the connectors bridge the joint. The connectors should sit underneath the track body—if they protrude above the saw’s path, they’re installed upside down. Common mistake: forcing connectors into a dirty slot; clean the track first. Connectors must sit flush or below the track surface.
- Align the rails with a straightedge: Press a 4-foot level or straightedge against the outside edge of both rails, spanning the joint. Adjust the rails until the straightedge contacts both rails evenly with no gap or rock. Common mistake: trusting the connector alone to align the rails—it won’t. A 0.5 mm misalignment is enough to cause a catch; verify with a feeler gauge if needed.
- Tighten connectors evenly: Snug the connector screws alternately—a quarter turn on the left, then the right—until firm. Don’t overtighten; you only need enough pressure to hold the rails together. Common mistake: cranking one connector fully before the other, which pulls the joint out of alignment. Recheck straightness after tightening; adjust if the joint moved.
- Test the joint with a dry run: Run the saw along the joined track without cutting, feeling for any bump or resistance at the joint. If the saw hangs up, loosen the connectors, realign, and retighten. Common mistake: skipping the dry run and discovering a misalignment mid-cut. A smooth dry run means the joint is ready for cutting sheet goods.
Product facts
-
Triton Track Saw Connectors, Pair: Triton Track Connectors are sold in pairs and are compatible with both the 59-inch (1500 mm) and 27-1/4-inch (700 mm) Triton tracks. You need one pair to join two rails; having a spare pair lets you connect three rails for extra-long cuts.
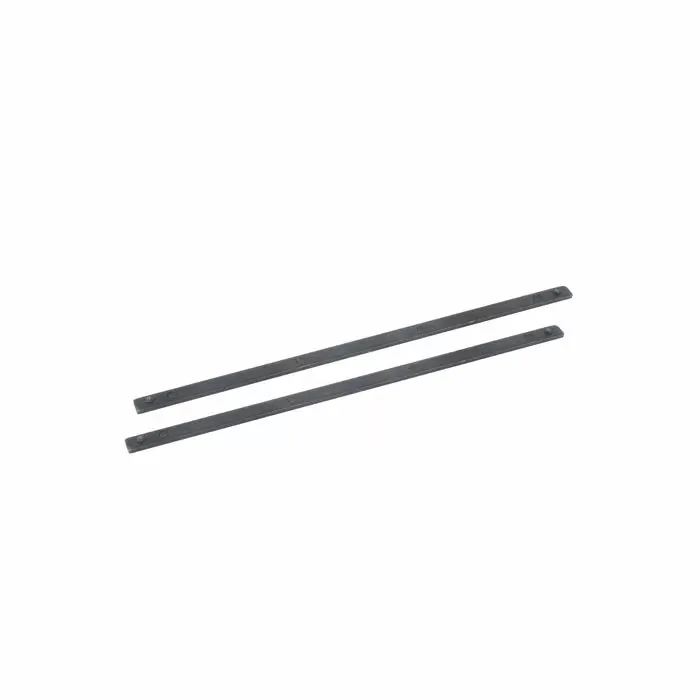
Triton Track Saw Connectors, Pair