Quick answer
For predictable anterior and posterior restorations, use Transcend Universal Composite with a single Universal Body Shade and follow a controlled layering technique that minimizes voids and optimizes adaptation.
Why shade matching matters in composite placement
Transcend Universal Composite is designed to match a wide range of tooth shades with just one Universal Body Shade. This simplifies inventory and reduces guesswork, but it still requires proper placement technique to achieve natural translucency and contour. The key is to layer the composite in increments that mimic dentin and enamel thickness, avoiding over-building or under-filling the preparation.
Anterior vs. posterior placement differences
Anterior restorations demand careful control of opacity and surface texture to blend with adjacent teeth. Use a thin first increment to seal the margin, then build the body layer in 1–2 mm increments. Posterior restorations prioritize strength and proximal contact. Place the first increment against the gingival floor and axial walls, then build occlusal anatomy in separate cusp increments. Transcend's flow characteristics allow good adaptation without slumping, but avoid overfilling the proximal box to prevent open contacts.
Step-by-step placement technique
- 1. Prepare and isolate the tooth: Clean the preparation thoroughly and apply a rubber dam or cotton roll isolation. Etch, rinse, and apply adhesive according to manufacturer instructions. Ensure the adhesive is fully cured before placing composite. Inadequate isolation can lead to moisture contamination and bond failure.
- 2. Place the first increment: Using a composite instrument or syringe, place a thin layer (0.5–1 mm) of Transcend Universal Composite against the gingival floor and axial walls. For posterior teeth, also cover the proximal box. Light-cure for the recommended time. Avoid trapping air by pressing the composite gently against the cavity walls.
- 3. Build the body layer in increments: Add 1–2 mm increments of composite, shaping each to the desired contour. For anterior teeth, use a translucent shade for the enamel layer. For posterior teeth, build each cusp separately to maintain anatomy. Cure each increment fully. Overfilling a single increment can cause excessive shrinkage stress and poor adaptation.
- 4. Sculpt the occlusal anatomy (posterior) or surface texture (anterior): Use a fine brush or composite instrument to create cusp slopes, fossae, and marginal ridges. For anterior restorations, add subtle vertical grooves and a slightly translucent incisal edge. Cure the final layer. Check occlusion with articulating paper before final cure to avoid high spots.
- 5. Finish and polish: Remove the rubber dam and adjust occlusion with fine diamonds or carbide burs. Polish with silicone polishers and a composite polishing paste to achieve a natural gloss. For anterior teeth, use a surface sealant if desired. Skip the polishing step for posterior occlusal surfaces if you want to preserve the composite's wear resistance.
Product facts
-
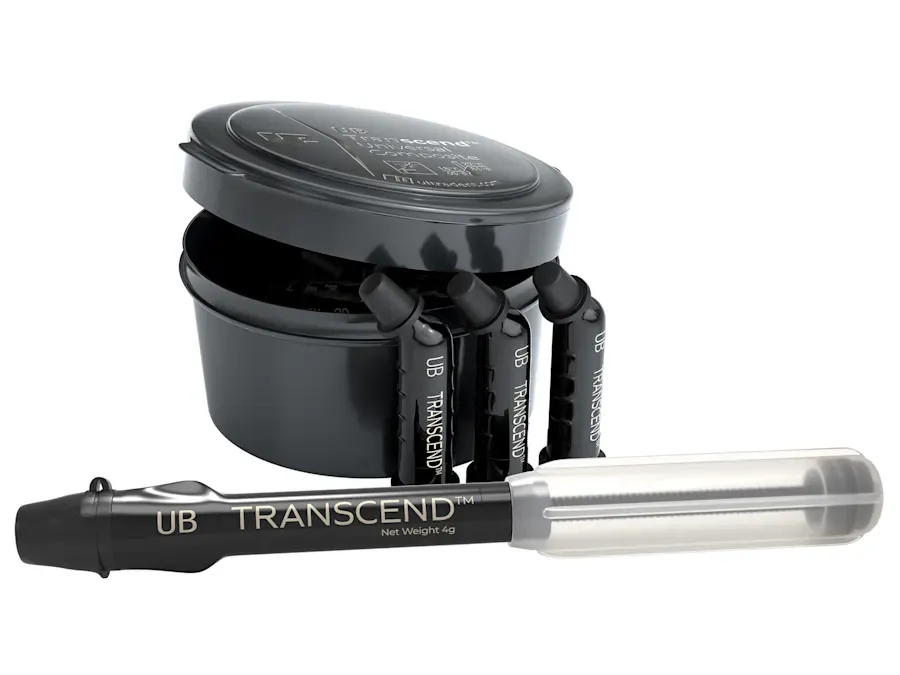
Transcend™-Universal Composite: Transcend Universal Composite offers unprecedented shade matching with just one Universal Body Shade. This means you can simplify your composite inventory and reduce chair time spent on shade selection, while still achieving natural-looking restorations.
Transcend™-Universal Composite