Quick answer
Start by emptying spent summer annuals and refreshing the top few inches of soil, then replant with cool-season choices like mums, ornamental kale, or grasses. Keep the same containers when they still fit the space, and move them only if light or drainage changed. Do the swap in one session so plants settle before the first cold nights.
Summer containers look tired by late September, and that is normal. The goal of a seasonal planter transition is not to start over but to reset the display while keeping the containers, soil structure, and layout you already invested in. A focused afternoon of work gets you from leggy petunias to a crisp autumn planter display that holds up into November.
This guide walks through the order that matters: assess, empty, refresh, replant, and protect. Along the way you will see where people commonly rush and end up with root rot, cracked pots, or plants that sulk instead of settling in.
Why the transition window matters more than the plant list
The best time to change planter plants season by season is when summer annuals are declining but nighttime temperatures are still mild. In most regions that is early to mid-fall. Replanting too early stresses new plants in lingering heat; waiting too long means cold soil and slow root growth. Watch your local forecast rather than a calendar date, and aim to transplant at least three weeks before your first expected frost.
Containers that stay outside year-round also need this window. Soil that stays wet as temperatures drop is the main cause of winter root damage, so the transition is your chance to check drainage before the rainy season starts.
- Checkpoint: if nighttime temperatures are already near freezing, prioritize protecting existing plants over replanting.
- Mistake to avoid: replanting into bone-dry soil. Water the container the day before you swap plants.
Step 1: Audit each container before you buy anything
Walk your display with a notepad. For each pot, note sun exposure, how quickly it dried out in summer, and whether the plant outgrew the space. This tells you whether you need the same size, a wider option, or a taller one for balance. It also prevents the classic error of buying plants first and then discovering they will not fit.
If a container is cracked, stained, or has lost its saucer, replace it now rather than replanting into a failing pot. A planter that survived one season may not survive a freeze-thaw cycle.
- Checkpoint: count how many containers actually need replanting. Fewer, better-planted pots read stronger than a crowded row.
- Mistake to avoid: assuming every pot needs new plants. Some evergreen or structural plantings can stay put.
Step 2: Empty spent plants and inspect the soil
Pull summer annuals by the base rather than tugging stems, which can leave root balls behind. Shake loose soil from the roots back into the container. Then look at what remains: compacted soil, a mat of old roots, or a sour smell all signal it is time to replace the top layer.
You rarely need to replace all the soil in a large planter. Removing the top three to four inches and mixing in fresh potting mix restores drainage and nutrients without the weight and cost of a full change-out.
- Checkpoint: if water pooled on the surface during summer, loosen the lower soil with a hand fork before replanting.
- Mistake to avoid: reusing soil from a plant that died of disease. Discard it and clean the container.
Step 3: Refresh soil and confirm drainage
Mix fresh potting soil into the top layer and firm it lightly. If the container has a drainage hole, confirm it is clear; if it uses a saucer, empty standing water before replanting. Saucers are helpful for indoor-to-outdoor moves, but outdoors they can hold water against the base of the pot.
This is also the moment to add pot feet or a riser if the container sits directly on a deck or patio. Lifting the base improves airflow and reduces staining and rot.
- Checkpoint: water should run through within a minute of watering. If it sits on top, the soil is still compacted.
- Mistake to avoid: adding a thick layer of gravel at the bottom. It raises the water table instead of improving drainage.
Step 4: Choose plants for the light you actually have
Fall planter ideas work best when they match the exposure your containers already receive. Full-sun spots suit mums, ornamental grasses, and sedum. Shadier entries do better with heuchera, ferns, and ornamental kale. Mix one upright centerpiece, one filler, and one trailing element to keep the composition readable from a distance.
Cool-season plants tolerate light frosts better than summer annuals, but they still need consistent moisture while roots establish. Plan to water deeply less often rather than lightly every day.
- Checkpoint: if a plant tag says full sun and your pot gets four hours, choose something else.
- Mistake to avoid: packing plants tightly. Fall growth is slower, and crowded roots stay wet.
Step 5: Replant in the same layout, then water in
Set plants in place before backfilling so you can adjust spacing. Keep the root flare level with the soil surface, not buried. Backfill gently, press to remove air pockets, and water until it runs from the drainage hole. One deep watering beats several shallow ones.
If you are moving a planter from a shaded summer spot to a sunnier fall position, do it gradually over a few days. Sudden light changes cause leaf scorch even in cool weather.
- Checkpoint: no plant should wobble after watering. If it does, firm the soil and water again.
- Mistake to avoid: fertilizing heavily at planting. New roots burn easily; wait until plants show new growth.
Step 6: Protect containers as temperatures drop
Once nights cool, reduce watering frequency but do not let soil dry completely. Empty saucers before a freeze so ice does not crack the base. If you use ceramic planters outdoors in a hard-freeze region, check whether they are rated for it; many decorative ceramics are not, and moving them under cover is safer.
For containers you plan to keep planted through winter, group them together against a wall. Clustering buffers temperature swings and wind, and it makes watering faster on mild days.
- Checkpoint: after the first hard freeze, inspect rims and bases for hairline cracks.
- Mistake to avoid: wrapping pots tightly in plastic. It traps moisture and can cause rot.
Fall transition checklist, in order
- Audit before you shop: Note sun exposure, pot condition, and which plants actually need replacing. Buy plants only after you know the sizes and light levels you are working with. Checkpoint: if a pot is cracked or missing its saucer, replace it before replanting.
- Empty and inspect soil: Remove spent annuals by the base, shake off loose soil, and check for compaction or odor. Replace the top three to four inches rather than the whole volume. Checkpoint: sour-smelling soil means discard it and clean the container.
- Confirm drainage and lift the base: Clear drainage holes, empty saucers, and add pot feet or a riser if the container sits flat on a hard surface. Checkpoint: water should pass through within a minute.
- Replant with cool-season choices: Match plants to your actual light, keep root flares level with the soil, and water deeply once. Hold off on fertilizer until new growth appears. Checkpoint: no plant should wobble after watering.
- Protect through the first freezes: Reduce watering frequency, empty saucers before freezing nights, and cluster pots against a wall for wind protection. Checkpoint: inspect rims and bases after the first hard freeze.
Containers that make the fall swap easier
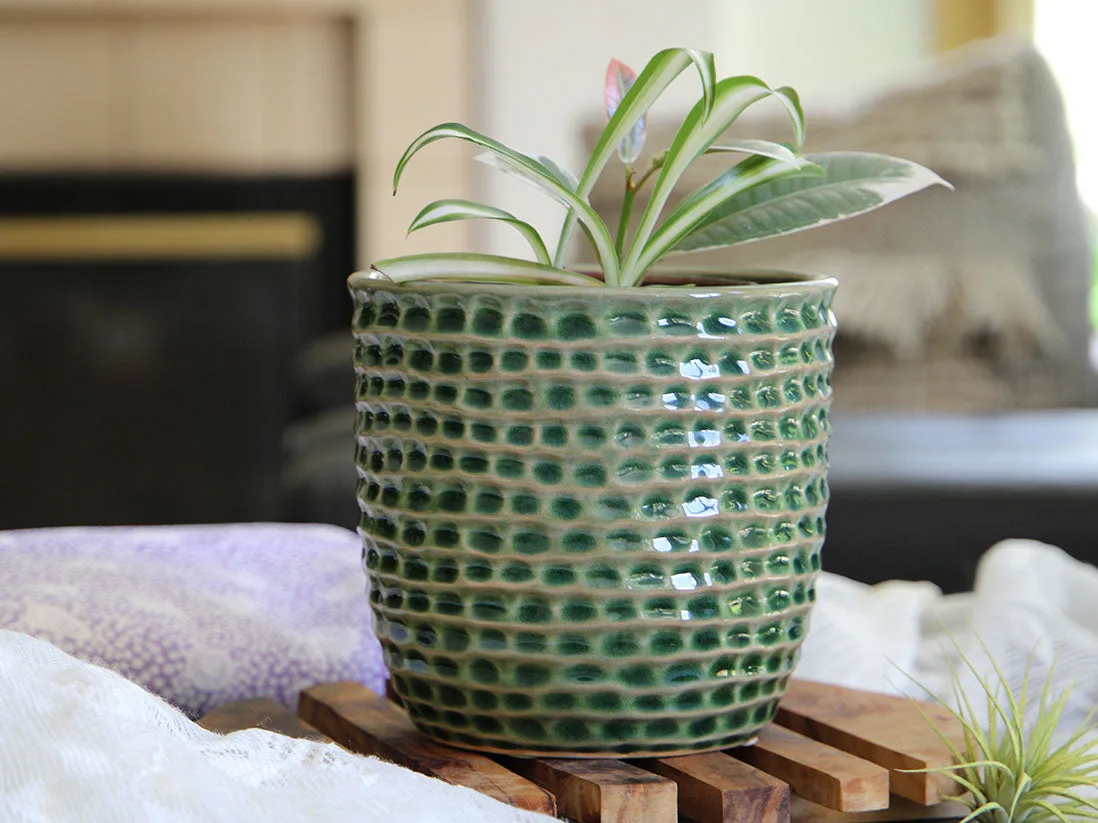
- https://plantatoremez.com/products/honeycomb-planter-case-of-6-b80c8d6e97a41c3434584ea4-2580490https://plantatoremez.com/products/honeycomb-planter-large-case-of-6-6240b814a0c72c0b02de6094-2580507https://plantatoremez.com/products/honeycomb-planter-case-of-4-72d6351cb4d6273965a1e8de-2580508https://plantatoremez.com/products/honeycomb-planter-case-of-8-ac4eb8f658ff50a8dfe8b246-2580515Honeycomb Planter By Plantatorem: Ceramic indoor planter with a honeycomb-inspired look, offered in a single pot or a case of four, in a 9.0" D x 8.5" H size and colors including Denim, Emerald, Mustard, and Matte White. The single-or-case-of-four option lets you match a small fall display without overbuying, and the color range makes it easy to coordinate with autumn foliage.
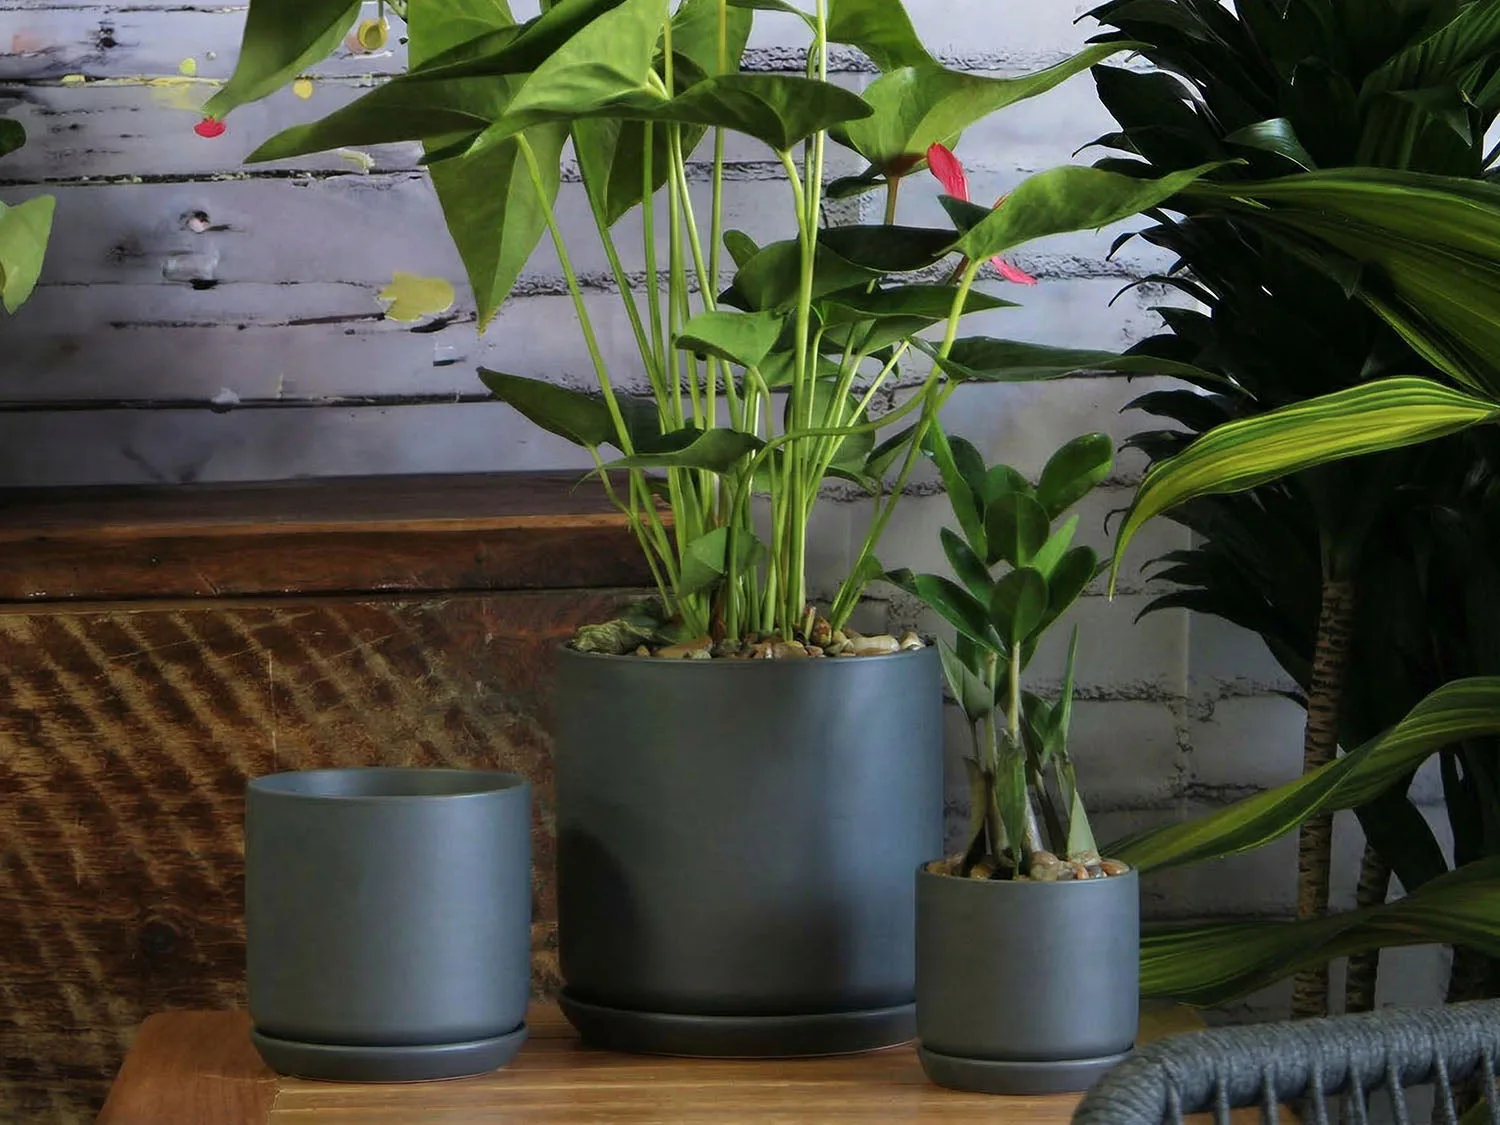
- Cylinder with Attached Saucer By Plantatorem: A ceramic cylinder planter with an attached saucer, made from premium clay with a smooth-finished modern design. The attached saucer simplifies watering during the transition and keeps a windowsill or entry surface dry when you move plants indoors.
- Norma Planter By Plantatorem: A four-piece garden planter set built lower and wider than most groupings, with the largest spanning 20.5" but standing only 16.5". The low, wide profile suits mums and ornamental grasses that need root room without towering over a fall display.
- Finger Succulent Baby Cups 3.5" X 3.0": Small planters sized 3.5" x 3.0", sold in a case of 12 in mixed colors, suitable for indoor and outdoor planter use. A case of twelve covers a tabletop or step arrangement in one purchase, and the small size makes them easy to tuck into gaps in a larger display.
A good seasonal planter transition is mostly about order and timing, not a long shopping list. Audit first, refresh the soil, replant with the light you have, and protect the containers before the first hard freeze. Do that, and your autumn planter display will carry the space cleanly into winter.