Fungal nail infections are more than just a cosmetic concern. They can cause thickening, discoloration, brittleness, and even pain if left untreated. While these infections are stubborn and often require patience, the right approach can restore your nails to their natural health. This step-by-step guide will walk you through the most effective methods for treating fungal nail infections at home, from proper hygiene to choosing the right antifungal products.
The key to success lies in consistency and using treatments that penetrate the nail bed effectively. Many people give up too soon because they don't see immediate results. However, with a structured routine and the right products—like urea-based creams and antifungal solutions—you can significantly improve your nail health over time. Let's explore the process in detail.
Understanding Fungal Nail Infections
Fungal nail infections, also known as onychomycosis, are caused by dermatophytes, yeasts, or molds that thrive in warm, moist environments. Common risk factors include wearing tight shoes, frequent exposure to damp public areas like gyms or pools, poor circulation, and a weakened immune system. The infection often starts as a small white or yellow spot under the tip of the nail and gradually spreads deeper, causing the nail to thicken and crumble.
Recognizing the early signs is crucial for effective treatment. If you notice discoloration, a foul odor, or separation of the nail from the nail bed, it's time to act. While over-the-counter treatments can be effective for mild to moderate cases, severe infections may require professional medical advice. The sooner you start, the better your chances of restoring your nails without permanent damage.
- Look for yellow, white, or brown discoloration as an early sign.
- Thickened or brittle nails often indicate a deeper infection.
- If the nail separates from the bed, treat it promptly to avoid pain and further damage.
Step 1: Prepare Your Nails for Treatment
Before applying any antifungal product, you need to prepare the nail bed to allow the medication to penetrate. Start by trimming the affected nail as short as possible without causing pain. Use a separate nail clipper for infected nails to prevent spreading the fungus to healthy nails. Gently file the surface of the nail to reduce thickness and create tiny grooves that help the treatment absorb better.
Soaking your feet or hands in warm water for 10 to 15 minutes can soften the nail and surrounding skin. After soaking, dry thoroughly, especially between the toes or fingers. Moisture is the enemy when fighting fungus, so ensure the area is completely dry before applying any product. This preparation step can make a significant difference in how quickly the treatment works.
- Always disinfect your nail tools after each use to avoid reinfection.
- Avoid cutting cuticles, as this can create entry points for bacteria and fungi.
Step 2: Apply an Effective Antifungal Treatment
Once your nails are prepped, it's time to apply a targeted antifungal treatment. One highly effective option is the Liposomal Fungus Master Antifungal Treatment, which uses advanced liposomal technology to deliver active ingredients deep into the nail bed. This helps fight the infection at its source. Apply a thin layer to the entire nail and surrounding skin twice daily, preferably after bathing.
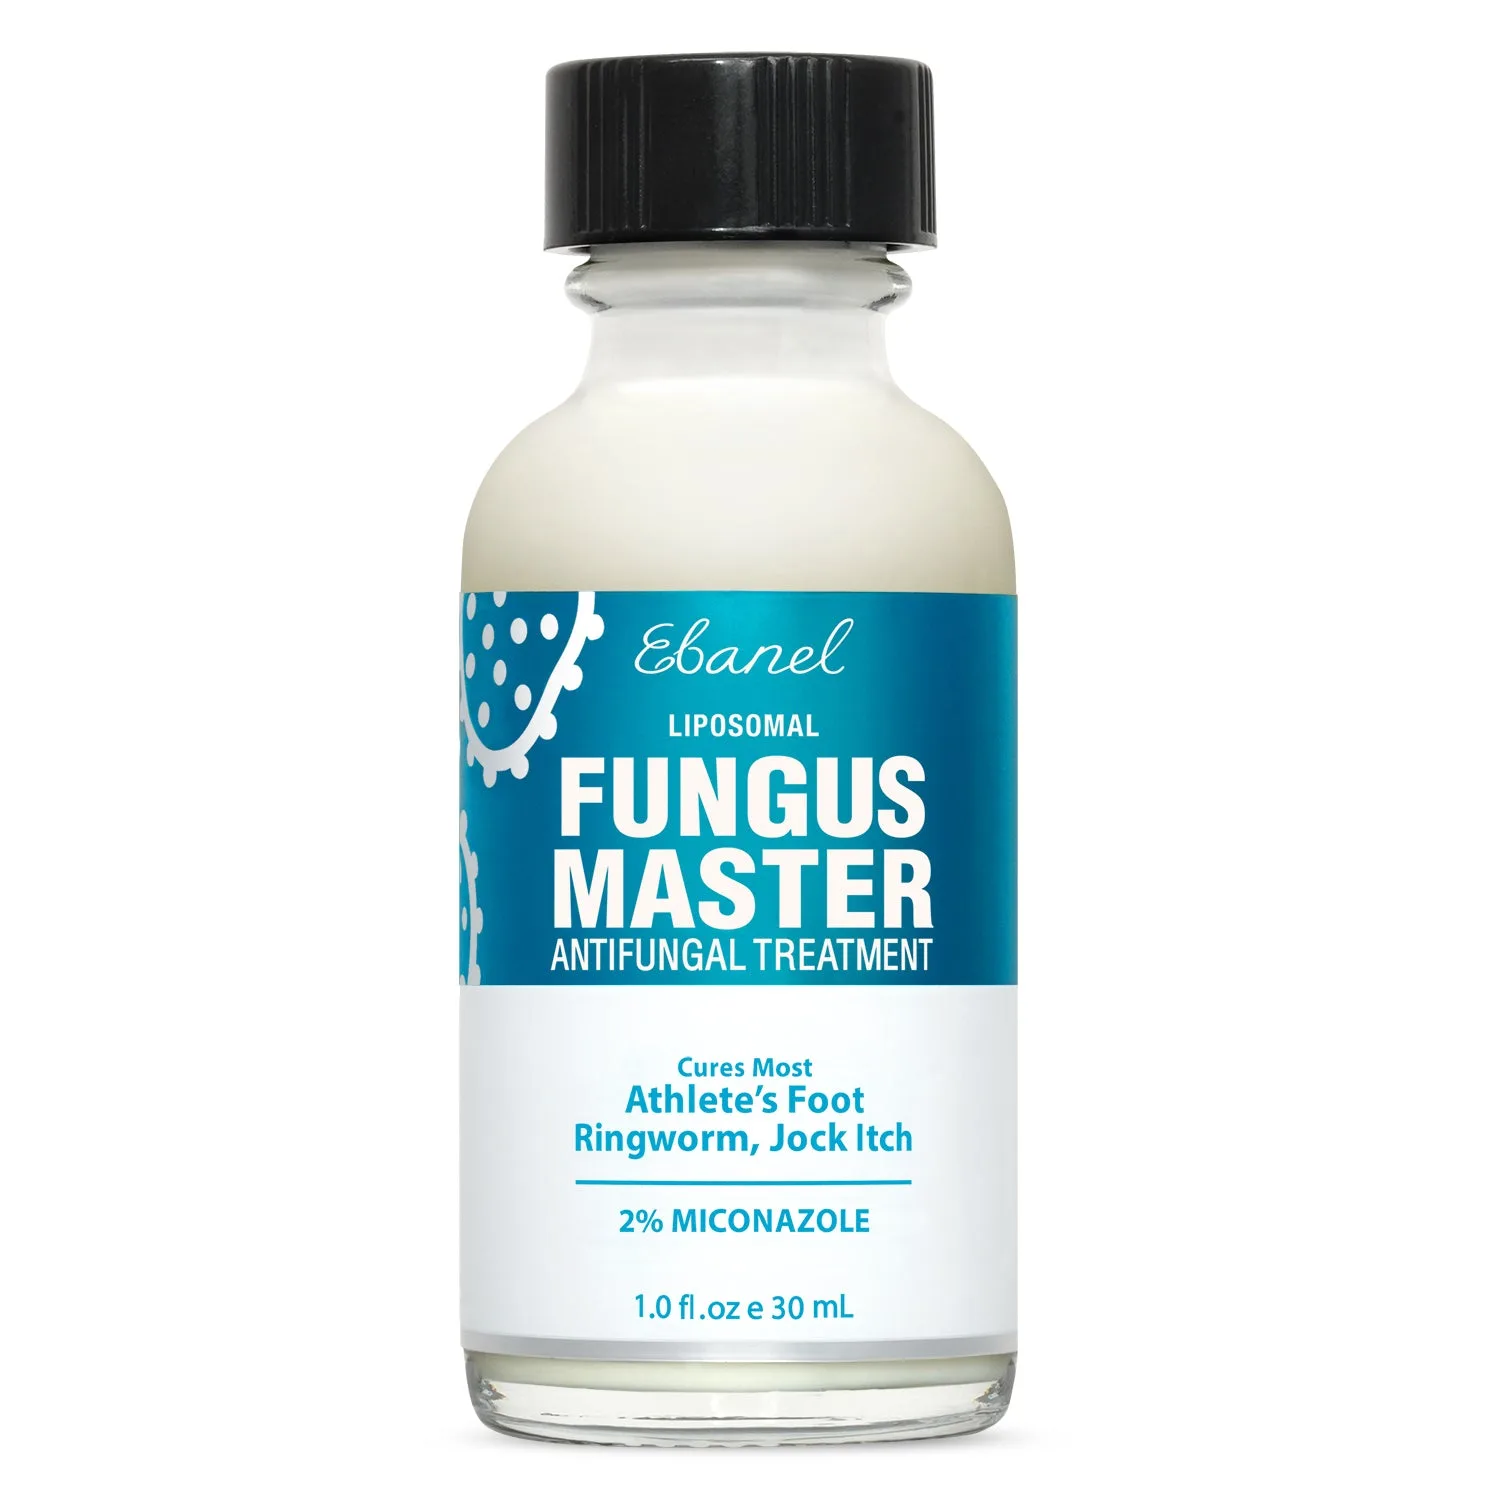
Liposomal Fungus Master Antifungal Treatment
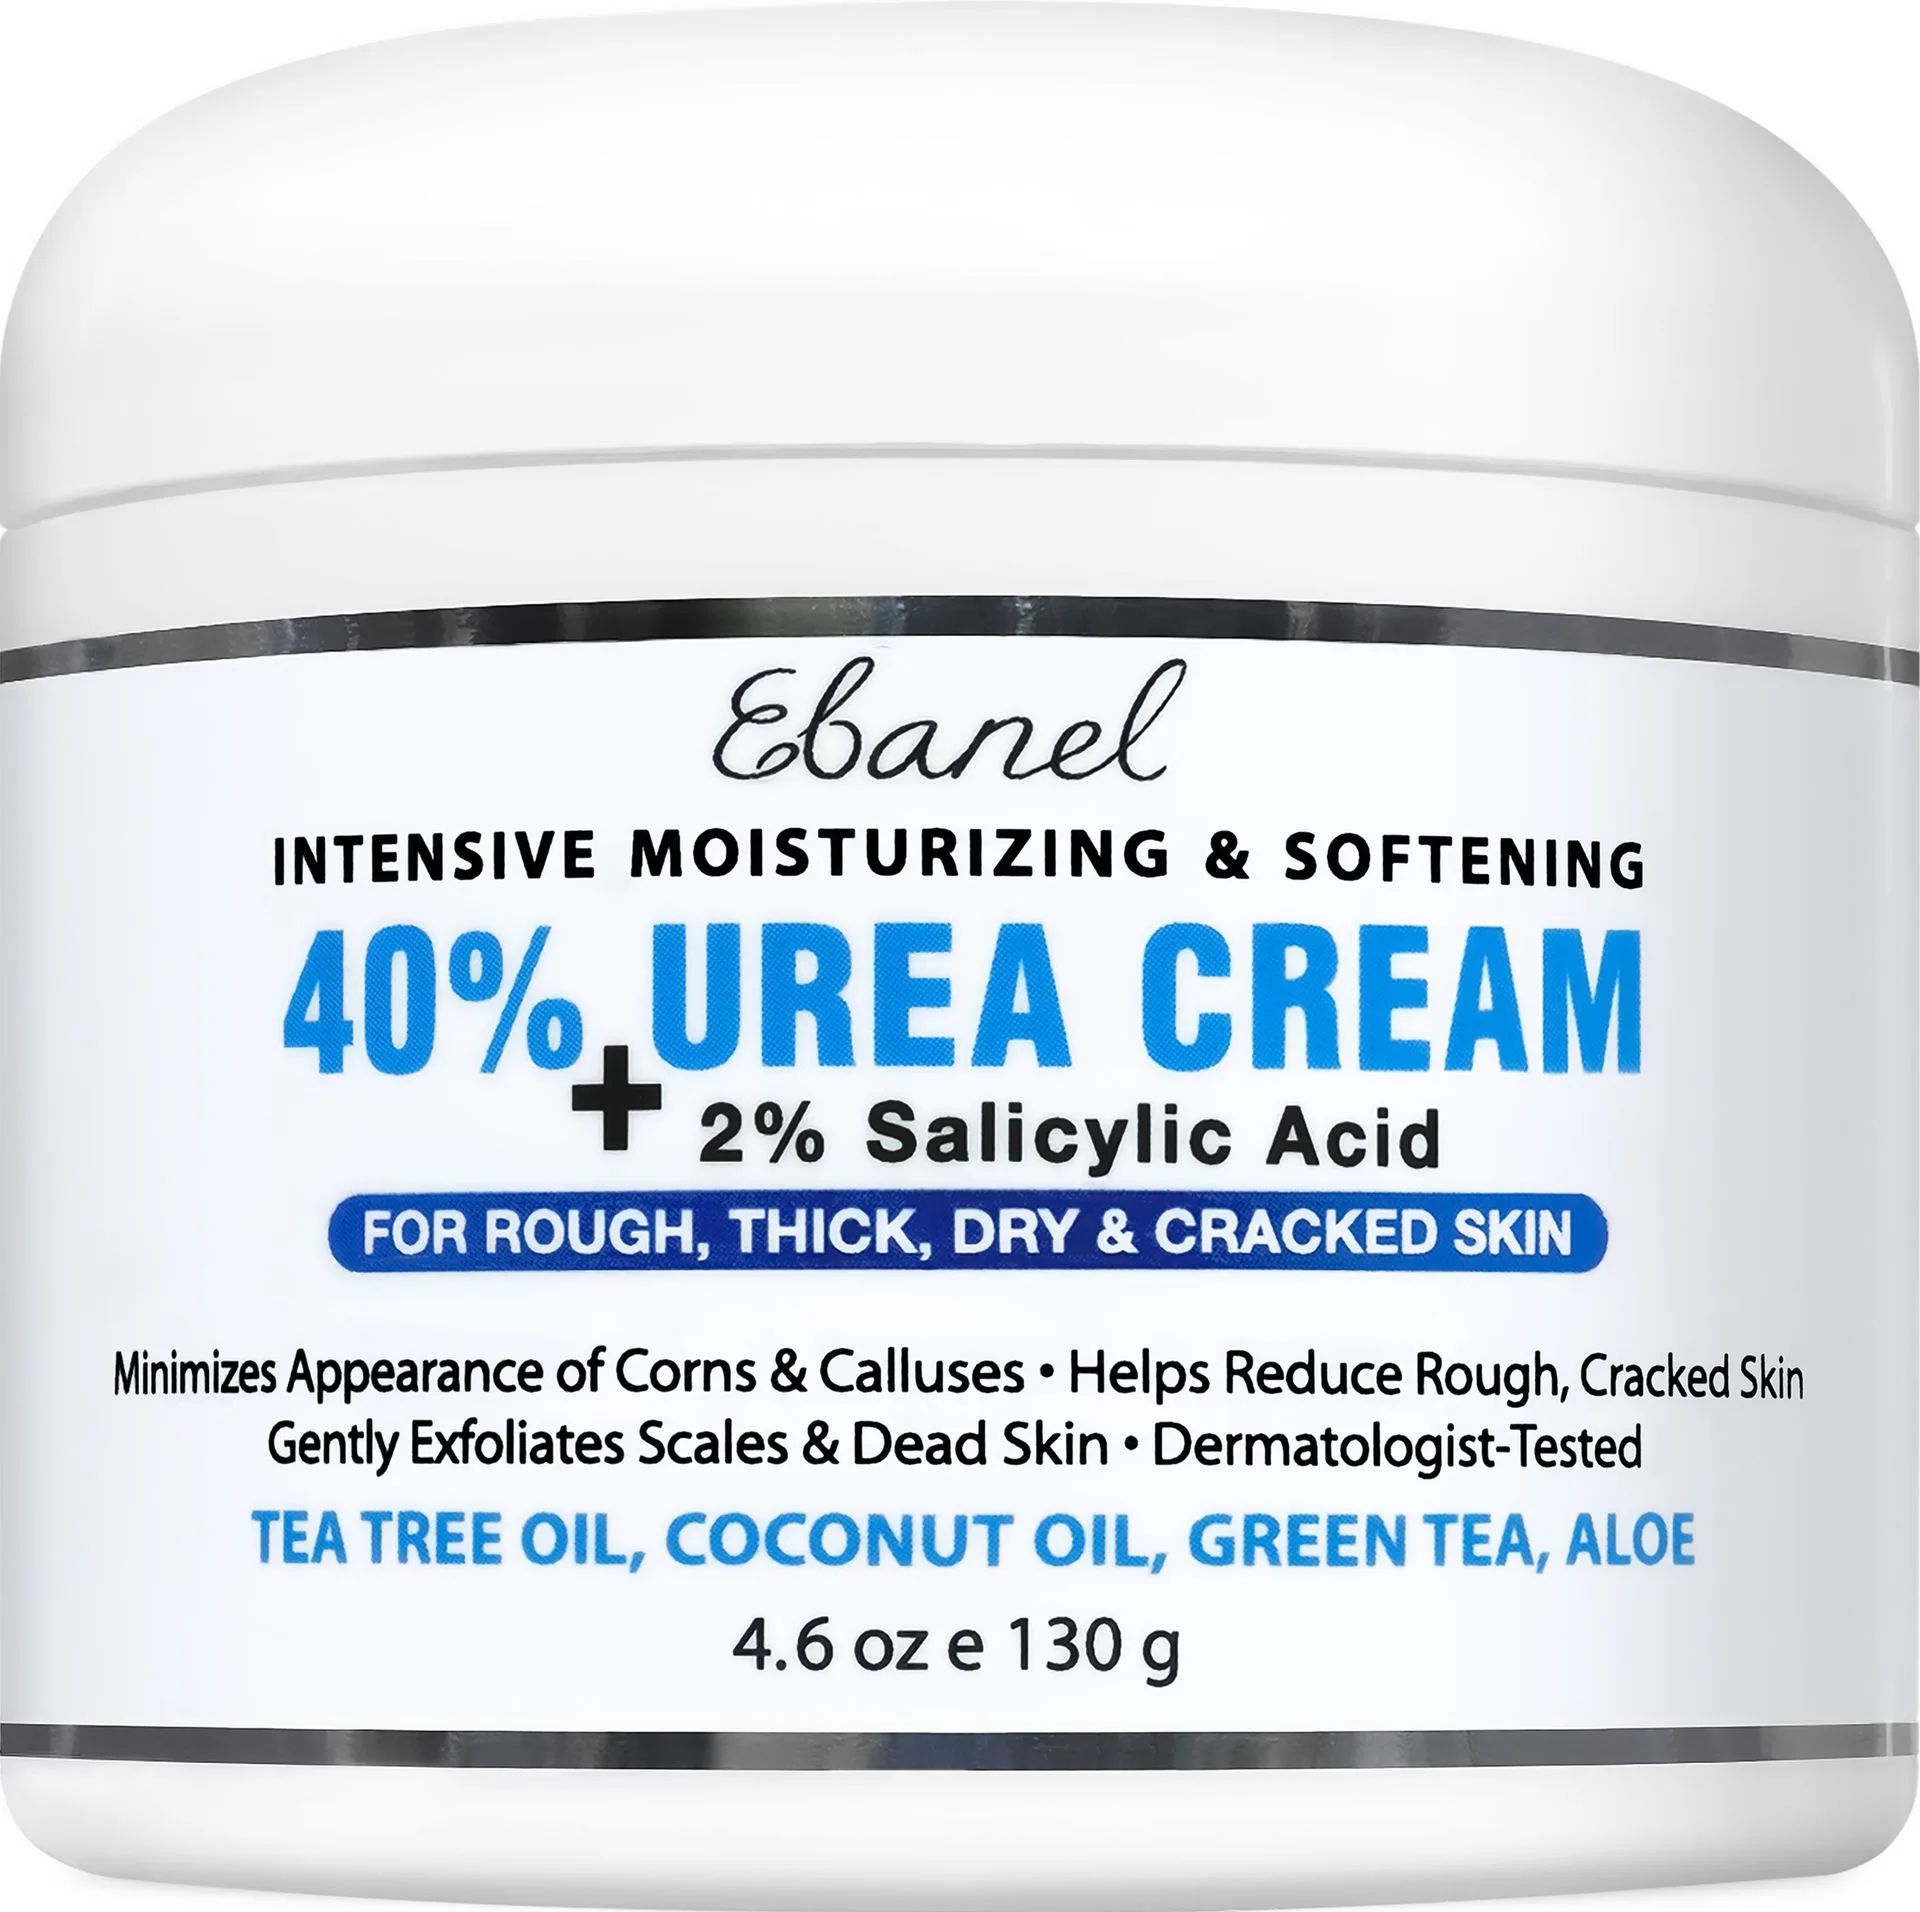
For best results, combine the antifungal treatment with a urea-based product. Urea helps soften and exfoliate the thickened nail, allowing the antifungal agent to penetrate more deeply. Over time, the infected part of the nail will gradually be replaced by healthy growth. Consistency is critical—missed applications can set back your progress by weeks.
- Use a cotton swab or brush to apply treatment precisely without touching healthy skin.
- Set a daily reminder to ensure you never skip an application.
Step 3: Maintain Proper Foot and Nail Hygiene
Good hygiene is the foundation of any successful fungal nail treatment. Wash your feet or hands daily with an antifungal soap, and dry them thoroughly, especially between the digits. Change your socks or gloves at least once a day, and choose breathable materials like cotton or moisture-wicking fabrics. Avoid walking barefoot in public areas to prevent reinfection.
Disinfect your shoes and insoles regularly using an antifungal spray or powder. If possible, alternate between two pairs of shoes to allow each pair to dry out completely. For nail tools, soak them in rubbing alcohol for 30 minutes after each use. These simple habits reduce the fungal load on your skin and nails, giving the treatment a better chance to work.
- Wear flip-flops in communal showers or locker rooms to protect your feet.
- Avoid sharing towels, nail clippers, or shoes with others.
Step 4: Support Nail Health with Proper Nutrition and Care
While topical treatments are essential, supporting your body from the inside can speed up recovery. A diet rich in protein, biotin, zinc, and vitamins B and E promotes stronger nail growth. Foods like eggs, nuts, leafy greens, and lean meats are excellent choices. Staying hydrated also helps maintain nail flexibility and prevents brittleness.
Additionally, consider using a gentle moisturizer on the skin around your nails to prevent cracking, which can invite secondary infections. Avoid harsh nail polishes or artificial nails until the infection is completely cleared. Patience is vital—nails grow slowly, and you may not see visible improvement for several weeks. Stick with your routine, and you'll notice healthier nails emerging from the base.
- Biotin supplements may help strengthen nails, but consult a doctor first.
- Avoid picking at the infected nail to prevent spreading the fungus.
Step 5: Monitor Progress and Know When to Seek Help
Track your progress by taking photos of your nails every two weeks. Look for signs of improvement such as reduced discoloration, thinning of the nail, or new clear growth at the base. If you don't see any change after three months of consistent treatment, or if the infection worsens, it may be time to consult a podiatrist or dermatologist.
In some cases, oral antifungal medications or professional debridement may be necessary. However, most mild to moderate fungal nail infections respond well to diligent home care with quality products. Remember that complete clearance can take six to twelve months, depending on how fast your nails grow. Stay committed, and your patience will pay off.
- Redness, swelling, or pain around the nail may indicate a bacterial infection—see a doctor.
- If you have diabetes or a compromised immune system, seek professional guidance early.
Treating a fungal nail infection requires a combination of the right products, consistent hygiene, and patience. By following this step-by-step guide, you can effectively manage and eliminate the infection while promoting healthier nail growth. Start your journey to clear nails today with the Liposomal Fungus Master Antifungal Treatment, a powerful solution designed to penetrate deep and target fungus at its source. Explore this product and take the first step toward renewed nail confidence.