Embarking on a multi-day hike is an exhilarating adventure, but the key to a comfortable and successful journey lies in how you organize your backpack. Proper backpack organization not only maximizes space but also ensures you have quick access to essentials, balances weight distribution to prevent fatigue, and protects your gear from damage. Whether you are a seasoned backpacker or planning your first overnight trek, mastering the art of packing can transform your experience.
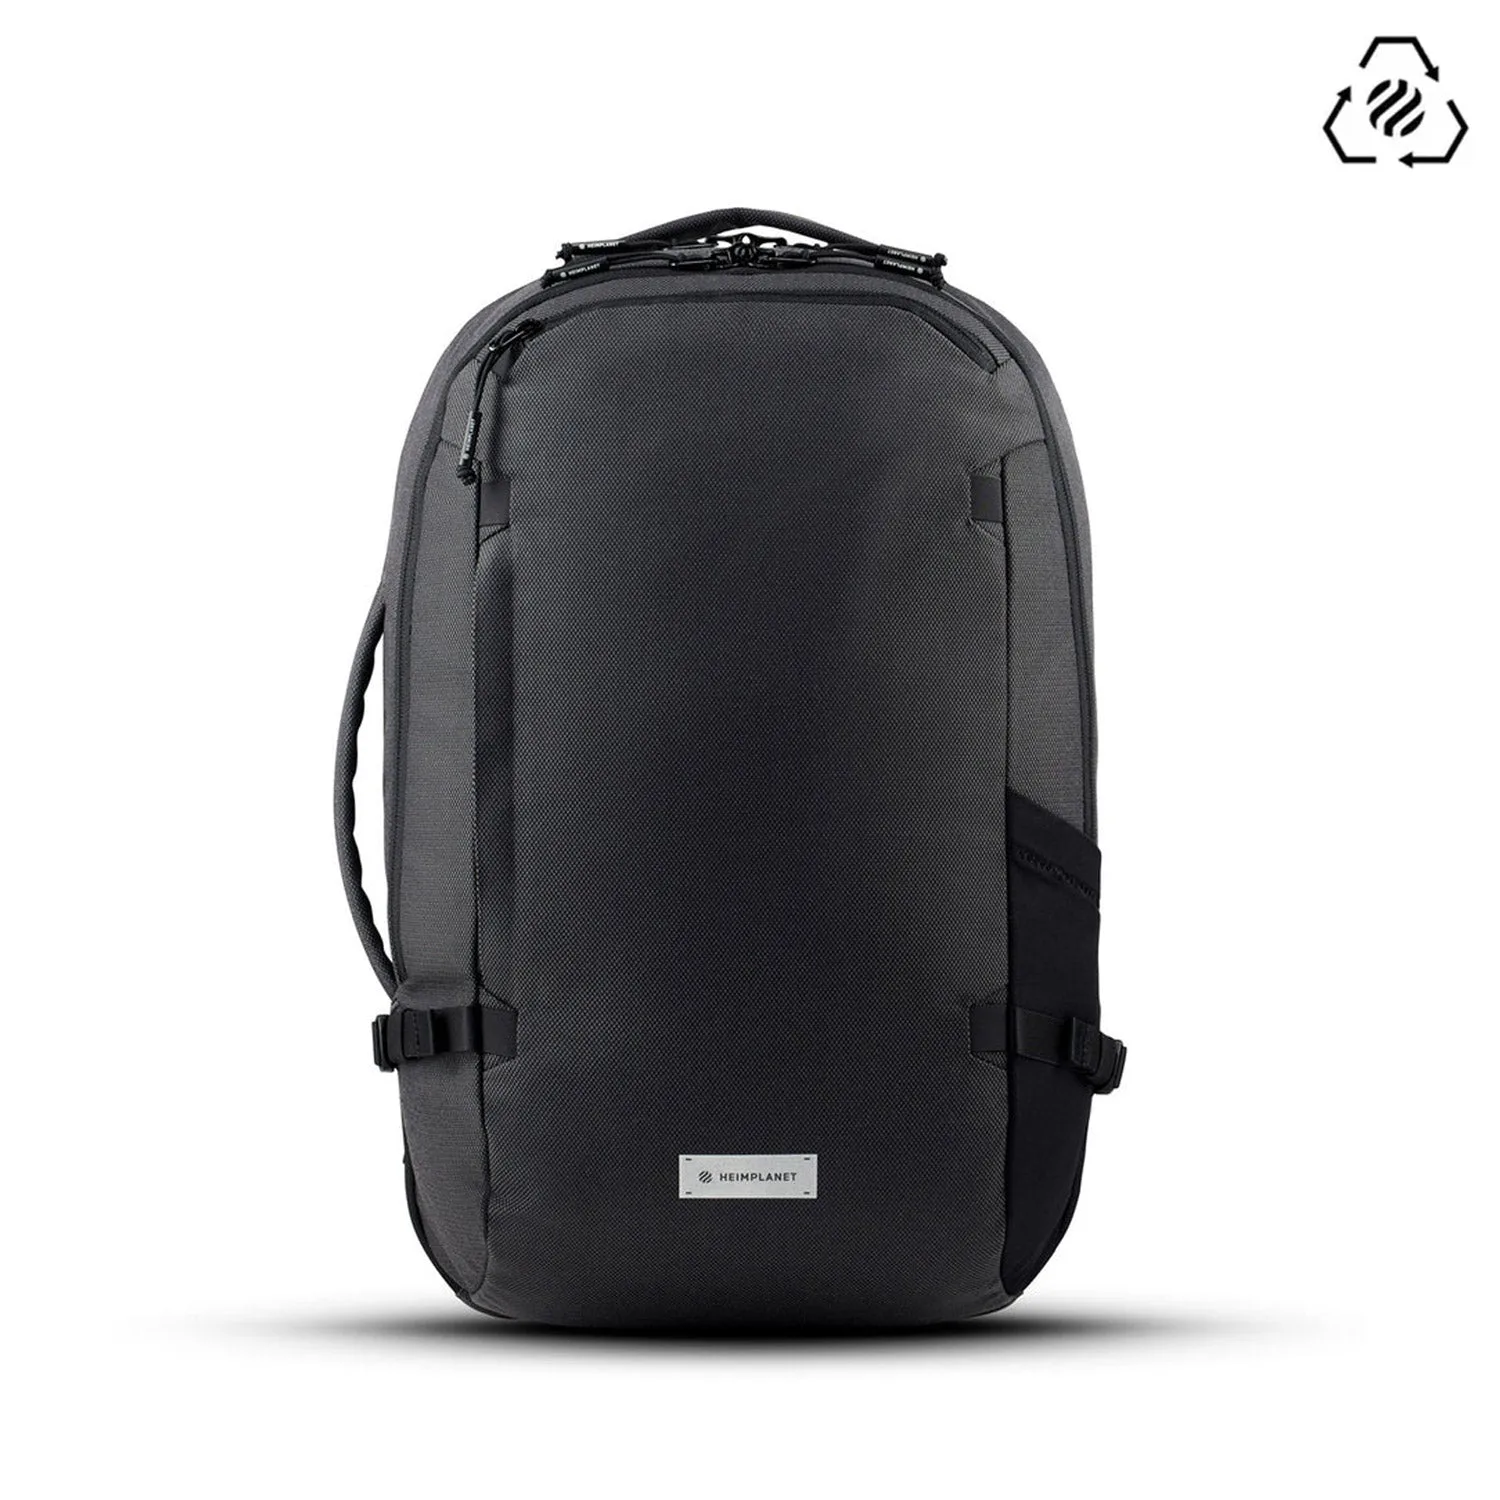
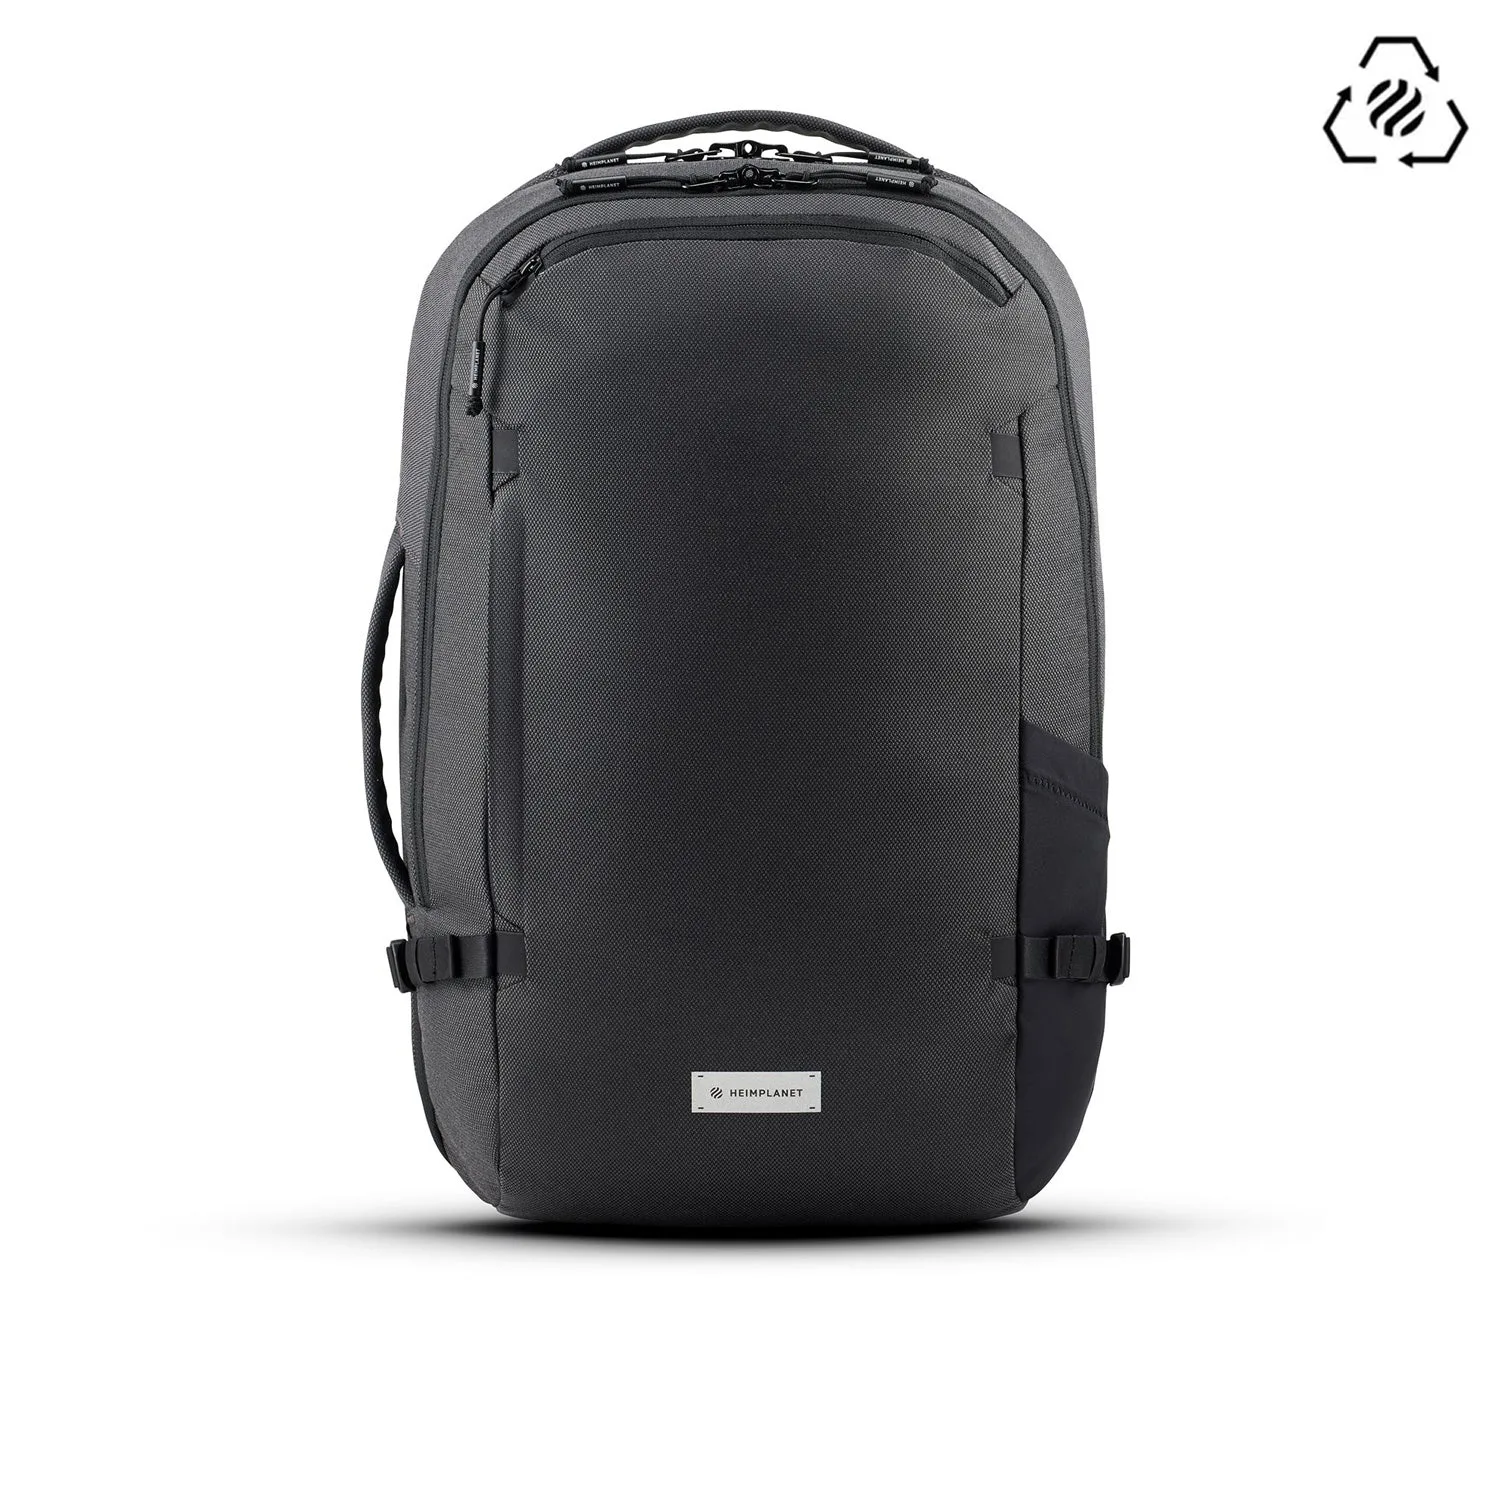
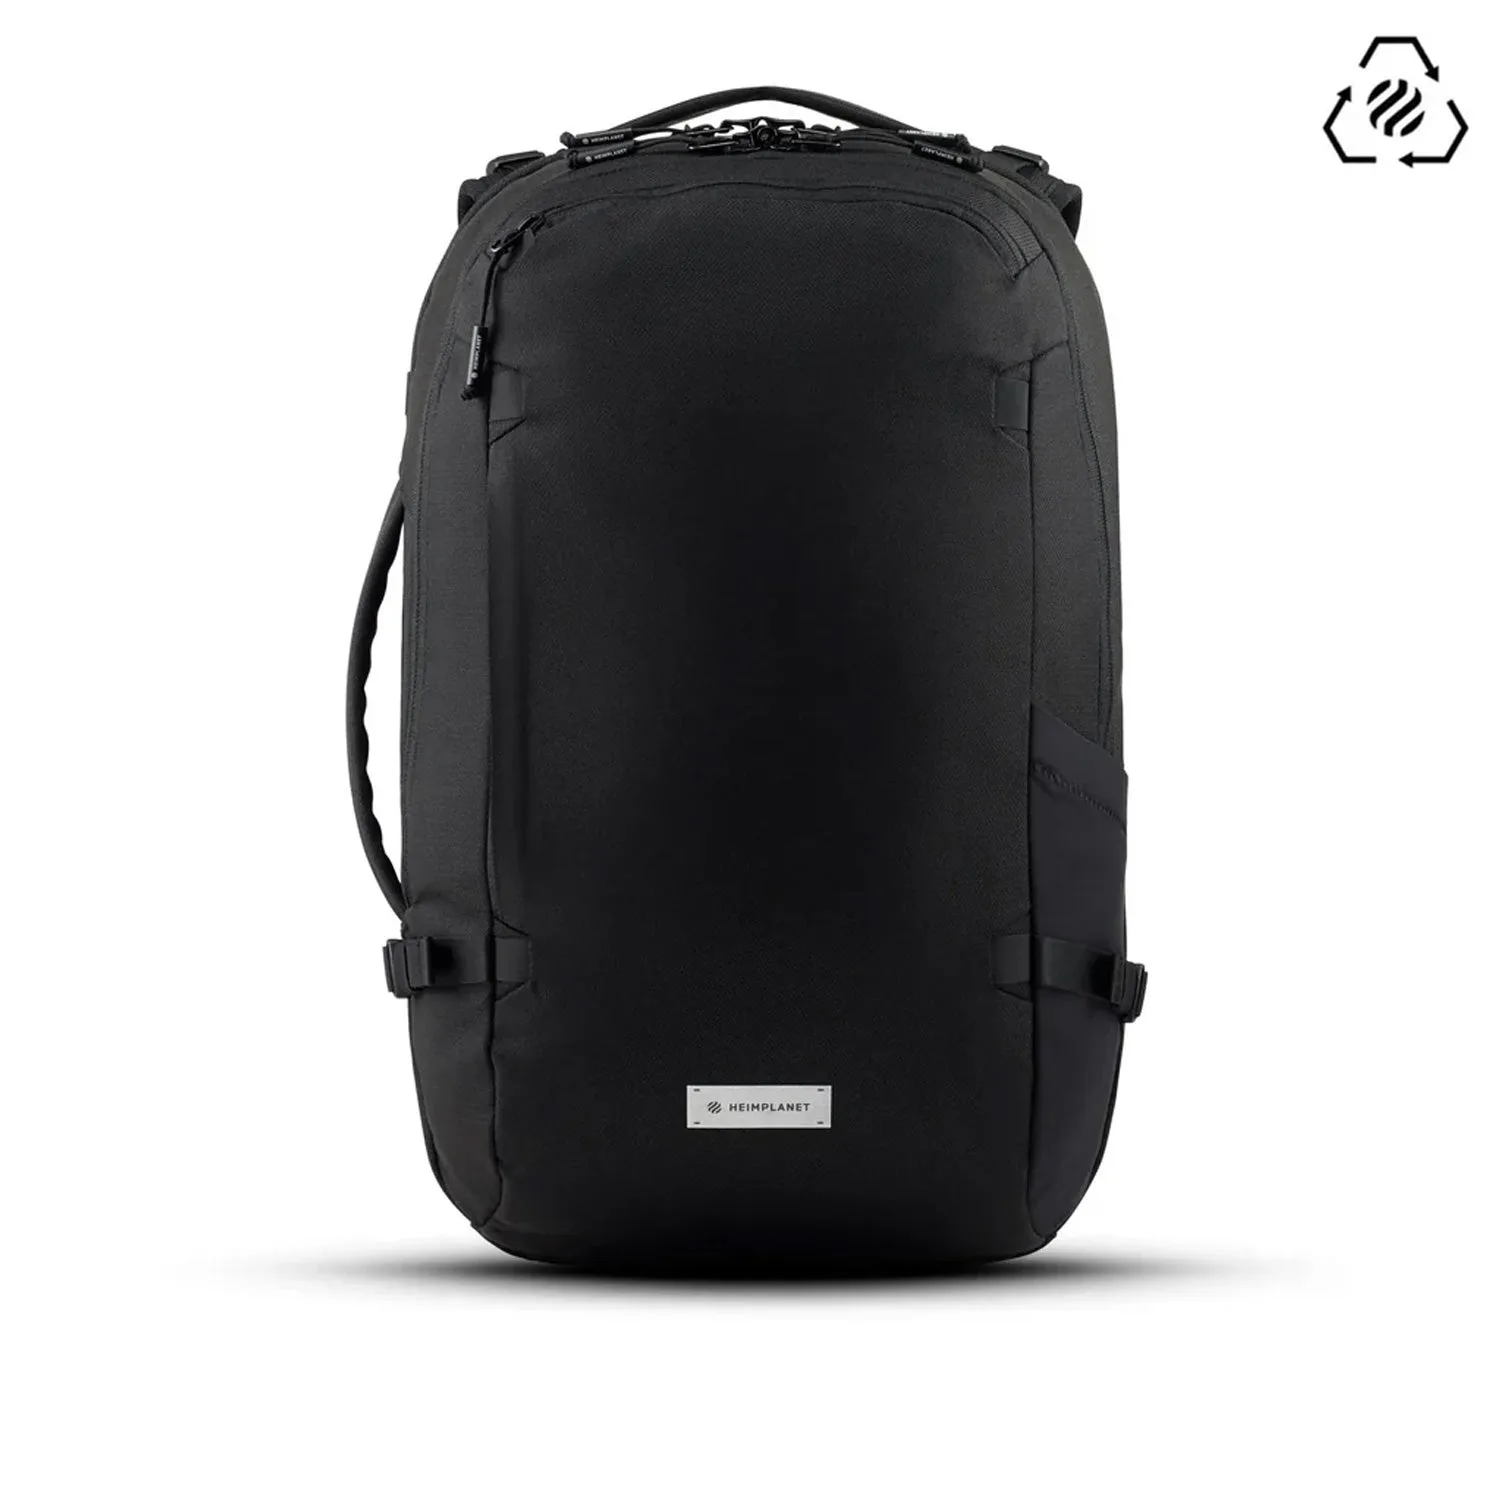
In this guide, we will walk you through step-by-step strategies for organizing your backpack efficiently. From load distribution to packing for different weather conditions, you will learn how to pack like a pro. We will also highlight some versatile gear from Heimplanet that can enhance your hiking setup, such as the Transit Line Travel Pack 34 L and the Re-stored Carry Essentials Neck Pouch (A5). Let us dive into the essentials of backpack organization.
Why Backpack Organization Matters for Multi-Day Hikes
When you are hiking for multiple days, every ounce counts, and how you pack your backpack can make or break your trip. Poor organization can lead to an unbalanced load, causing back pain and fatigue. It can also mean wasting time digging for items like a rain jacket or snacks, which is frustrating and can be dangerous in changing weather. Efficient backpack organization ensures that heavy items are close to your back and centered, reducing strain on your shoulders and hips.
Moreover, a well-organized backpack protects your gear. Fragile items like electronics or cooking stoves need to be cushioned, while wet items must be separated from dry clothes. By using packing cubes, dry bags, and compartmentalized pouches, you can keep everything in its place. The Heimplanet Re-stored Carry Essentials Neck Pouch (A5) is a perfect example of a small organizer that keeps your phone, wallet, and map accessible without unstrapping your main pack.
- Improves weight distribution and reduces fatigue
- Saves time accessing essential gear
- Protects equipment from damage and moisture
Step 1: Categorize Your Gear into Zones
The golden rule of backpack organization is to group your gear into three main zones: the bottom zone for sleeping gear, the middle zone for heavy and bulky items, and the top zone for frequently used items. The bottom zone is ideal for your sleeping bag, sleeping pad, and camp clothes, as these are items you typically use only at the end of the day. Pack them in a compression sack to save space.
The middle zone should contain your heaviest items, such as food, cooking gear, and water. Placing these close to your spine and centered at your mid-back improves balance. The top zone is for items you need during the day: rain jacket, snacks, sunblock, and a first-aid kit. A pack like the Transit Line Travel Pack 34 L offers multiple compartments that make zoning easy, with a main compartment for bulk and external pockets for quick access.
- Bottom: sleeping bag, sleep pad, camp clothes
- Middle: food, stove, water, fuel
- Top: rain gear, snacks, map, first aid
Step 2: Master Load Distribution for Comfort
Load distribution is critical to avoid injury and keep you moving efficiently. The general rule is to keep heavy items high and close to your back. This aligns the weight with your center of gravity, reducing the leverage that pulls you backward. For example, place your water reservoir or stove in the middle zone, but ensure it is snug against your back. Avoid putting heavy items in the outer pockets, as this can throw off your balance.
If you are carrying a tent or shelter, such as a versatile tarp, strap it horizontally across the top of your pack or vertically along the side. This keeps the load compact. Also, use your hip belt effectively: tighten it so that about 80% of the weight rests on your hips, not your shoulders. A well-fitted pack like the Transit Line Travel Pack 34 L with a padded hip belt can make a huge difference in comfort on long trails.
- Heavy items go high and near the spine
- Use compression straps to stabilize the load
- Adjust hip belt to transfer weight to hips
Step 3: Use Packing Aids and Organizers
Packing cubes, dry bags, and small pouches are game-changers for backpack organization. They compress your clothes, keep dirty items separate, and allow you to find things without unpacking everything. Dry bags are especially useful for keeping your sleeping bag or electronics dry in rain or stream crossings. For smaller essentials, a neck pouch or waist pack provides easy access without removing your pack.
Heimplanet offers excellent organizers like the Re-stored Carry Essentials Neck Pouch (A5), which is perfect for storing your phone, passport, and trail map. It can be worn around your neck or attached to your pack strap, so you never have to dig for your essentials. Similarly, using a small stuff sack for your toiletries and another for your repair kit keeps everything tidy and accessible.
- Packing cubes for clothing compression
- Dry bags for moisture-sensitive gear
- Neck pouch for quick-access items
Step 4: Pack for Accessibility and Weather
On a multi-day hike, weather can change rapidly, so pack your rain gear and an extra layer where you can grab them quickly. Stow your rain jacket and pants in an outer pocket or at the very top of your main compartment. Similarly, keep your water filter, snacks, and map in side pockets or a hip belt pocket. This saves you from having to stop and open your entire pack every time you need something.
Consider using a pack cover or liner to protect your gear from unexpected downpours. A lightweight tarp or shelter, like those from Heimplanet, can double as a rain cover or emergency shelter if needed. Also, pack your sleeping bag in a waterproof compression sack, even if your pack is water-resistant. The Transit Line Travel Pack 34 L is made with durable materials that resist light rain, but adding a liner ensures your gear stays dry in heavy storms.
- Keep rain jacket and extra layer on top
- Use a pack liner or rain cover
- Store snacks and map in hip belt pockets
Step 5: Fine-Tune Your Packing List
Every multi-day hike is different, so tailor your packing list to the terrain, weather, and duration. Start with the ten essentials: navigation, headlamp, sun protection, first aid, knife, fire starter, shelter, extra food, extra water, and extra clothes. Then, add luxury items like a camp chair or camera only if you have space and can carry the weight. Weigh your pack at home to ensure it is within a comfortable range (typically 20-25% of your body weight).
For a 3-day hike, a 34-liter pack like the Transit Line Travel Pack 34 L is ideal because it forces you to pack light while still having enough room for all essentials. Use a checklist to avoid forgetting critical items. Also, practice packing and unpacking at home so you know exactly where everything is when you are on the trail. A well-organized pack means less stress and more time enjoying the scenery.
- Stick to the ten essentials for safety
- Weigh your pack before departure
- Practice packing to memorize locations
Organizing your backpack for a multi-day hike is a skill that improves with practice and the right gear. By categorizing your items, distributing weight properly, and using smart organizers, you can hike more comfortably and confidently. Explore the Transit Line Travel Pack 34 L for a reliable, well-designed pack that simplifies your packing process and enhances your outdoor adventures.