Quick Answer
For a modern Urban Abacus quilt, choose large-scale prints for the curve blocks and a solid background to let the curves pop. Pair the pattern with the Quick Curve Ruler for accurate cutting.
Why Large Prints Work So Well
The Urban Abacus pattern was one of the first designs made with the Quick Curve Ruler, and its generous curve blocks are perfect for showing off large print fabrics, treasured collected fabrics, or a full fabric line. The curved seams create a dynamic backdrop that lets bold motifs shine without competing with piecing.
Avoid using small-scale or busy prints in the curve blocks, as they can get lost in the curved shapes. Stick to prints with at least a 6-inch repeat for the best visual impact.
Fabric Pairing Strategy
The pattern calls for nine assorted quarter-yard cuts (not fat quarters), a solid background, solid sashing strips, binding, and backing. A solid background gives the eye a place to rest and makes the curved blocks stand out. For the sashing, choose a color that complements both the background and the prints.
If you want a more scrappy look, use a low-volume print for the background instead of a solid, but keep the value light so the curves remain the focus.
Designing Your Urban Abacus Quilt: Step by Step
- Select Your Fabric Line or Collection: Choose nine coordinating prints that you love. Because the pattern uses quarter-yard cuts (not fat quarters), you can buy a fabric line's quarter-yard bundle or pull from your stash. Lay them out in order of value from light to dark to plan your layout. A common mistake is picking prints that are too similar in value—this can make the curves blend together instead of pop.
- Choose a Solid Background and Sashing: Pick a solid background that contrasts with your prints. A white or light gray keeps the look modern; a dark navy or black creates drama. For the sashing strips, select a color that bridges the background and your prints—often the same as the background or a slightly deeper shade works well. Avoid using a busy print for the background—it will compete with the curve blocks and make the quilt feel chaotic.
- Cut and Organize Your Curve Blocks: Using the Quick Curve Ruler, cut your curve pieces from the nine prints. Label each set to keep track of the order. The pattern's instructions guide you through sewing the curved seams; take your time and use plenty of pins or a walking foot for smooth curves. Rushing the curved seams can lead to puckers or uneven blocks—sew slowly and press carefully after each seam.
- Arrange Blocks Before Sewing: Lay out all your finished curve blocks on a design wall or floor. Move them around until the color distribution feels balanced. The Urban Abacus layout is forgiving, so you can create a random scrappy look or a structured gradient. Don't sew blocks together until you're happy with the arrangement—it's much harder to unpick later.
- Assemble the Quilt Top: Sew the blocks into rows, then join the rows with the sashing strips. Press all seams toward the sashing to reduce bulk. Add the border if desired (the pattern finishes at 50 x 67 inches without borders). Check that your sashing strips are cut accurately—uneven strips can cause the quilt top to warp.
Pattern Details
-
Urban Abacus (Paper): Urban Abacus is one of the very first designs made with the Quick Curve Ruler. It is a great pattern for showing off large print fabrics, treasured collected fabrics, or a fabric line. This means the curve blocks are sized to let bold prints take center stage, so you can confidently use your favorite large-scale fabrics without worrying they'll be cut into tiny pieces.
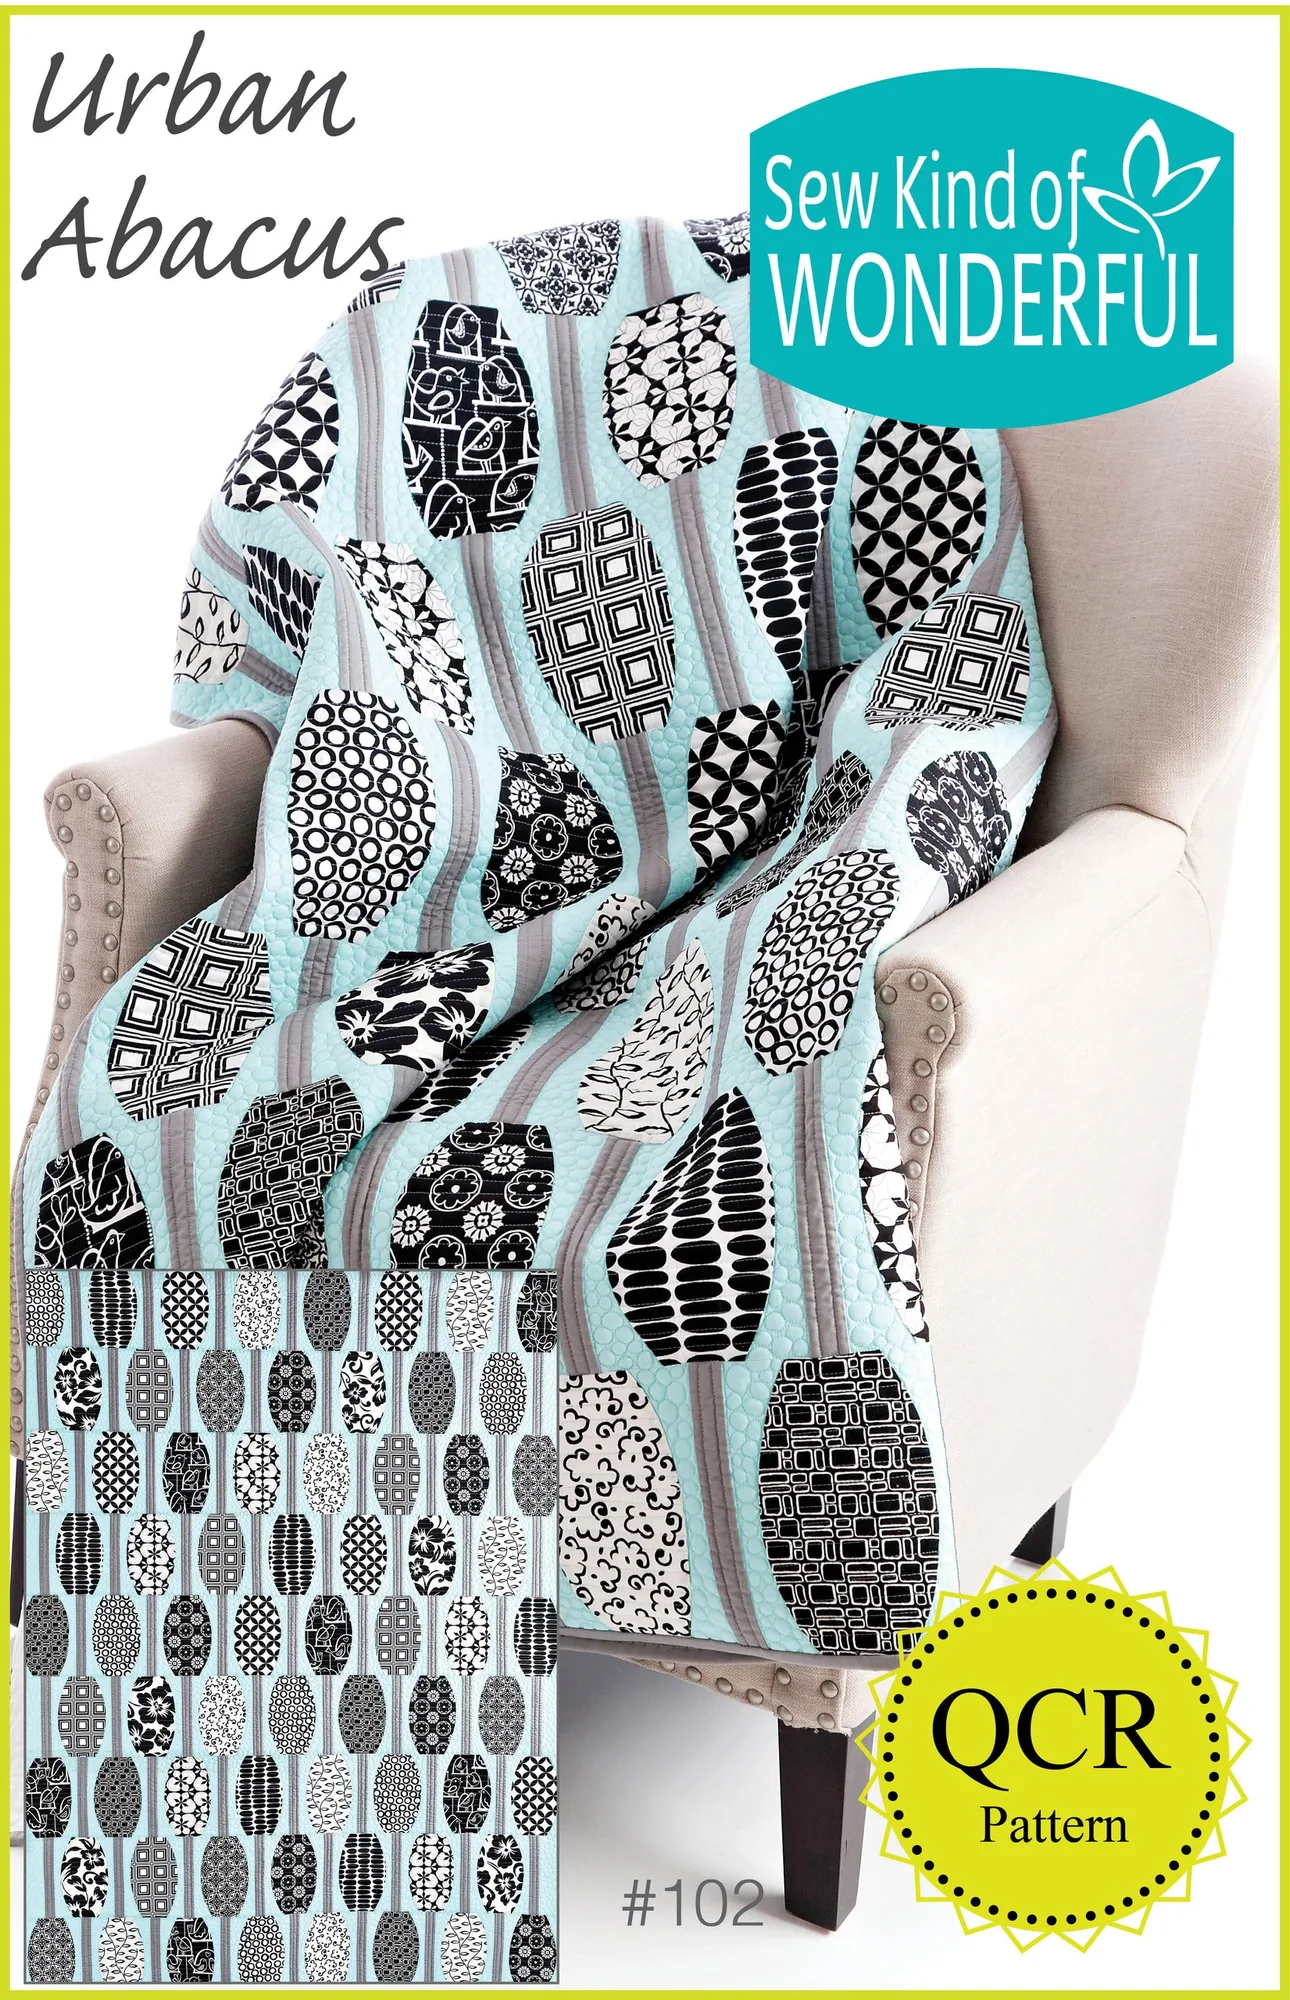
Urban Abacus (Paper)