Quick Answer
Yes – greeting cards make inexpensive, customizable décor for a home office. Choose a few favorite designs, frame or mount them, and pair them with functional items for instant personality.
Greeting cards are tiny works of art, and their soft oil‑pastel textures add a warm, hand‑drawn feel to any workspace. Because they’re lightweight and inexpensive, they’re perfect for quick style upgrades without breaking the budget.
In this guide we’ll show you how to repurpose greeting cards for home office décor, from framing them as mini‑art to using them as desk organizers or inspirational wall collages.
Creative Card Décor Ideas
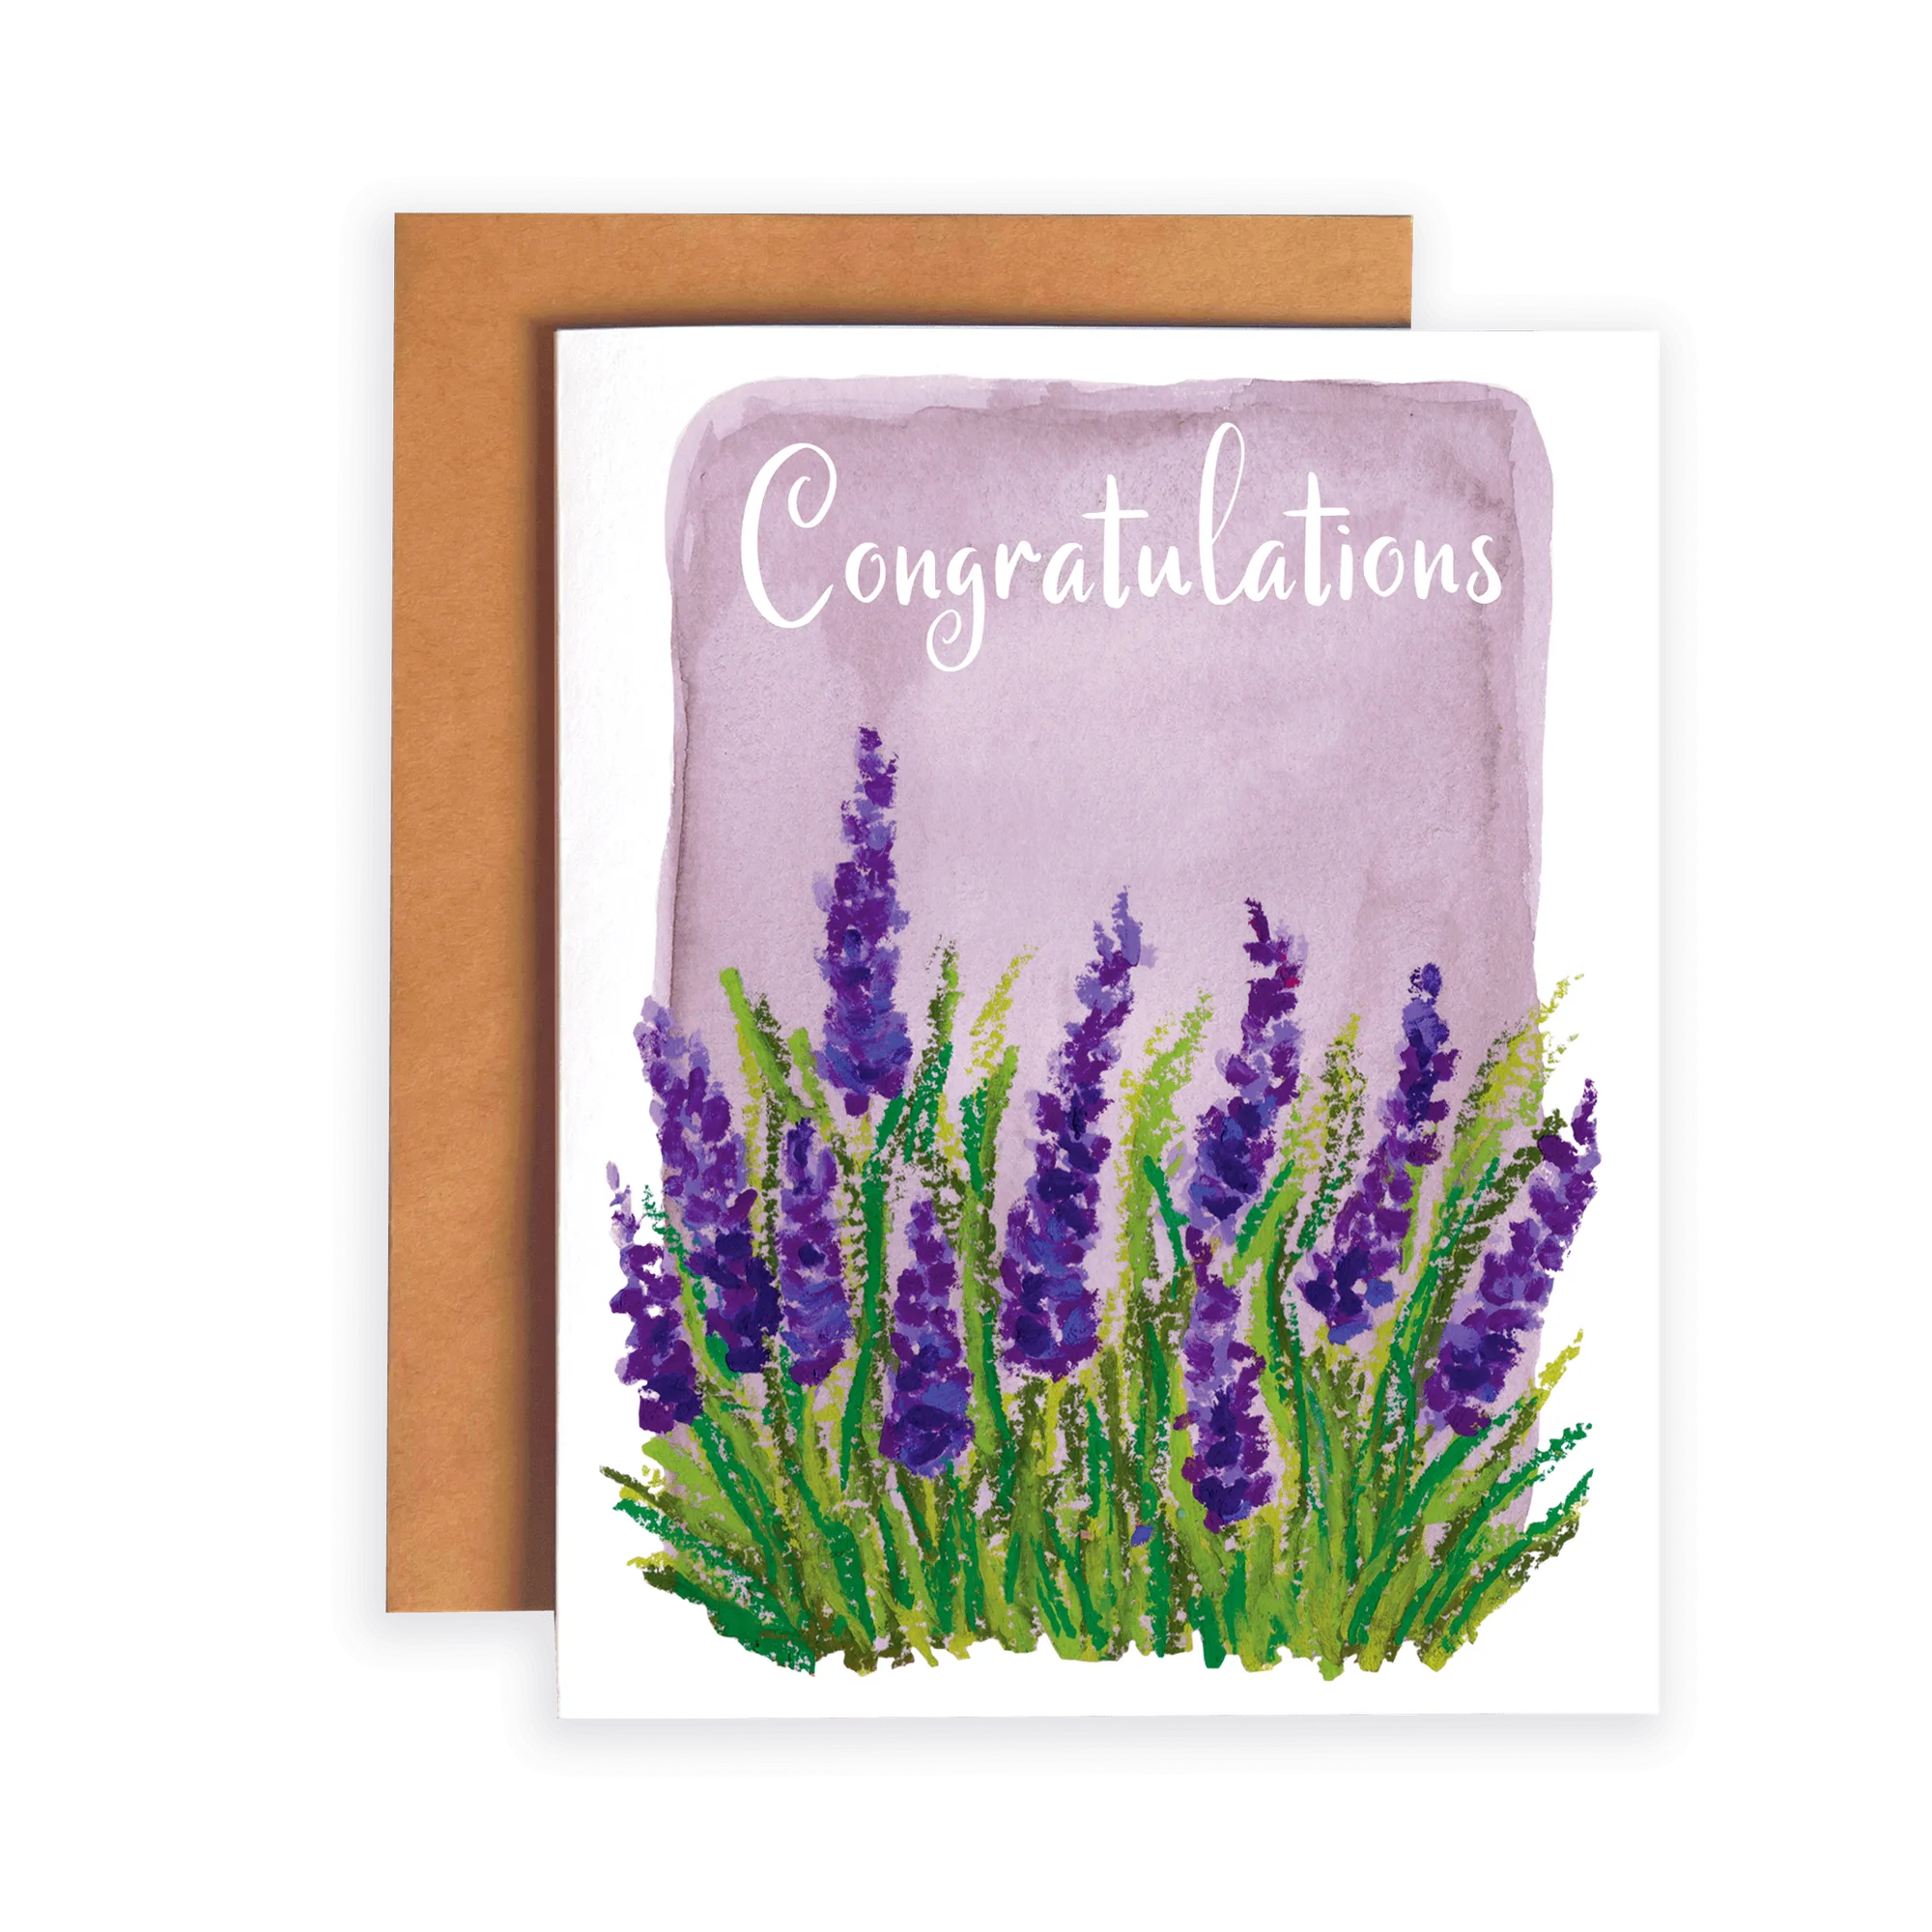
Start by gathering cards that match your colour palette or theme. For a cohesive look, pick a handful of cards—like the lavender‑tinted "Congratulations Lavender | Greeting Card" and the pastel blue "Pastel Blue Wildflower | Greeting Card"—and arrange them in a simple grid. Frame each card in a standard A2 frame or use clear acrylic sleeves; the high‑quality cardstock and hand‑drawn charm create a meaningful keepsake that doubles as wall art.
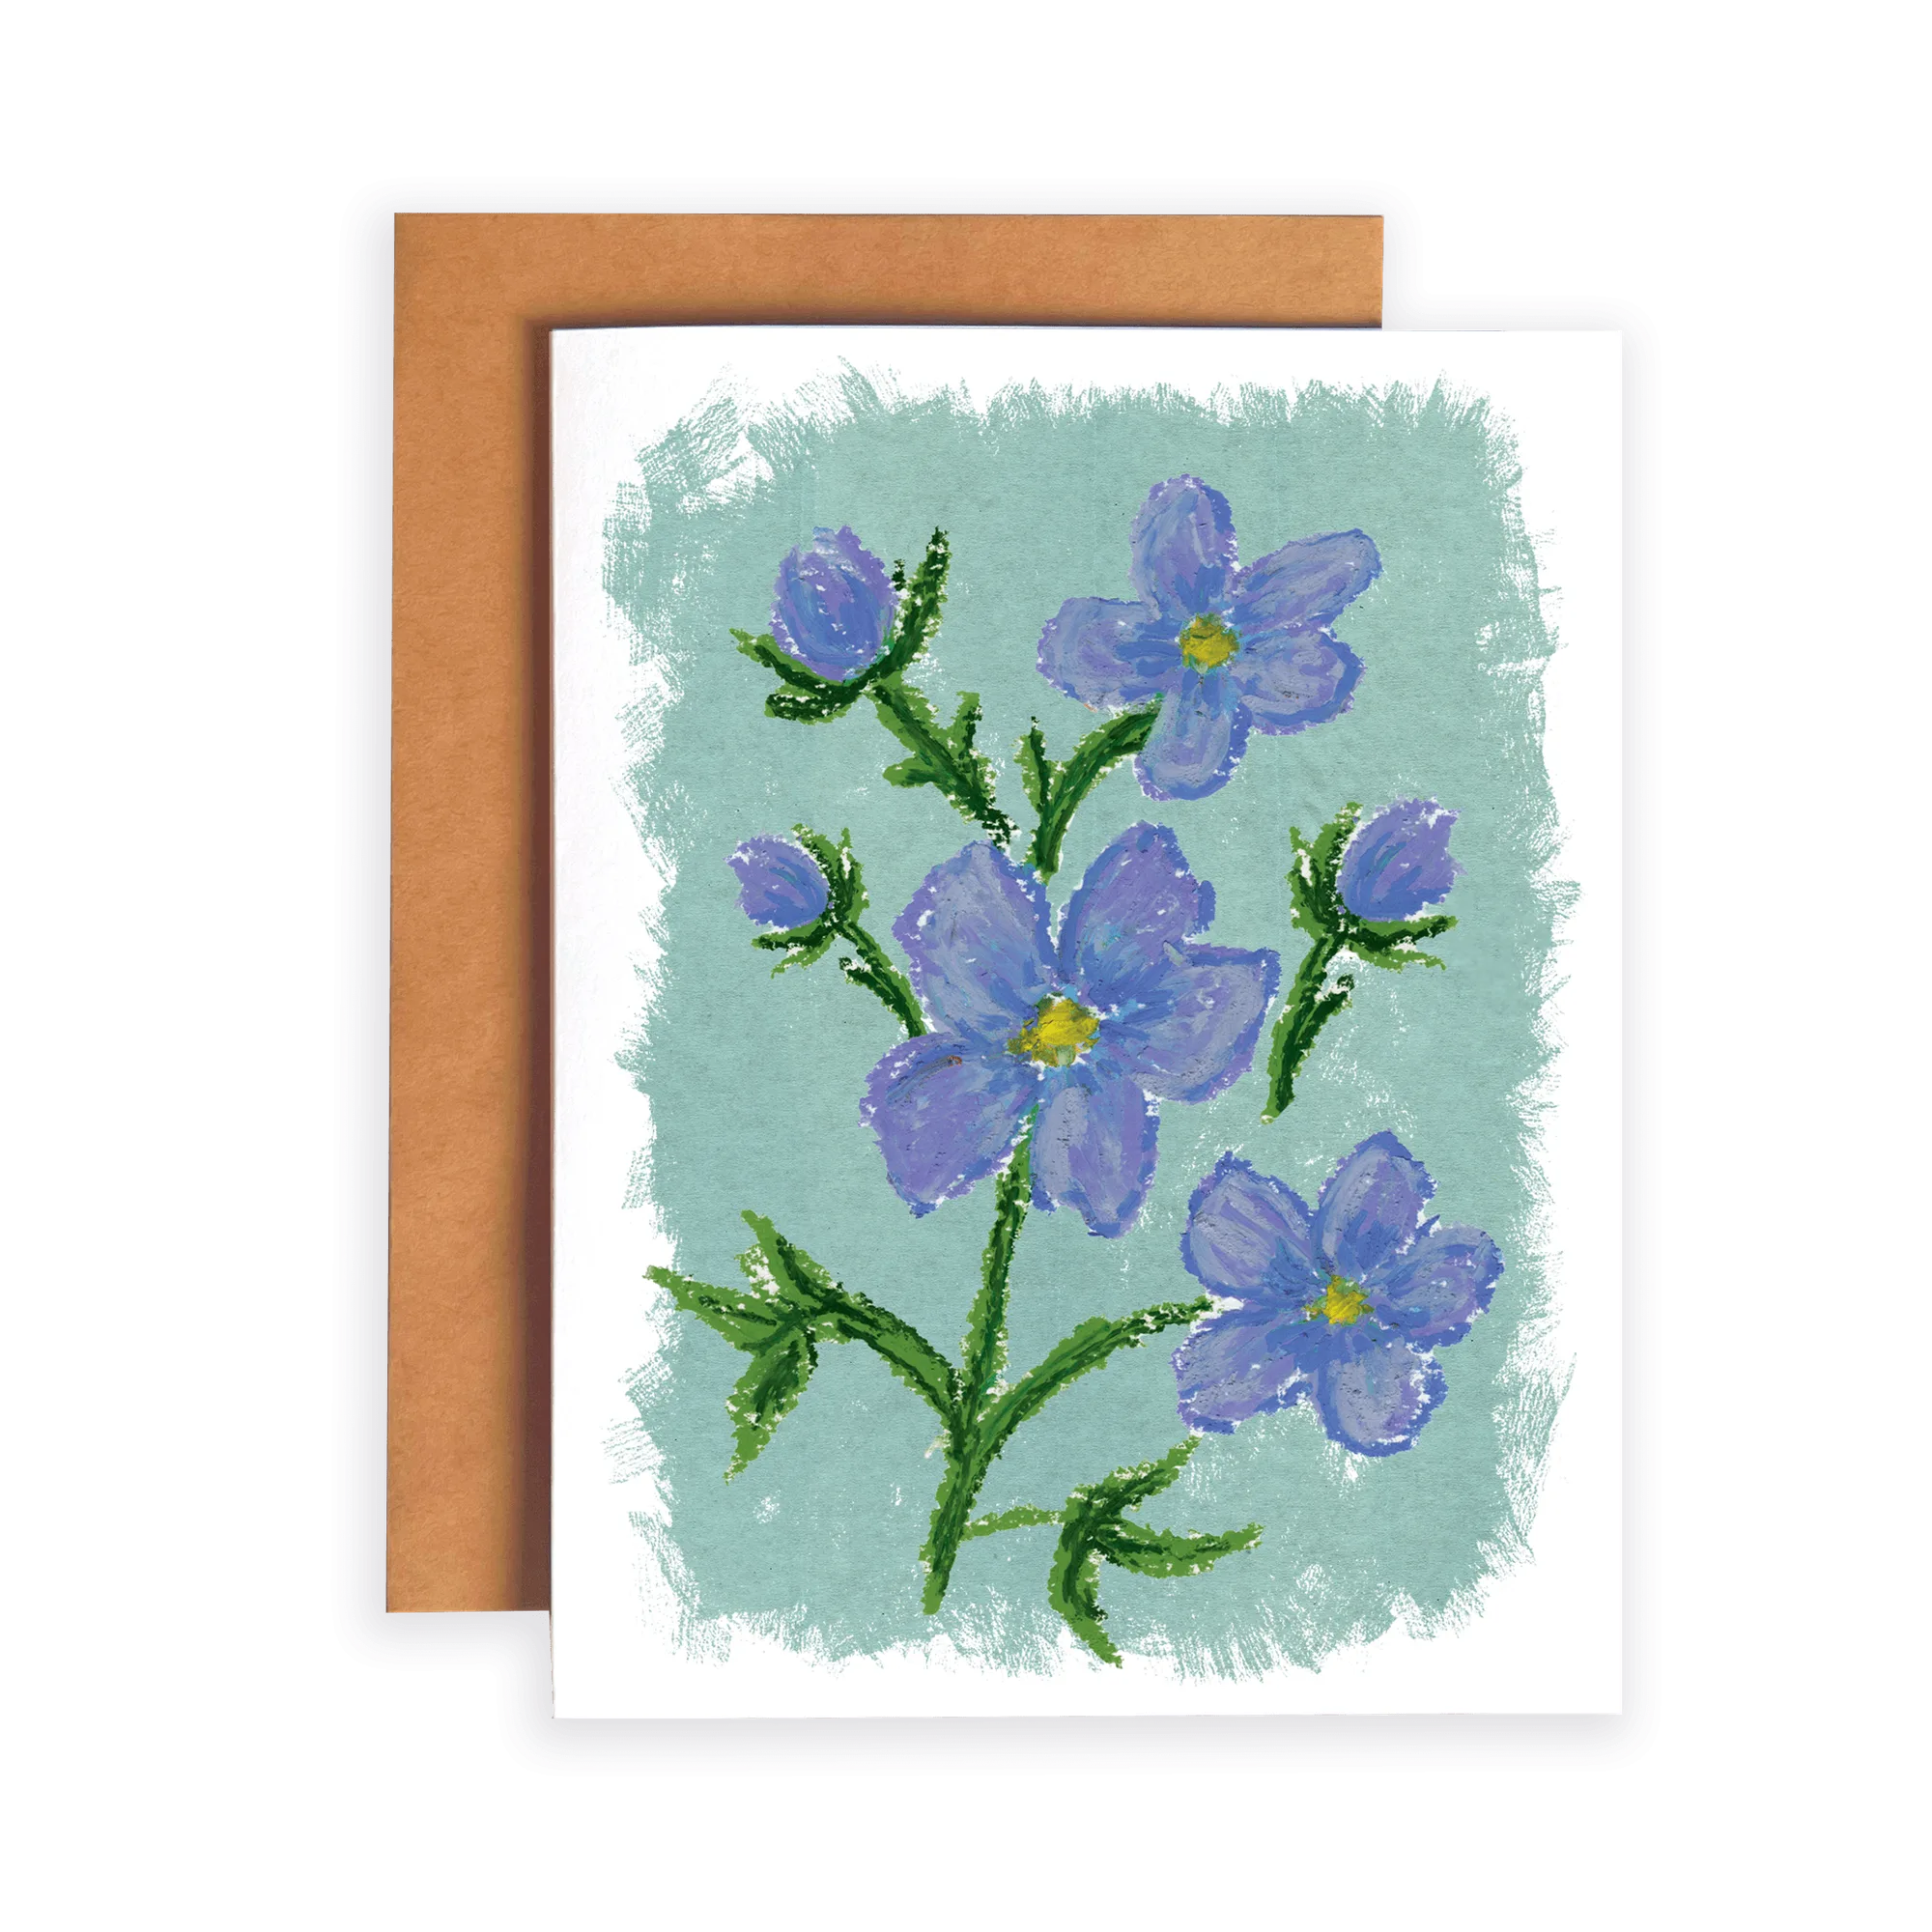
Pastel Blue Wildflower | Greeting Card
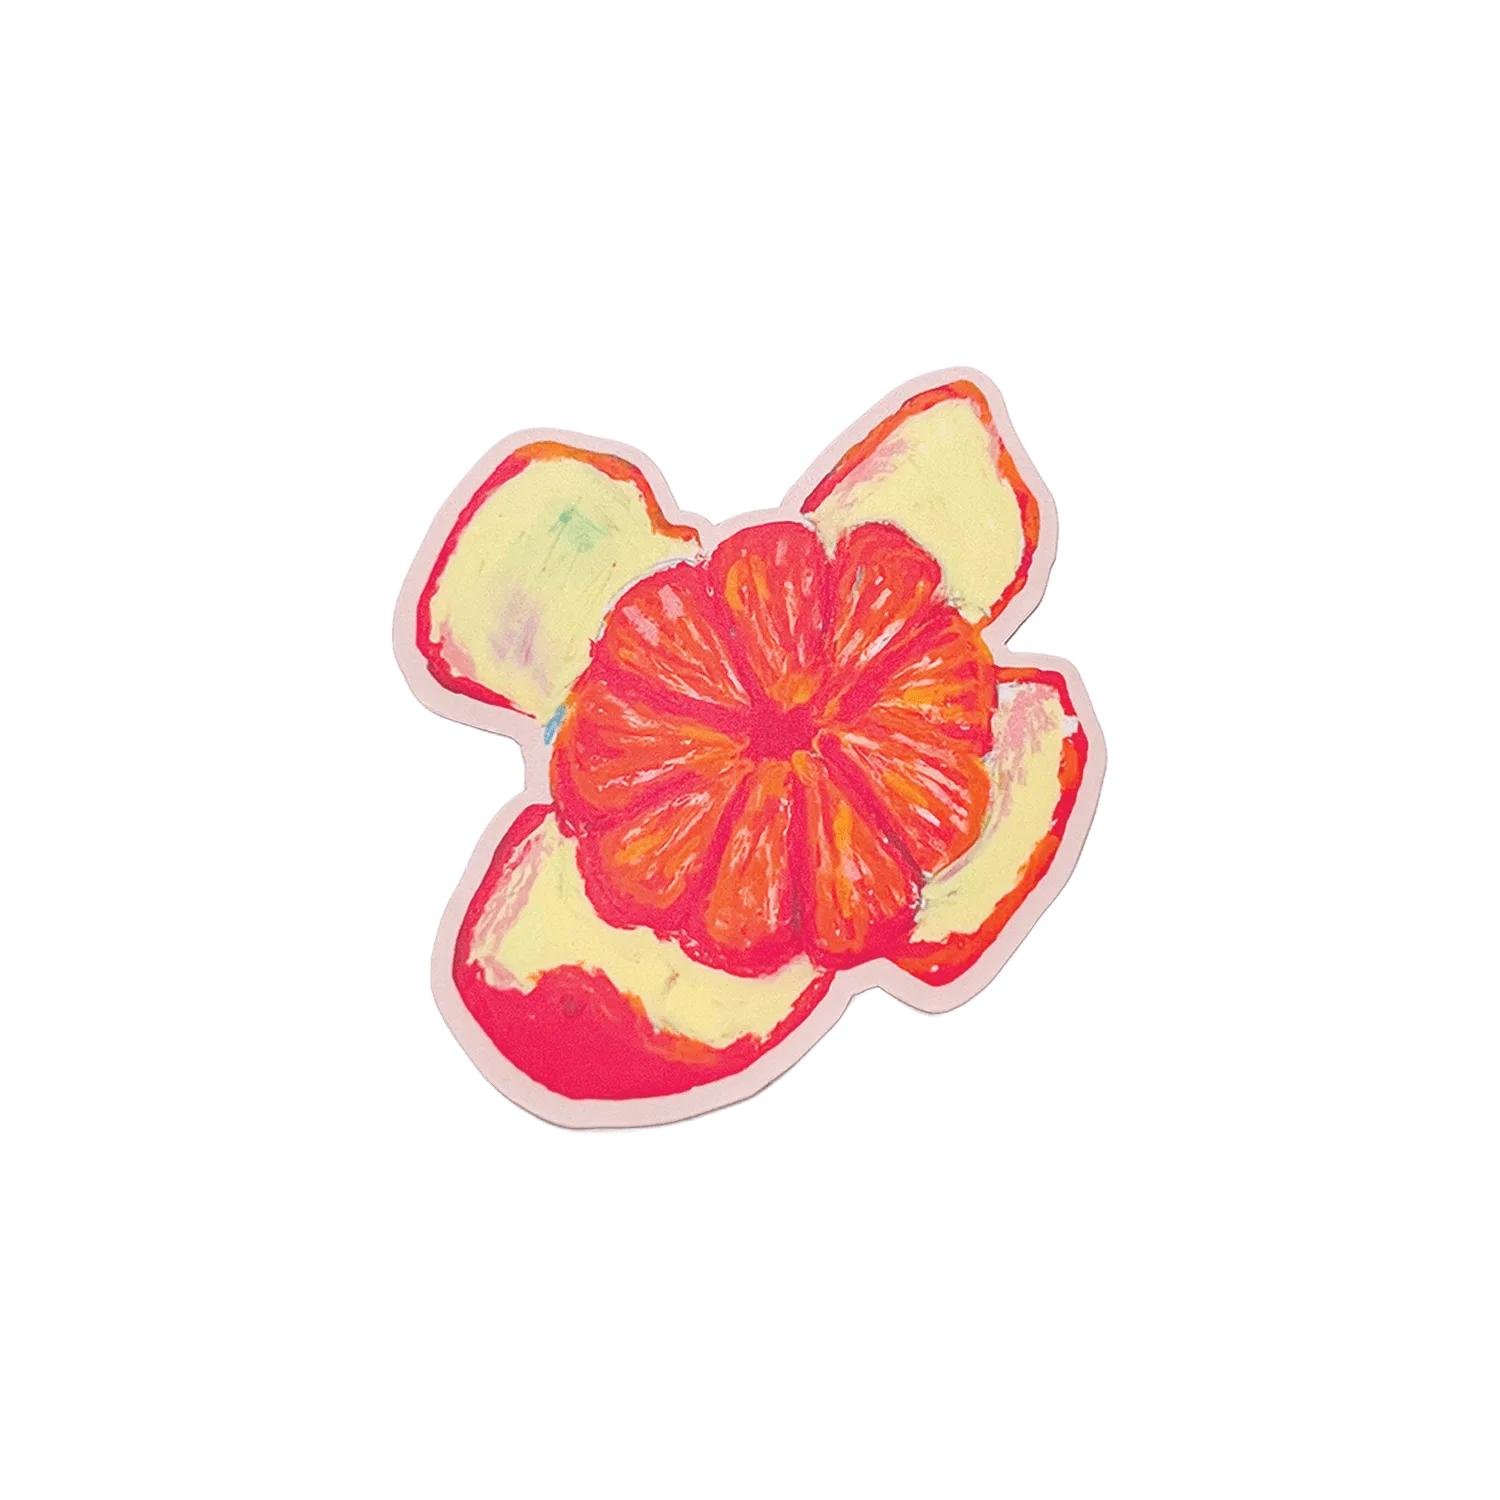
If framing isn’t your style, turn cards into functional pieces. Fold a card into a small pocket and secure it to the side of a notebook for quick note‑taking, or slide a card into a desktop binder slot as a cheerful placeholder. Adding a matte vinyl sticker, such as the "Peeled Orange | Matte Vinyl Sticker," can give extra visual interest and protect the card’s surface.
- Tip: Leave a thin margin around each card when framing to avoid the edges touching the glass.
Your Card‑Styling Checklist
- Select Your Cards: Choose 3‑5 greeting cards that share a colour or theme. Look for high‑quality cardstock like the "Congratulations Lavender" card for durability. Mistake to avoid: picking cards with vastly different sizes or paper weights, which can look disjointed when displayed together.
- Prepare and Protect: Trim any uneven edges, then place each card in a clear sleeve or frame. Add a matte vinyl sticker for extra visual interest and protection. Checkpoint: Ensure the frame’s glass or acrylic is clean to showcase the pastel textures without smudges.
- Arrange and Display: Create a grid or random collage on your wall or desk. Use small mounting squares for a clean look, and step back to check spacing. Next step: Rotate cards seasonally to keep the office feeling fresh and personalized.
Products You Can Use
- Congratulations Lavender | Greeting Card: Celebrate life’s special moments with a Congratulations greeting card. Each card is crafted in my home studio, printed on high‑quality cardstock, and features soft oil pastel textures and hand‑drawn charm. A2 size (4.25” x 5.5”) with a blank interior for your personal message. The sturdy matte cardstock holds up well when framed or handled repeatedly, making it ideal for office décor that will be seen daily.
- Peeled Orange | Matte Vinyl Sticker: Printed on durable, weatherproof vinyl and laminated with a smooth matte finish. Measures about 2" x 2", waterproof & scratch resistant, illustrated with oil pastels, Made in Canada. The matte finish adds a subtle pop of colour without glare, perfect for sticking on laptop lids or notebook covers alongside greeting cards.
With a few thoughtfully chosen greeting cards and a dash of creativity, you can transform a plain home office into a space that feels both personal and professional.